November 21, 2025 · Kuba Rogut
A dramatic sound effect isn't just a loud noise. It's a carefully sculpted audio moment designed to pull at our emotions, creating a palpable sense of tension and a satisfying release. Its real power comes from a potent mix of sonic ingredients: gut-rumbling sub-bass frequencies that signal dread, sharp transients that make you jump, and dynamic shifts that perfectly match the story's rhythm.
Before you even think about opening your DAW or SFX Engine, you need to slip into a sound designer's mindset. Your job isn't to just make a sound; it's to tell a story with sound. A genuinely dramatic effect always serves the narrative, steering the audience's feelings without a single word of dialogue. It’s what can make an empty hallway feel terrifying or a hectic battle feel glorious.
This is all about a delicate balance of sonic elements. You can build tension with a slow, rising crescendo or an unsettling, dissonant drone. Then comes the release—that cathartic moment of impact—which often lands with a sharp, percussive crack followed by a deep, resonant tail that slowly fades away.
To really get a grip on this, you have to understand the building blocks. Every powerful, dramatic sound effect is a cocktail of a few key ingredients working together to command the listener's attention.
This kind of audio storytelling is a seriously in-demand skill. Take the audio drama market, for example. It was valued at a massive USD 2.7 billion in 2024 and is on track to hit USD 6.1 billion by 2033. That boom shows just how much audiences crave immersive audio experiences crafted by skilled creators.
A great sound designer doesn't just add noise; they add feeling. They use sound to make the audience feel the weight of a giant's club, the emptiness of space, or the hope in a hero's theme.
To help you get started, here’s a quick breakdown of the core elements you’ll be working with. Think of this table as a cheat sheet for crafting your own dramatic sounds.
| Element | Description | Example Application |
|---|---|---|
| The Attack | The initial, sharp start of the sound. This grabs attention. | The crack of a lightning strike, the initial bang of an explosion. |
| The Body/Sustain | The main part of the sound that gives it weight and character. | The deep, rumbling roar of a dragon after its initial shriek. |
| The Tail/Decay | The way the sound fades out. This creates space and finality. | The long, metallic echo of a sword clang in a large hall. |
| Low-Frequency Content | The deep sub-bass that adds a sense of power or dread. | The vibrating hum of a massive starship's engines. |
| High-Frequency Detail | The crisp, sharp elements that add realism and surprise. | The sound of shattering glass or the sizzle of an energy weapon. |
Getting these elements right is what separates a generic sound from one that truly elevates the story.
Even in highly specialized fields, quality audio is king. For instance, enthusiasts use systems like Soundtraxx for creating realistic model train sounds because high-fidelity audio is essential for creating an immersive, dramatic experience, even on a small scale.
Ultimately, mastering the art of the dramatic sound effect is about learning to wield these emotional triggers. Once you understand the psychology of why a certain sound feels scary, epic, or sad, you're on your way to creating your own unforgettable audio moments. For a deeper dive into these concepts, check out our guide on the fundamentals of cinematic sound effects.
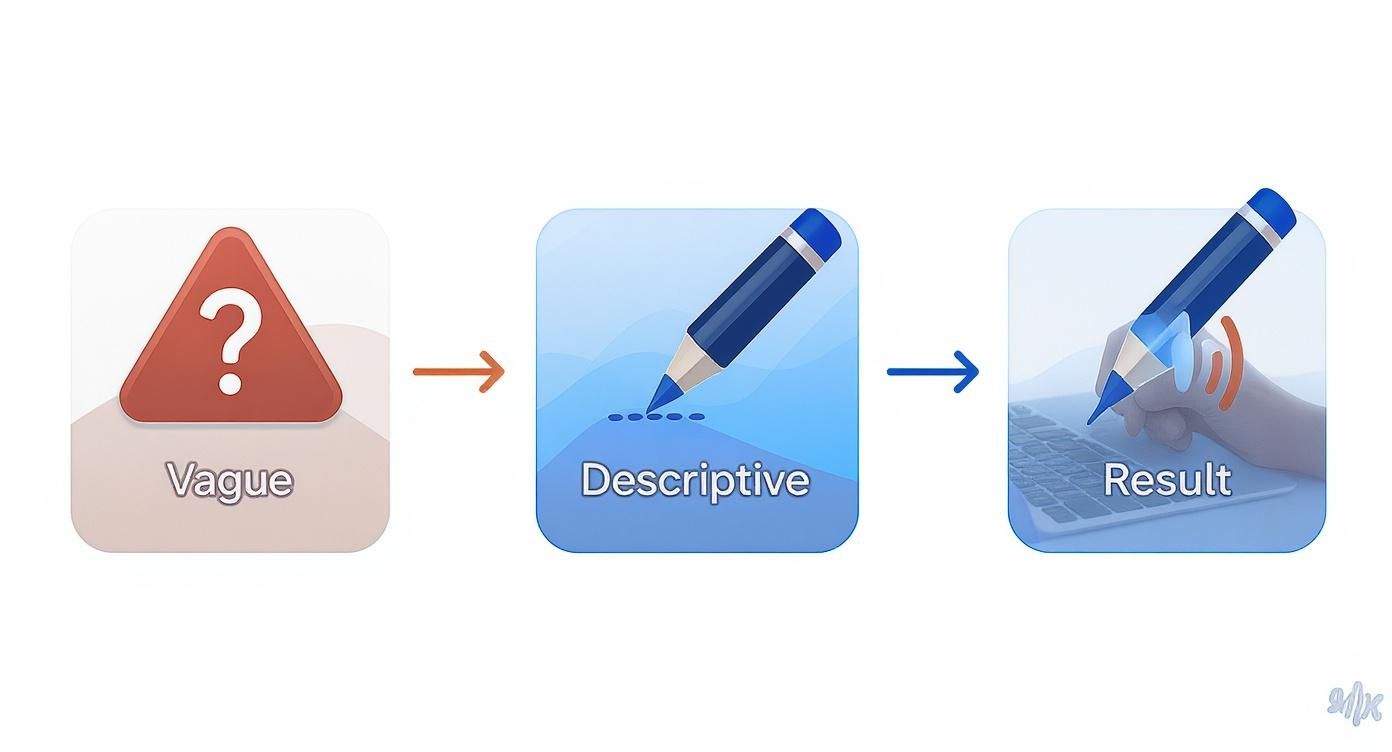
An AI sound generator is a fantastic tool, but the sounds you get out are only as good as the instructions you put in. If you want a truly custom and high-impact dramatic sound effect, you have to move beyond one-word prompts like "explosion." The real magic happens when you write with nuance and detail, guiding the AI with descriptive language like a director guiding an actor.
Think about it. A prompt like "rock sound" is almost uselessly vague. It could mean a tiny pebble skipping across a pond or a catastrophic landslide. Now, compare that to a prompt like: "a colossal stone monolith cracking and crumbling under immense pressure, deep resonant grinding, small fragments shattering on a cavern floor." See the difference? That prompt paints a vivid, actionable picture for the AI, giving it texture, scale, and a clear sequence of events.
When writing prompts, your most valuable tools are strong adjectives and action-packed verbs. These words are what give the sound emotional and physical context, turning a generic noise into a specific, dramatic moment. You aren't just asking for a sound; you're telling the story of that sound.
Here’s what I mean:
Or how about this one:
The descriptive versions give the AI crucial details about the material (metallic, wet), the environment (cave, pressurized), and the specific actions (sealing, crumbling). This always leads to a far richer and more usable result. Honestly, learning how to create sound effects online is really about mastering this descriptive approach.
A well-crafted prompt doesn't just name a sound; it describes the physics, emotion, and environment behind it. Your goal is to give the AI a scene to score, not just a word to match.
To help you get started, here are a few simple formulas I use all the time. You can adapt these for all sorts of situations to make sure you're covering the essential details for a compelling dramatic sound.
For a Tense Horror Jump Scare:
For a Sci-Fi Engine Ignition:
If you’re designing sounds for games, it’s also helpful to understand the bigger picture of AI game development. Knowing how your sounds will be triggered and experienced by the player gives you valuable context.
When you start treating your prompts like miniature screenplays, you stop being just a user and become a director. You're commanding the AI to produce sounds with intent, emotion, and serious dramatic flair.
A single sound effect, no matter how good, rarely has the power to carry a dramatic scene on its own. The secret to those massive, cinematic sounds you hear in movies and games? It's almost always a composite, built by carefully layering multiple sounds that work together in harmony. Think of yourself as a sonic architect, constructing your effect in distinct phases.
To get started, you have to break down any sound into its core components. Every sound event has a beginning, a middle, and an end, which we call the attack, the body, and the tail.
Let’s put this into practice. We need to create the sound of a "magical portal opening." A simple whoosh just won't cut it; it needs texture, raw power, and an otherworldly vibe. We'll build it by layering three distinct elements, each with a specific job.
Once you blend these three layers, you have something far more compelling and believable than any single component could ever be. The hum gives it power, the sparks add a sharp, magical texture, and the swell creates that perfect dramatic entrance.
The art of layering isn't about making a sound louder; it's about making it more interesting. Each layer should fill a specific part of the frequency spectrum and serve a purpose in the sound's timeline.
This layering technique, whether you're using field recordings or AI-generated sounds, is fundamental to professional sound design. And the demand for this kind of work is exploding. The global sound effect service market is projected to jump from USD 2,538.9 million in 2025 to a staggering USD 4,500 million by 2035. You can discover more insights about the sound effect market's growth on WiseGuyReports.com if you're curious.
This screenshot from SFX Engine shows just how easy it can be to generate these individual layers from simple text prompts.
A tool like this lets you quickly create your individual components—the hum, the crackle, the swell—and then combine them in your audio editor. This hybrid approach gives you the best of both worlds: creative speed and hands-on control.
Okay, you've got your individual layers stacked up and ready to go. Now for the fun part—this is where the real magic happens. The mixing and processing stage is where a simple collection of sounds becomes a single, hard-hitting dramatic sound effect. It's all about adding that professional polish that separates a good sound from a truly great one.
Your two best friends in this process are going to be Equalization (EQ) and Compression. I like to think of them as sculpting tools: EQ carves out space, and compression shapes the energy.
Equalization is all about frequency management. Every layer you've created—the sub-bass, the crackly texture, the sharp impact—needs its own spot in the frequency spectrum to shine. If you just throw them all together, they'll fight each other, creating a muddy, undefined mess.
The first thing I always do is grab a high-pass filter. Slap it on any layer that has no business being in the low end. That crisp glass shatter effect? It doesn’t need any bass frequencies, so cut them out. This instantly frees up precious real estate for your sub-bass to punch through without any competition.
On the other hand, you can use a low-pass filter to tame any harsh, fizzy high-end on your bass layers. This keeps them feeling deep and focused. This isn't just about making each sound good on its own; it’s about making them all work together harmoniously.
You’re essentially the conductor of a frequency orchestra. The goal of EQ is to ensure every instrument has its own space to be heard clearly, creating a powerful and cohesive whole.
Compression is how you control dynamics and inject raw energy into your sound. A compressor basically squashes the difference between the loudest and quietest parts of an audio signal, which can make it feel much more powerful and consistent.
For a big dramatic hit, try using a compressor with a fast attack time. This will catch and tame that initial sharp peak, stopping it from being painfully loud while letting the body of the sound feel bigger and beefier. A slow release will then bring up the tail of the sound, giving it a nice, epic decay.
Getting this right is a huge part of achieving professional quality. This is especially true in fields like audio drama production, where high sound engineering costs present a major economic hurdle. Nailing your mix is key to creating a product that stands out. You can read the full research about audio drama market challenges here.
Here are a few more tricks I've picked up over the years to really make your sounds pop:
By skillfully combining these techniques, you're not just playing back sounds anymore. You're gluing your layers together, shaping them into a singular, unforgettable sonic moment that will leave a lasting impression on your audience.
https://www.youtube.com/embed/3IPzjF6EhLo
You've just crafted the perfect dramatic sound effect—that massive explosion or eerie whisper is finally ready. But before you drop it into your film, game, or podcast, there's one crucial final step: making sure you have the legal right to use it.
Navigating the world of audio licensing can feel like a minefield, but it's absolutely essential. Getting this right protects you, your project, and respects the work of other creators.
Let's cut through the jargon. You'll run into a few key terms when sourcing or generating audio, and understanding what they mean is non-negotiable if you want to avoid copyright strikes or worse.
Here’s a breakdown of the big three:
When you're working with an AI tool like SFX Engine, it's vital to read their terms of service. The good news is that most reputable platforms grant you a full commercial, royalty-free license for any sounds you generate. This means you own them and can use them in your monetized content without a worry.
If there’s one thing to take away, it's this: always assume a sound is copyrighted until you can prove otherwise. A little due diligence upfront can save you from a world of legal trouble later on.
Keep in mind that if you start layering pre-made, licensed clips with your own custom sounds, you're creating what's called a derivative work. That means you absolutely must have the proper rights to every single element in that final mix.
For a deeper dive, our guide to royalty-free music and sound effects breaks these concepts down even further. Once you get a handle on your rights and responsibilities, you can use your creations with total confidence and focus on what really matters—sharing your work with the world.
When you're first diving into sound design, you'll inevitably run into a few common roadblocks. Everyone does. Getting a grip on these early will save you countless hours of frustration and really help you start crafting those powerful, dramatic sound effects you're after. Let's break down some of the most frequent questions I hear from up-and-coming designers.
If your sound feels cluttered or "muddy," the culprit is almost always a frequency traffic jam, usually hanging out between 200-500 Hz. This is the low-mid range where the "body" of many sounds lives. When too many layers fight for that same sonic real estate, you get an undefined, sludgy mess.
The solution? Get surgical with your EQ. For every layer that isn't your main bass element, apply a high-pass filter or a bell-shaped cut to carve out some of that muddy territory. This one move creates instant breathing room, letting your key impact and sub-bass punch through with clarity and force. It’s less about adding and more about taking away.
A clean mix isn't about what you boost; it's about what you cut. Creating space for each layer is the single most effective way to achieve a professional, hard-hitting sound.
Reverb is your best friend for building an environment. It’s the sonic cue that tells your listener’s brain whether a sound is happening in a tiny closet or a massive cathedral.
Don't forget about delay, either. A quick, single "slapback" delay can suggest a sound bouncing off a nearby wall. Longer, repeating echoes can paint a picture of a massive open space, like a canyon. You’re not just adding an effect; you're building the world your sound lives in.
Absolutely! Don't underestimate that little microphone in your pocket. Your phone is a fantastic field recorder for capturing unique, raw material. Some of the most compelling and original sounds I’ve made started with a simple phone recording of an everyday object.
That jingle of your keys? Slow it way down, pitch-shift it into the basement, and drench it in reverb. You might have just created the footsteps of a giant metallic beast. As long as your original recording is reasonably clean and doesn't have a ton of background noise, it's fair game. The real magic happens in how you twist, stretch, and layer what you capture.
Ready to stop searching for sounds and start creating them? With SFX Engine, you can generate the exact custom sound effects you need with just a few words. Try it for free and elevate your projects today.