February 27, 2026 · Kuba Rogut
Building a home studio sounds expensive. For many students, it feels out of reach. Rent is high, textbooks aren’t cheap, and part-time jobs only stretch so far.
But you don’t need thousands of dollars to create a space where you can record music, start a podcast, edit videos, or produce content.
What you need is a clear plan, realistic expectations, and the discipline to focus on what actually matters.
Here’s how students are building functional home studios without draining their bank accounts.
The biggest mistake beginners make is shopping before deciding what they’re building.
Are you recording vocals and acoustic guitar? Producing beats? Starting a podcast? Editing YouTube videos? The answer changes what you actually need.
A music producer needs different tools than a podcast host. A YouTuber focused on talking-head videos doesn’t need a high-end audio interface. When money is tight, clarity saves cash.
This same focus applies to your schedule. If you're balancing a creative project with university, you might use a research paper writing service to handle academic tasks while you focus on your studio setup.
Write down what you plan to create for the next six months. Be specific:
Once you know the goal, you can buy only what supports it.
You don’t need a separate studio room. Most students don’t have that luxury.
A bedroom corner works. A dorm desk works. Even a closet can work for recording vocals because clothes absorb sound reflections.
Before buying anything, study your room:
Soft surfaces like curtains, rugs, and bedding help more than people realize.
Instead of buying expensive acoustic foam right away, try this first:
It won’t be perfect, but it will be usable.
Most students already have a laptop. That’s enough to start.
You don’t need a top-of-the-line machine to record vocals or edit simple videos. Basic music production software runs fine on a mid-range laptop, especially if you’re not loading dozens of heavy plugins.
Free or low-cost software options include:
If your laptop is older, optimize it instead of replacing it:
Spend money only when the computer truly limits your workflow.
For most student studios, the core setup includes:
That’s it.
You don’t need studio monitors right away. You don’t need multiple microphones. You don’t need fancy preamps.
A solid beginner microphone can cost far less than people expect. Entry-level condenser or dynamic microphones can produce clean results when used properly. Pair that with a simple two-input audio interface and you’re ready to record.
Closed-back headphones are important for recording so sound doesn’t leak into the mic. You can mix on headphones at the beginning. Many students do.
A basic setup can cost less than a single semester textbook if you buy smart.
Students save a lot by buying second-hand equipment.
Audio gear is often durable and long-lasting. Microphones, interfaces, and headphones can perform well for years if handled properly. Many musicians upgrade frequently, which means good used equipment hits the market.
Look at:
Ask for proof that the gear works. Test it if possible. Avoid anything physically damaged or heavily worn.
You don’t need “brand new” to make good music.
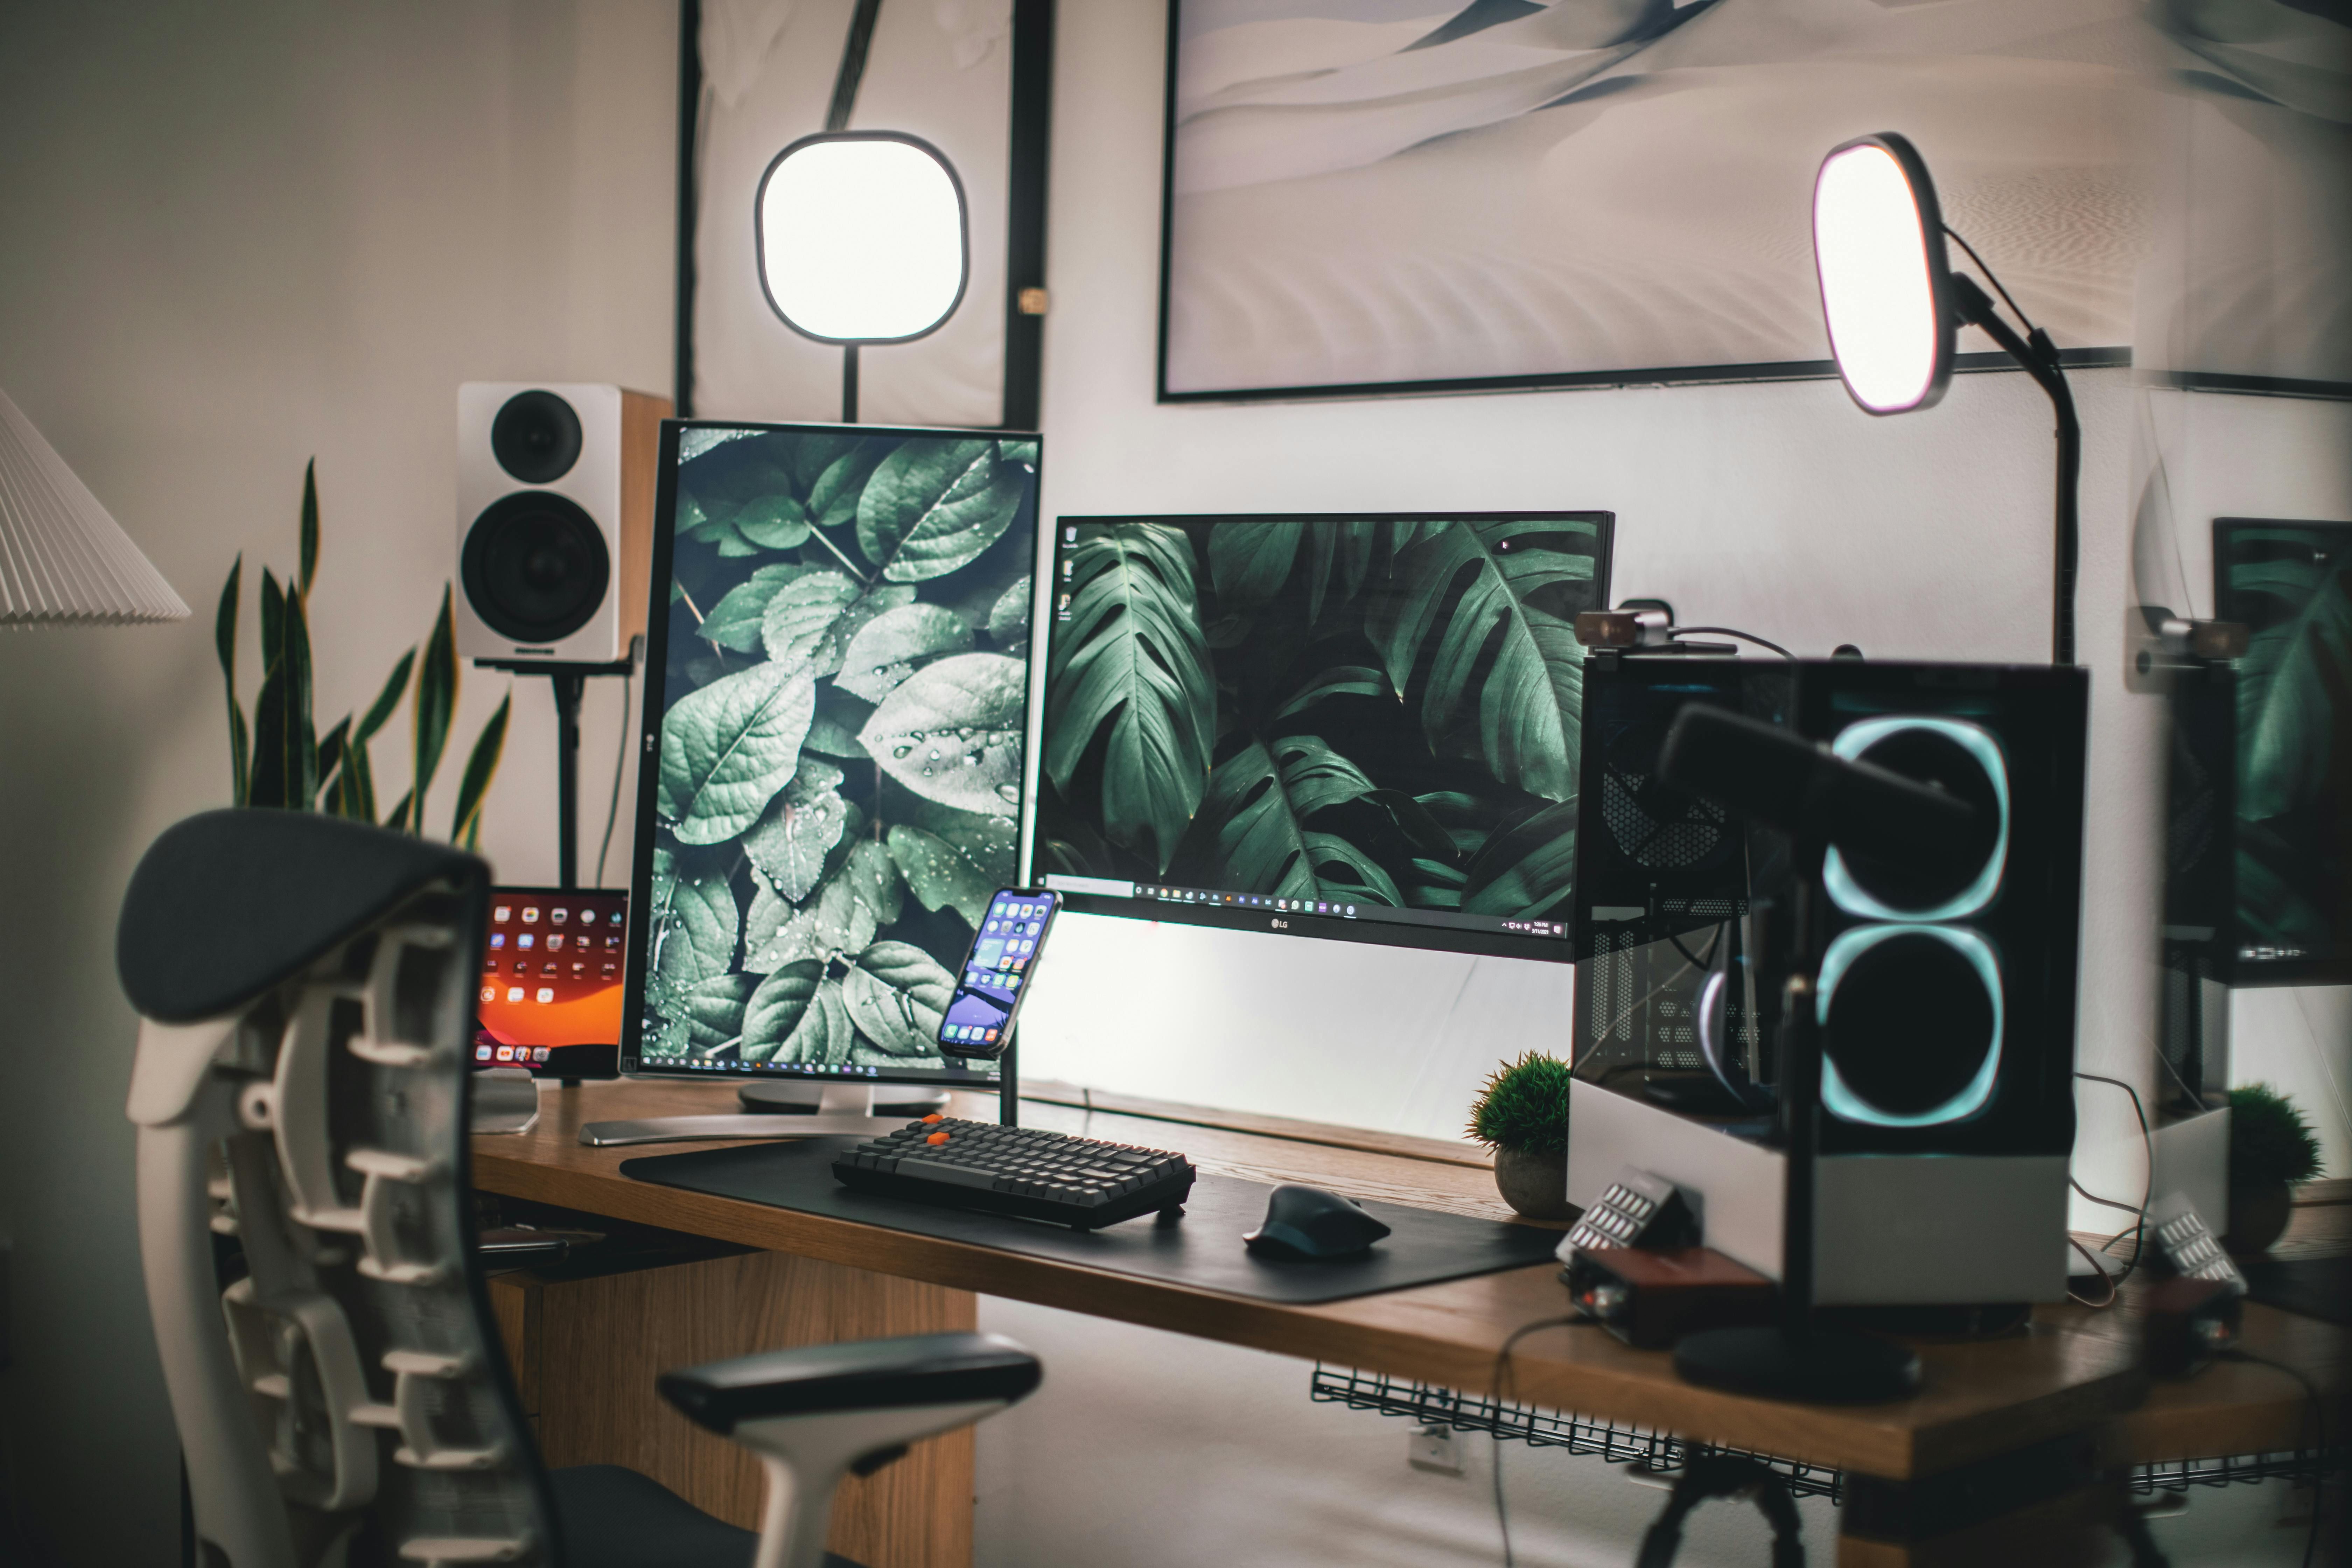
Social media makes studio setups look glamorous: LED lights, large monitors, wall-to-wall foam panels, clean white desks.
That’s nice, but it doesn’t create quality content.
Good sound matters more than a pretty background.
Build for function first. Upgrade appearance later.
Another way students save money is by improving skill instead of gear.
A $100 microphone in the hands of someone who understands mic placement, gain staging, and basic mixing will outperform a $500 microphone used poorly.
Spend time learning how to:
There are thousands of free lessons online. Your time is cheaper than new equipment.
The more you learn, the longer your entry-level setup will serve you.
If you live with roommates or have creative friends, consider building a shared studio setup.
Split the cost and share the space.
Set clear rules about booking time and handling equipment. Respect matters more than contracts in most student situations.
You don’t need everything on day one.
Spacing purchases over months keeps your budget manageable and prevents regret purchases.
Dorms and shared apartments are noisy. That’s reality.
Work around it:
Some students even record inside parked cars for surprisingly clean vocals because the interior absorbs sound well.
You don’t need perfect silence. You need manageable noise.
Students move often. Between dorm changes, internships, and summer breaks, portability matters.
Choose lightweight stands and compact equipment. Keep original boxes if possible for transport.
Flexibility is valuable when your living situation changes every semester.
Set a maximum spending amount before you start shopping. For example, $400 total for the first phase. Once it’s set, stick to it.
Track every purchase. Small accessories add up:
If money is extremely tight, save gradually instead of using credit. Creative work becomes stressful when it’s tied to debt.
Some students offset their costs by offering small services:
Even modest payments help recover investment costs and build experience.
Treat your home studio like a small business from the beginning.
Your first home studio won’t look like the ones you see online. It won’t sound like major-label recordings.
There will be background noise, small mistakes, and learning curves.
That’s normal.
What matters is consistency. Students who create regularly improve faster than those who wait for perfect conditions.
Start with what you have. Improve gradually. Learn constantly.
Students have one advantage professionals sometimes lose: time to experiment.
You’re in a phase of learning. Mistakes are expected. Growth is built in.
A tight budget forces creativity. Creativity builds skill. Skill outlasts equipment.
At the end of the day, a home studio is not about gear. It’s about creating a space where ideas turn into something real — even if that space is a small desk in a dorm room with blankets pinned to the wall.
You don’t need luxury. You need intention, discipline, and the willingness to start before everything feels ready.
That’s how students build a home studio on a tight budget.