October 1, 2025 · Kuba Rogut
Learning how to make sound effects is really about mastering a creative loop: finding your raw audio, layering it to build depth, and then polishing it all with digital tools. You can honestly start with the simplest idea, grab sounds from the world around you, and twist them into something totally unique for your project.
The leap from a silent scene to a truly immersive audio experience can feel a bit daunting, but it really just boils down to a clear, repeatable workflow. Whether you’re designing the satisfying crunch of footsteps on gravel for a movie or the futuristic hum of an alien spaceship for a game, the core principles never change. It always starts with an idea.
What feeling or action are you trying to get across? Answering that question is your north star. It guides everything from how you source your audio to the final digital polish you apply. And you don’t need a fancy studio to get started; sometimes, the best sounds come from everyday objects and a little bit of creativity.
At its heart, the process is about capturing or finding an initial sound, manipulating it, and layering it with other textures to build something complex and interesting. I like to think of it like cooking. You start with your base ingredients (the raw audio), add spices and complementary flavors (layering), and keep tasting and adjusting the seasoning until it’s just right (editing and mastering).
This simple infographic gives you a bird's-eye view of the fundamental stages of sound effect creation, from that first spark of an idea to the final export.
What this flow really shows is that great sound design is a structured process, not just random luck. It’s a logical path from a concept to a finished, ready-to-use audio file.
The demand for high-quality, custom audio is exploding across all kinds of media. In fact, the global sound effects services market was valued at around USD 2.5 billion in 2023 and is on track to nearly double to about USD 4.8 billion by 2032. This isn't just a niche industry anymore. This growth really underscores how essential impactful audio has become for anyone creating content. If you're curious, you can find more insights on the market's expansion on Data Insights Market.
Sound design is the art of telling a story with audio. Every whoosh, click, and bang serves a purpose—to build the world, evoke emotion, and guide the audience's attention without them ever noticing the craft behind it.
The entire journey of sound creation can be broken down into a few essential stages. Each one builds on the last, taking a simple concept and transforming it into a polished, final product.
| Stage | Objective | Key Tools & Techniques |
|---|---|---|
| Concept & Sourcing | Define the sound's purpose and find or record the raw audio. | Field recorders, microphones, sound libraries, Foley pits. |
| Layering & Editing | Combine multiple sounds to add depth and complexity. | Digital Audio Workstation (DAW), audio slicing, time-stretching. |
| Processing & Effects | Shape the sound with digital tools to fit the desired aesthetic. | EQ, compression, reverb, delay, pitch shifting. |
| Mastering & Export | Finalize the sound for its intended use, ensuring proper levels and format. | Limiters, normalization, file format conversion (WAV, MP3). |
Seeing the process laid out like this helps demystify it. It's a clear path from A to B, with specific goals and tools for each step.
Following a structured approach like this is what keeps you from getting lost in endless tweaking. It keeps you organized and helps you deliver consistent, professional-quality results every single time. It ensures your final sound actually serves its purpose in the bigger picture.
Here's how those steps come together in practice:
Once you get this framework down, you’ll be ready to tackle pretty much any sound design challenge and turn your creative vision into a sonic reality.
You don't need a Hollywood budget to create incredible audio. The first real step in learning how to make sound effects is putting together a practical toolkit, and it’s way more accessible than most people think. The goal is simple: build a setup that helps your creativity flow without creating technical roadblocks.
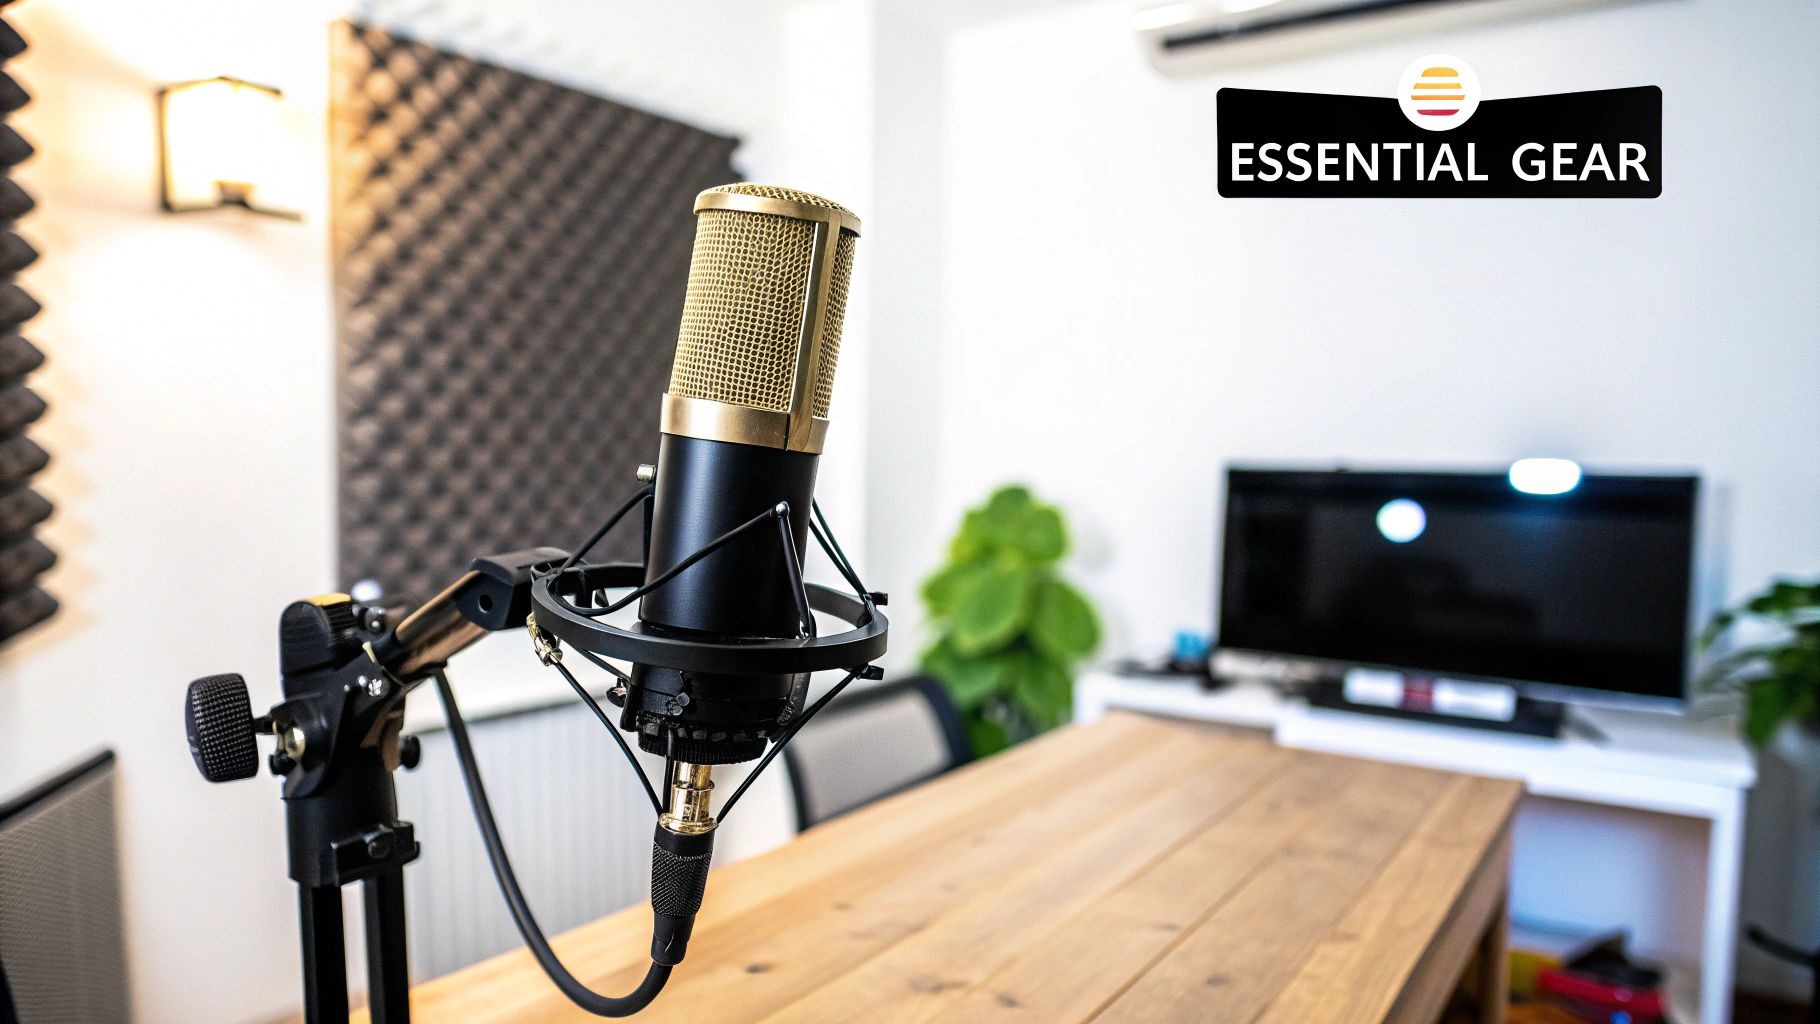
It all starts with the gear you use to capture and listen to your work. While a pro studio might have a closet overflowing with expensive equipment, you can achieve amazing results with just a handful of carefully chosen items.
The foundation of any good audio setup is a reliable way to get sound into your computer and a way to hear it back accurately. Don't get caught up in thinking you need the most expensive gear right out of the gate.
A solid condenser microphone is the perfect starting point. Models like the Audio-Technica AT2020 or Rode NT1 deliver fantastic quality for their price and are versatile enough for almost anything, from vocals to Foley. Next, you'll need an audio interface—that's the little box that acts as the bridge, connecting your microphone to your computer and converting its analog signal into digital.
Finally, a good pair of closed-back studio headphones is non-negotiable. They are your most honest friend in this process, revealing every tiny detail and flaw in your audio without the skewed frequencies you get from typical consumer headphones.
A common mistake I see is people monitoring on speakers in an untreated room. Headphones let you bypass the room's acoustics entirely, giving you a much more accurate picture of your sound so you can make better editing choices.
And don't forget the best microphone is often the one you have with you. Your smartphone's voice recorder is surprisingly capable for grabbing spontaneous field recordings on the fly.
Your Digital Audio Workstation (DAW) is the canvas where you'll bring your sounds to life—editing, layering, and transforming them. The options can feel endless, but they mostly fall into a few key categories.
If you want to dig deeper, our guide on the best sound design software can help you compare your options. Ultimately, the right DAW for you comes down to your budget and what you want to achieve. Find it here: https://sfxengine.com/blog/best-sound-design-software
Your toolkit doesn't end with hardware and a DAW. A modern sound designer has access to an incredible array of digital resources that can seriously accelerate the creative workflow.
AI sound generators, like our own SFX Engine, are a great example. They let you create totally custom, royalty-free sounds just by typing a text prompt. Need the sound of "a magical sword being forged in an ethereal fire"? An AI can spit out dozens of variations in seconds, giving you a completely unique foundation to build upon.
It's also smart to lean on high-quality audio libraries from services like Splice or Epidemic Sound. These are treasure troves for finding specific elements—like a particular bird call or a type of engine noise—that you can mix with your own custom-recorded sounds. Beyond the digital tools, remember that your physical space matters. Getting some expert advice on setting up a home recording studio can make a huge difference. A truly well-rounded toolkit is all about combining your own creations with smart resourcefulness.
Sure, AI tools and digital libraries are fantastic resources, but the most powerful and authentic sound effects often come from the world right outside your door. When you capture your own audio, you're creating a sonic signature for your project that simply can't be downloaded. This is where the real artistry begins—turning everyday objects and environments into cinematic gold.
This hands-on approach boils down to two core techniques: Foley and field recording. Foley is all about performing and recording sounds in a controlled setting, often using bizarre props to match the on-screen action. Field recording, on the other hand, is about getting out there and capturing the genuine sounds of a specific place. Mastering both will set your work apart.
Foley is where your imagination gets to run wild. It's the craft of using everyday items to create sounds that feel larger than life. Think of yourself as a performer and your props as your instruments.
For example, snapping a stalk of celery right next to a microphone creates a visceral bone-breaking crunch that’s far more brutal than any digital preset. The crinkle of a cellophane sheet can sound just like a roaring bonfire. Understanding https://sfxengine.com/blog/what-is-foley-sound is a fundamental skill that can elevate your work from good to great.
Here are a few classic Foley tricks to get you started:
The secret to great Foley is just trying things. The sound that works is rarely the one made by the actual object. My go-to for gooey, alien-like sounds? Squeezing a bowl of canned dog food. It's messy, but the results are unbelievably effective.
This approach gives you total control over the sound's performance—the timing, the intensity, and the texture. It’s how you craft audio that is perfectly tailored to your scene.
While Foley is about creating sounds, field recording is about capturing them. This could be anything from the ambient hum of a city street to the delicate rustle of leaves in a forest or the mechanical clank of an old factory. The goal is always to capture clean, usable audio.
Of course, getting a clean recording outdoors is tough. Your biggest enemy is unwanted background noise—wind, traffic, distant conversations, even airplanes flying overhead.
| Environmental Challenge | How to Beat It |
|---|---|
| Wind Noise | A windscreen or "dead cat" is non-negotiable. This furry cover goes over your mic and disperses wind, stopping that low-frequency rumble that can ruin a take. |
| Background Traffic | Record during off-peak hours (early morning is usually your best bet) or find spots shielded by buildings or natural landscapes. |
| Handling Noise | Put your microphone on a stand or use a shock mount. If you hold the recorder directly, even the slightest movements can create noise. |
Always, always monitor your audio with headphones while recording. Your ears are the best tool you have for catching problems as they happen. Something might sound fine in the moment but turn out to be unusable once you listen back in a quiet studio.
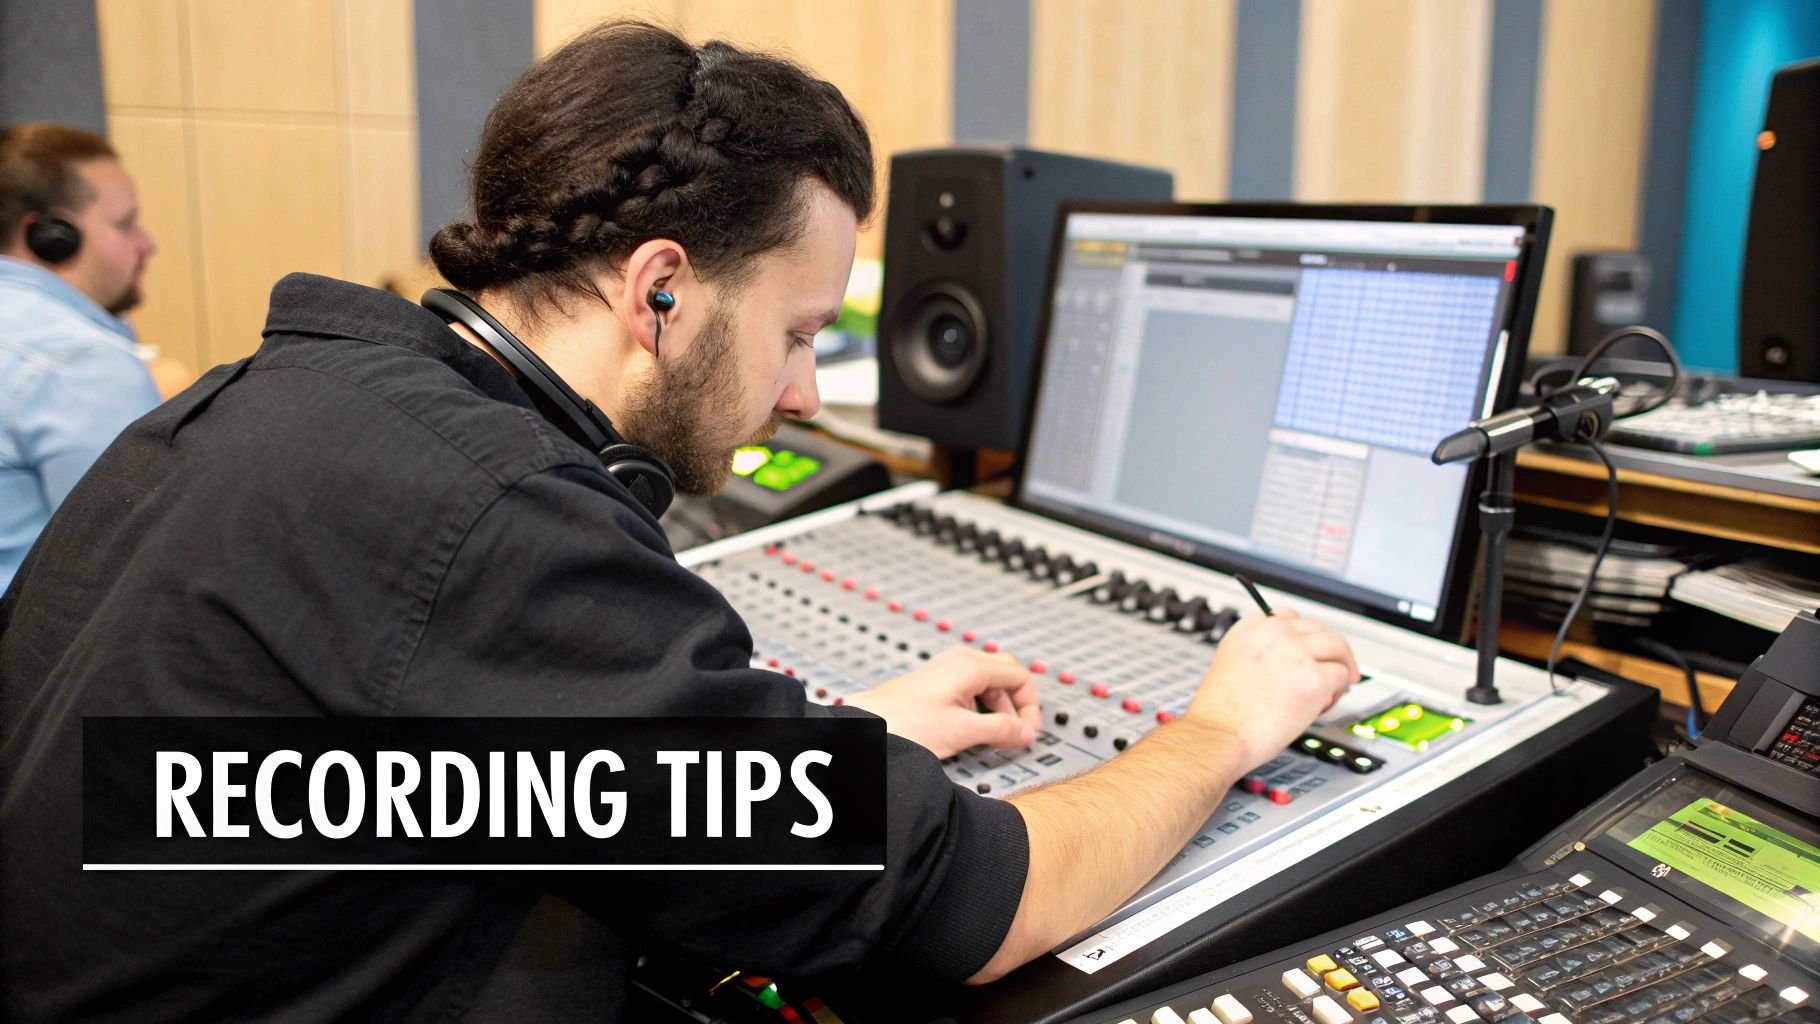
Whether you're performing Foley in a studio or recording ambience in the field, a few core principles will ensure you walk away with high-quality material and save you a ton of headaches later.
First, microphone placement is everything. Getting closer to your sound source is the single best way to improve your signal-to-noise ratio. You'll capture more of the sound you want and less of the room's echo or background noise. Simple as that.
Second, always get multiple takes. No two performances are ever the same. Recording at least five to ten variations of each sound gives you a treasure trove of options in post-production. You can pick the perfect one or even layer different takes to build a richer, more complex effect.
Finally, record at a healthy but safe level. You want your audio to peak somewhere around -12dB to -6dB. This gives you plenty of headroom to avoid digital clipping—that harsh, distorted sound that's impossible to fix—while still capturing a strong, clean signal. It’s always better to be a little too quiet than a little too loud.
Once you have your raw audio clips, the real fun begins. This is where you move from just capturing sound to actually designing it. Your Digital Audio Workstation (or DAW) becomes your personal sonic laboratory, giving you all the tools you need to mold, combine, and refine simple recordings into powerful, polished sound effects that feel truly professional.
The journey starts with the basics: editing. Think of it as prepping your ingredients before you start cooking. This first stage is all about creating a solid, workable foundation for the more creative steps that come next.
Before you can build something complex, you need clean, well-organized parts. The first thing I do with any raw audio file is a "clean-up pass" to trim, clean, and standardize the clips. This isn't the most glamorous part of making sound effects, but trust me, skipping it is a recipe for a messy, unprofessional final product.
Your initial to-do list should look something like this:
This clean-up phase really sets the stage for everything else. By getting your clips organized and sounding their best in their raw form, you make the creative process of layering and processing so much smoother.
The screenshot below shows a typical DAW interface, which is the command center for all these editing tasks.
You can see the visual waveforms on separate tracks, which is what allows for the precise trimming, layering, and manipulation of different sound elements all at once.
A single recording rarely has the impact you’re looking for on its own. A simple metallic scrape is just... a scrape. But what happens when you combine it with a deep, bassy whoosh and a high-frequency, crackling texture? All of a sudden, you have a powerful, futuristic sword swing or a giant robot footstep. That’s the magic of layering.
Effective layering is all about building a full sonic spectrum. A great sound effect will almost always have distinct low, mid, and high-frequency components that work together.
The most common mistake I see beginners make is trying to find that one "perfect" sound. Pros know that powerful sound effects are almost always a composite of three to five (or more!) different layers, each contributing a specific character and frequency range to the final result.
Let's imagine you're creating a massive explosion sound. You wouldn't just use one "bang" recording. Instead, you might layer:
When you combine these elements, you create a sound that is far more detailed, believable, and emotionally impactful than any single recording could ever be.
With your layers in place, it’s time to pull out the audio plugins to glue them together and shape the final sound. These digital tools are the secret sauce that takes your sound from a collection of clips to a cohesive, polished effect.
The market for these tools is growing fast, with huge demand from gaming, advertising, and content creation. Thanks to advancements in audio technology, professional-grade tools are more accessible than ever for independent creators. You can find more insights on the growth of the sound effects software market on markwideresearch.com. This just means you have incredible power at your fingertips.
A solid grasp of the big three—EQ, compression, and reverb—will get you 90% of the way there.
Here's a quick breakdown of the most common audio processing effects you'll be using and what they do in the real world. These are the workhorses of sound design.
| Effect (Plugin) | Primary Function | Common Use Case Example |
|---|---|---|
| Equalizer (EQ) | To boost or cut specific frequencies in a sound. | Removing a muddy low-end rumble from a field recording or boosting the high-end "shimmer" of a magical effect to make it sparkle. |
| Compressor | To reduce the dynamic range of a sound, making quiet parts louder and loud parts quieter. | Taming the sharp, sudden peak of a gunshot so it doesn't clip, while also bringing up the sound of the shell casing hitting the floor. |
| Reverb | To simulate the sound of a physical space by adding reflections and echoes. | Placing a footstep in a large, echoey cathedral versus a small, carpeted room. It adds context and a sense of environment. |
Mastering these plugins lets you not only fix problems but also creatively sculpt your sound into exactly what you envision. By carefully applying these effects, you can make totally different layers feel like they belong together, creating a final sound effect that is both powerful and believable.
These plugins are the fundamental building blocks of audio post-production. To see how they fit into the bigger picture, you can explore our complete guide to the audio post-production workflow, which details each stage of the refinement process.
Creating a killer sound effect is one thing, but making it work in the right context is a whole different ball game. A sound that’s perfect for a blockbuster film trailer might completely bomb in a video game or feel jarring in a podcast. Knowing how to shape your audio for a specific medium is really what separates the pros from the amateurs.

Think about it—the way you apply your skills changes dramatically from one project to the next. For instance, knowing how to use podcast sound effects well can make or break an audio-only story, where sound is doing all the heavy lifting to build the world. Each medium has its own set of rules, audience expectations, and technical quirks you have to master.
When it comes to video games, sound design is all about interactivity and feedback. This isn't a linear film; the audio has to react in real-time to what the player is doing and what’s happening in the game world. A footstep isn't just a footstep—it's a critical piece of information telling the player they're walking on gravel, not wood.
This kind of responsive audio is a massive part of what makes modern games so immersive. It’s no surprise that the global game sound design market was valued at around USD 0.28 billion in 2024 and is expected to hit nearly USD 0.68 billion by 2033. This growth shows just how vital dynamic audio has become.
For game audio, you need to zero in on:
In film, your job shifts. You’re serving the narrative and manipulating the audience's emotions. It's less about direct interaction and more about building a believable atmosphere and synchronizing perfectly with the visuals.
Every single sound has to be meticulously timed to the on-screen action, a process we call sound-to-picture. When it's done right, the audience doesn't even notice the individual sounds. They just feel them.
In film, sound is a subconscious storyteller. A subtle, low-frequency drone can build unbearable suspense in a quiet room. The sharp, exaggerated crack of a twig can make an entire theater jump. Your sounds are there to support what the audience sees and, more importantly, what they feel.
Keep these cinematic principles in mind:
With podcasts and other audio-only formats, sound is literally everything. There are no visuals to lean on, so your audio has to paint the entire picture, guide the listener between segments, and hold their attention. Here, the name of the game is clarity, branding, and narrative support.
Listeners are relying completely on their ears, so any muddy or distracting effect will make them tune out fast. Every sound has to be clean and have a clear purpose.
As you get deeper into making your own sound effects, you're going to run into questions. It's inevitable. Whether you’re wrestling with a technical glitch or just feeling uninspired, troubleshooting is a core part of the job. Let’s tackle some of the most common hurdles I see people face.
This is your go-to FAQ for sound design. We'll dig into fixing pesky audio problems, choosing the right file formats, and what to do when your creativity runs dry.
This is probably the most common complaint I hear. You have all these cool elements, but together they just sound like a cluttered mess—a "muddy" mix. This almost always happens when too many sounds are fighting for the same sonic real estate, particularly in the low-mid frequency range around 200-500 Hz. Think of it as too many people trying to talk at once in a tiny room.
Your best friend here is a good equalizer (EQ). It's all about carving out a specific pocket for each sound so it can be heard clearly. For example, say you have a deep, cinematic rumble and a sharp, metallic impact playing at the same time. The impact sound probably has some low-end frequencies that are just getting in the way. Use a high-pass filter on the impact to gently roll off that unnecessary bass, and suddenly, both sounds can coexist peacefully.
Don't forget about panning, either. Moving sounds even slightly to the left or right in the stereo field can work wonders. It’s a simple way to create separation and instantly clean up your mix.
Ah, the classic format debate. The honest answer is: it completely depends on what you're doing with the sound. For our purposes, audio files fall into two main camps: uncompressed and compressed.
Uncompressed (WAV, AIFF): These are your master files. They are the highest possible quality, containing every bit of the original audio data. Professional production work lives and breathes in these formats. You should always be working and archiving your projects as WAV files to keep them pristine.
Compressed (MP3, OGG): These formats shrink the file size, which is perfect for streaming or for platforms where space is at a premium, like video games. That convenience comes at a price, though—a little bit of audio quality is sacrificed in the compression process.
Here's my personal rule: Work in WAV, deliver in whatever the project demands. This way, you always have a perfect master copy to fall back on, no matter what the final delivery format needs to be.
Most of the time, you'll end up exporting an MP3 for web use or keeping it as a high-quality WAV for video or film work.
Everyone hits a creative wall. It’s totally normal. When I get stuck, the best thing I can do is step away from the computer and just listen to the world differently. Grab a field recorder (or even your phone) and go on a "sound walk." Just capture things that catch your ear—the rhythmic clank of a faulty gate, the unique hum of an old refrigerator, the sound of wind rustling through different types of trees.
Another incredible source of inspiration is to dissect the work of sound designers you admire. The next time you watch a movie or play a game, put on your analytical ears. Don't just hear the massive explosion—try to break it down.
By asking these kinds of questions, you start training your brain to identify the layers and techniques that professionals use. Sometimes, the best way to spark a new idea is to try and recreate a sound you love. You'll almost always learn something new in the process.
Ready to skip the hunt and create the exact sound you need in seconds? With SFX Engine, you can generate custom, royalty-free sound effects just by typing a prompt. Stop searching through libraries and start creating the perfect audio for your project. Try it for free today.