October 26, 2025 · Kuba Rogut
When you're trying to pick the best microphone for podcasting, the conversation often circles back to two favorites: the Shure MV7 for its amazing USB/XLR flexibility and the Samson Q2U for its unbeatable value on a budget. Both are dynamic mics, which is a huge plus because they’re fantastic at focusing on your voice and ignoring background noise—perfect for less-than-perfect home recording spaces.
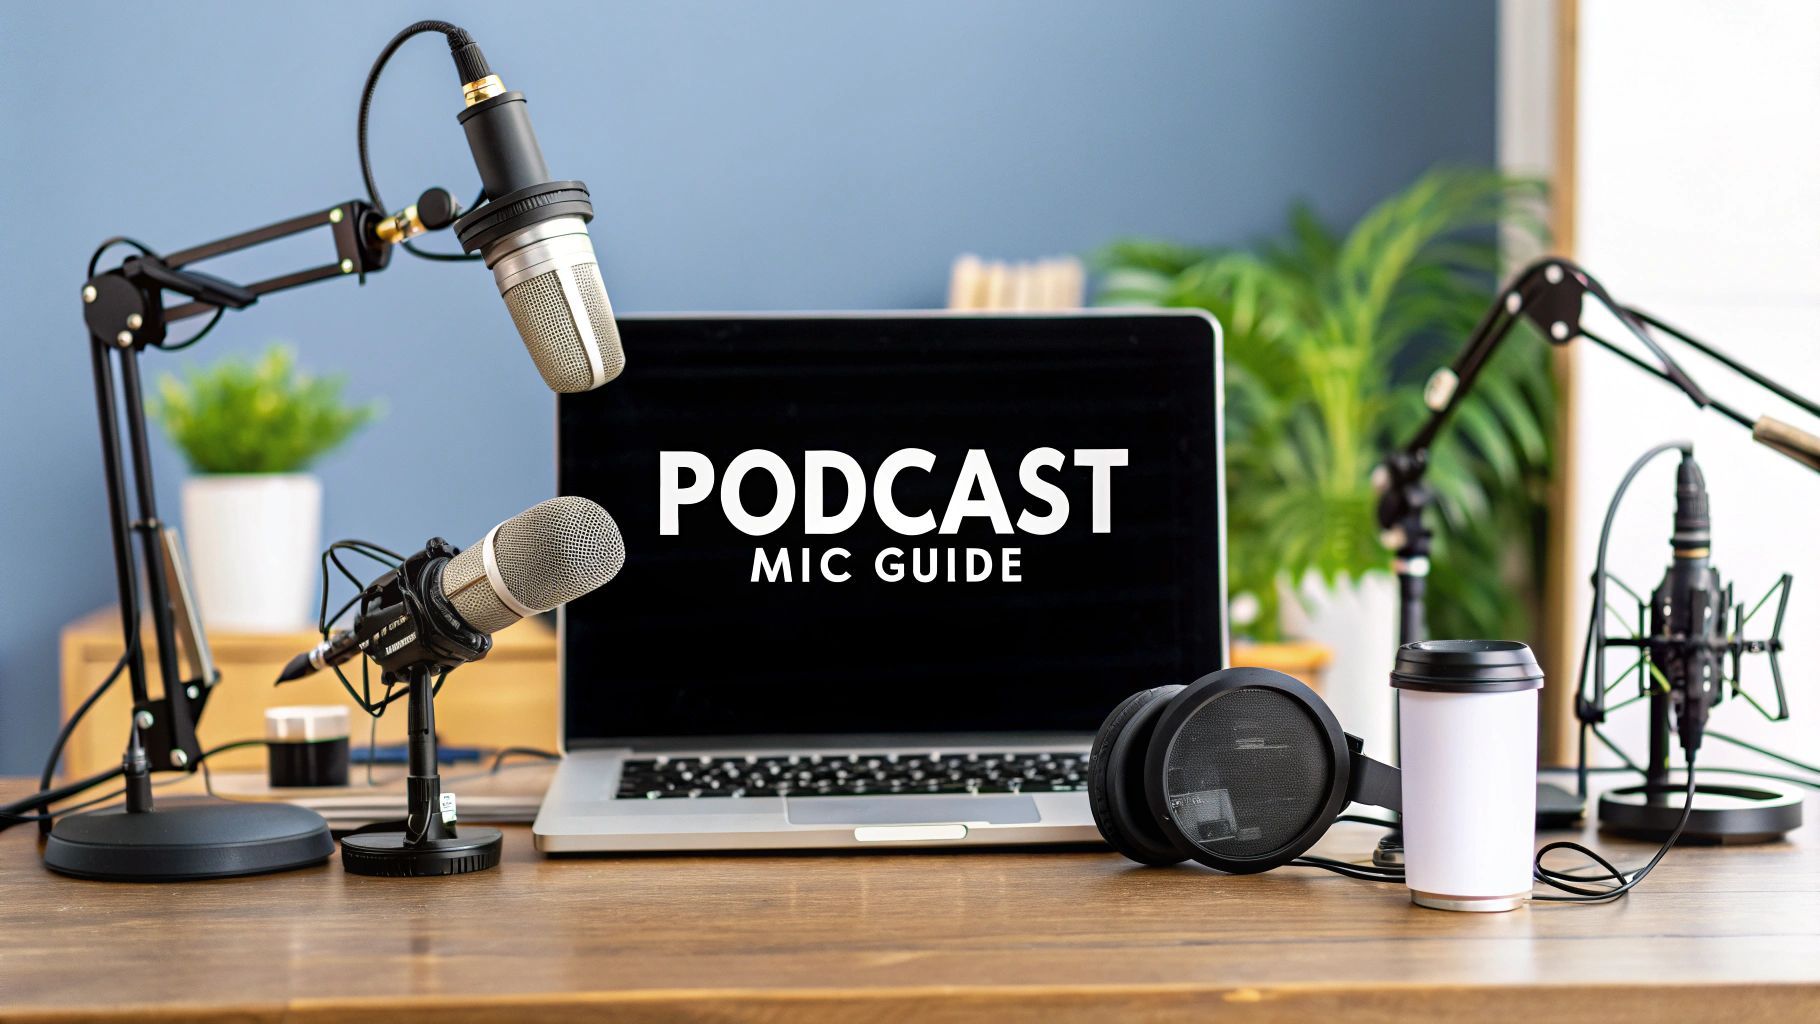
Let's be clear: your microphone is the single most important piece of equipment you'll buy for your podcast. It's the very first thing that captures your voice, and its quality has a direct impact on what your audience hears. Great audio isn't just a nice-to-have; it's the foundation of a professional show that keeps people listening.
The market is flooded with options right now. With the global microphone market valued at $7.21 billion in 2024 and expected to hit almost $10 billion by 2030 (check out the data on Grandview Research), it's easy to get overwhelmed. That growth means more choices, but it also means you need to know what you're looking for.
Before you even look at specific models, there are two big decisions you need to make. These choices will really shape how simple or complex your setup becomes, and the right answer depends entirely on your room and how comfortable you are with the tech side of things.
To make it a bit clearer, here’s how those choices stack up:
| Feature | USB Microphones | XLR Microphones |
|---|---|---|
| Setup Simplicity | Excellent (Plug-and-play) | Moderate (Requires audio interface) |
| Best For | Beginners, solo hosts, simplicity | Ambitious creators, multi-host shows |
| Upgrade Path | Limited | Highly scalable and versatile |
| Cost | Generally lower initial investment | Higher initial investment |
At the end of the day, the right microphone is the one that fits your current needs but also gives you a little room to grow. And once you have your mic picked out, our guide on how to build a home recording studio can help you set up the perfect space to make it shine.
Before you even start looking at specific brands, your first big decision in picking a podcasting mic is choosing the connection type: USB or XLR. This isn't just about the cable you use—it's about the entire recording setup you're building. It shapes everything from how quickly you can hit record to how much your podcast can grow in the future.
A lot of people will tell you USB is for beginners and XLR is for pros, but that's an oversimplification. I've seen seasoned solo hosts stick with a high-end USB mic because it’s efficient and keeps their desk clutter-free. On the other hand, an entry-level XLR setup can be a fantastic starting point for anyone who knows they'll want to expand down the road.
USB microphones are the ultimate in plug-and-play. Everything you need—the mic itself, a preamp, and the digital converter—is packed into one device. You just plug it into your computer, tell your software to use it, and you're ready to go.
That’s their superpower. No extra gear, no confusing cables, no technical headaches. If you just want to focus on creating great content without getting lost in the weeds of audio engineering, a solid USB mic is a brilliant choice.
The catch? That all-in-one design means you can't upgrade individual parts. If you decide you want a better preamp to get a cleaner sound, you have to buy a whole new microphone.
XLR microphones are the professional standard you see in recording studios. Unlike a USB mic, an XLR mic only does one thing: capture analog sound. To get that sound into your computer, you need a separate device, usually an audio interface or a mixer.
This modular approach is exactly why pros love it. It creates an audio chain where you can swap out any piece you want.
This system gives you total control. You get physical knobs to fine-tune your levels, the ability to easily add more mics for interviews, and a setup that can grow with your show. Of course, more control means there's a bit more to learn, especially when it comes to keeping your audio clean. Our guide on how to reduce background noise from a microphone has some great tips that are especially helpful for sensitive XLR setups.
Key Insight: The real question isn't "Which is better?" but "Which ecosystem fits my workflow?" USB is built for speed and convenience. XLR is built for control and long-term flexibility.
To make this even clearer, let's break down the practical differences.
This table lays out the side-by-side comparison, focusing on what these differences actually mean for a podcaster in the real world.
| Consideration | USB Microphones | XLR Microphones |
|---|---|---|
| Best Use Case | The solo podcaster recording straight to a laptop, who values a fast, uncomplicated workflow. | The ambitious creator who plans for co-hosts, in-person interviews, and wants total control over audio quality. |
| Setup Process | Plug the mic into a computer. Open recording software, select the mic, and hit record. | Connect the mic to an audio interface with an XLR cable. Plug the interface into the computer. Set the software to use the interface. |
| Cost of Entry | Lower. One purchase gets you everything you need to start recording quality audio right away. | Higher. You need to buy both the microphone and an audio interface, which increases the initial investment. |
| Upgrade Path | Limited. Improving your sound means replacing the entire microphone. | Nearly limitless. You can upgrade your mic, interface, or cables one piece at a time to continually improve your sound. |
Ultimately, choosing between USB and XLR is about honest self-assessment. Think about where you are now and, more importantly, where you see your podcast going in the next year or two. Your answer will point you to the right microphone ecosystem.
Choosing the right microphone for your podcast can feel overwhelming. With all the technical specs and conflicting reviews out there, it’s easy to get lost. But here’s the truth: the "perfect" mic really just depends on your budget, your recording space, and where you want to take your show.
To make it simple, we've broken down our top picks into three clear tiers. No guesswork, just straightforward advice to help you find the right fit.
This decision tree is a great starting point. It helps you figure out whether you should prioritize plug-and-play simplicity or chase that ultimate, professional quality.
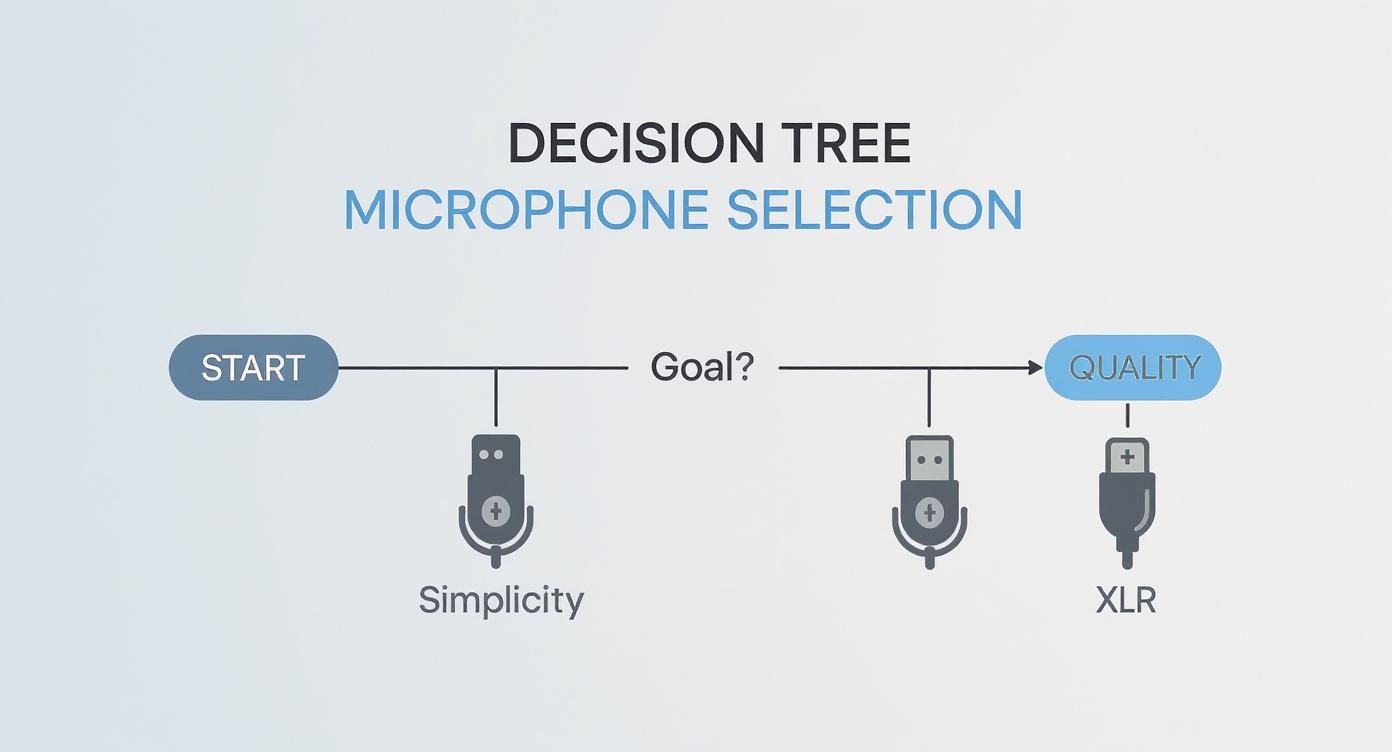
As you can see, the biggest fork in the road is deciding between a USB mic for convenience or an XLR setup for long-term flexibility and quality.
You absolutely do not need to drop a ton of cash to get great sound. The mics in this category are proof that you can get quality audio on a budget, making them the perfect starting line for new podcasters.
The market for affordable gear is exploding for a reason. In fact, microphones accounted for over 24.2% of the podcasting hardware market in 2024. This wave is being led by creators who need solid, reliable audio that just works.
Samson Q2U There's a reason the Samson Q2U gets recommended constantly—it's the undisputed king of entry-level podcasting mics. It first came out in 2007, and the design has barely changed because they got it so right from the start.
It’s a dynamic microphone, which is a massive plus for anyone recording at home. That means it’s built to reject background noise—think room echo or a humming air conditioner—and focus squarely on your voice.
Key Differentiator: The Q2U’s secret weapon is its dual USB and XLR connection. You can start by plugging it straight into your computer with USB. Later on, if you decide to upgrade to an audio interface, you just switch to the XLR output without having to buy a whole new mic. It's the perfect mix of beginner-friendly and future-proof.
Audio-Technica ATR2100x-USB The Audio-Technica ATR2100x is the Q2U's closest rival, offering a nearly identical feature set and performance. Just like the Q2U, it’s a dynamic mic with both USB and XLR outputs, giving you that all-important upgrade path.
The sound it produces is crisp and clear, making it fantastic for spoken word. It's a true workhorse that delivers professional-sounding audio right out of the box. Honestly, choosing between this and the Q2U often just boils down to which one is on sale.
This is where things get serious. Most dedicated hobbyists and up-and-coming podcasters will find their forever mic in this price range. You get a huge jump in build quality, sound clarity, and pro features without having to take out a loan.
Shure MV7 Inspired by its legendary big brother, the Shure SM7B, the MV7 is built from the ground up for the modern podcaster. It gives you that rich, warm, broadcast-style tone that makes any voice sound more authoritative.
Its killer feature is the "Auto Level Mode," which you can access through the Shure MOTIV app when connected via USB. It basically acts like a tiny audio engineer in the mic, adjusting your levels on the fly to prevent distortion. It's a lifesaver for anyone still getting the hang of mic technique.
Rode Procaster If you're already committed to an XLR setup, the Rode Procaster is a beast. This is a broadcast-quality dynamic mic with an incredibly tight pickup pattern, which is just a fancy way of saying it's amazing at ignoring sounds you don't want.
This makes it perfect for recording multiple people in the same room because it won't pick up a lot of "bleed" from the other speakers. It’s also built like a tank and has a built-in pop filter that does a surprisingly good job of handling those harsh 'p' and 'b' sounds.
Rode NT1 Look, most podcasters in untreated rooms should stick with dynamic mics. But the Rode NT1, a condenser mic, is the exception that's worth mentioning. If you have a quiet, acoustically treated space, the NT1 will reward you with absolutely stunning detail.
It has an unbelievably low self-noise level, which means you won't hear any of that annoying hiss or hum that cheaper mics produce. This clarity is ideal for solo narrators or anyone aiming for that crisp, intimate, audiobook-style sound. Many of the techniques for getting clean audio here also apply to video, which you can learn more about in our guide to the best microphone for video recording.
The "best" mic here really depends on your specific situation.
| Feature | Shure MV7 | Rode Procaster | Rode NT1 |
|---|---|---|---|
| Connection | USB & XLR | XLR Only | XLR Only |
| Type | Dynamic | Dynamic | Condenser |
| Best For | Solo hosts wanting broadcast sound with USB convenience. | Multi-host shows in untreated rooms needing noise rejection. | Solo hosts in quiet, treated rooms seeking maximum clarity. |
| Sound Profile | Warm, rich, and focused on vocal presence. | Tight, clean, and excellent at rejecting room noise. | Detailed, crisp, and captures every nuance of the voice. |
| Unique Feature | Auto Level Mode (USB) for effortless level management. | Superior off-axis rejection minimizes crosstalk. | Extremely low self-noise for pristine audio capture. |
The MV7 is your versatile all-rounder, the Procaster is a noise-killing specialist, and the NT1 is a detail-obsessed performer for the perfect room.
Welcome to the big leagues. When audio quality is non-negotiable and budget isn't the primary concern, you land here. These are the microphones you see in top podcast studios, on the radio, and in professional voice-over booths.
Shure SM7B The Shure SM7B is an absolute icon. It was used on Michael Jackson's Thriller and is the go-to mic for the world's biggest podcasters. It delivers a smooth, warm vocal tone that's instantly recognizable and just sounds "right."
It's a dynamic mic, but it's famously "gain-hungry," meaning you'll need a powerful audio interface or a preamp booster like a Cloudlifter to really make it sing. Its ability to smooth out harshness and reject room noise is legendary. For many podcasters, this is the end-game mic.
Expert Insight: The Shure SM7B isn't just popular for its sound; it's also incredibly forgiving. You can move around a bit while you talk without the tone changing dramatically, which is a huge relief during a long, passionate recording session.
Electro-Voice RE20 The other legend in the broadcast world is the Electro-Voice RE20, often seen as the SM7B's main rival. It's famous for its "Variable-D" technology, which is engineered to eliminate the proximity effect—that boomy, bassy sound you get when you speak too close to most mics.
This lets you get right up on the mic for an intimate, in-your-ear sound without your voice turning to mud. It produces a natural, clear, and articulate sound that has been the standard in radio for decades.
Ultimately, choosing between the SM7B and the RE20 is a matter of taste. The SM7B is a bit warmer and smoother; the RE20 is a bit more natural and open. Both are phenomenal choices that will take your podcast to a truly professional level.
There's no single "best" microphone for podcasting. The real secret is finding the right mic for your specific recording setup. A microphone that sounds incredible for a solo host in a quiet room could be a total disaster for a lively, two-person interview.
Your podcast’s format is the single most important factor driving your audio needs. Instead of just buying the most popular model, you'll get much better results by choosing a tool designed to solve your unique recording challenges. Let’s break down the common scenarios.
If you’re a solo creator recording in a typical home office or bedroom, your biggest battle is against the room itself. You need to isolate your voice from distracting room echo and the hum of a computer fan or air conditioner.
For this job, a dynamic USB microphone is almost always your best bet. Dynamic mics are far less sensitive to background noise than their condenser counterparts, meaning they naturally ignore a lot of the reverb bouncing off your walls. Plus, the plug-and-play nature of USB means you can skip the extra gear and get right to recording.
Top Recommendation: The Shure MV7 is a perfect match here. It's a hybrid USB/XLR mic, so it’s easy to start with but gives you room to grow. Its "Auto Level Mode" (when using USB) is a lifesaver for solo hosts, automatically managing your volume to prevent clipping and distortion.
Budget-Friendly Alternative: The Samson Q2U delivers a similar dynamic sound and also offers both USB and XLR connections. It’s a workhorse of a mic that gives you incredible versatility for a fraction of the cost.
When you’re interviewing guests over the internet, your microphone choice is still the foundation of your show's sound quality. Your audio has to be the professional, stable anchor, especially since you can't control what kind of mic your guest is using.
Once again, a dynamic microphone is your secret weapon. Its tight pickup pattern keeps the focus squarely on your voice, so your listeners won't be distracted by the sound of you typing notes or the whir of your computer.
Situational Insight: In a remote interview, you set the audio standard. A high-quality dynamic mic like the Rode Procaster (XLR) or the Shure MV7 ensures your voice comes through with broadcast-level clarity. This instantly elevates the entire listening experience, even if your guest is calling in on their earbuds.
Does your podcast take you out of the studio? If you're recording at conferences, events, or on the street, you need gear that’s tough, portable, and quick to set up. A big, clunky desk microphone just won't cut it.
Your best options are either a classic handheld dynamic mic or a modern lavalier system.
Handheld Option: The Shure SM58 is a legend for a reason. It’s built like a tank, does an amazing job rejecting handling noise and background chaos, and is the go-to for man-on-the-street interviews when paired with a portable recorder like the Zoom H5.
Lavalier (Lapel) Option: For hands-free recording or video podcasts, a wireless system is the way to go. The Rode Wireless GO II is an exceptional choice, offering tiny, clip-on microphones that deliver fantastic audio quality while staying out of the way.
Getting clean audio with two or more people in the same room is one of the toughest challenges in podcasting. Your number one enemy is crosstalk—the sound of one person's voice bleeding into everyone else's microphone, creating a hollow, echoey mess.
To win this fight, every single person needs their own microphone, positioned close to their mouth. And not just any mic will do. You need broadcast-style dynamic mics with a very tight pickup pattern that aggressively rejects sound from the sides.
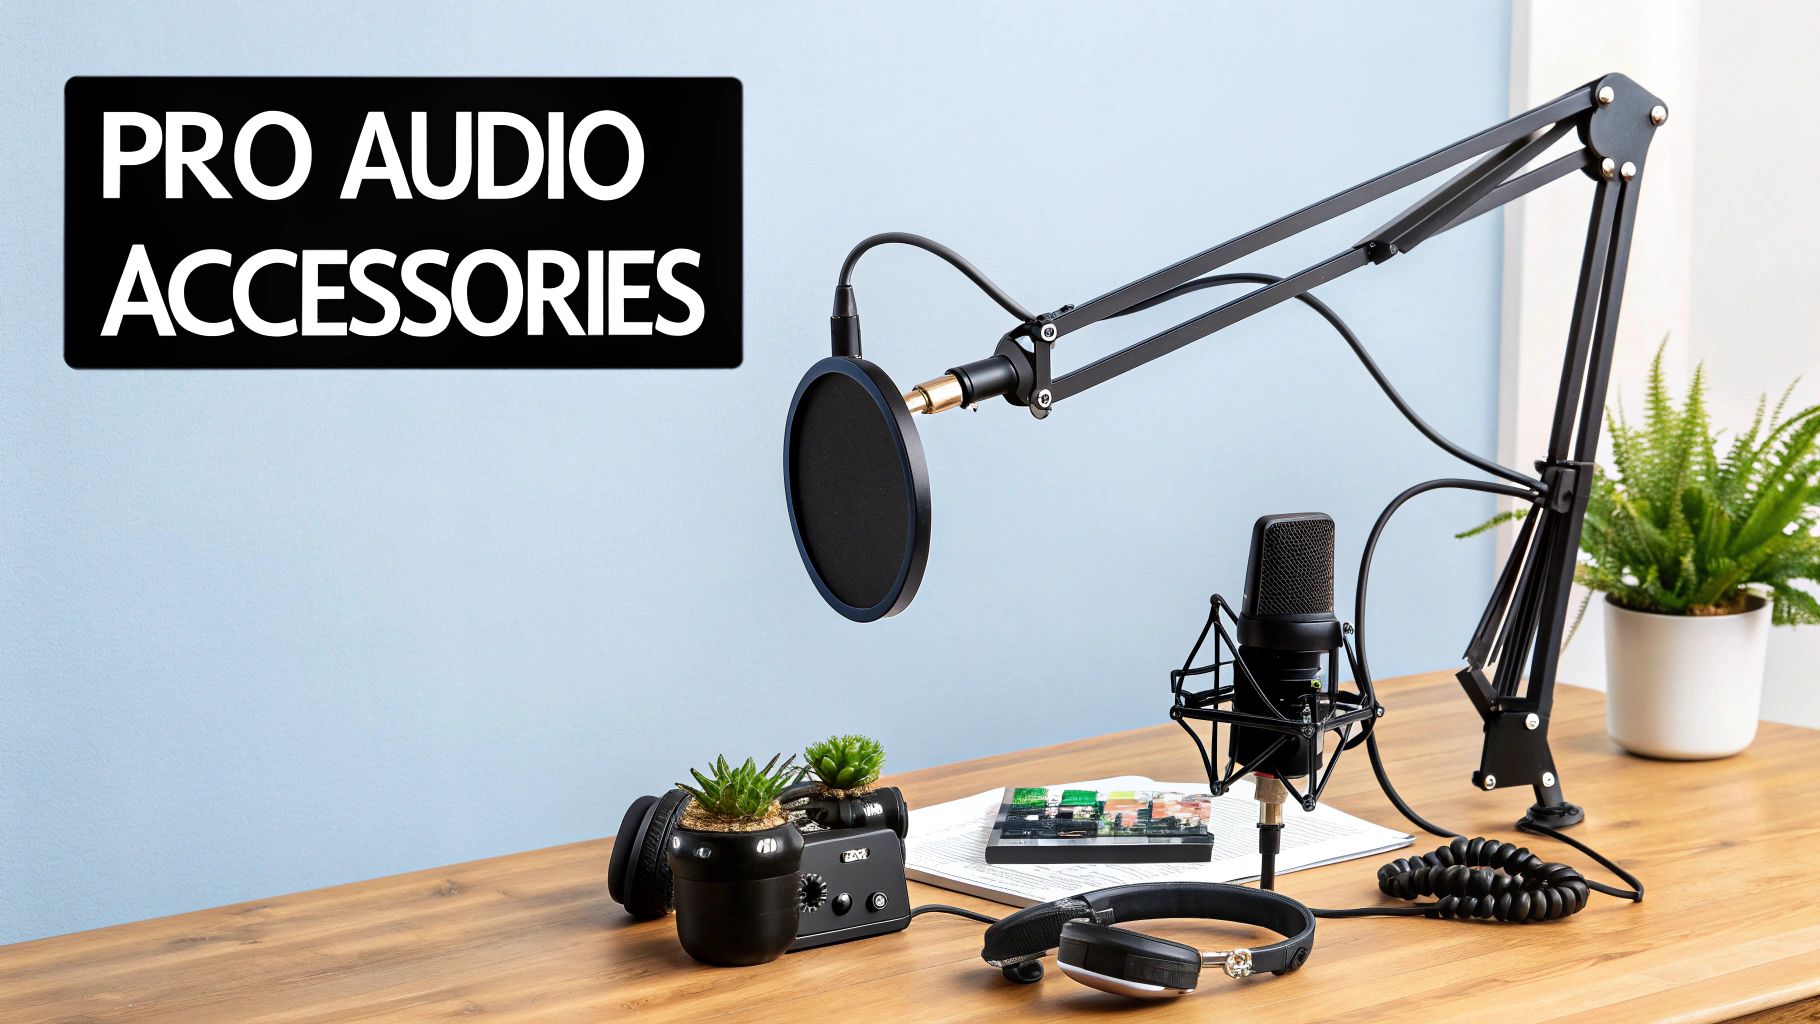
Picking the right microphone is a great start, but it’s just one piece of the puzzle. The real secret to consistently clean, professional audio is the ecosystem of gear you build around that mic. These accessories aren't just fancy add-ons; they solve the most common recording headaches and elevate good audio to great audio.
Think of it this way: the global podcasting microphone market is already worth about $500 million and is expected to grow by 15% annually through 2033. That growth isn't just about mics—it’s driven by creators who understand that pro-level quality comes from a complete, well-thought-out setup.
Your first job is to protect your mic from the world around it. The slightest bump to your desk or even the vibrations from your keyboard can travel right up a standard mic stand and ruin a perfect take. This is where a shock mount and a boom arm become absolutely essential.
With your mic floating safely, the next step is to manage the sound going into it. This means controlling the harsh parts of your voice and making sure that clean signal gets to your computer without any interference.
For that, a pop filter is non-negotiable. It's a simple mesh screen that sits between your mouth and the microphone, breaking up the blast of air from plosives—those hard 'p' and 'b' sounds. Without it, you get a distracting, bass-heavy "pop" in your audio that's a nightmare to edit out later.
Pro Tip: Don't mistake a pop filter for the foam ball (windscreen) that sometimes comes with your mic. A windscreen is decent for general room noise, but a dedicated pop filter is specifically built to handle the direct, powerful air bursts from speech. It's a must-have for studio-style recording.
If you're using an XLR microphone, a quality cable is just as important. A good, well-shielded XLR cable acts like armor for your audio signal, protecting it from electronic hum and buzz on its journey to your audio interface.
If you went the XLR route, the audio interface is the command center of your recording rig. This little box does the crucial job of converting the analog signal from your microphone into a digital signal your computer can actually use. It also handles two vital functions: phantom power and gain control.
Most condenser mics need a small electrical charge to work, and the interface provides this +48V of phantom power at the press of a button. Gain control is the dial that lets you adjust the mic's sensitivity. You want the signal to be loud and clear, but not so hot that it "clips" or distorts. Nailing this—a skill called gain staging—is fundamental to getting that polished, professional sound.
Of course, getting great sound extends beyond your mic setup. If you're broadcasting live, understanding bitrate for streaming is also key to ensuring your audience hears you clearly.
Stepping into the world of podcast microphones can feel a little overwhelming. With so many options and so much technical jargon, it's easy to get stuck. To help you make that final, confident decision, I've rounded up the questions I hear most often from podcasters at every level.
Not at all. This is probably the biggest myth in podcasting—that you have to drop a few hundred dollars to sound good. The truth is, many of today's entry-level mics deliver fantastic quality for their price tag. A solid USB mic under $100 is more than enough to produce clean, professional audio for a successful show.
Honestly, your recording environment and your mic technique matter far more than the price of your gear. Simple things like using a pop filter, speaking a consistent distance from the mic, and deadening room echo will improve your sound more than an expensive microphone ever could. Nail the fundamentals with a budget-friendly mic first. You can always upgrade down the road as your podcast grows.
Fighting echo (or reverb) and unwanted noise is the key to getting that polished, professional sound. Your first line of defense is choosing the right tool. Dynamic mics are a home podcaster's best friend because they're designed to reject sound that isn't right in front of them, unlike their more sensitive condenser counterparts.
Next, focus on your recording space. You don't need to spend a fortune on acoustic panels to make a huge difference. Just add soft surfaces to absorb sound waves.
Also, get close to your mic—about 4-6 inches is a good rule of thumb. This makes your voice the loudest thing the microphone hears. And, of course, turn off any fans, air conditioners, or phone notifications before you hit record.
There’s no single right answer here. The "better" option really comes down to your budget, how comfortable you are with tech, and what your long-term plans are for your show.
My rule of thumb: If you want plug-and-play simplicity to get started right away, go with USB. If you're after the absolute best quality and want a setup that can grow with you, go with XLR.
USB mics are perfect for beginners. They're an all-in-one package that plugs straight into your computer, giving you great audio quality without needing any extra equipment.
XLR mics are the industry standard for a reason. They offer top-tier sound, are built to last, and give you the flexibility to upgrade your setup piece by piece—like swapping out your audio interface. For anyone serious about podcasting long-term or planning to host interviews with multiple mics, XLR is the smarter investment.
The way dynamic and condenser mics are built to capture sound makes them suited for completely different situations. Getting this right is probably the most important choice you'll make for your specific recording space.
Dynamic mics are tough and not very sensitive to sounds that are far away. This makes them absolute champs at rejecting background noise and the natural echo of an untreated room. It's why they're the go-to for most home studios and multi-person shows where you don't want mics picking up everyone at once.
Condenser mics, on the other hand, are incredibly sensitive. They capture a huge range of frequencies, which results in that super crisp, detailed audio you hear on studio recordings. But that sensitivity is a double-edged sword—they pick up everything. A car driving by, your computer fan, the air conditioner kicking on. They really only shine in quiet, acoustically treated spaces. For most people starting out, a dynamic mic is the far more forgiving and practical choice.
Ready to create stunning, unique audio for your podcast? SFX Engine empowers you to generate custom, royalty-free sound effects and background music with AI. Perfect for intros, outros, and enhancing your storytelling, our tool helps your show stand out. Try SFX Engine for free and elevate your sound today!