November 26, 2025 · Kuba Rogut

A great door slam sound effect isn't just one sound. It's a carefully assembled sonic puzzle, pieced together from multiple audio elements that create a feeling, not just a noise. This recipe almost always includes the sharp initial impact, the deep body of the slam, and the subtle environmental reverb that puts it in a believable space.

Ever wondered why a door slam in a movie feels so huge? I can tell you it's rarely a single, raw recording of a door shutting. Instead, it’s a meticulously designed piece of audio storytelling crafted to make you feel something specific—anger, finality, or a sudden jolt of surprise.
A professional-grade door slam is a composite. It’s a blend of different layers all working together to create an experience that feels bigger and more real than reality. The first step to creating your own is to understand what those individual components are. It's about breaking the event down into its core sonic parts.
From my experience, every impactful door slam can be broken down into three distinct phases. If your final sound effect is missing one of these, it will likely feel weak or unnatural.
The Transient (The Crack): This is the sharp, high-frequency "slap" or "click" right at the start. Think of it as the sound of the metal latch hitting the strike plate. This is the element that provides clarity and cuts through a busy mix, instantly grabbing the listener's ear.
The Body (The Boom): Here's where the weight and power come from. This low-to-mid frequency thump is the sound of the door itself resonating and pushing a big pocket of air. A heavy oak door will have a deep, resonant body, while a flimsy hollow-core door will sound thin and boxy. The principles for building this weighty feel are the same ones we use when designing any heavy impact sound effect.
The Tail (The Ambience): This is the subtle reverberation and rattle that lingers after the main slam. It’s what gives the sound a sense of place. Does the slam echo down a massive, empty hall? Or is it a tight, dry sound in a small, carpeted room? The tail is the glue that grounds the sound in a believable environment.
The material of the door and frame completely defines its sonic signature. A rattling metal car door is worlds apart from the deep thud of a heavy bank vault. Each material—wood, metal, glass—produces a unique set of frequencies and resonances that you either need to capture during recording or skillfully recreate in the studio.
But beyond the physics, you have to consider the emotional context. Why is the door slamming? In film and games, this sound is a powerful narrative tool. A door slam can signal a dramatic turning point, a moment of explosive rage, or a quiet, heartbreaking goodbye. The performance of the slam tells the story.
A truly effective sound isn't just heard; it's felt. The difference between a generic door slam and a memorable one lies in its ability to communicate the story's emotional undercurrent without a single word of dialogue.
Once you start thinking about a door slam in these fundamental parts—transient, body, and tail—you can stop just recording a sound and start designing an experience.
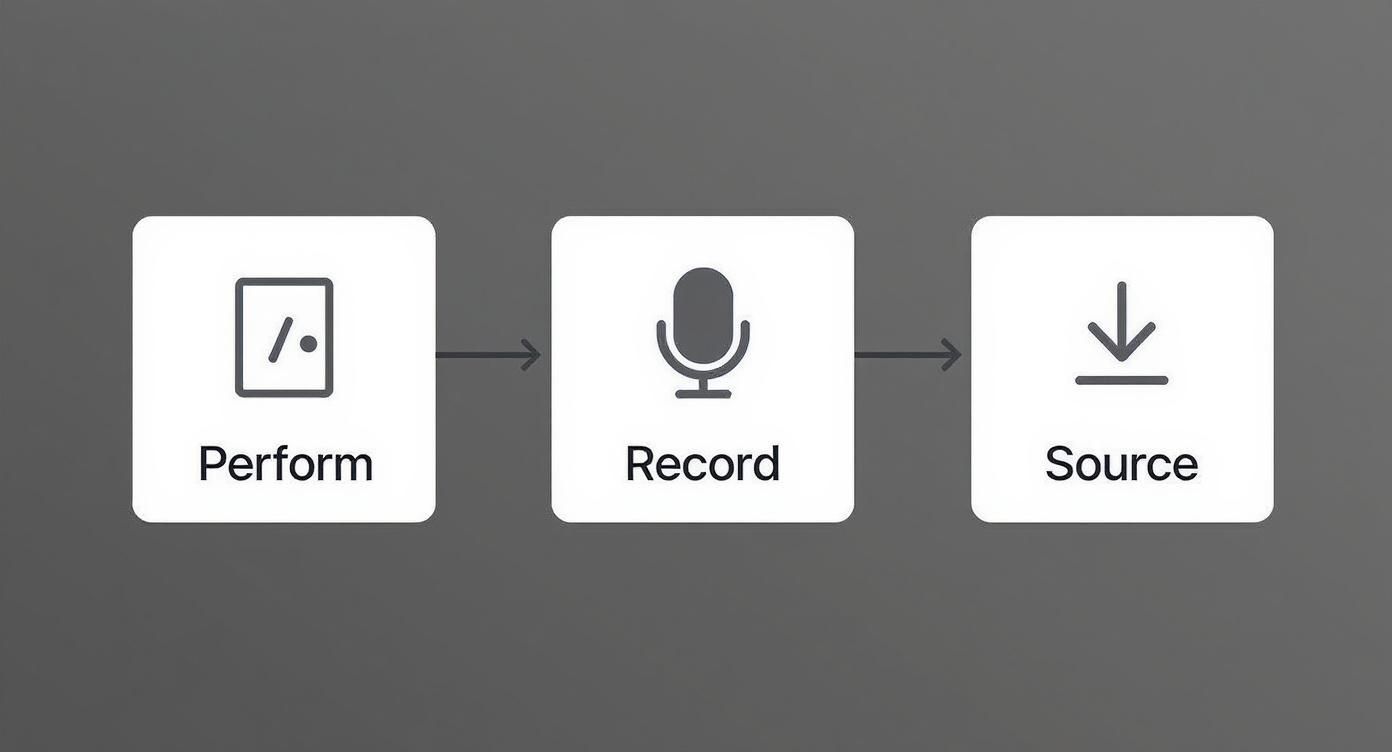
Now that we've broken down the sonic DNA of a great door slam, it's time to get our hands dirty and gather the raw materials. This is where the magic begins—capturing or sourcing the core audio that will become your final, polished effect. You've really got two main paths here, and honestly, the best choice often comes down to your project's timeline, budget, and how much control you want.
You can go the hands-on Foley route, performing and recording the sounds yourself for ultimate creative freedom. Or, you can tap into professional sound effect libraries, which is a fantastic shortcut to a huge variety of high-quality sounds. Most pros I know, myself included, use a hybrid approach, blending our own custom recordings with choice assets from a library.
There's something incredibly satisfying about recording your own door slam. It lets you capture the exact performance and acoustic flavor you need, tailored perfectly to your project. To get started, you just need some basic recording gear and a few different doors to play with.
The goal here isn't to get just one perfect slam. You're building a palette. Find a heavy front door, a hollow bedroom door, a rattling old screen door, maybe even a car door. Perform each one with different emotions: a sharp, angry slam; a slow, ominous push; a soft, final click. This variety is your secret weapon for the layering and design stages later on. If you want to dive deeper into this foundational technique, we have a whole guide covering what is Foley sound.
One thing you absolutely cannot forget is safety. The force of a closing door is no joke. It's easy to get caught up in the performance, but door-related accidents are alarmingly common. Data shows around 300,000 people in the U.S. are injured by slamming doors each year. The pressure near the hinges can spike up to an incredible 40 tons per square inch, so please, always watch your hands and fingers. You can read more about these stats and the physics involved in this detailed overview on Wikipedia.
Your microphone is your ear, and its placement can completely change the character of the sound you capture. There's no single "right" setup—experimentation is everything. Different mics are good at capturing different things, and knowing their strengths is key.
Choosing the right microphone is crucial for capturing the specific elements of a door slam. A large-diaphragm condenser might grab the room's boom, while a small-diaphragm condenser will nail the latch's sharp click. Here's a quick comparison to help you decide what's best for your needs.
| Microphone Type | Best For Capturing | Pros | Cons |
|---|---|---|---|
| Large-Diaphragm Condenser | The overall body and room ambience. | Rich, detailed sound with excellent low-frequency response. | Can be sensitive to very high sound pressure levels (SPL) and may distort with loud slams if placed too close. |
| Small-Diaphragm Condenser | The sharp, high-frequency transient of the latch. | Excellent transient response and crisp detail. | Can sound thin or lack body if used alone. |
| Dynamic Microphone | The punchy, mid-range impact. | Durable and can handle very high SPL without distorting. | Less detailed in the high frequencies compared to condensers. |
Ultimately, a multi-mic setup often yields the most flexible results, allowing you to blend different sonic textures in the final mix.
A fantastic starting point is to use a two-mic technique. Try placing a small-diaphragm condenser right up near the latch to get that sharp, metallic click. Then, set up a large-diaphragm condenser a few feet back to capture the door's weighty boom and the natural room sound. Right away, you have two distinct layers to play with.
Don't have the gear or the time to record? No problem. Professional sound libraries from creators like Epidemic Sound or Artlist are an absolute goldmine. These are collections curated by top-tier field recordists, giving you instant access to pristine audio files.
When you're digging through a library for door slams, here's what to listen for:
Pro Tip: Even if you record your own primary slam, think about supplementing it with library sounds. You might find the perfect latch click or a unique wood creak that adds that extra 10% of detail to make your sound truly exceptional.
Whether you're hitting record yourself or browsing a library, the goal is the same: assemble a killer collection of clean, varied, and high-quality audio assets. This is the clay you'll sculpt into a powerful and believable door slam in the next steps.
A single, raw recording of a door closing rarely packs the punch you need for a professional project. It might be technically accurate, but it often lacks cinematic weight or emotional impact. The real magic behind a powerful, larger-than-life door slam sound effect comes from the art of layering. This is where you stop being a sound recorder and become a sound designer.
Think of it like a chef building a complex flavor profile. You don't just use one ingredient; you combine different elements to create a complete experience. In a Digital Audio Workstation (DAW), our ingredients are audio files, and we're aiming to build a sound with a distinct beginning, middle, and end that tells a story.
You’ll be combining foley you’ve performed and recorded yourself with high-quality sounds you’ve sourced from libraries to build the final effect.
This workflow is all about creating a composite—a sound that’s more than the sum of its parts.
Let's get down to the nuts and bolts on your DAW’s timeline. A truly great door slam is almost always built from three fundamental layers, each doing a specific job. Getting these to sit right together is the foundation of your sound.
By breaking the sound down like this, you gain an incredible amount of control. You can start mixing and matching different elements to create a nearly infinite number of door slams from just a handful of good recordings.
Okay, let's put this into practice. Say you're designing the sound for a heavy oak door slamming shut in a tense thriller. A single recording is probably going to sound pretty weak. Layering is how we fix that.
First, grab a recording with a really clean, sharp latch click for your transient. Sometimes, a completely unrelated sound works best—a crisp twig snap or even two small rocks being struck together can give you that perfect, cutting attack. Drop this onto its own track in your DAW and line up the very beginning of the sound with the visual cue.
Next up, the weight. The low-frequency boom from a real heavy door recording is a great starting point for the body. But to give it that cinematic oomph, try layering it with something less conventional. I've had great success using the low-end thump of a heavy book dropped on a wood floor or even a heavily processed kick drum to add a sub-bass element you feel more than you hear.
By blending an authentic door sound with a more abstract, weighty element, you create a hyper-realistic effect. It sounds like a door, but it has a cinematic power that a real door could never produce on its own.
Finally, the tail. This could be a subtle frame rattle you captured in your original Foley recording or the faint, natural echo of the room. If your recordings are all super dry, no problem. Just add a separate layer of clean room tone or a touch of subtle reverb to place the sound convincingly in its environment.
With your three core layers locked in, the real fun begins. Now you can sprinkle in subtle "sweetener" layers that give your door slam a unique personality.
The trick is to keep these extra layers subtle. They shouldn't be obvious on their own; their job is to contribute to the overall texture and realism of the finished product. Don't be afraid to experiment here. Some of my best sounds have come from layering completely unrelated audio. You never know when you'll discover that one perfect ingredient that makes your door slam sound effect truly memorable.
Okay, you've got your layers stacked and the timing feels right. You've built a solid foundation. Now comes the fun part—transforming that raw composite into a cohesive and impactful door slam sound effect. This is where we apply some audio alchemy through post-processing to glue everything together, add some serious character, and make sure the sound sits perfectly in its final mix.
Think of post-processing less as fixing a problem and more as elevating a great performance. Each tool, from EQ to reverb, is like a sculptor's chisel. You're not creating something from nothing; you're carving away the unnecessary bits to reveal the powerful sound hiding within. This is how a few separate audio clips become a single, unified event.
Your first and most powerful tool is equalization, or EQ. At its core, EQ is just a very sophisticated volume knob for specific frequencies. It lets you surgically remove sonic mud, boost the punch, and give each of your layers its own space to breathe without fighting the others.
One of the biggest challenges with layering sounds is frequency buildup, especially in that low-mid range between 200-500 Hz. This is where things can get "muddy" or "boxy," robbing your sound of its power and clarity. I always start by making a few gentle cuts in this range on the body and tail layers. It's amazing how much space this one move can create.
Once you’ve cleaned things up, you can start boosting key frequencies to bring out the door slam's character.
My rule of thumb is always to cut before you boost. You'll often find that by just carving out the problematic frequencies, the clarity you were looking for was there all along, without having to artificially inflate anything.
With the tonal balance sorted, we can now shape the sound's dynamics—the contrast between its loudest and quietest moments. This is where tools like transient shapers and compressors become your best friends, giving your door slam that satisfying punch and control.
A transient shaper is a sound designer’s secret weapon. It lets you directly dial in more (or less) of the initial "attack" of a sound. By cranking up the attack on your main transient and body layers, you can make the initial impact feel way sharper and more aggressive without actually increasing the overall volume. It’s perfect for creating a sudden, startling slam.
Compression, on the other hand, is the glue. Its job is to reduce the dynamic range, which makes the sound feel denser and more cohesive. When you’ve layered a bunch of different sounds, their volumes can be a bit all over the place. A compressor smooths out those peaks and brings up the quieter details, effectively "gluing" your transient, body, and tail into one solid piece. A good starting point is a slow attack time to let the initial crack through, followed by a fast release to tighten up the tail.
A door slam doesn't happen in a void. To feel real, it needs to sound like it’s happening in a physical environment. That’s where spatial effects like reverb come in, and for realism, nothing beats a good convolution reverb.
Unlike standard reverbs that just simulate a space mathematically, a convolution reverb uses an "impulse response"—an actual audio snapshot of a real location. This means you can place your door slam in a tiny closet, a concrete stairwell, or a massive warehouse with stunning accuracy.
For the most flexibility, I always set up my reverb on an auxiliary send track. This lets me "send" a variable amount of each layer to the reverb, blending the "wet" (reverberated) signal with the "dry" (original) one. It gives you pinpoint control over how each element interacts with the room's acoustics.
Now, it's time to break the rules a little and give your sound a unique personality. Experimentation is key here; don't be afraid to push things beyond the ordinary.
Pitch Shifting: Want that wooden closet door to sound like a massive stone gate to a castle? Pitch it down. Even a subtle shift of a few semitones can add an incredible amount of perceived size and weight. For more granular control, tools like DaVinci Resolve’s Elastic Wave let you stretch the tail of the sound without dropping the pitch of the initial impact.
Saturation: A touch of saturation or even some light distortion can add warmth, grit, and harmonic richness. This is fantastic for adding an aggressive edge to an angry slam or giving it an aged, worn-in feel. Just be gentle—a little goes a very long way.
To help you get started, the table below breaks down some of the essential plugins you'll be using at this stage.
| Plugin Type | Primary Function | Application for Door Slams |
|---|---|---|
| Equalizer (EQ) | Adjusts the volume of specific frequencies. | Removes muddy frequencies (200-500 Hz), boosts low-end weight (60-100 Hz), and enhances latch clarity (5-8 kHz). |
| Compressor | Reduces dynamic range for a cohesive sound. | Glues the different layers together, tames harsh peaks, and increases the perceived loudness and density of the slam. |
| Transient Shaper | Modifies the initial attack of a sound. | Increases the punch and impact of the initial slam without raising the overall volume, making it sound sharper. |
| Convolution Reverb | Places a sound in a realistic acoustic space. | Simulates the environment (e.g., small room, large hall, warehouse) by applying a real-world impulse response. |
| Pitch Shifter | Alters the pitch of an audio clip. | Transforms the character of the door, making a small door sound like a massive gate by pitching it down. |
By thoughtfully applying these post-processing techniques, you add that final layer of professional polish that makes a door slam sound effect truly memorable and effective in any project.
So you've designed, layered, and polished your sound into something truly impressive. But a sound effect is only as good as its implementation. Now we get to the fun part: making that door slam sound effect actually work inside a film or a game.
The real goal here is to blend your creation so seamlessly into the project's world that it feels completely intentional and real. Whether you're a filmmaker or a game developer, the approach has its own quirks, but the guiding principle is always the same—the sound must serve the story and the on-screen action. This is where your hard work finally comes to life.
In filmmaking, timing is everything. That door slam has to hit at the exact moment the door makes contact with the frame. If you're off by even a single frame, the whole effect feels disconnected and cheap, instantly pulling the audience out of the moment.
Most modern video editors, like Adobe Premiere Pro or DaVinci Resolve, give you frame-by-frame control. My own workflow involves zooming way into the timeline to find the precise frame of impact. I then line up the very beginning—the initial transient—of my sound effect right on that spot. This creates that satisfying, physical "thwack" that feels completely connected to what you're seeing. For a deeper dive, our complete guide on how to add audio to video covers this whole process in detail.
Of course, sometimes things go wrong. When you're integrating audio, you can run into weird technical hiccups. Knowing how to troubleshoot common problems, like addressing audio sync issues, is a critical skill for delivering a polished, professional final cut.
Game development is a completely different beast. Unlike a linear film, a game is an interactive space where sounds are triggered by player actions and unpredictable physics. Just dropping a single door slam sound in there is a recipe for disaster—it will get repetitive fast and shatter the illusion of a living, breathing world.
This is where audio middleware tools like Wwise and FMOD become your best friends. They let you implement sounds with smart, dynamic behaviors.
The secret to great game audio is to think in systems, not just individual sounds. When you build in randomization and connect your sounds to in-game parameters, you create a soundscape that feels truly alive and responsive.
Before you hand off your assets, a little bit of housekeeping will make you look like a pro. These final steps are what separate amateur work from a polished, production-ready sound library.
First, file formats matter. Always, always export your master files in a lossless format like WAV. I recommend 24-bit depth and a 96kHz sample rate to preserve the absolute highest quality for any future editing. While a high-bitrate MP3 might be okay for final delivery in some cases, WAV should be your archival standard.
Second, get your naming conventions straight. A file named Door_Wood_Heavy_Slam_Interior_01.wav is a lifesaver. slam_final_v2.wav is a nightmare. Be descriptive, be consistent, and your future self (and your team) will thank you.
Finally, know your licensing. If you recorded everything yourself, you own it—simple as that. If you used sounds from a library, you need to double-check its license agreement. For any sounds you make with SFX Engine, you’re covered with a full commercial license, making your creations 100% royalty-free and ready for any project you can dream up.
When you're deep in a project, trying to get that perfect door slam, you're bound to run into a few snags. It happens to everyone. Over the years, I've heard a lot of the same questions pop up, so I've put together some quick, no-nonsense answers to get you past those common hurdles.
Think of this as your go-to FAQ for when you're stuck. Let's get you back to the creative stuff.
If you're just starting out or working with zero budget, the answer is hands-down Audacity. It’s a workhorse. This completely free editor can handle all the essentials we’ve covered—layering, EQ, reverb, you name it. It's the perfect place to learn the ropes.
Eventually, you might hit a wall and need more power, like better plugin support or a non-destructive workflow where you can easily undo changes. When that day comes, look at Reaper. It's a full-blown professional DAW that you can evaluate for ages, making it the perfect next step up without having to break the bank.
Making a sound feel distant is all about mimicking real-world physics. Sound loses its high-frequency sizzle over a distance, so the first thing to do is grab an EQ. Start by gently rolling off the high end with a low-pass filter somewhere around 2-4kHz.
Next, you have to think about reflections. A good convolution reverb is your best friend here. Dial up the pre-delay to create a noticeable gap between the initial slam and the start of the reverb tail. This little trick mimics the time it takes for the sound to travel to the listener, instantly selling the idea of distance. Bumping up the "wet" signal of your reverb also helps push the sound further into the background.
Pro Tip: If you want the slam to sound like it's coming from another room entirely, get more aggressive with that low-pass filter. A muffled, bass-heavy sound is exactly what you'd hear through a wall.
Ah, the dreaded "phasey" sound. If your layered slam sounds thin, weak, or just plain weird, you've almost certainly got a phase cancellation problem. This is what happens when two very similar sound waves are just slightly out of sync—their waveforms literally start canceling each other out, often killing your bass frequencies in the process.
Thankfully, the fix is usually pretty simple. Zoom way in on your audio tracks until you can see the individual waveforms. Try nudging one of the clips forward or backward by just a few milliseconds. You'll be surprised how often that tiny adjustment brings all the punch back.
Most DAWs also have an "invert phase" button on each track. Give that a click on one of your layers—sometimes it solves the problem instantly. A good habit to get into is visually aligning the very beginning—the transient—of each layer as you stack them.
Ready to stop searching for the perfect sound and start creating it? With SFX Engine, you can generate custom, high-quality, and completely royalty-free sound effects just by typing a prompt. Get the exact door slam, footstep, or explosion your project demands in seconds. Explore SFX Engine for free and start designing your unique audio today.