November 15, 2025 · Kuba Rogut
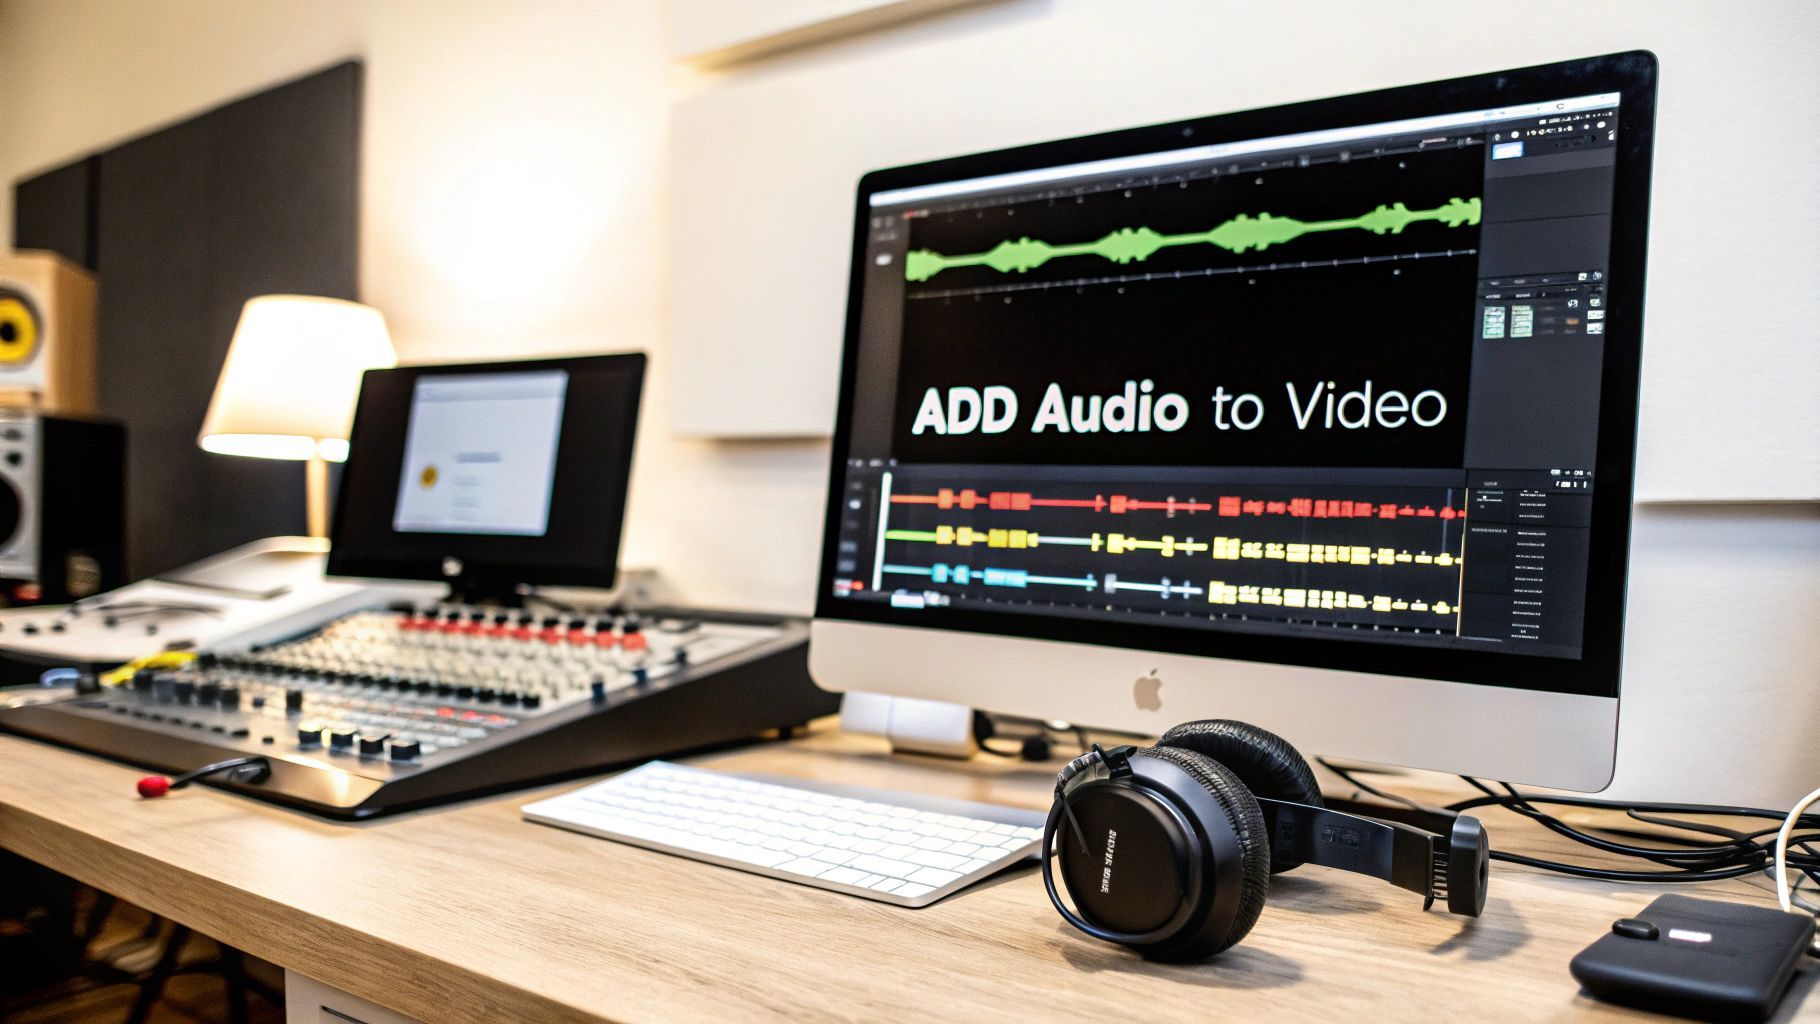
Adding audio to your video is a pretty straightforward process on the surface. You import your video and sound files into an editor, drop them onto the timeline, and then work on syncing and mixing them. The core steps are surprisingly similar whether you're on a beefy desktop rig using DaVinci Resolve or editing on the fly with a mobile app like CapCut.
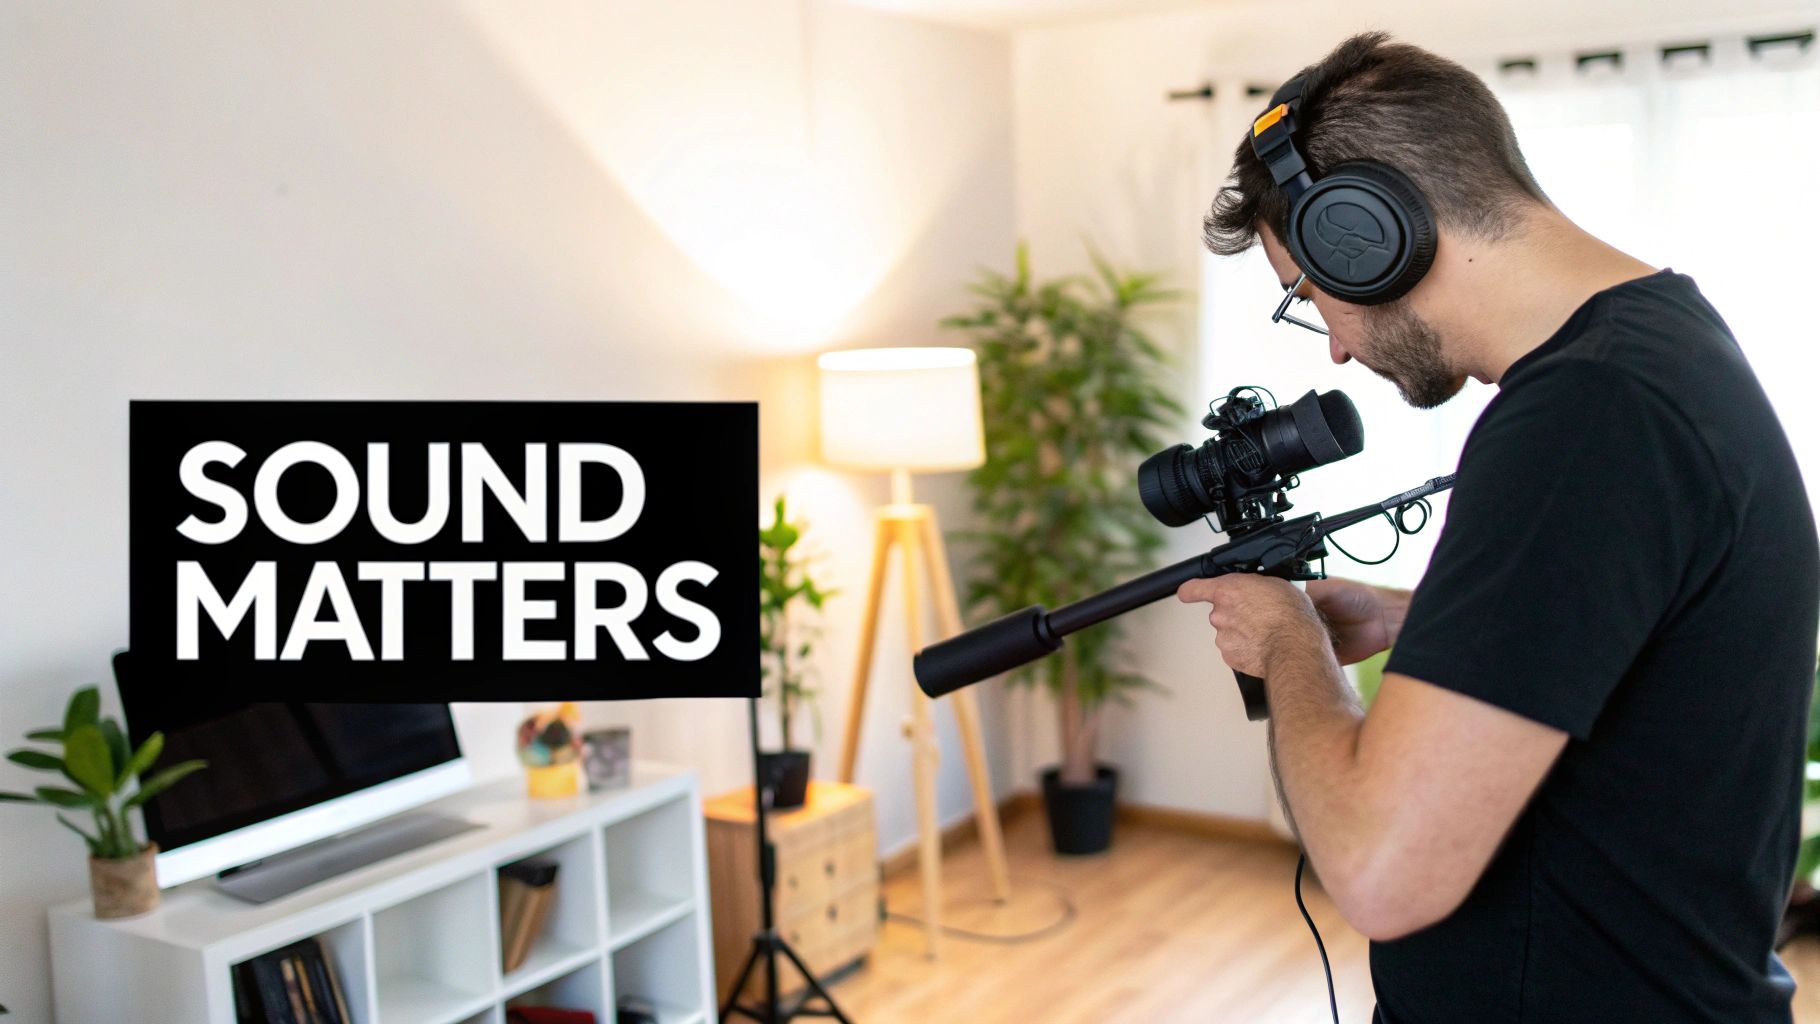
We've all been there—you're watching a video with beautiful cinematography, but the sound is awful. It's distracting, right? It completely pulls you out of the moment. High-quality audio isn't just a technical box to check; it’s the emotional engine of your content. Before we get into the "how-to," let's quickly cover why this is so critical for making videos that actually connect with people.
Think of audio as your secret weapon for guiding a viewer's emotions. It works behind the scenes, shaping the experience and adding layers of meaning you just can't get from visuals alone.
Setting the Tone: The right music is a shortcut to emotion. An upbeat, driving track can make a simple travel vlog feel like an epic adventure, while a slow, minimalist piano piece can add a touch of melancholy or inspiration.
Building Trust: When someone is speaking, clarity is everything. A crisp, clean voiceover instantly conveys authority and professionalism. If your dialogue is muffled or full of background noise, your message gets lost and your content can feel amateurish.
Creating Immersion: This is where the magic really happens. Subtle sound effects (SFX) are what make a scene feel real. The quiet clink of a glass, the faint hum of city traffic, the rustle of leaves—these tiny details ground your visuals in a believable world.
The difference between a good video and a great one is often the audio. It’s the element that transforms passive viewing into an active emotional experience for your audience.
This is especially true for the fast-paced world of short-form content. Take something like YouTube Shorts, where trending sounds and catchy music are the lifeblood of viral videos. Learning how to properly add audio to your video isn't just about avoiding common mistakes; it's about mastering a powerful storytelling tool that will keep your audience hooked.
The software you choose can be the difference between a frustrating afternoon and a creative breakthrough. Picking the "best" tool isn't about finding the one with the most bells and whistles; it's about matching the software to what you're actually trying to accomplish.
Are you cutting together a quick, funny clip for Instagram Reels on your commute? A mobile app is your best bet. Something like CapCut is built for that world—it’s fast, has all the trending audio at your fingertips, and lets you get from idea to posted in minutes.
When you're working on something bigger, like a YouTube documentary or a polished marketing video, you'll need the control that only desktop software can offer. This is where you get multi-track timelines, detailed audio mixers, and the kind of granular control that mobile apps just can't squeeze onto a small screen.
Yes, these programs take more time to learn. But that investment pays off big time, giving you complete command over every frame and soundwave.
The goal is to find a tool that gets out of your way and lets you create, not one that leaves you drowning in menus. It's always better to master a simpler tool than to be overwhelmed by a complex one.
What if you're bouncing between computers or working with a team? This is where web-based editors shine. You don't need a beast of a machine to run them.
A tool like Clipchamp is a perfect example. It runs right in your browser, making it incredibly convenient for quick edits or collaborative projects where you need to easily pass files back and forth.
To help you decide, let's break down how these popular options stack up specifically for handling audio.
| Editor | Platform | Best For | Key Audio Features | Learning Curve |
|---|---|---|---|---|
| DaVinci Resolve | Desktop (Win/Mac/Linux) | Filmmakers, YouTubers, detailed projects | Fairlight audio suite, multi-track mixing, extensive built-in FX | Moderate to High |
| Adobe Premiere Pro | Desktop (Win/Mac) | Professional editors, content creators | Seamless Audition integration, Essential Sound panel | Moderate |
| CapCut | Mobile (iOS/Android) & Web | Social media, short-form video, quick edits | Large library of trending sounds, simple volume controls | Low |
| Clipchamp | Web-based | Collaborative projects, users with less powerful PCs | Stock audio library, basic mixing & leveling tools | Low |
Ultimately, the platform you choose—mobile, desktop, or web—comes down to the job at hand. A social media manager has entirely different needs than a short-film director. For a more detailed look at your options, check out our guide on the best video editing software for beginners.
Matching the tool to the task from the very beginning is the single best thing you can do to ensure your editing process is smooth and successful.
When you need the kind of fine-tuned control that separates amateur video from professional work, desktop software is your best friend. Powerful programs give you multi-track timelines and sophisticated mixing tools that let you craft an audio experience that truly sings. For our walkthrough, we’ll be focusing on DaVinci Resolve. Its free version is astonishingly powerful, giving you access to the same core toolset used on major Hollywood films.
Getting started on a desktop editor means bringing all your puzzle pieces together. You’ll import your video clips, music files, voiceover recordings, and any sound effects into your project's media library. From there, it's a simple drag-and-drop onto the timeline, where you can stack each audio element on its own dedicated track.
This layering and synchronizing process we take for granted has a fascinating history. Before digital tools, it was a clunky, mechanical ordeal. A major breakthrough came in 1955 with a technology called 'Sel-Sync,' which finally made practical audio overdubbing possible. For the first time, creators could record multiple audio tracks separately and keep them perfectly in sync, completely changing how sound and picture were blended. You can dive deeper into the evolution of music technology to see just how far we've come.
This visual guide breaks down the typical workflow, showing how editors often graduate from simple mobile apps to more powerful desktop software as their projects grow more ambitious.
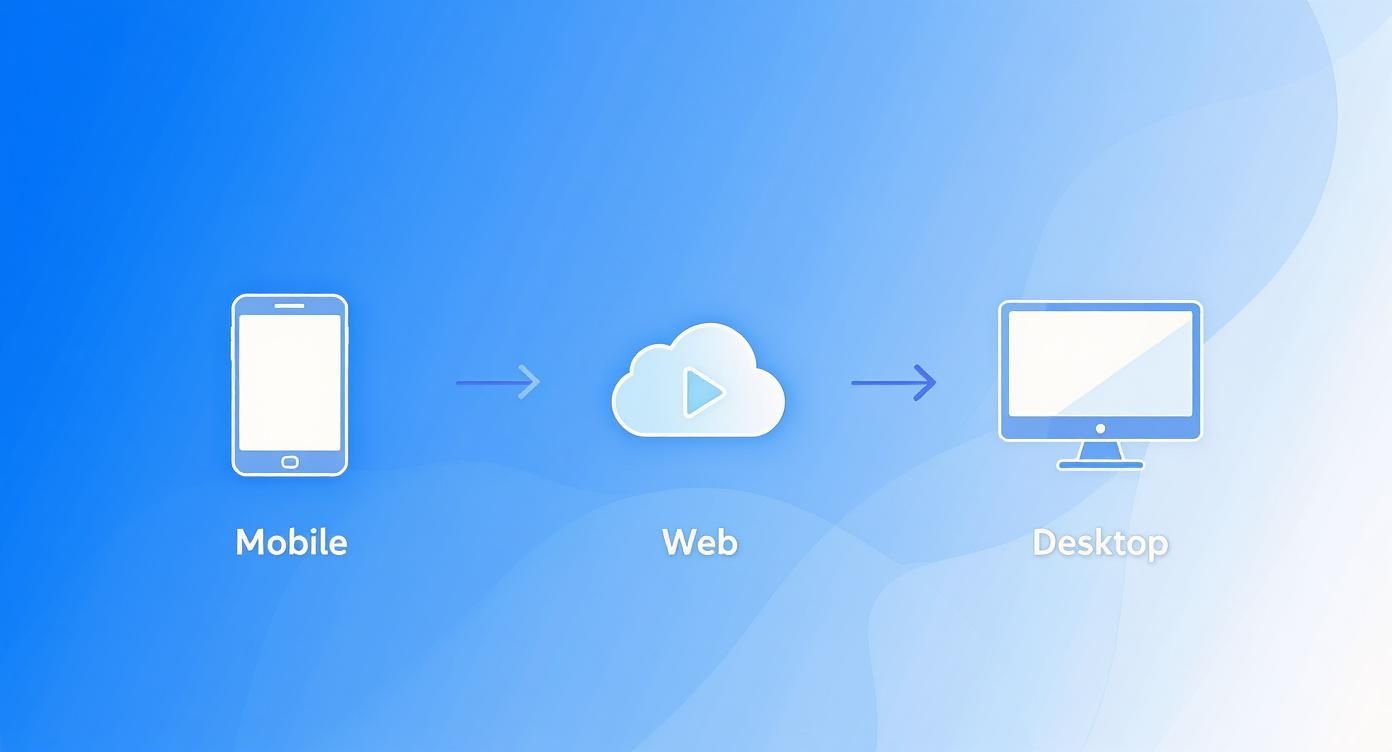
As you can see, the jump to desktop isn't just about features; it's about gaining the precision needed for more complex creative ideas.
With all your clips sitting on the timeline, the real work begins: syncing. This is the art of aligning specific sounds with on-screen actions. If you've recorded dialogue with a separate microphone, for example, you'll need to perfectly match that audio to the speaker's lip movements in the video.
Here are a couple of tried-and-true techniques:
Once everything is perfectly timed, it’s time to mix. The goal of mixing is to make sure every sound has its own space and that the most important audio elements are crystal clear. A classic rookie mistake is letting the background music drown out the dialogue, leaving your audience struggling to follow along.
A great mix isn’t about making everything loud; it’s about creating balance and guiding the listener’s focus. Dialogue should almost always be the star of the show.
One of the most essential techniques for achieving this balance is audio ducking. It’s a simple concept: you automatically lower the volume of your music whenever someone speaks. In DaVinci Resolve, you can do this by using keyframes to create smooth, gradual volume dips in the music track. This small touch ensures your voiceover or dialogue always cuts through cleanly, giving your final video a huge boost in professionalism.
Not every project demands a beast of a desktop machine. When you're creating content for social media or just need to bang out a quick edit while you're out, mobile and web-based apps offer a surprisingly robust workflow. They are built from the ground up for speed, letting you get polished content out the door in minutes.
A great example is CapCut. It lets you pull a video directly from your phone's camera roll and dive straight into a massive library of licensed, trending music. Finding a track that fits the vibe of your video is just a few taps away.
Once you drop a track into your project, the real work begins on the timeline. Mobile editors make trimming audio clips incredibly intuitive—you just drag the ends of the clip to line up perfectly with your video. You can also dial in the volume with a simple slider, which is crucial for balancing your new music against the video's original audio so one doesn't drown out the other.
For a more polished feel, don't forget to use audio fades.
The best mobile edits feel seamless. A quick fade-in and fade-out can transform a simple clip, making it feel more intentional and less jarring for your audience.
Web-based editors like Clipchamp bring another level of convenience to the table. Since they run right in your browser, you can jump into your projects from any computer without dealing with hefty software installations. This makes it a breeze to upload your own custom audio files or explore their built-in stock libraries.
For creators who need a constant stream of fresh audio, knowing where to look is half the battle. If the in-app libraries don't have exactly what you need, you can learn more about the best royalty-free music sites to seriously expand your creative toolkit.
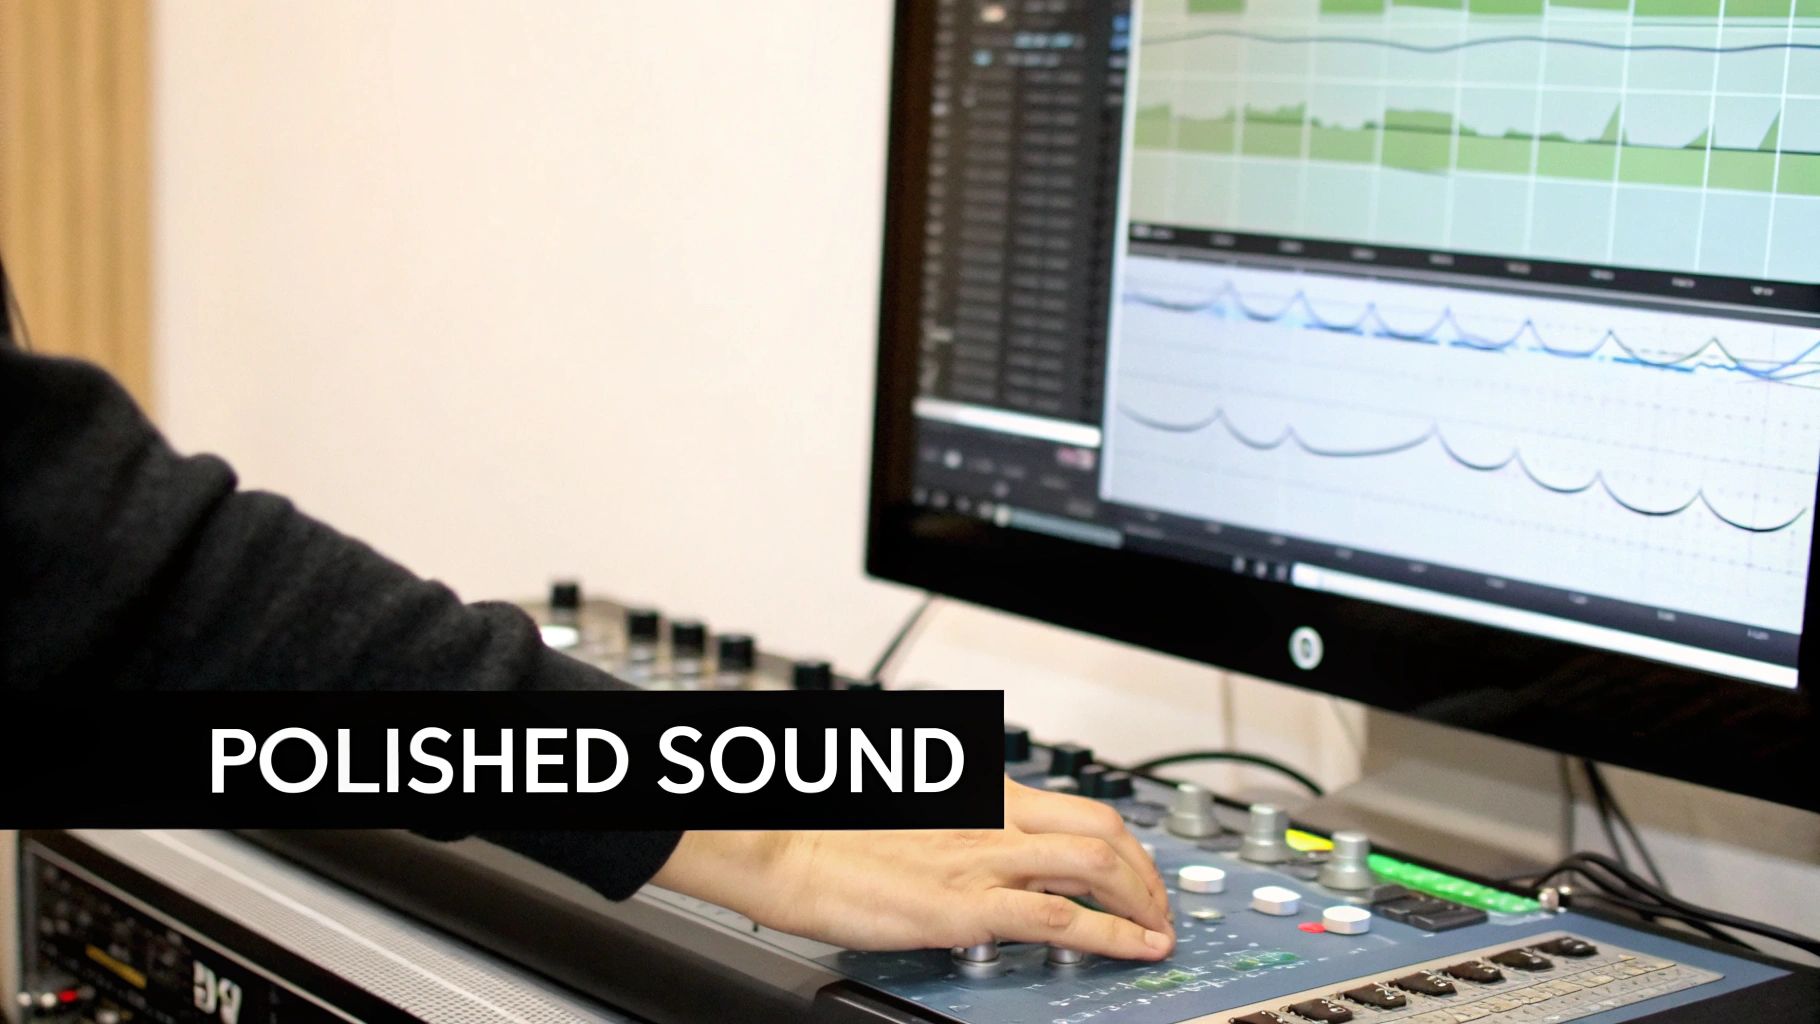 Getting your audio tracks into the timeline is just the first step. The real art begins when you start mixing them to sound cohesive, intentional, and professional. It’s the subtle tweaks that elevate a project from good to truly great.
A fantastic place to start is with audio ducking. It’s a simple but powerful technique where you automatically lower the background music volume whenever someone starts talking. This immediately cleans up your mix, ensures the dialogue is always clear, and gives your video that polished, broadcast-ready feel.
From there, you can move on to equalization, or EQ. I like to think of EQ as a sculpting tool for sound. You can use it to cut out a muddy low-end rumble from a voiceover, or to carefully carve out specific frequency ranges so that your music and sound effects don’t fight each other for space.
To pull your viewer deeper into the scene, think about layering in subtle ambient sounds. The quiet hum of an air conditioner in an office, the faint chirp of crickets for a night scene, or distant traffic for a city shot—these details build a believable world.
This whole process of carefully matching sound to picture has a rich history. What we do with a few clicks today started back in the late 1920s, when sound was printed optically right onto the film reels. By 1933, this technology was sophisticated enough to give us the perfectly synced roars and dialogue in films like King Kong.
Of course, how your video sounds can also depend on the viewer's device. For mobile audiences, understanding how people are customizing the audio and sound settings of your phone can provide useful context.
A truly professional mix isn't just about what you hear—it's about how each sound works together to tell the story. Layering, ducking, and EQ are the core pillars of that process.
These techniques are a fundamental part of the post-production phase. If you're ready to go deeper, our guide on the complete https://sfxengine.com/blog/audio-post-production-workflow offers a comprehensive roadmap to mastering the entire process.
Even seasoned editors run into audio snags from time to time. Let's tackle some of the questions I hear most often when it comes to mixing sound for video.
One of the first hurdles is simply dealing with different audio file formats. Your video editor might prefer uncompressed WAV files for the best quality, while others work just fine with compressed MP3s, which are great for saving space. My rule of thumb? Always check your software’s recommended specs before you start importing files—it can save you a headache later.
Another classic problem is audio that just sounds… off. Maybe it's tinny, or perhaps it's muffled and hard to understand. This is where an equalizer (EQ) becomes your best friend. Learning to boost specific frequencies to add warmth or cut others to improve vocal clarity is a game-changer. It's one of those skills that can dramatically elevate the quality of your final video.
It’s amazing to think that these digital editing tricks have their roots back in the 1980s. That's when Sony's groundbreaking PCM-F1 adapter first let engineers record digital audio as a video signal. This was a massive leap forward, paving the way for the incredible non-linear editing systems we rely on today. If you're a history buff, you can explore more of digital audio's fascinating timeline.
Now, let's get straight to the point with some quick answers to common audio questions.
| Question | Answer |
|---|---|
| What's the best audio format for video? | For professional work, WAV is the gold standard because it's uncompressed and maintains the highest quality. For online content or smaller projects, a high-bitrate MP3 (like 320 kbps) or AAC is often perfectly fine and saves a lot of disk space. |
| Why does my audio sound out of sync? | This often happens if the audio and video have different sample rates or frame rates. Make sure all your project assets match your sequence settings before you start editing. Sometimes, it's just a slight lag, which you can fix by nudging the audio track. |
| How can I make dialogue clearer? | Use your editor's equalizer (EQ). Try a "high-pass filter" to cut out low-end rumble and then apply a gentle boost in the 2-5 kHz range to enhance vocal presence. Also, lowering the volume of background music during dialogue helps immensely. |
| Is it okay to use music from anywhere? | Absolutely not! Always use royalty-free music or tracks you have a license for. Using copyrighted music without permission can get your video taken down or lead to legal trouble. |
| My audio levels are all over the place. Help? | This is what audio normalization and compression are for. Normalization brings all your clips to a consistent peak level, while a compressor "squashes" the dynamic range, making the quiet parts louder and the loud parts quieter for a smoother sound. |
Hopefully, these quick tips clear up some confusion and help you get better sound in your next edit.
Need custom sound effects for your next project? With SFX Engine, you can generate unique, royalty-free audio from a simple text prompt. Create the perfect sound at https://sfxengine.com.