October 9, 2025 · Kuba Rogut

Learning how to edit your podcast is what turns a raw, unvarnished recording into a professional show that actually keeps people listening. It's a clear, repeatable process: you clean up the mistakes, balance everyone's voice with tools like EQ and compression, and then master the final track so it sounds great on platforms like Spotify. It might seem technical, but this workflow is a skill anyone can learn.
 Great content deserves to sound incredible. While your topic and guests are the heart of your show, poor audio quality is a surefire way to make listeners hit "skip." This guide is here to demystify the editing process and show you how to get that crisp, clear, and professional sound that helps your podcast stand out.
Think of audio editing as the final, crucial layer of your storytelling. This is where you get to shape the conversation, boost clarity, and build a listening experience that just flows. The goal isn't to sound robotic or fake; it's to get rid of all the little distractions so your message and personality can shine.
The podcasting world is packed, and listeners have plenty of options. With projections showing over 584.1 million podcast listeners worldwide in 2025, your audio quality is one of the biggest things that sets you apart. Here in the United States, 55% of the population tunes in every month, so making your show sound professional isn't just a nice-to-have—it's essential for grabbing and keeping an audience. You can dig into more of this data in a recent analysis of podcast industry statistics.
A polished episode shows you're a pro and that you respect your listener's time. All the hard work you put into creating great content can be completely undone by audio problems that were entirely fixable.
A clean, well-mixed podcast is simply easier to listen to, especially in noisy places like a car or the gym. The effort you put into editing directly translates into better listener retention.
Before we dive into the nitty-gritty, let's look at the big picture. The following table outlines the fundamental stages of editing that apply whether you're using a free tool like Audacity or a professional Digital Audio Workstation (DAW).
| Stage | Primary Goal | Key Actions |
|---|---|---|
| Organization & Assembly | Set up a clean, workable project. | Import all raw audio files, sync tracks, and arrange clips into a rough timeline. |
| Cleanup Editing | Remove distractions and tighten the narrative. | Cut out mistakes, long pauses, filler words ("ums," "ahs"), and disruptive noises. |
| Vocal Enhancement | Make every voice clear, consistent, and pleasant. | Apply noise reduction, EQ for clarity, and compression for level-balancing. |
| Mastering & Exporting | Prepare the final mix for distribution. | Add intro/outro music, apply mastering effects, and export to industry loudness standards. |
Mastering these core stages gives you a reliable system you can use for every single episode, ensuring consistency and quality across your entire show. We'll walk through each of these steps, breaking them down into simple, actionable tasks.
Before you even think about making a cut, let's talk about setting up your project. I like to think of it like a chef's mise en place—getting all your ingredients prepped and organized before you start cooking. A messy project in your Digital Audio Workstation (DAW) will lead to a messy, frustrating edit. Trust me, a little organization upfront saves a ton of headaches later.
The first thing to do is pull all your raw audio files into the project. This means the host's track, the guest's track, your intro and outro music, and any other sound bites you plan to use. Each one of these needs its own dedicated track in the timeline. This is absolutely non-negotiable if you want granular control over the final mix.
A few simple habits here can shave a surprising amount of time off your workflow. For starters, name everything. Seriously. Instead of leaving tracks as "Audio 1" and "Audio 2," label them descriptively, like "Host - Mic," "Guest - Zoom," or "Intro Music." It seems small, but it makes your project immediately legible, especially when you come back to it after a break.
Another pro-level move is color-coding your tracks. I usually make host tracks blue, guest tracks green, and music/SFX purple. This visual shorthand lets you understand the entire episode's structure at a glance, making it incredibly easy to navigate a busy timeline.
These small organizational steps add up to real time savings.
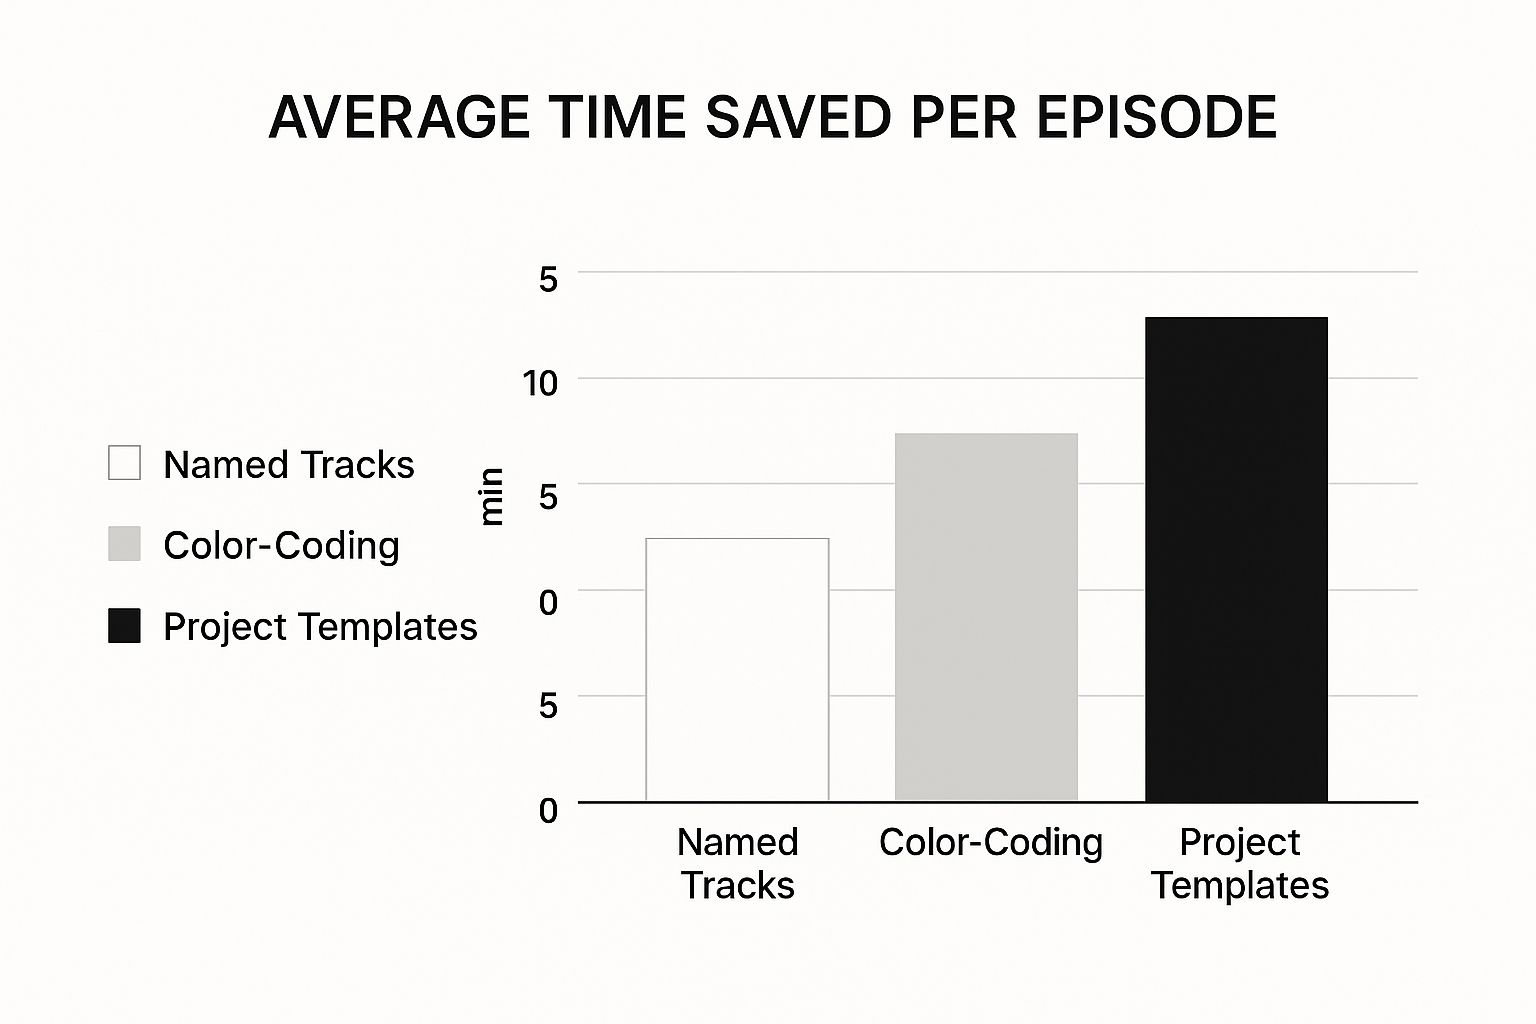
As you can see, the biggest win comes from creating a reusable project template. This is where you really start working like a pro.
Once you've got a layout that works for you, save it as a template. A project template is essentially a pre-built session file. Your tracks are already named and color-coded, your intro and outro music might already be sitting in the right place, and you can even have your go-to EQs or compressors loaded onto the tracks, just waiting for the audio.
A great template acts like a checklist. It ensures you never forget a step and maintains sonic consistency across all your episodes, which is key for building a professional brand.
This initial setup might feel like a bit of a chore the first time, but it pays dividends immediately. It's the difference between just editing a podcast and having an efficient, repeatable workflow. If you're still deciding on the right tool to build your template in, our guide on the best podcast editing software can help you find the perfect DAW for your needs.
The explosion of podcasting has turned audio editing into a massive field. The global market for audio and video editing is on track to hit $4.4 billion by 2025. With over 4.52 million podcasts out there, a professional workflow isn't just a nice-to-have; it's how you stand out. For more on how the industry has grown, check out the analysis on Podbean's blog.
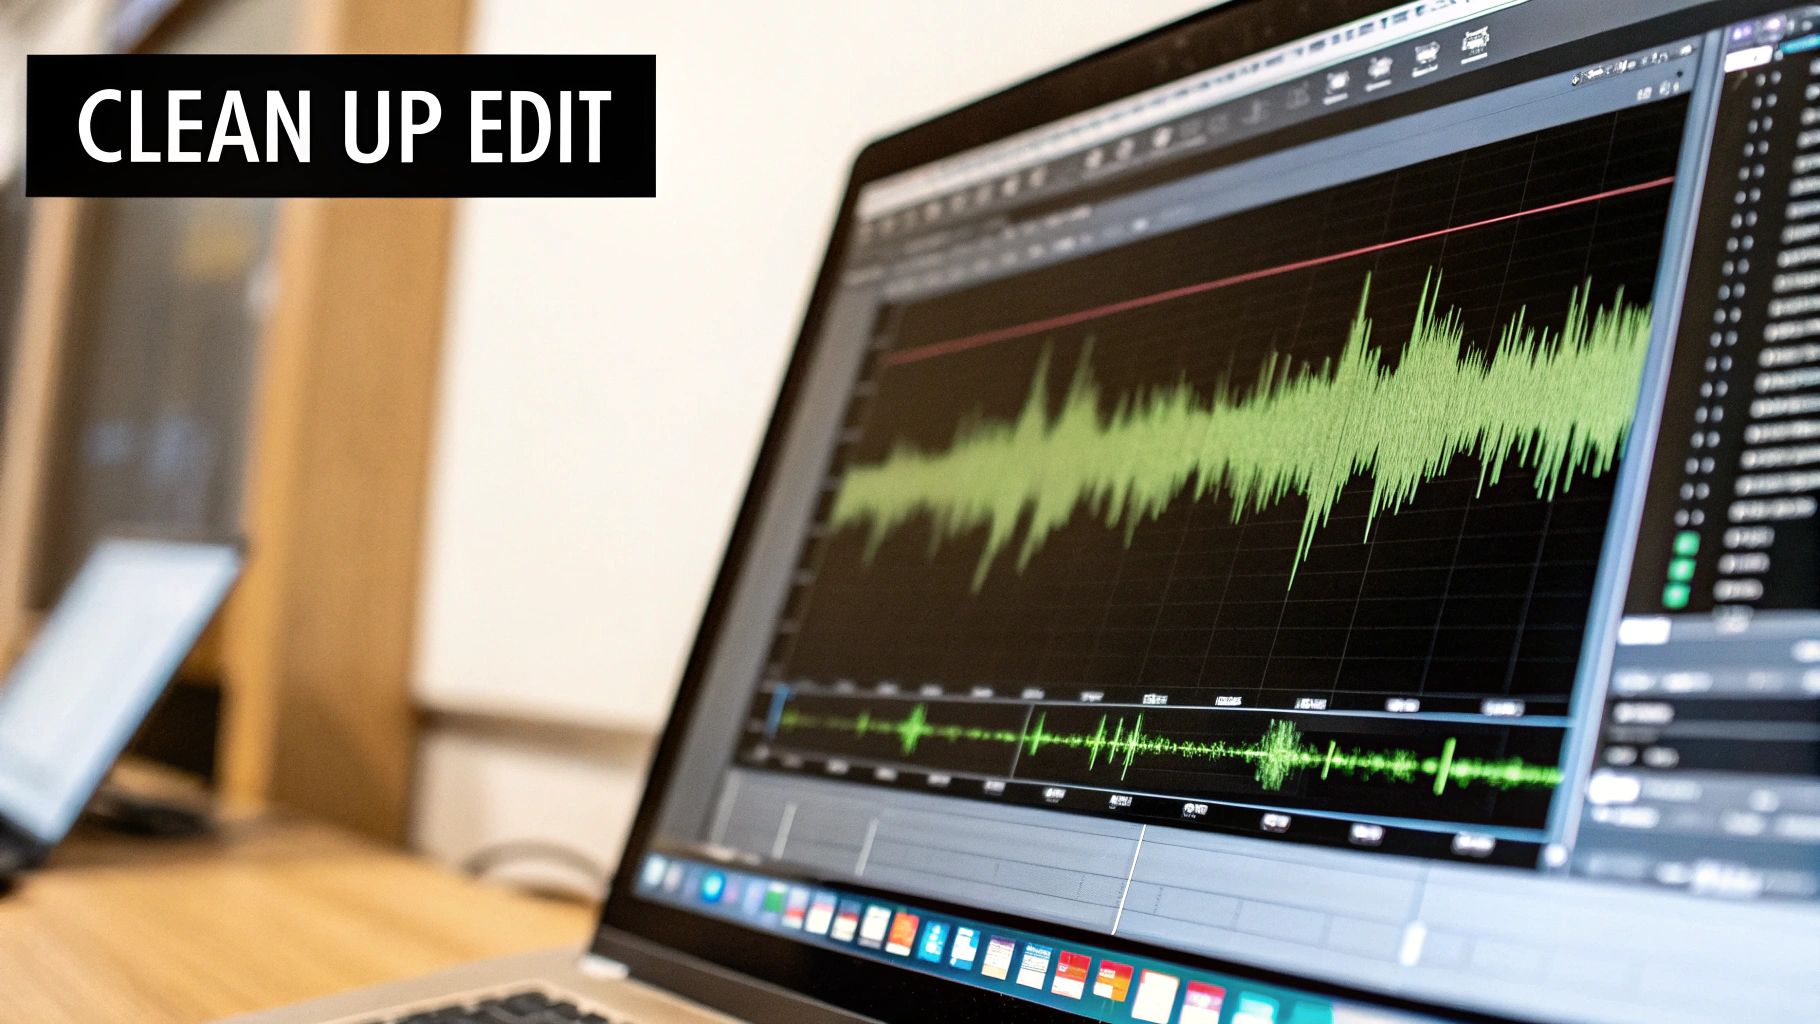 Now that your tracks are organized, it's time to dive into what I consider the most satisfying part of the process: the cleanup edit. This is where the magic really happens. You’re taking a raw, unfiltered conversation and carefully sculpting it into a seamless listening experience.
The goal here isn't to make your hosts sound like robots. It's about removing all the little verbal tics and distractions that can pull a listener out of the story. Think of it as polishing a gemstone—the inherent value is already there, you're just clearing away the rough spots so it can truly shine.
I've found it's best to approach this with a two-pass strategy. First, I do a broad-strokes edit to get the content right. I'm listening for major issues like a sentence that was flubbed and needs a retake, a tangent that derails the conversation, or a story that just doesn't land. By making these big cuts first, you avoid wasting time perfecting audio that’s just going to end up on the cutting room floor.
With the overall structure locked in, the second pass is all about the details. This is the nitty-gritty work of hunting down and removing every "um," "ah," "like," and "you know" that litters the conversation. A few of these are fine and sound perfectly natural, but when they become a constant drone, they can make a speaker sound hesitant and exhaust the listener.
A word of caution: Don't go overboard. A conversation with zero pauses feels rushed and unnatural. The real skill is finding that sweet spot where the dialogue flows smoothly but still feels human.
A tool that will become your best friend is ripple delete. Most editing software has this feature, and it's a game-changer. When you snip out a filler word or a long pause, ripple delete automatically closes the gap, pulling the rest of the audio forward. It saves you from the tedious task of manually dragging clips together after every single cut.
But what do you do when a ripple delete creates a sudden, jarring jump in the audio? That's where a classic pro technique comes into play: using room tone. This is why I always record 30-60 seconds of "silence" in the room before or after every session. It's not true silence, of course—it's the unique ambient fingerprint of the space, full of subtle sounds like an HVAC hum or the whir of a computer fan.
This captured ambience is your secret weapon for smoothing over edits. For instance, you can:
Before we move on, let's look at some of the most common audio headaches you'll encounter during the cleanup edit and how to deal with them.
This table breaks down the typical issues I find in raw recordings and the go-to solutions for each.
| Distraction Type | Why It's a Problem | Editing Solution |
|---|---|---|
| Filler Words (um, ah, like) | Makes speakers sound unconfident and can fatigue the listener. | Use ripple delete to cut them out, being careful not to make the speech sound unnatural or rushed. |
| Mouth Clicks/Pops | These sharp, distracting noises pull the listener out of the content. | Manually edit the waveform to reduce the click, or use a de-click plugin for widespread issues. |
| Long, Awkward Pauses | Kills the conversational momentum and can make the episode feel slow. | Shorten or remove the pause with ripple delete. Use room tone to create a more natural, shorter beat if needed. |
| Plosives (harsh 'P'/'B' sounds) | A blast of air hits the mic, creating a boomy, unpleasant sound. | A de-plosive tool or a careful EQ adjustment (cutting low frequencies around 80-120 Hz) can tame it. |
| Sibilance (sharp 'S' sounds) | Creates a piercing, high-frequency hiss that is grating to the ears. | A de-esser plugin is the best tool for this, as it specifically targets and reduces those harsh frequencies. |
| External Noises (sirens, dogs) | Sudden, loud noises are incredibly jarring and unprofessional. | Isolate and cut the noise. If it's over speech, you may need a retake or advanced spectral repair tools. |
Mastering these cleanup techniques is what separates a decent podcast from a truly professional one.
Of course, sometimes you'll face persistent background hums or hisses that room tone alone can't fix. For those tougher cases, you'll need to turn to more advanced tools. We have a separate guide that details how to remove background noise when you're dealing with more challenging audio.
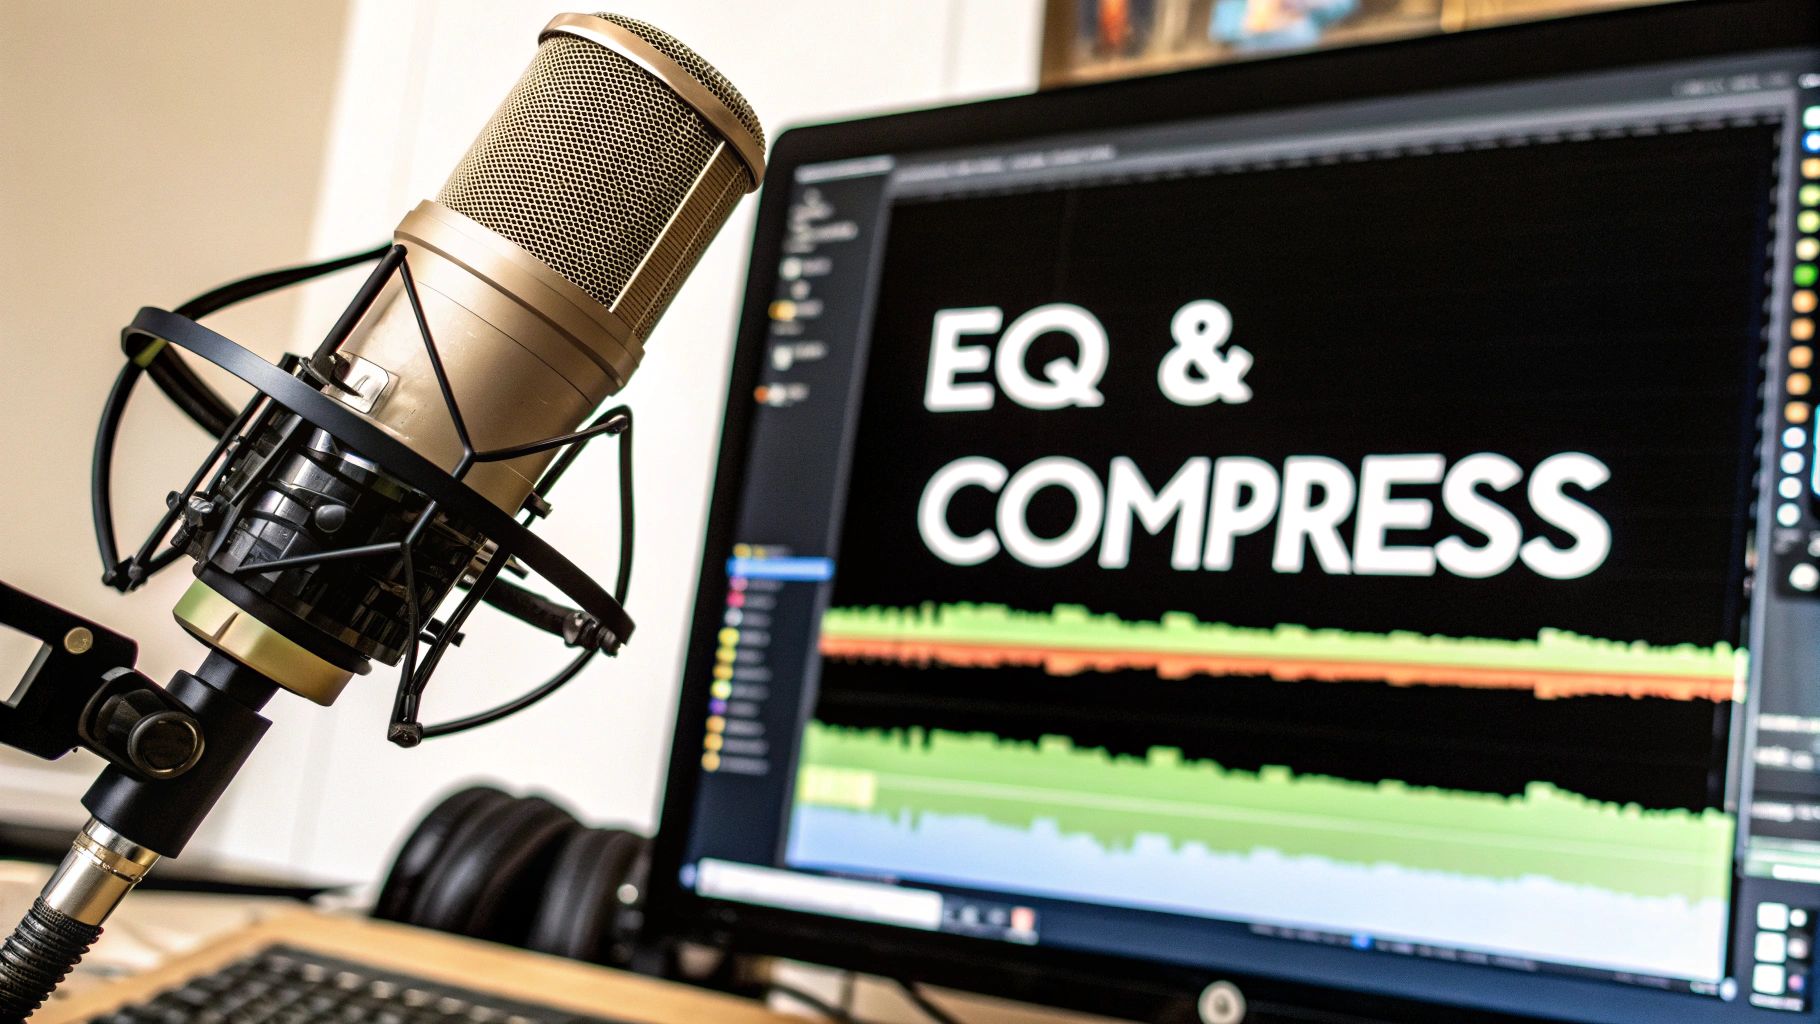
Alright, now that the audio is clean and the distractions are gone, we can shift from fixing problems to actively shaping the sound. This is where the magic happens—where you add that professional polish that makes a podcast truly enjoyable to listen to. For this, our two most important tools are Equalization (EQ) and Compression.
Think of EQ and compression as the one-two punch of audio enhancement. EQ lets you sculpt the tonal character of a voice to make it clearer and more present. Then, compression comes in to manage the volume levels, making sure every word is heard without any sudden, jarring jumps. Getting comfortable with both is a huge step in learning how to edit a podcast like a pro.
At its heart, an equalizer is just a fancy set of volume knobs, but for very specific frequencies. The human voice has a ton of different frequencies, from low rumbles to high, airy sounds. EQ gives you surgical control to boost or cut these frequencies, which is key to improving vocal clarity.
The most common issue I run into with raw podcast recordings is a "muddy" or "boomy" quality. This almost always comes from too much energy in the low frequencies, typically below 150 Hz. It makes the voice sound undefined and can get completely lost if someone is listening on laptop speakers or cheap earbuds.
Pro Tip: Your new best friend is the high-pass filter. By setting one at around 80-100 Hz, you can instantly slice away all the useless low-end rumble from mic bumps or desk vibrations. It’s a simple move that cleans up your audio immediately without touching the actual tone of the voice.
Here's a simple, effective workflow I use for EQ'ing vocals:
Once the tone is dialed in, it’s time to work on the volume. A compressor is an amazing tool that automatically reduces the loudest parts of the audio, which then lets you bring up the overall volume of the quietest parts. This narrows the dynamic range, creating a much more consistent and listenable final product.
Think about a guest who leans away from the mic to whisper, then leans in and laughs loudly. Without compression, your audience would be constantly reaching for their volume control. A compressor smooths out those peaks and valleys, making the entire conversation effortless to follow.
This isn't just a "nice-to-have"—it's crucial for how people listen today. With over 70% of podcasts being consumed on mobile devices, listeners are often in noisy places like a car, a gym, or a subway. Good compression ensures that those quieter, insightful moments don't get drowned out by a passing bus. You’re making your show accessible and enjoyable, no matter where someone is tuning in from.
You've done the hard work—the cleaning, the sculpting, the balancing. Now it's time to put the final coat of polish on your episode before you send it out into the world. This is the mastering stage, and it’s what separates a good podcast from a great one.
https://www.youtube.com/embed/wmAlvG6Xoa0
Mastering isn't about making big, sweeping changes. It's the subtle art of making sure your episode sounds cohesive, professional, and consistent, no matter where someone is listening—be it on Spotify, Apple Podcasts, or their car stereo. The main goal here is to bring your episode's volume up to the industry standard. This ensures a smooth listening experience for everyone.
If there’s one number to remember in podcast mastering, it’s LUFS (Loudness Units Full Scale). Forget old-school peak meters; LUFS measures perceived volume, which is far more important for how an episode actually sounds to a human ear.
All the major platforms automatically normalize audio levels. If your show is too quiet, they'll boost it. If it's too loud, they'll crush it. The problem is, their automated process might not be kind to your audio. To keep control in your hands, you need to aim for the industry standards yourself.
Nailing these levels means your podcast will sit comfortably alongside other professional shows, so your listeners won't be constantly reaching for the volume dial.
One of the most critical tools for this job is a Limiter. Think of it as a final safety net. You place it at the very end of your effects chain to prevent your audio from ever going past 0 dBFS (decibels Full Scale), which causes that awful digital clipping and distortion. It's the final gatekeeper that guarantees a clean, professional sound.
With your master sounding just right, the last step is to export the final file. The settings you pick here are all about balancing quality with compatibility.
Getting the master right isn't just about sounding good; it directly impacts your show's potential for growth and monetization. In 2025, global podcast ad spending reached a staggering $4.46 billion. A huge chunk of that—55%, in fact—comes from host-read ads, which rely on seamless, high-quality editing to sound authentic. As the market gets more competitive, professional production is no longer a luxury; it’s a necessity.
Once you’ve put all this care into mastering your episode, don't just let it sit there. You can get more mileage out of your work by exploring different content repurposing strategies. And if you want to dive deeper into the technical side of this final step, we have a complete guide on how to master audio.
Once you’ve got a handle on the basic editing workflow, a whole new set of questions starts to surface. These are the ones I hear from podcasters all the time, so let's walk through some practical answers to get you over those common hurdles.
If you're just dipping your toes in, you can't go wrong with Audacity. It’s 100% free, runs on just about any computer, and has all the core tools you need to get the job done. It’s the perfect sandbox for learning the fundamentals of cutting, noise reduction, and basic audio sweetening without spending any money.
Another fantastic option, especially if you're more of a visual person, is Descript. It works by transcribing your audio into a text document, and you literally edit the audio by editing the words on the page. For a lot of newcomers, deleting a sentence from a transcript feels way more intuitive than trying to slice up a confusing waveform.
A good starting point is the 3:1 ratio. So, for every one hour of raw audio, expect to spend about three hours editing.
That's just a rule of thumb, though. The actual time can swing wildly. A clean, two-person chat might only take a couple of hours. But if you're producing a complex, narrative-style show with music beds, sound effects, and multiple guests, that ratio can easily double or triple. The more you do it, the faster you get—especially once you master your keyboard shortcuts.
Don't get discouraged if your first few edits take forever. They always do. Once you build a project template and the process becomes muscle memory, you'll be shocked at how much you speed up.
This happens all the time, especially when you're recording guests remotely who are all using different mics in different rooms. The trick is to have each speaker on their own separate audio track. If they're mixed together, you're out of luck.
Start by using the Gain knob (or fader) on the quieter person's track. Nudge it up until their average volume sounds roughly the same as the louder speaker. Just eyeball it—or rather, "ear-ball" it.
Once they're in the same general range, apply a Compressor to each track individually. The compressor will automatically even out the peaks and valleys in their speech, creating that smooth, balanced, professional sound you're after.
Yes, it’s one of the most important things you can do. Every major platform, from Spotify to Apple Podcasts, has its own loudness normalization process. They want every show to play at a similar volume so listeners aren't constantly reaching for the volume knob.
If your show is too quiet, they'll boost it. The problem? That also boosts any background noise or hiss you have. If your show is too loud, they'll smash it down with a limiter, which can make it sound distorted and lifeless.
When you master your final file to the industry standard—around -16 LUFS for stereo—you take back control. You're telling the platforms, "This is how my podcast is supposed to sound." It's a non-negotiable step for a professional-sounding show.
Once you’ve nailed the technical skills, the next logical question is often about turning your passion into a business. To learn more about how podcasters make money, you can explore the various routes creators take to generate income.
Ready to create custom, professional sound effects for your podcast? With SFX Engine, you can generate unique, royalty-free audio just by typing a prompt. Elevate your show's production value today at https://sfxengine.com.