December 24, 2025 · Kuba Rogut
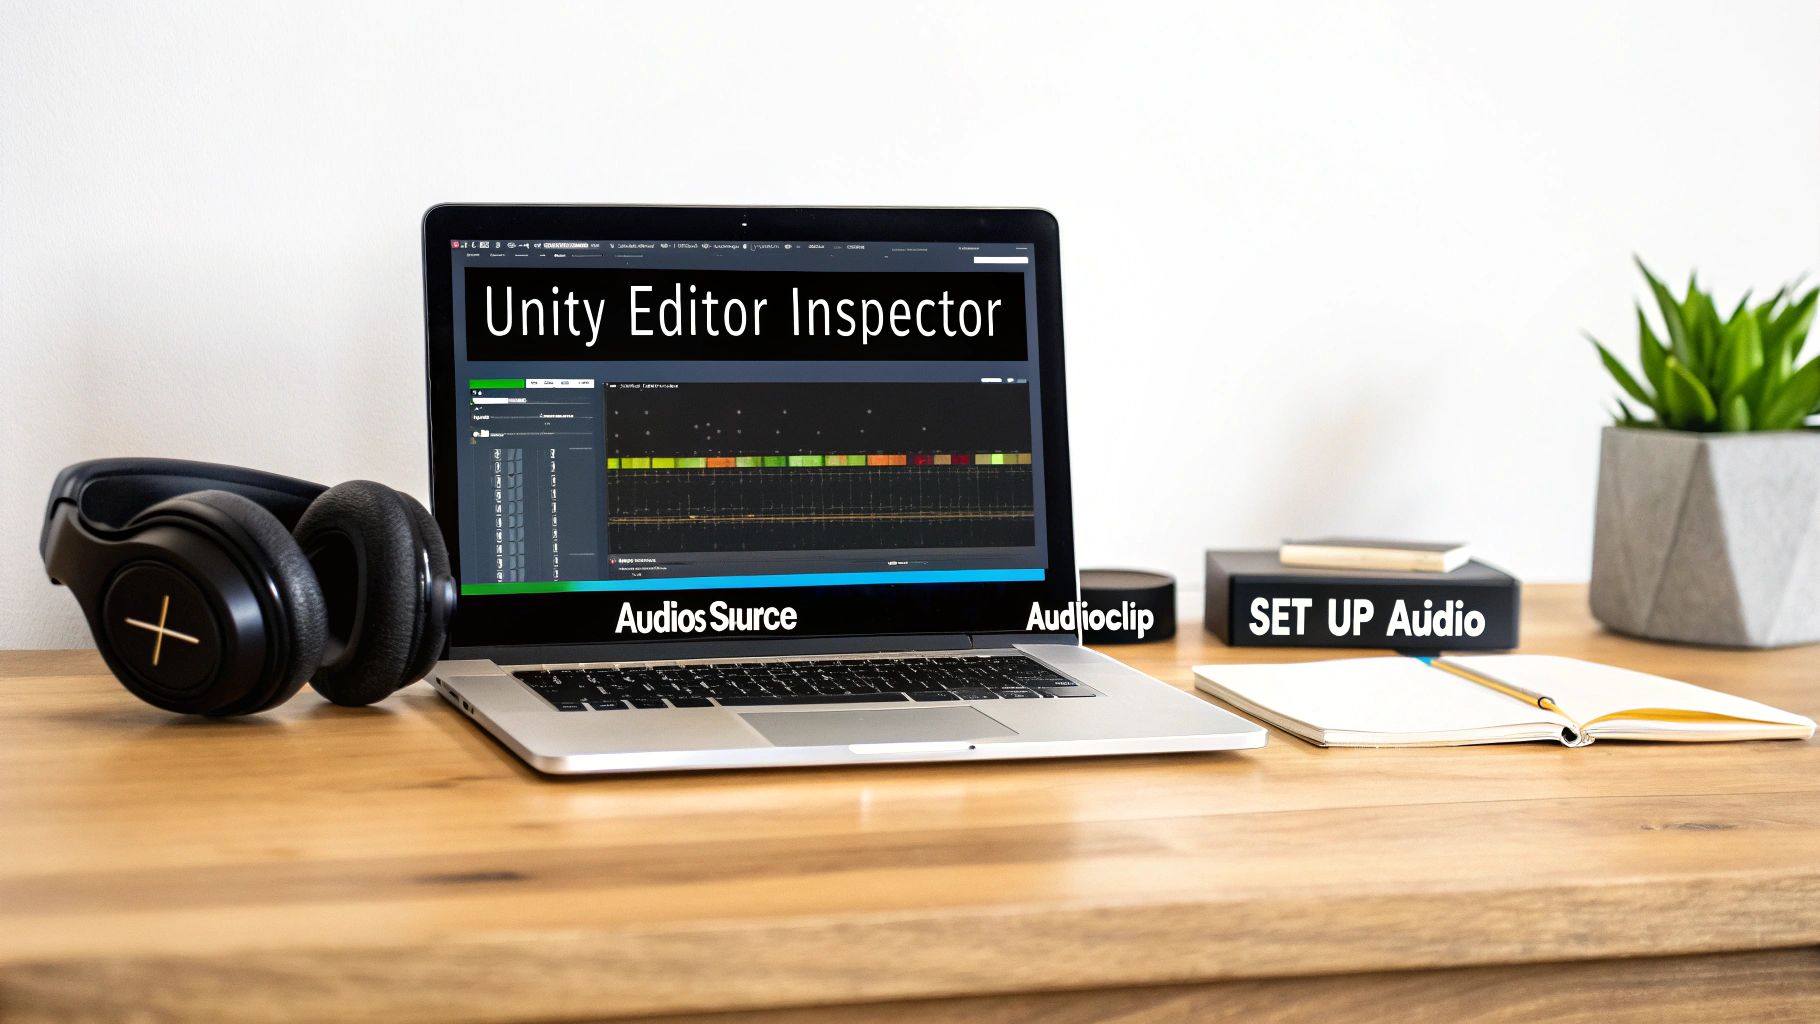
Before you can trigger a single footstep or explosion, you need to lay the groundwork. Getting your audio set up correctly from the start in Unity is a game-changer, saving you from wrestling with messy projects and performance bottlenecks later on. It all boils down to three core components: the AudioClip, the AudioSource, and the AudioListener.
Think of it this way: the AudioClip is your actual sound file (the gunshot .wav), the AudioSource is the speaker in your game world that plays it, and the AudioListener is the microphone that picks it up, usually attached to your player's camera.
A solid audio foundation isn't about code—it's about preparation and understanding how Unity handles sound. A professional workflow begins the moment you import your first audio file.
When you drag a sound file into your Unity project, it becomes an AudioClip. But the format you choose really matters. For short, responsive sounds that need to be snappy—think UI clicks, weapon fire, or character Foley—stick with uncompressed WAV files. You get maximum quality with zero decompression lag, which is critical for sounds that need to sync perfectly with gameplay.
On the other hand, for longer-form audio like background music or ambient loops, a compressed format like OGG Vorbis is your best friend. It significantly cuts down on file size, which is a huge deal for your game's final build size, especially on mobile. Unity handles the decompression on the fly, and the performance trade-off is well worth it.
Once your clips are imported, they need a home. That's where the AudioSource component comes in. You can attach it to any GameObject in your scene—a character, a prop, or even an empty object for ambient sounds. Just select the GameObject, hit "Add Component" in the Inspector, and search for "AudioSource."
You'll spend a lot of time tweaking an AudioSource's properties. Here are the big ones:
The last piece of the puzzle is the AudioListener. Unity automatically puts one on the main camera in a new scene, which is usually exactly where you want it. This component acts as your player's ears, picking up all the sounds from the AudioSources around it.
Crucial Tip: You should only ever have one active AudioListener in a scene. Having more than one will cause Unity to throw warnings and can lead to weird, unpredictable audio behavior.
Understanding how these three pieces interact is fundamental to everything you'll do with sound in Unity.
Before we dive deeper, it's worth taking a look at how these core components fit together.
| Component | Primary Role | Key Configuration |
|---|---|---|
| AudioClip | The sound file itself. | Import settings (compression, format). |
| AudioSource | The "speaker" in the game world that plays the AudioClip. | Assigns AudioClip, volume, pitch, 3D spatial settings. |
| AudioListener | The "ears" of the player that receive sound from AudioSources. | Typically attached to the main camera, only one per scene. |
Mastering these three components is the first step toward creating truly compelling game audio. For more insights on sourcing and preparing your audio assets, check out our guide on finding quality sounds for games.
The game audio market is exploding, projected to reach USD 25.8 billion by 2030. Unity developers are at the forefront, using smart workflows and AI to implement high-quality sound effects efficiently.
Setting up components in the Inspector is a great start, but the real fun begins when you make sounds react to what's happening in your game. To connect player actions and in-game events to your audio, you'll need to jump into some C# scripting.
The simplest way to play a sound is to grab a reference to an AudioSource component and call its Play() method. This works perfectly for sounds that play once and don't overlap, like the background music kicking in or a cinematic door opening.
For instance, if you have a treasure chest, you could write a quick script to play a "creak open" sound the moment the player interacts with it. This creates a really satisfying link between what the player does and what they hear.
One of the most common trip-ups I see from developers new to Unity audio is using AudioSource.Play() for everything. This can cause some seriously clunky audio behavior, especially with sounds that need to fire in quick succession.
When you call Play(), it stops whatever clip is currently playing on that AudioSource and starts the new one. Think about a machine gun: if you used Play() for each bullet, you’d just hear a choppy, stuttering mess instead of a smooth burst of fire because each new shot would cut off the last one.
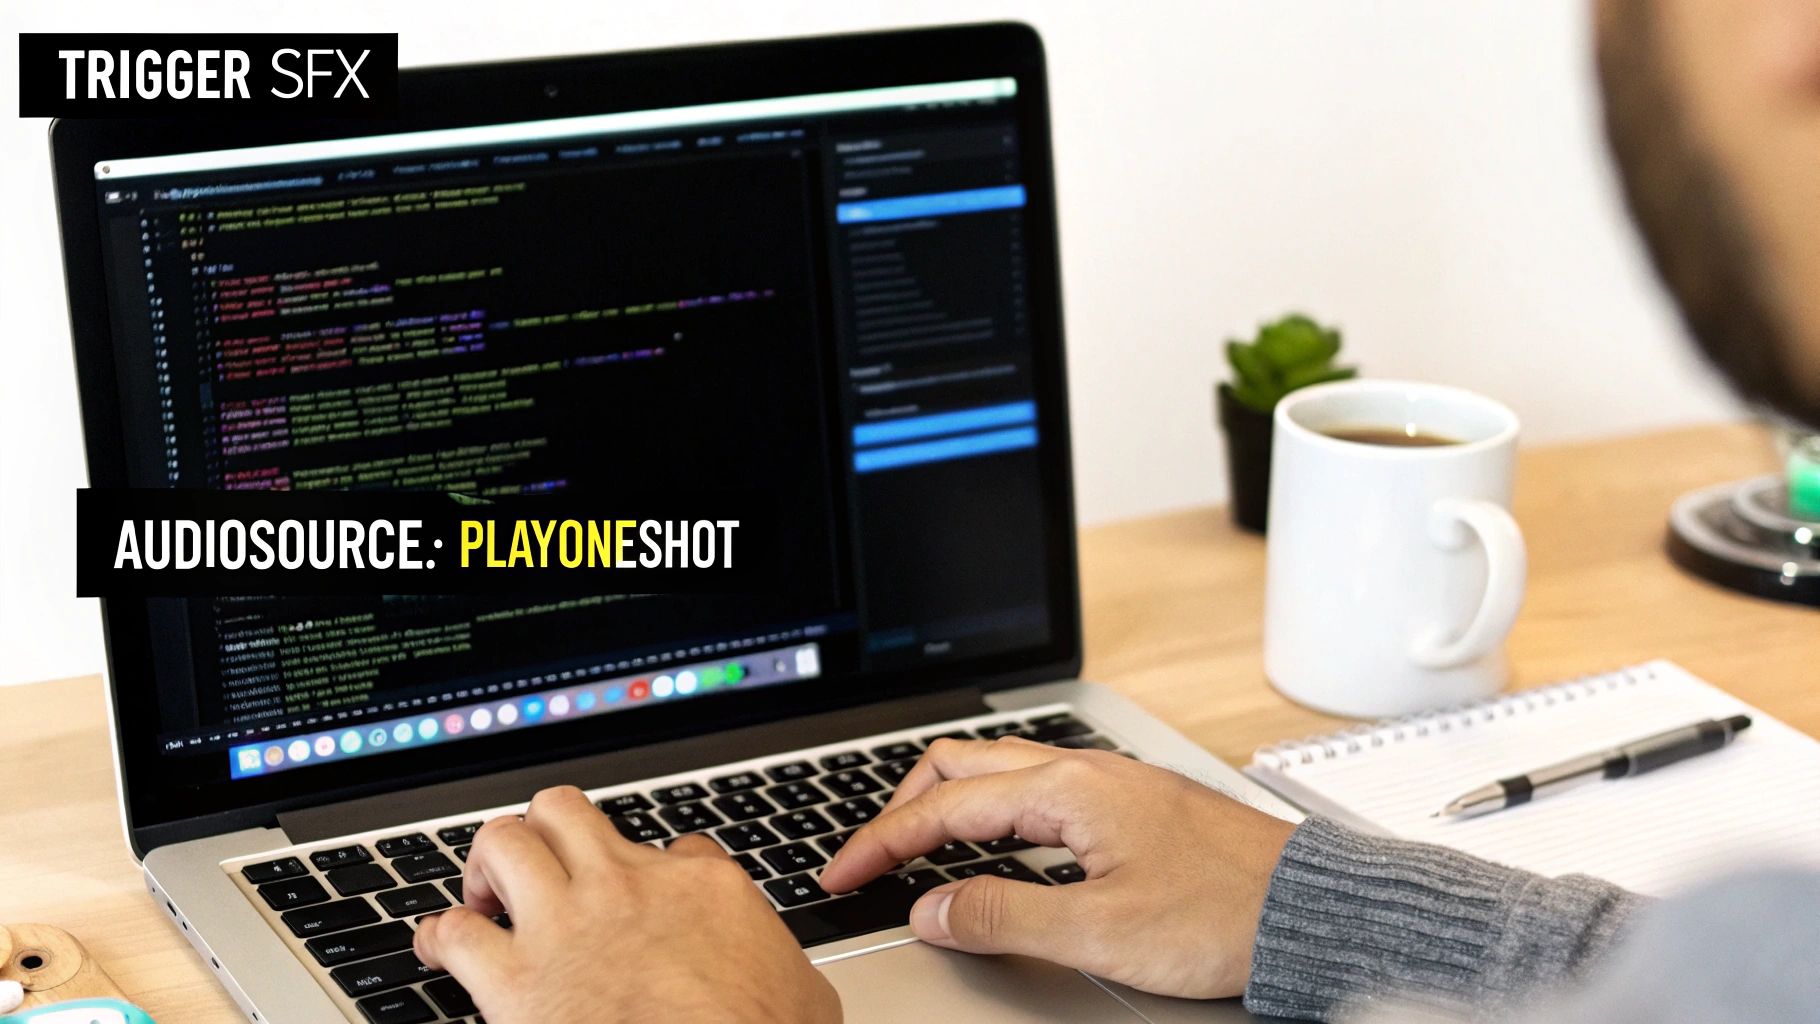
This is exactly why AudioSource.PlayOneShot() exists.
PlayOneShot(yourAudioClip) plays a sound without stopping the current one. It essentially layers the new sound on top, allowing multiple clips to overlap from the same source. It's the go-to method for things like:
My Rule of Thumb: Use
Play()for sounds that should absolutely never overlap, like starting a music track. For almost every other gameplay SFX,PlayOneShot()is your best friend. It prevents sounds from trampling all over each other.
As your game gets more complex, you'll find yourself needing to play sounds from all over your project—player scripts, enemy AI, UI buttons, you name it. Sprinkling AudioSource references and PlayOneShot calls everywhere quickly becomes a mess.
A much cleaner, more scalable solution is to build a centralized AudioManager. This is a dedicated script that handles all audio requests from a single place.
Often, an AudioManager is set up as a singleton, which is a design pattern that ensures there's only one instance of it in your entire game. Now, instead of every script needing to find its own AudioSource, they can just make a simple call like AudioManager.Instance.PlaySound("PlayerJump").
This approach gives you some huge wins:
Let's look at a real-world example. Say you want to play a sound whenever the player jumps. In your PlayerController script, you'd start by getting a reference to the AudioSource component on the same GameObject.
public class PlayerController : MonoBehaviour { public AudioClip jumpSound; private AudioSource audioSource;
void Start()
{
    // Get the AudioSource attached to this player
    audioSource = GetComponent<AudioSource>();
}

void Update()
{
    // When the player hits the jump button...
    if (Input.GetButtonDown("Jump"))
    {
        // ...play the jump sound without interrupting other sounds.
        audioSource.PlayOneShot(jumpSound);

        // ...rest of the jump logic goes here...
    }
}
}
This simple snippet is a perfect demonstration of how to implement sound effects in Unity. By attaching this script to your player (which also has an AudioSource component), the jumpSound will fire every single time the jump button is pressed. This code-driven approach is the foundation for building a truly responsive and immersive audio experience.
Once you start adding sound effects in Unity, your project can get cluttered fast. Before you know it, you're drowning in dozens, maybe hundreds, of individual AudioSources. Trying to manage them one-by-one is a recipe for disaster. This is where Unity's AudioMixer steps in, becoming the central command center for your game's entire audio landscape.
Think of it like the mixing console in a recording studio. A sound engineer doesn't run around adjusting the volume on every single microphone. Instead, they group instruments into channels—drums, guitars, vocals—and mix them from one place. The AudioMixer lets you do the exact same thing for your game audio, giving you high-level control over entire categories of sound.
First things first, you need to create the mixer itself. Just head to your Project window, right-click, and choose Create > Audio Mixer. I usually name mine "MainMixer" to keep things obvious. When you double-click this new asset, the Audio Mixer window pops up. This is where the magic happens.
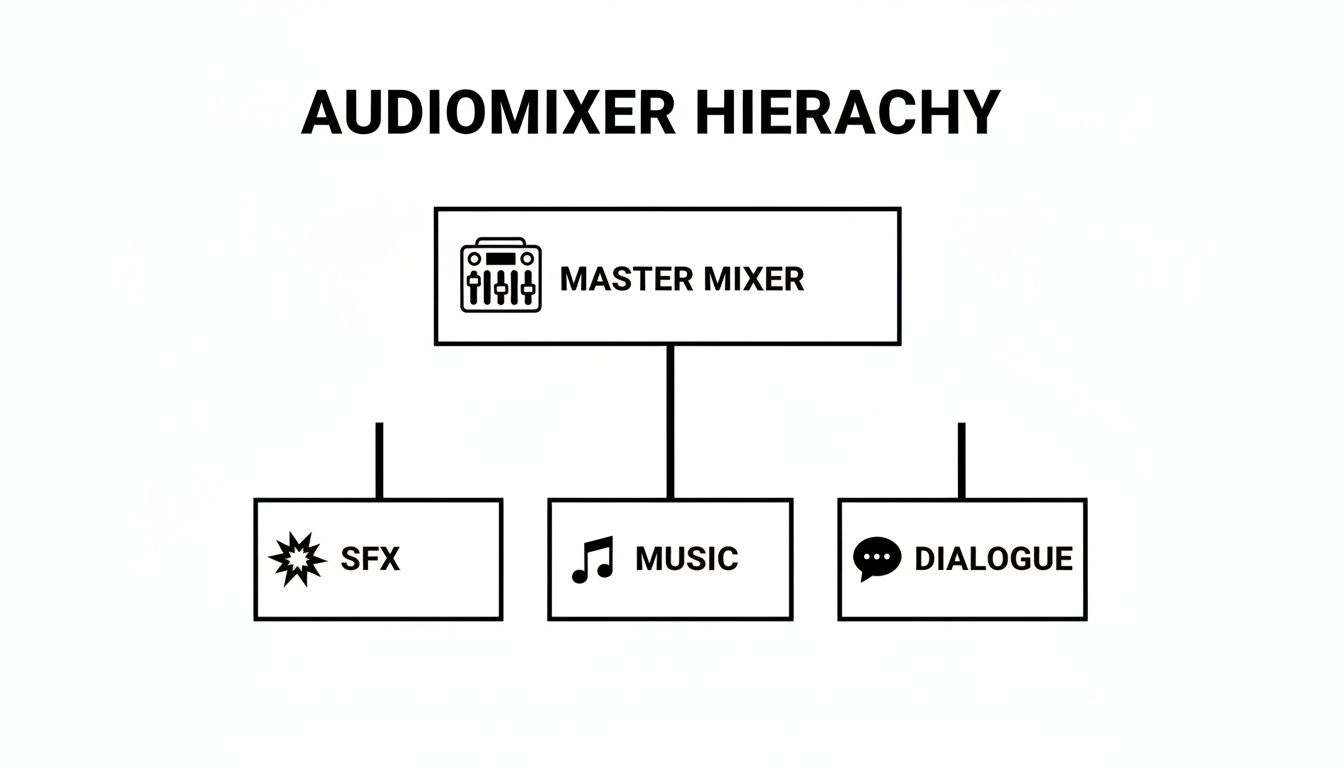
The goal here is to build a logical hierarchy using Mixer Groups. A clean, professional setup almost always includes the same core categories:
To set this up, find the "Groups" list in the mixer window and click the little "+" icon. You'll want to create your SFX, Music, UI, and Dialogue groups as children of the default "Master" group. Once that's done, you can select any AudioSource in your scene and use its Output field in the Inspector to route its sound to the right group.
This simple organizational step is a game-changer. Suddenly, if you need to turn down all sound effects by 10%, you're adjusting a single "SFX" slider instead of hunting down every last AudioSource scattered across your project.
One of the biggest wins with this system is how easily it lets you empower the player. Any solid game needs a settings menu with separate volume sliders for music and sound effects. You can wire this up by "exposing" mixer parameters so your C# scripts can talk to them.
It's pretty straightforward. In the mixer window, just right-click on the "Volume" label for your SFX group and select "Expose 'Volume (of SFX)' to script." Unity will add it to a list of exposed parameters, where you can rename it to something clean and simple, like "SFXVolume." Do the same for your Music group.
Now, your options menu script can directly modify these values. This isn't just a nice-to-have feature; it's a fundamental part of a professional user experience. In fact, dynamic audio has become a staple, with data suggesting around 75% of top Unity titles use volume mixing to enhance immersion—a technique made simple with this setup. For more on modern audio trends, this Game Developer article is a great read.
AudioMixers go way beyond simple volume faders. They let you create powerful, instantaneous changes to your soundscape using Snapshots. A Snapshot is essentially a saved preset of your entire mixer—every volume, pitch, and effect setting, all captured in one state. You can then transition between these snapshots with a single line of code.
Imagine your player dives underwater. You could create an "Underwater" snapshot where you:
Then, in your code, you just call yourMixer.TransitionTo(underwaterSnapshot, 1.0f), and your entire game's audio will smoothly morph into this new state over one second. This technique is also perfect for muffling the game audio when a pause menu pops up, creating a clear separation between gameplay and the UI.
Effects like reverb can add incredible depth, and knowing how they work will seriously level up your sound design. If you're curious, you can dive deeper by exploring our guide on what convolution reverb is and how it works. Mastering AudioMixers and their built-in effects is a non-negotiable skill when learning how to implement sound effects in Unity like a pro.
Once you've nailed the basics of triggering sounds and routing them through mixers, it's time to dig into the details that separate amateur audio from a truly professional soundscape. This is where we move beyond just playing a sound at the right time and start crafting an experience that feels authentic and performs like a dream, especially when the action gets intense.
Let's be honest: one of the biggest performance hogs in games with lots of action is creating and destroying GameObjects just to play a quick sound. Every time you call Instantiate() for a temporary AudioSource—think explosions, bullet impacts, or footsteps—you're hitting the CPU with a small but significant cost. When dozens of these fire off at once, you get the dreaded lag spikes and frame drops that pull players right out of the experience.
The go-to solution for this is a technique called object pooling. Instead of destroying an AudioSource after it's done playing, you simply deactivate it and return it to a "pool" of available objects. When another sound needs to play, your system just grabs an inactive AudioSource from this pool, puts it where it needs to go, plays the clip, and sends it back when finished.
This approach is a game-changer for performance:
Setting up a basic pool is straightforward. You just need a manager script that maintains a list of pre-made GameObjects, each with an AudioSource component. This script's job is to hand out available sources when requested and keep track of which ones are busy. It's a bit of work up-front, but the performance payoff is massive.
To illustrate the difference, here's a quick breakdown of the performance costs.
| Technique | CPU Impact (Frequent SFX) | Memory Impact | Best For |
|---|---|---|---|
| Instantiate New AudioSource | High | Fluctuating | One-off, infrequent sounds |
| Object Pooling | Very Low | Stable (higher initial use) | Repetitive sounds (gunfire, footsteps, impacts) |
While pooling has a slightly higher memory footprint at the start (since you're pre-loading the objects), the stable, low-CPU performance during gameplay makes it the clear winner for any sound that will be played frequently.
For a sound to feel like it truly belongs in your world, it needs to be properly spatialized—it has to sound like it’s coming from a specific point in 3D space. The AudioSource component gives you two powerful tools for this: Spatial Blend and Volume Rolloff.
The Spatial Blend slider is the master control for 3D positioning. A value of 0 makes the sound pure 2D, perfect for UI clicks or background music that shouldn't be tied to a location. Cranking it to 1 makes it fully 3D, meaning its volume and panning will change dynamically based on where your AudioListener (usually on the camera or player) is. For almost all in-world sound effects, you'll want this set to 1.
Next up is the Volume Rolloff curve, which dictates how a sound’s volume fades with distance. Unity gives you a few presets, but the real magic comes from creating a custom curve. A gunshot might have a very sharp, rapid drop-off, while a distant alarm bell could fade out gradually over a much longer range. I’ve found that spending time tweaking these curves is one of the most effective ways to boost immersion.
Pro Tip: Don't just rely on volume for distance cues. A fantastic trick is to add an Audio Low Pass Filter effect to your
AudioSource. As an object gets further away, you can use a simple script to lower the filter's cutoff frequency. This realistically muffles the high-end frequencies, mimicking how sound travels through the air in the real world.
Organizing these different audio types is crucial. A common and effective setup is to use an AudioMixer with separate groups for different categories of sound.
This kind of structure lets you control spatialized SFX independently from non-spatial elements like music, which is a fundamental part of learning how to implement sound effects in Unity like a pro.
Nothing screams "video game" more than hearing the exact same footstep or sword slash over and over. This kind of repetition causes "ear fatigue" and can quickly break a player's immersion. The fix is simple: add subtle, randomized variations.
Instead of plugging a single AudioClip into your script, use an array of similar-sounding clips. When the event is triggered, have your script pick one at random. To take it a step further, you can also randomize the pitch and volume slightly each time. A tiny pitch shift between 0.95 and 1.05 is often all it takes to make a repetitive sound feel completely natural and organic.
You can even tie this directly to gameplay physics. For a vehicle, for example, you could map the AudioSource pitch to the car's RPM. As the player accelerates, the engine's pitch rises in response. This creates a dynamic feedback loop that connects the player directly to the action—it's this level of detail that really elevates your sound design.
These techniques aren't just for polish; they're becoming central to modern game development. Since Unity 2019.4 introduced its AudioOcclusion feature, spatialization realism has jumped by an estimated 35% in many VR titles. Looking ahead, the 2025 Industry Trends Report found that 42% of professionals believe immersive audio will be a dominant factor in XR. You can discover more insights about these trends and what they mean for the future of game audio.
The old way of sourcing sound effects—painstakingly digging through massive libraries or setting up a foley studio—can be a real drain on time and money. For indie devs or small teams, this reality often leads to compromises, forcing them to use generic assets that just don't capture the unique feel of their game.
But that's starting to change. AI-powered sound generation is flipping the script, offering a quick, flexible, and surprisingly affordable path to custom audio.
Tools like SFX Engine are a perfect example of this shift. You can now create custom sound effects with nothing more than a simple text prompt. Need the sound of a "magical ice spell freezing a rusty metal door"? Instead of spending hours hunting for the right files, you just type it out and get several unique options back in seconds. This kind of speed makes rapid prototyping and creative experimentation genuinely possible for everyone.
This workflow closes the gap between idea and implementation almost instantly. You generate the sound, download a high-quality file, and drag it right into your Unity project. The process is the same as using any other audio asset, but the final product is perfectly tailored to your game's specific moment.
The real win with AI sound generation is how accessible it makes high-quality audio. It effectively removes the traditional gatekeepers: expensive recording gear and massive library subscription fees. A lone developer can now craft a completely original soundscape for their game without needing a dedicated audio department.
This is more than just a workflow improvement; it fundamentally changes how we can think about game audio.
For indie developers, this on-demand model is a lifesaver. Instead of losing a whole day searching for that perfect sound, you can generate a dozen solid candidates in five minutes, pick the best one, and get back to building your game. It keeps the creative momentum going.
And for those of you looking to build a serious collection of sounds, our guide on how to build a game sound effects library is a great resource for organizing all the new assets you'll be creating.
As cool as this is, we're really just scratching the surface. The next major leap is real-time, runtime generation. Imagine game engines creating sounds on the fly based on what's happening in the game, rather than just playing back pre-recorded files. That's how you get a truly dynamic and responsive world.
Unity is already moving in this direction. Their 2025 roadmap includes generative AI audio tools that will let developers create short clips from pre-trained models right inside the editor. This move is a direct response to rising development costs, where games can now take 20-30% longer to make, even with better tools. You can get the details on Unity's future AI plans and see how they're tackling these production challenges.
This tech opens up some incredible possibilities:
If you're looking to create unique character voices or dynamic dialogue, you should also explore AI voice cloning tools like Applio, which can be another powerful addition to your AI audio toolkit. As we learn how to implement sound effects in Unity, embracing these tools isn't just about working faster—it's about unlocking a whole new level of immersion and dynamism in our games.
When you're first getting your hands dirty with audio in Unity, you're bound to run into a few common snags. It's just part of the process. I've seen these same questions pop up for years, so let's walk through the most frequent ones and get you back to building your game.
Getting your audio formats sorted out from the get-go will save you a world of pain down the line. Different sounds have different jobs, and picking the right format is a constant balancing act between quality and performance.
There’s no single "best" format, but there’s definitely a right tool for the job. It all boils down to a trade-off between audio quality, how much memory it eats up, and the hit on your CPU.
WAV: For short, punchy sounds that need to be super responsive, uncompressed WAV is your best friend. Think UI clicks, footsteps, or a weapon firing. Since there's no decompression needed, Unity can play them instantly with zero latency. They take up more space, sure, but for sounds under a few seconds, the performance gain is absolutely worth it.
OGG Vorbis: When it comes to longer audio files like background music, ambient loops, or chunks of dialogue, OGG Vorbis is the way to go. It offers fantastic quality with a much smaller file size, which is a huge deal for keeping your final game build lean.
My personal rule of thumb is pretty simple: if a sound is under three seconds long and timing is critical, I use WAV. For everything else, OGG is the perfect compromise between quality and size.
This is probably the number one frustration I see. You're trying to set up a rapid-fire machine gun or a quick succession of coin collection sounds, but each new sound abruptly kills the last one. The result is a choppy, unnatural mess.
This happens because you're repeatedly calling AudioSource.Play() on the same component. That function is designed to stop whatever is playing and start over.
The fix is simple: use AudioSource.PlayOneShot(audioClip) instead. This method was built specifically for this scenario. It plays a clip without interrupting anything else on that AudioSource, letting your sounds overlap and layer just like they would in the real world. For any rapid-fire SFX, PlayOneShot() is what you need.
Another classic. You’ve got a 3D sound in your world, you set its Spatial Blend correctly, but as soon as you move a little bit away, it just vanishes into thin air.
Nine times out of ten, the culprit is the Max Distance setting on your AudioSource. This number literally defines the maximum radius at which the sound can be heard. Step outside that bubble, and the volume drops to zero.
To fix it, just click on the GameObject with the AudioSource and crank up the Max Distance value in the Inspector. While you’re in there, play around with the Volume Rolloff curve. Tweaking this curve gives you much more artistic control over how the sound fades with distance, helping you create a far more believable and immersive world.
Think of an AudioMixer as your central command center for all things audio. Instead of trying to tweak the volume on hundreds of individual sound sources scattered across your project, you route them into logical groups like "SFX," "Music," and "UI."
Getting into the habit of using a mixer from the start is a massive workflow improvement. Here’s why:
Mastering these few solutions will solve most of the early headaches you'll face with Unity audio and let you get back to the fun part: designing an awesome-sounding game.
Ready to stop searching through sound libraries and start creating? With SFX Engine, you can generate the exact sound effect you need from a simple text prompt. Get custom, royalty-free audio in seconds, perfectly matched to your game's vision. Try SFX Engine for free today and hear what AI can do for your project.