August 23, 2025 · Kuba Rogut
If you want to drastically improve your audio quality, the first thing you need to do is get your recording environment under control. I can't stress this enough: minimizing echo and background noise before you even think about hitting record is the single most important step. No amount of fancy gear or software can truly rescue a bad recording captured in a lousy space.
Forget about that new microphone or plugin for a second. The biggest player in how your audio sounds is the room you're in. Every space has its own sonic signature, and most untreated rooms are full of echo, reverb, and outside noise that will turn your recordings into a muddy mess. This is the golden rule professional producers live by—a clean, clear signal at the source is everything.
This isn't about dropping a ton of cash to build a professional studio. It's about learning a bit about how sound works and using some practical tricks to tame your recording space, even if it's just the corner of your bedroom.
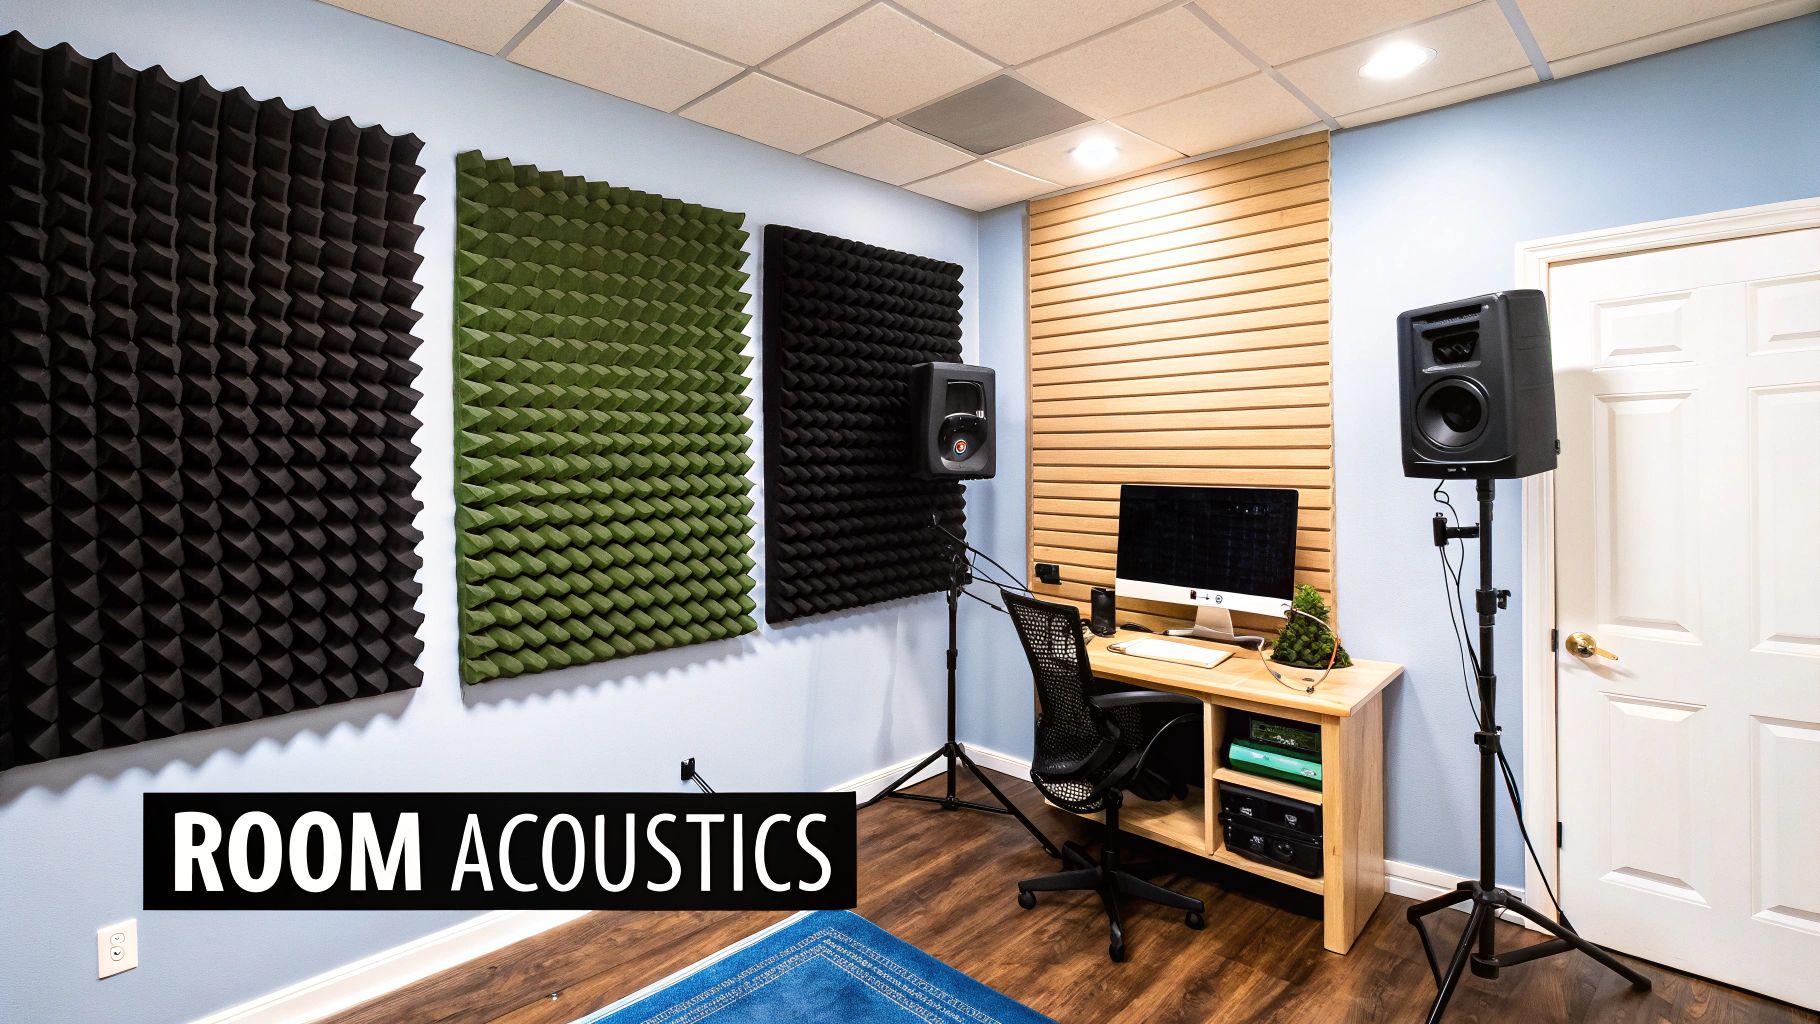
Hard, flat surfaces are your enemy. Think drywall, hardwood floors, and windows. Sound waves smack into these surfaces and bounce all over the place, creating a jumble of reflections that your microphone picks up as echo or reverb. The whole point of acoustic treatment is to absorb those reflections and "deaden" the room just enough to capture a direct, focused sound.
You can get started with stuff you already have around the house. For instance, a well-stocked bookshelf with different-sized books is a fantastic sound diffuser—it scatters the sound waves instead of letting them bounce right back at the mic. You can also hang heavy blankets or duvets on the walls (or even on a makeshift frame) to soak up a surprising amount of high and mid-range frequencies.
Even tiny adjustments can yield huge results:
The core idea is simple: the more soft, irregular surfaces you can place between your microphone and hard walls, the cleaner your raw recording will be. Nailing this first will save you from hours of headaches in post-production.
Ready to step it up without emptying your wallet? DIY acoustic panels are a total game-changer. At their core, they're just wooden frames stuffed with dense insulation material—like Rockwool or Owens Corning 703—and wrapped in a breathable fabric. When you place these at key reflection points (the walls to your left and right, and the ceiling above you), they can turn a problematic room into a perfectly usable recording space.
Finding these "first reflection points" is easier than it sounds. Just sit in your recording chair and have a friend slide a mirror along the walls. Any spot where you can see the microphone's reflection is a prime candidate for a panel.
Choosing the right treatment can feel overwhelming, so here's a quick rundown of common options to help you decide what fits your space and budget.
| Treatment Method | Primary Function | Cost Level | Best For |
|---|---|---|---|
| DIY Blankets/Rugs | High-frequency absorption | Low | Quick, temporary setups and reducing flutter echo on a tight budget. |
| Foam Panels | Mid to high-frequency absorption | Low-Mid | Home studios, podcasting booths, and controlling mid-range reverb. |
| DIY Acoustic Panels | Broadband absorption (low, mid, high) | Mid | Serious home studios needing effective, budget-friendly treatment. |
| Bass Traps | Low-frequency absorption | Mid-High | Treating corners to control boomy bass and achieve a tighter sound. |
| Diffusers | Scatters sound waves to create a natural sound | High | Recording live instruments or creating a spacious, controlled ambiance. |
Even a small investment here pays off big time in the final product.
The difference that even basic room treatment makes is something you can immediately hear and measure. This chart gives you a good idea of the improvements you can expect in key audio metrics after applying some simple acoustic solutions.
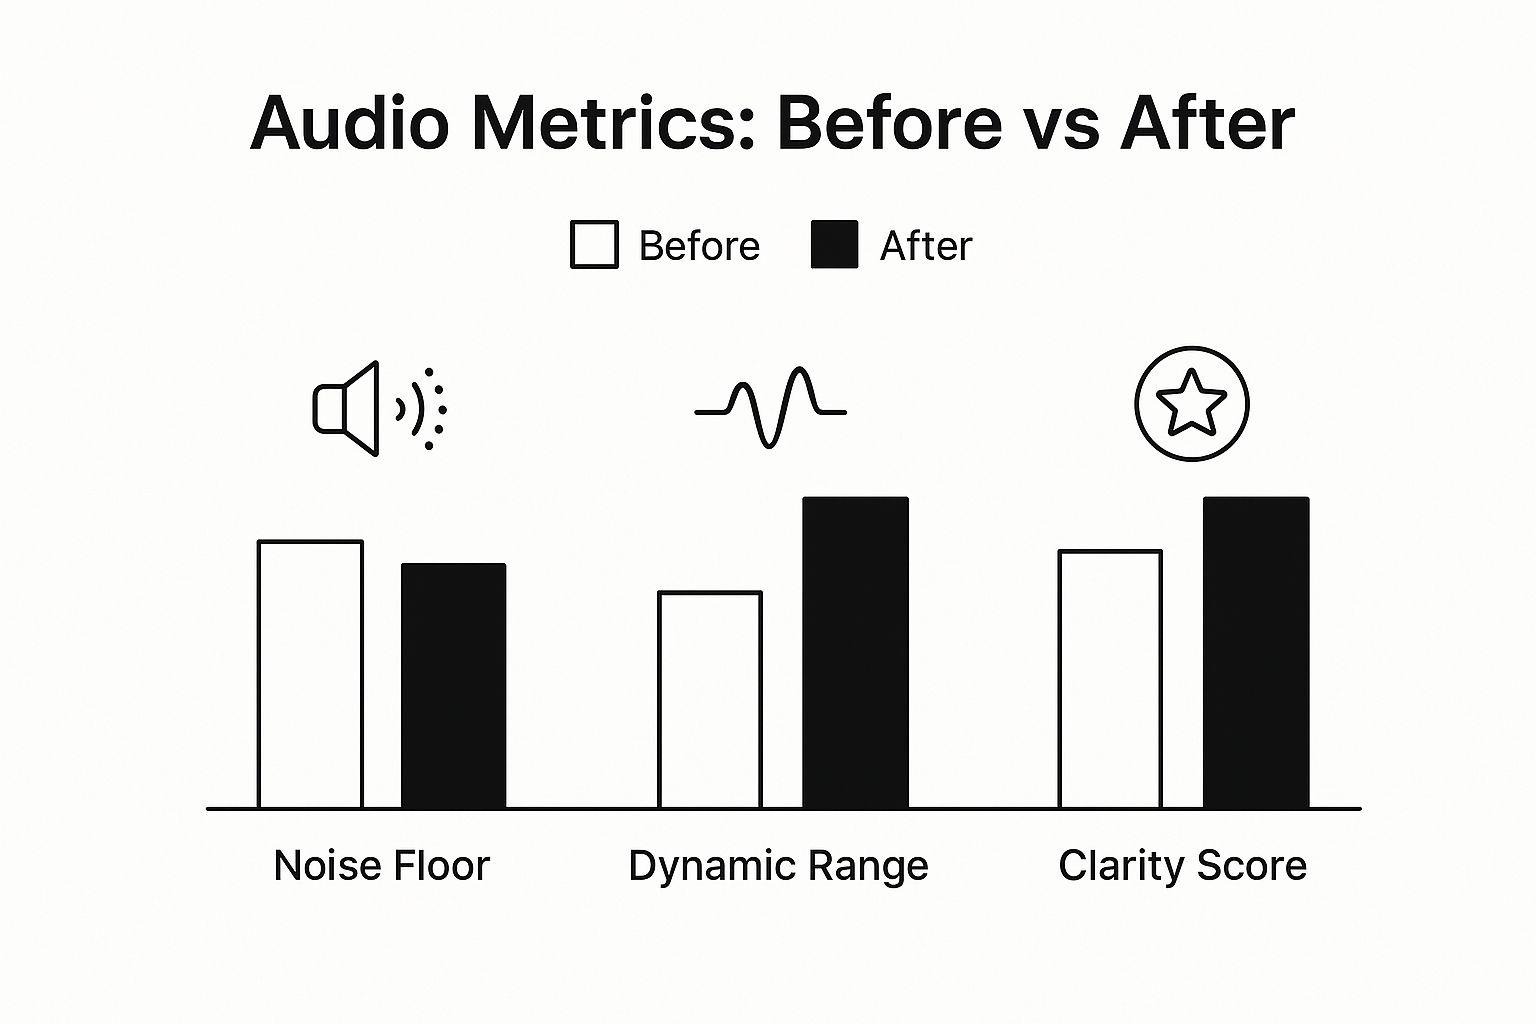
As you can see, treating a room properly drops the noise floor while boosting dynamic range and overall clarity. It proves that a better environment creates a fundamentally better signal. This focus on high-fidelity sound is why the professional audio market is growing so fast, estimated to hit around USD 5.26 billion in a year. You can discover more insights about the pro audio market and its trajectory.
At the end of the day, mastering your space is the first—and most powerful—way to improve your sound quality.
Alright, so your room is treated and those pesky echoes are gone. That's a huge win. Now we can shift our focus to the hands-on skills that make a real difference during the recording.
These next few techniques are your first line of defense against audio headaches. Get them right, and you'll prevent problems at the source, saving yourself a ton of time in the editing phase. This is what separates decent audio from something that sounds truly professional—it's less about expensive gear and more about knowing how to use what you have with purpose.
If there’s one skill that's non-negotiable in audio, it’s gain staging. This is all about setting your microphone's input level just right—not too quiet, and definitely not too loud. The goal is a strong, clean signal that never, ever distorts.
Think of it like this: you want to capture a signal that's loud enough to rise above any background hiss (the "noise floor") but still has plenty of breathing room before it hits the ceiling. That ceiling is digital clipping, and it's ugly.
Keep an eye on the meters in your recording software. A fantastic sweet spot to aim for is having your signal peak somewhere between -12dB and -6dB. This gives you enough headroom to avoid distortion if the performance gets a little louder unexpectedly.
A clipped recording is a ruined recording. It's permanently damaged and nearly impossible to fix convincingly. In contrast, a clean signal recorded with proper headroom can always be tweaked later. Nail your gain staging every time.
You know that distracting, bassy "thump" you hear when a speaker says a word with a 'P' or 'B'? Those are called plosives. They happen when a sudden burst of air from your mouth slams into the microphone's sensitive diaphragm.
The fix is as simple as it is effective: a pop filter.
This is just a mesh or metal screen you place between your mouth and the mic. It acts like a shield, breaking up that blast of air before it can overload the capsule. The result is a much smoother sound without sacrificing vocal clarity. A good starting point is to place it about a hand's width away from the mic. It's a cheap tool that delivers an instant, professional upgrade.
Many microphones come with a switch that lets you change their polar pattern, which is just a fancy way of saying "the direction it listens from." This is a powerful tool for getting clean audio, especially if your room isn't perfect.
So, if you're recording a podcast, you'll almost always want to be in cardioid mode to focus on the voice. But if you're recording an acoustic guitar and want to blend in some of the room's natural ambiance, you might experiment with the omni setting.
This whole discipline—from mic choice to the final mix—is what it's all about. To get a broader view of the entire workflow, you can learn more about what is audio production in our detailed guide.
Let's get one thing straight: you can't buy your way to great audio. Skill and technique will always beat a credit card. That said, having the right tools for the job makes everything so much easier.
Great gear doesn't have to cost a fortune. It’s all about making smart, informed choices that match what you're trying to accomplish. This isn't about the highest price tag; it's about finding the best value and function for your needs. We’ll walk through the essentials and show you how a few strategic purchases can dramatically improve sound quality without draining your wallet.
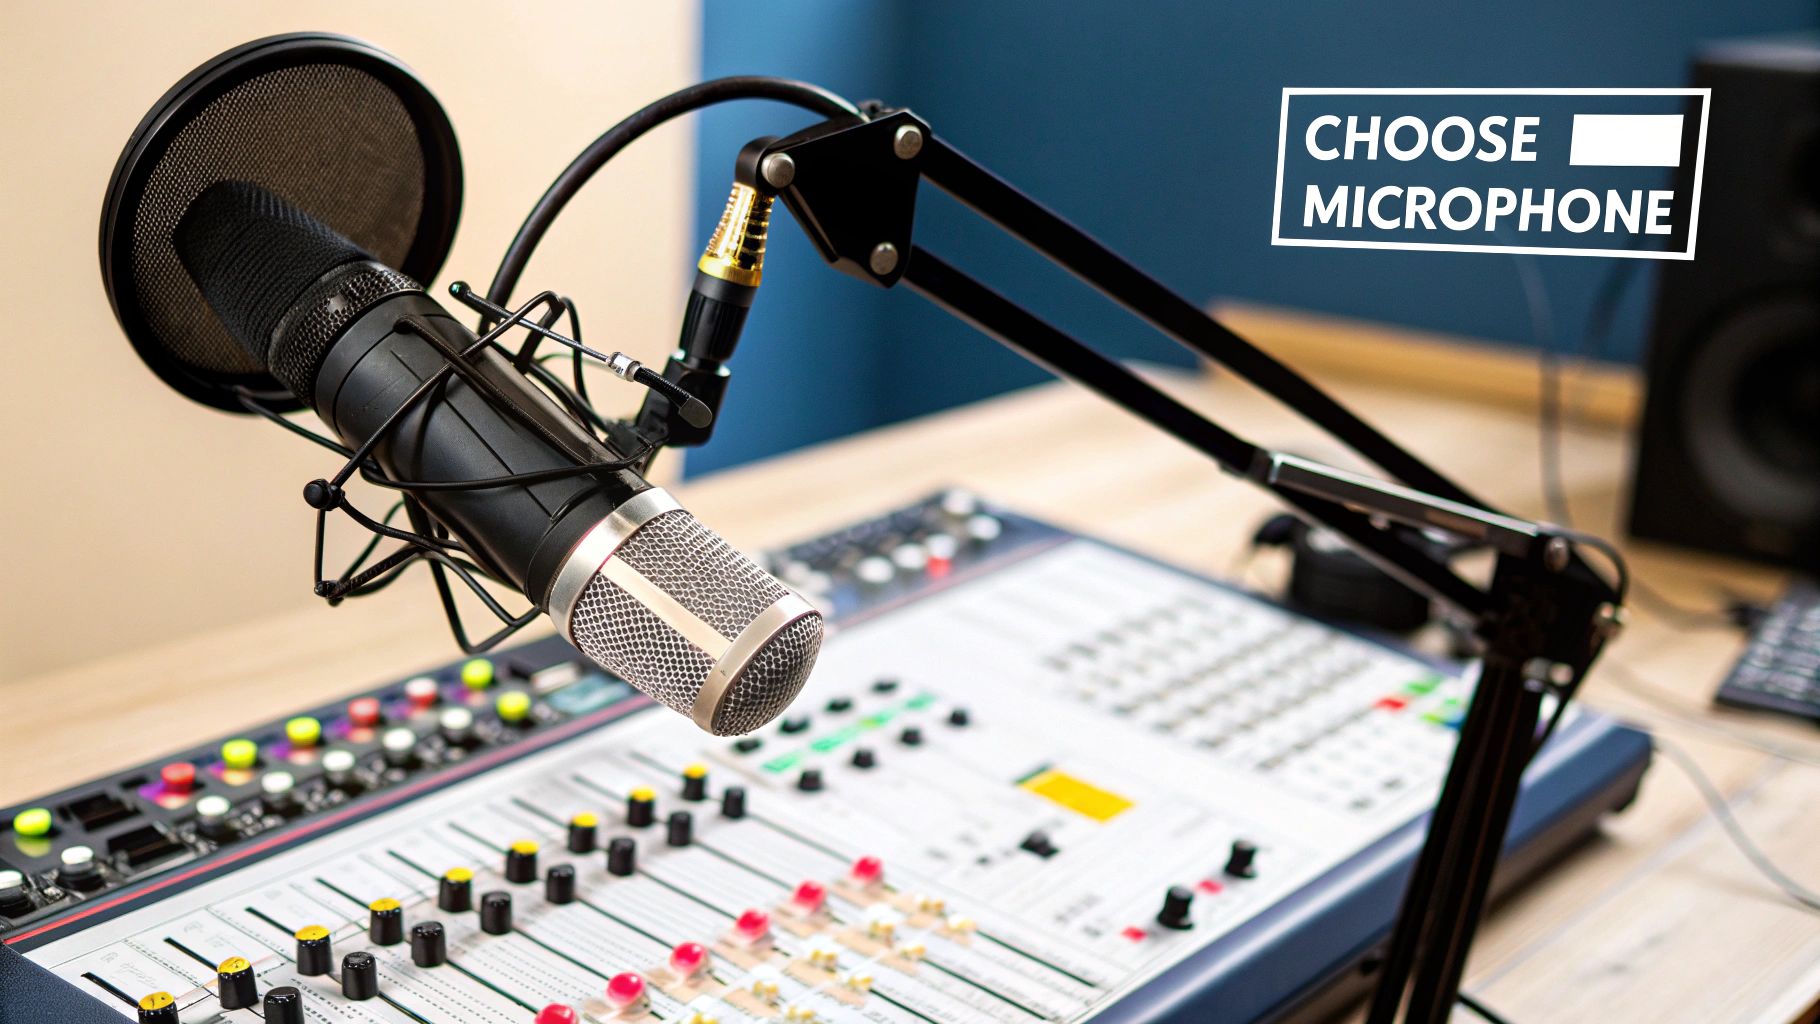
Your microphone is the first thing that touches your sound, so this decision really matters. But don't get paralyzed trying to find the single "best" mic in the world. The goal is to find the best mic for you and what you're recording. Microphones generally fall into a few key categories, each with its own personality.
Dynamic Mics: Think of these as the Swiss Army knives of the audio world. They’re tough, they can handle really loud sounds without flinching, and they're fantastic at ignoring background noise. This makes them a go-to for miking up a screaming guitar amp, a drum kit, or for podcasting in an untreated room. The legendary Shure SM58 is a perfect example of a workhorse dynamic mic.
Condenser Mics: If you need to capture every last bit of detail and nuance, you want a condenser. They’re much more sensitive than dynamic mics, which makes them brilliant for recording vocals and acoustic instruments. Just know they do require external power (called "phantom power") and are a bit more fragile. For a clean, professional vocal take in a quiet room, a condenser is your best friend.
Ribbon Mics: These mics are known for their incredibly warm, almost vintage character. They have a knack for sounding smooth and natural, which is why pros love them for taming harshness on things like trumpets, cymbals, or electric guitars. While the classic models were famously delicate, modern ribbon mics are much more durable.
Okay, so you’ve picked out a great mic with an XLR cable. How do you actually get that sound into your computer? That’s the job of the audio interface. This little box acts as the translator between the analog signal from your mic and the digital world of your recording software.
It handles a few crucial tasks:
When you're shopping, don't get lost in a sea of specs. For most projects, 24-bit depth is the industry standard and gives you plenty of dynamic range to work with. A sample rate of 44.1kHz or 48kHz is all you need for professional-sounding music, podcasts, or videos. A solid 2-channel interface from a trusted brand like Focusrite, PreSonus, or Audient is a fantastic place to start.
Your goal isn't to buy the most expensive gear, but the most appropriate gear. A $100 dynamic mic used with proper technique in a treated room will always sound better than a $1,000 condenser mic in an echoey kitchen.
This last point is non-negotiable. If you can't hear your audio accurately, you're mixing in the dark. Trying to make critical EQ or compression decisions using consumer earbuds or built-in laptop speakers is a recipe for disaster. Your mix might sound good to you, but it will fall apart on every other system.
To get it right, you need two things:
Studio Monitors: These aren't your average speakers. They’re designed for a "flat" frequency response, meaning they don't artificially boost the bass or highs to make things sound better. They tell you the unvarnished truth about your audio, which is exactly what you need to make smart mixing choices.
Studio Headphones: A quality pair of headphones is just as important. For recording, you’ll want a closed-back pair to prevent sound from the headphones from leaking out and getting picked up by your microphone. For mixing, many engineers prefer open-back headphones because they offer a more natural, speaker-like soundstage that can reveal subtle details.
Investing in even a modest monitoring setup will completely change your ability to improve sound quality in post-production. It's a foundational purchase that pays for itself on every single project.
So you've captured a clean recording. That’s a huge win, but the work isn't over just yet. The real magic often happens in post-production, where you get to polish your raw audio and transform it from "good" into something truly professional.
This is your opportunity to fix those tiny imperfections, boost clarity, and give your entire project a cohesive, polished feel. Don't get overwhelmed by all the sliders and knobs in your software. Once you get a handle on a few core concepts, you'll be editing with confidence. Let's walk through the essential processes that will help you improve sound quality long after you've hit the stop button.
Think of an equalizer, or EQ, as a hyper-specific set of tone controls. It gives you the power to adjust the volume of individual frequencies in your audio. Is a voice recording coming across as a bit boomy or muffled? An EQ can roll back those muddy low-end frequencies. Does an acoustic guitar feel a little dull? A gentle boost in the high frequencies can add that missing sparkle.
Ultimately, the goal of EQ is to create balance. Every sound, from a lead vocal to a subtle ambient effect, needs its own space in the mix to be heard clearly.
Here’s a practical way to approach it:
Mastering equalization is less about memorizing frequency charts and more about training your ears. A great mix isn't about making every single element sound perfect in isolation; it's about making them all sound perfect together.
Ever listen to a recording where some words are barely a whisper and others are practically shouted? That’s a wide dynamic range, and a compressor is the tool you need to get it under control. A compressor automatically reduces the volume of the loudest parts of your audio while leaving the quieter parts alone.
The result? A more consistent, punchy, and professional sound.
Imagine a tiny robot is riding the volume fader for you. When the signal gets too loud (crossing a "threshold" you set), the robot turns it down by a specific amount (the "ratio"). By making the loud parts quieter, you can then raise the overall volume of the entire track without it peaking or distorting. This makes the entire performance feel more present and powerful.
Even with the most careful recording setup, some unwanted background noise can creep in. We're talking about the low hum of a computer fan, the buzz of an air conditioner, or a subtle hiss from your gear. This is where noise reduction tools save the day.
Most audio editing software comes with a dedicated noise reduction plugin. The workflow is usually pretty straightforward:
A light touch is crucial here. Pushing noise reduction too hard can introduce weird, watery-sounding artifacts that make your audio sound unnatural and thin. The aim is to reduce the distraction, not to achieve absolute, sterile silence. For a deeper dive into this, check out our guide on how to remove background noise.
If you're just starting to build your post-production toolkit, it helps to know what the primary tools do and when to reach for them.
| Tool | Primary Purpose | Common Use Case |
|---|---|---|
| Equalizer (EQ) | To shape the tonal balance of a sound by boosting or cutting specific frequencies. | Removing muddy low-end from a vocal track to improve clarity. |
| Compressor | To reduce the dynamic range, making the volume more consistent. | Evening out a voiceover so whispers and loud statements are at a similar level. |
| De-Esser | To reduce harsh "s" and "t" sounds (sibilance) in vocal recordings. | Taming a sharp "sss" sound on a podcast host's voice that is piercing. |
| Noise Reduction | To remove or reduce unwanted background noise like hum, hiss, or room tone. | Cleaning up the low-level hum from an air conditioner in an interview recording. |
| Limiter | To prevent the audio from exceeding a set maximum level (clipping). | Placing it on the master track to catch any unexpected peaks and prevent distortion. |
By mastering these fundamental tools, you'll have everything you need to take your raw recordings and polish them into professional, release-ready audio.
You can spend countless hours treating your room, perfecting your mic technique, and meticulously editing your audio, but all that work can go down the drain in the final export. This is the moment of truth. It’s where you prep your audio to sound fantastic everywhere it will be heard, from high-end studio monitors all the way down to tiny smartphone speakers.
Getting this last step right ensures your audience hears your work exactly as you intended. The choices you make about loudness, file formats, and other technical specs are what separate an amateur mix from a professional master. This is about more than just clicking "Export"; it's about making deliberate decisions that honor the effort you've already put in.
One of the last, and most crucial, tools in any professional audio chain is a limiter. Think of it as an incredibly precise, powerful compressor that puts a hard ceiling on your audio's volume. Its entire job is to prevent your signal from ever going over a maximum level—usually set just below 0dB to avoid nasty digital clipping—while letting you boost the overall loudness.
By carefully pushing the input gain into the limiter, you can make your entire track feel louder and more competitive with commercial releases, all without introducing distortion. This is the secret sauce that gives audio that final, professional punch and presence.
A limiter is your final quality control gatekeeper. It ensures your audio is loud and impactful but never crosses the line into harsh, distorted territory, guaranteeing a smooth listening experience across all systems.
Not all audio files are created equal, and the format you choose for export depends entirely on where it's going. Are you archiving a master copy for yourself, or are you uploading it for the world to stream? Knowing the difference is critical for preserving your audio’s integrity.
Here’s a quick rundown of the formats you'll encounter most often:
WAV (Waveform Audio File Format): This is your master file, plain and simple. WAV files are uncompressed and lossless, which means they contain every single bit of the original audio data. The files are large, but they represent the absolute highest fidelity possible. Always, always export your final master as a WAV for your archives.
MP3 (MPEG Audio Layer III): The most famous audio format on the planet, MP3s use lossy compression. To shrink the file size, they cleverly remove bits of audio data that the human ear is least likely to notice. It's fantastic for portability, but it always comes at the cost of some audio quality.
AAC (Advanced Audio Coding): Often seen as the modern successor to MP3, AAC is another lossy format. The key difference is that at the same bit rate, AAC generally provides slightly better sound quality than an MP3. This is why it’s the format of choice for platforms like YouTube and Apple Music.
To make it even clearer, here’s how they stack up for different jobs:
| File Format | Compression | Quality | Best Use Case |
|---|---|---|---|
| WAV | Lossless | Highest | Archiving the final master, professional studio use. |
| MP3 | Lossy | Good | General distribution, email attachments, quick sharing. |
| AAC | Lossy | Very Good | Uploading to streaming services like YouTube or Spotify. |
When you export to a lossy format like MP3 or AAC, you’ll have to select a bit rate, which is measured in kilobits per second (kbps). This number tells the encoder how much data to use for each second of audio. A higher bit rate equals a larger file but better quality.
For most streaming platforms, 320 kbps for MP3 or 256 kbps for AAC is the gold standard.
You might also run into sample rate conversion. For instance, you may have recorded at 48kHz, but the destination platform requires 44.1kHz. Your software can handle this during the export process, but make sure it’s using a high-quality conversion algorithm to avoid introducing unwanted artifacts. Having a solid audio post-production workflow is key to managing these final details.
This obsession with detail is why sound quality testing has become such a massive industry. Valued at USD 2.61 billion, the global market is projected to grow significantly, proving how much consumers care about clear, balanced audio. You can learn more about the growth of sound quality testing and its industry-wide impact. Applying this final polish ensures your project meets those same high standards.
Even with the fundamentals down, a few key questions always seem to pop up. Let's tackle some of the most common ones I hear from people who are serious about getting better sound. These are the quick-and-dirty answers you need to solve real-world audio problems.
Hands down, it's your recording space. I can't stress this enough. You can have a thousand-dollar microphone, but if you're recording in a room with terrible acoustics, your audio will sound bad. It’s that simple.
Echo, reverb, and background noise get baked right into your recording, and no amount of software wizardry can truly scrub them out. Your first and most important job is to treat your room. Even hanging a few heavy blankets or putting a thick rug on the floor can make a bigger difference than a new piece of gear. Always, always start at the source.
Nope. Not when you're starting out. Professional software like Pro Tools or Logic Pro is amazing, but free tools like Audacity or GarageBand have everything you need to get the job done well. They all come with the essential tools: equalization (EQ), compression, and noise reduction.
Honestly, it's better to master the basics on a free program than to be overwhelmed by an expensive one you don't know how to use. The person behind the controls matters way more than the price of the software.
My best advice? Start with what you've got. If you can learn to use an EQ and a compressor effectively in Audacity, you're building skills that will transfer to any program you use down the road.
This is all about finding the "sweet spot" with your recording levels, a process we call gain staging. You want to aim for your audio to consistently peak between -12dB and -6dB on your recording software's meter. This gives you plenty of headroom.
What's headroom? It’s the safety buffer between the loudest part of your audio and the absolute maximum level of 0dB. If you hit 0dB, you get digital clipping—a nasty, distorted sound that's pretty much impossible to fix. Recording in that -12dB to -6dB range keeps your signal strong and clear, well above any background hiss, but safely away from that clipping point. It's the perfect level for editing later.
Absolutely. The quality of USB microphones has skyrocketed in recent years. For podcasting, streaming, voiceovers, or even basic music demos, a great USB mic can deliver truly professional results.
Sure, a classic XLR microphone running into an audio interface gives you more flexibility and might be necessary for a high-end recording studio. But for the vast majority of creators, a well-made USB mic is all you'll ever need. It takes away a lot of the technical hurdles and lets you focus on your performance, which is what really counts.
Ready to create the perfect sound for your project? SFX Engine offers an AI-powered sound effect generator that lets you design custom, royalty-free audio with simple text prompts. Find exactly what you need at https://sfxengine.com.