January 9, 2026 · Kuba Rogut
Learning how to layer sound effects is less about just adding audio and more about building a believable world from scratch. Think of it like a painter with a blank canvas. You start with a broad wash of color for the background—your ambient base—then you add the main subjects with their own unique details, which is your foley. Finally, you add those sharp, eye-catching highlights and shadows—the specific effects that punctuate the action.
This process is what takes a flat, one-dimensional scene and turns it into something your audience can actually feel.
Great video is an illusion, and layered audio is the magic trick that sells it. In the real world, sounds don't exist in a vacuum. The environments we experience every day are a complex soup of different audio threads all happening at once. When we layer sound effects in our videos, we're just mimicking that natural complexity. It’s how we create genuine depth, emotion, and a sense of reality.
This isn't just a technique for big Hollywood productions anymore, either. The demand for high-quality, immersive content is everywhere. The global sound effects market was valued at a whopping US$1.86 billion in 2023 and is expected to climb to US$3.2 billion by 2035. That growth is all about making audio more realistic and engaging.
At its core, sound layering is storytelling. It’s the difference between showing a rainy street and making your audience feel the chill of the water hitting the pavement and hear the distant rumble of thunder.
Before you can start layering like a pro, you need to understand the fundamental ingredients you're working with. Each type of sound has a specific job to do in building out your audio world. Understanding these roles is the first step to creating something truly compelling. For a deeper dive, you can explore more about how these elements create drama in our guide on cinematic sound effects.
Here’s a breakdown of the essential sound effect categories and the unique role each plays in constructing a complete and believable audio environment.
| Sound Category | Its Role in the Mix | Common Examples |
|---|---|---|
| Ambiance | Establishes the foundational mood and setting of a scene. | The low hum of a city, gentle forest winds, the murmur of a crowd. |
| Foley | Adds character-specific, synchronized sounds to enhance realism. | Footsteps on gravel, the rustle of clothing, a key turning in a lock. |
| Specific Effects | Provides punctuation and impact for on-screen actions or events. | A door slam, a car horn, an explosion, a digital notification chime. |
Once you get a handle on combining these core sound types, you start to weave an audio texture that pulls viewers deeper into the story. Of course, sound is just one piece of the puzzle. To round out your skill set, check out these essential video editing tips for beginners.
In my experience, the best sound design work happens long before I ever drag a clip into my timeline. Great audio layering isn’t a happy accident; it’s a deliberate process that starts with a solid plan. We call this planning stage spotting—it’s where you watch your video and meticulously map out every single sound opportunity, from the most obvious crashes to the quietest, most subtle details.
Think beyond the big moments. Of course, you need the sound of the car door slamming. But what about the faint jingle of keys in the character's hand right before? Or the distant city hum that grounds the scene in a specific urban environment? A good spotting session is like creating a detailed roadmap for your soundscape. It stops you from missing those little details that sell the reality of the world you're building.
When I'm spotting a project, I watch each scene multiple times, each time listening for something different. The first pass is usually for the "hero" sounds—dialogue, major actions, and big music cues. After that, I go back and focus on the layers that make the world feel alive.
To keep it all straight, I use a simple checklist for every scene. It's nothing fancy, but it works.
A key takeaway here: Don't just list what you see on screen; list what you should be hearing. A scene often feels lifeless not because of the sounds that are there, but because of the ones that are missing. A library scene without the faint whisper of turning pages just feels wrong.
Once you have your sonic map, it's time to gather the raw materials. You can find a massive amount of high-quality audio in traditional sound libraries. If you're building your toolkit from scratch, exploring collections that offer a free sound effects download is a fantastic place to start.
But what happens when you need something hyper-specific? Something like, "a heavy leather boot stepping on wet gravel inside an echoing cave." That's where AI-powered tools like SFX Engine really shine. Instead of trying to layer generic sounds for hours to approximate what you hear in your head, you can just generate the exact custom sound you need with a simple text prompt. It's a game-changer.
Before you even think about editing, do yourself a favor and create a clean folder structure. It's a simple, five-minute task that will save you hours of headaches later. A basic but incredibly effective setup is to create folders for each main category:
This blueprint—spotting, sourcing, and organizing—is your foundation. It ensures that when you finally open your editing software, you’re not just randomly throwing sounds at a timeline. You're executing a well-thought-out creative vision, ready to layer with purpose and precision.
With your audio spotted and sourced, it’s time for the fun part: bringing the soundscape to life. This is where you transition from architect to builder, stacking individual sounds into a rich, immersive world. It's a process that starts broad and gets progressively more detailed, with each layer adding a new dimension of realism.
I always think of this like painting on a canvas. You can't start with the fine details; you have to lay down the background first. In sound design, your background is the ambiance track. This is the constant, underlying sound that sets the scene—the drone of an office air conditioner, the whisper of wind through trees, or the distant rumble of city traffic. This single layer is your foundation; it gives every other sound a physical space to exist in.
Once your ambient bed is established, you can start layering in the more prominent sounds tied to on-screen actions. Think of things like footsteps, door closes, or dialogue. But this is where great sound design separates itself from the basics. A simple door closing is never just one sound.
This is where the real art of layering begins. Let's break down that "door close" effect:
Each of these distinct elements lives on its own track in your timeline. When you play them all together, a generic sound effect suddenly becomes a textured, believable moment that feels completely authentic to the scene. Many of the organizational skills here are universal; if you've ever looked into an efficient podcast editing workflow, you'll find the principles of clean timelines and asset management apply directly to this kind of detailed layering.
A truly immersive soundscape isn't just a pile of effects. It's a carefully woven tapestry where every single sound has a job, working together to pull the audience deeper into the story without them ever consciously noticing.
This workflow of spotting, sourcing, and organizing is the essential prep work before you even touch your timeline.
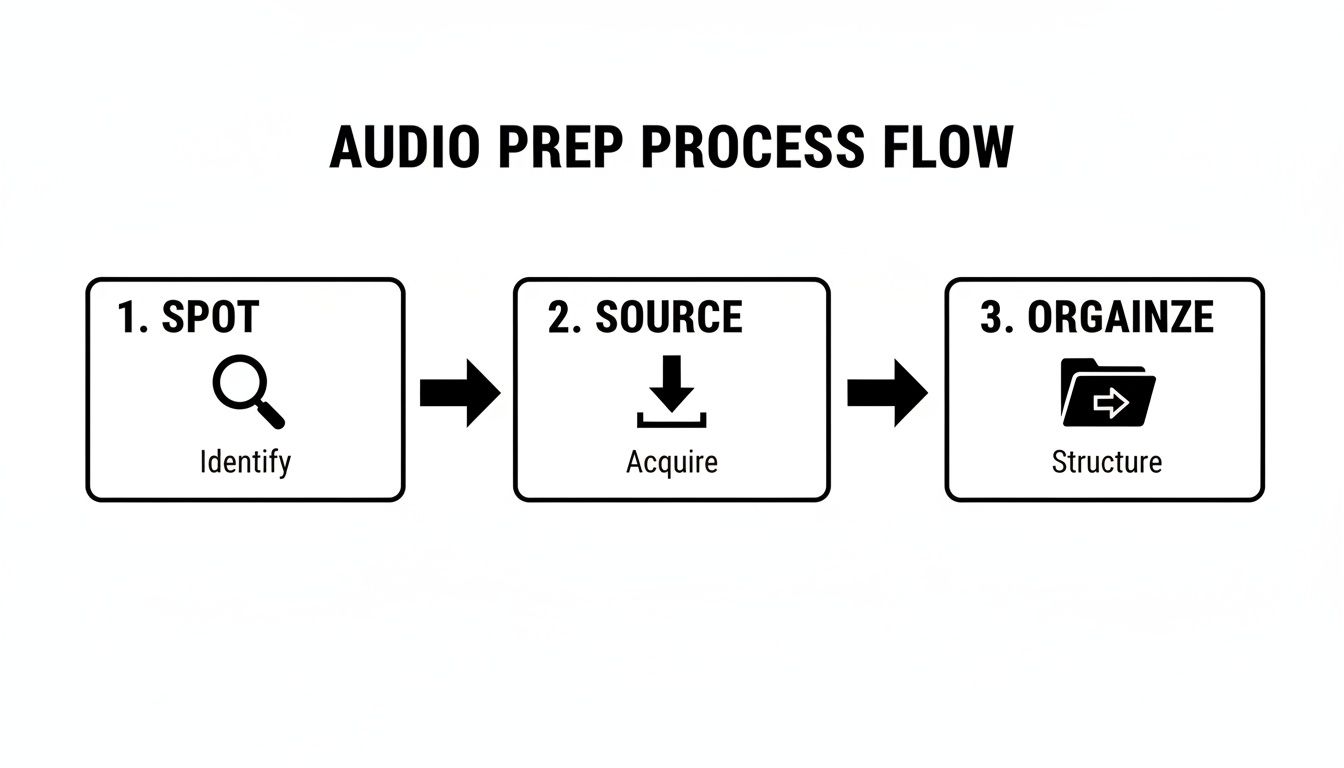
Getting this right from the start means that when you begin the layering process, you're working from an organized palette of sounds, ready to be placed with purpose.
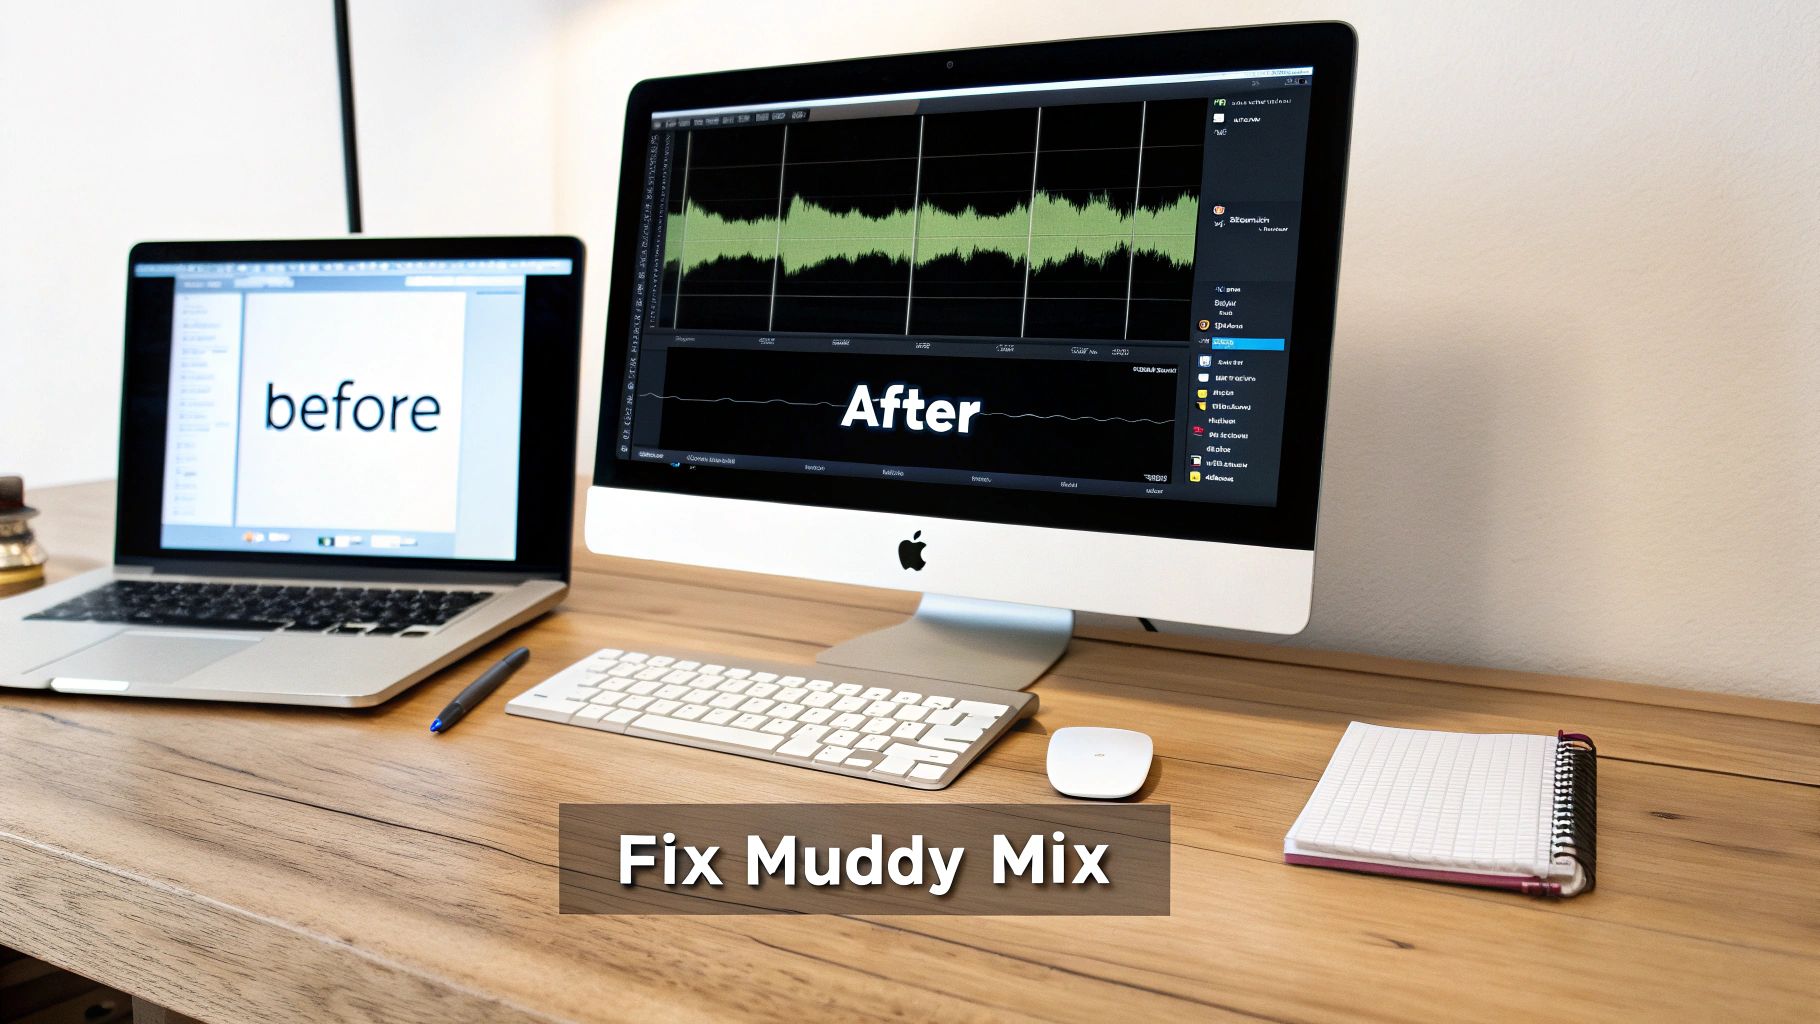
As you keep adding layers, you'll inevitably run into a common problem: a muddy mix. This is when different sounds start clashing and competing for the same sonic territory, turning your detailed soundscape into a confusing mess. The trick is to give each sound its own space to breathe. Here are the go-to tools for the job.
EQ (Equalization): I like to think of EQ as a sonic chisel. It lets you surgically boost or cut specific frequencies within any sound. For instance, if you have a deep, rumbly ambient track and a male character with a low voice, they're going to fight each other. By using an EQ to gently scoop out some of those low frequencies from the ambiance, you create a perfect pocket for the dialogue to sit in, making it instantly clearer.
Panning: This is your tool for placing sound in the stereo field—left, right, or anywhere in between. It’s a powerful way to enhance realism. If a character walks from the left side of the screen to the right, their footsteps should follow that path in the audio mix. Panning that sound effect to match the on-screen movement is a simple but incredibly effective technique for immersing the viewer.
Reverb: Reverb is what makes sounds feel like they belong in the same room. It mimics how sound waves bounce off surfaces in a given environment. By applying the same reverb preset to the dialogue, foley, and key sound effects in a scene, you "glue" them all together. Suddenly, it doesn't sound like a collection of separate recordings; it sounds like everything is happening in one cohesive, believable space.
Alright, you've spotted your scenes, sourced your sounds, and built your layers. Now comes the final, crucial step: mixing. This is where your collection of individual clips transforms into a cohesive, professional-sounding track.
Think of it as moving beyond just stacking sounds and into the art of shaping the entire audio experience. The goal isn't just to make sure everything can be heard, but to make it feel intentional, dynamic, and completely immersive. Let's dive into the techniques that separate a rough cut from work that truly captivates an audience.
Static sound effects are a dead giveaway of amateur audio. The world we live in is full of sounds that move and change, and automation is our tool for mimicking that reality. By programming changes to volume, panning, and effects over time, you can breathe life into your soundscape.
Picture an action scene: a car zips past the camera, left to right. A generic "car pass-by" effect just won't cut it. Instead, you can automate the pan so the sound travels across the stereo field, perfectly in sync with the visual. You'd also automate the volume to swell as it approaches, peak as it passes, and then fade into the distance. It’s a simple move, but it turns a flat effect into a believable moment.
The real magic of mixing is often in the subtle details. It’s the slight decrease in ambient volume during a tense whisper or the dynamic panning of footsteps that truly sells a scene and pulls the viewer in without them even noticing why.
One of the biggest headaches in a busy mix is making sure the most important audio—usually dialogue—doesn't get buried. A fantastic technique to solve this is sidechain compression, which you'll often hear called "ducking."
Here’s how it works: you link one track's volume to another. For instance, you can set up your ambient background track to be "ducked" by the dialogue track. Whenever a character speaks, the compressor automatically and subtly lowers the volume of the background noise. As soon as they finish their line, the ambient sound gently swells back to its original level. This keeps your dialogue crisp and clear without you having to ride the faders manually for the entire project.
Our comprehensive guide to the audio post-production workflow dives even deeper into finishing techniques like this.
Knowing how to properly layer and mix sound is more important today than ever before, and a big reason for that is the evolution of visual media itself. As films and shows lean more heavily on computer-generated imagery (CGI), the sound designer’s job gets a lot more complicated.
A scene that once might have needed only a few simple effects now routinely demands anywhere from 10 to 30 meticulously balanced layers just to make a single visual moment feel authentic. You can read more about this trend in this visual effects industry analysis.
Ultimately, a great mix is an invisible one. The audience should never be thinking about your sound design; they should be completely lost in the story. By using tools like automation for movement and ducking for clarity, you can turn a good mix into an unforgettable one.
Even with a solid plan, things can go wrong when you start layering sounds. Knowing how to diagnose and fix these common problems is what really elevates your work from good to great. Don't worry, everyone runs into these—let’s walk through the most frequent hurdles you'll face and how to clear them.
One of the first issues most people hit is the dreaded "muddy mix." This is what happens when too many sounds with similar frequencies get stacked on top of each other. The result is a messy, indistinct, and totally unprofessional soundscape. It’s like listening to three people mumbling at once; it all just turns into noise.
Another classic mistake is going overboard with effects, especially reverb. While a little reverb is fantastic for creating a sense of space, drenching everything in it will wash out your entire mix. Suddenly, your scene feels distant and blurry, and all those subtle details you worked so hard to build are lost.
So, what’s usually behind a muddy mix? The number one culprit is frequency masking. This happens when different sounds compete for the same space on the frequency spectrum, and they end up canceling each other out. For instance, if you layer a deep explosion, a low-frequency ambient drone, and a character with a bass-heavy voice, you're pretty much guaranteed a sonic mess.
Here’s how to untangle it:
Here's a pro tip I learned the hard way: bigger isn't always better. Layering three different bass rumbles won't make an impact sound three times bigger—it will just make it sound muddy. A much better approach is to layer sounds that have distinct high, mid, and low characteristics.
Another sneaky problem you'll run into is phasing. This happens when you layer two very similar sound waves that are just slightly out of sync. Because their peaks and troughs don't line up perfectly, they can thin out the sound or even make parts of it disappear entirely. It’s a subtle but powerful issue that can rob your audio of its punch.
It's also crucial to get your spatial effects under control to keep your mix from turning into an echoey cavern.
We’ve all been there—staring at the timeline, wondering why something just sounds off. This table is a quick-reference guide for those moments, breaking down the most common issues, why they happen, and—most importantly—how to fix them.
| The Problem | Why It Happens | The Solution |
|---|---|---|
| Phasing Issues | Two nearly identical sound waves are slightly out of time, causing frequency cancellation. | Nudge one of the clips forward or backward by a few milliseconds. If that doesn't work, try a polarity flip (or "phase invert") on one of the tracks. |
| Reverb Overload | Too much reverb is applied, or different reverbs are used on separate tracks, creating a washed-out, undefined mix. | Use a single "bus" or "aux" track for your reverb. Send a portion of each sound to this one reverb channel to ensure everything sounds like it's in the same space. |
Learning to spot and solve these problems is a huge part of the craft. Once you know what to listen for, you can keep your mixes clean, powerful, and professional every time.
As you start layering sound, you're bound to run into a few head-scratchers. That's a normal part of the process. I've pulled together some of the most common questions that come up for editors, with practical answers to help you sharpen your skills and build confidence.
There’s no magic number. It really comes down to what the scene needs, not hitting a specific track count.
A simple, emotional dialogue scene might feel perfectly full with just five or ten layers—some room tone, the rustle of clothing, a soft breeze. But a massive sci-fi battle? That could easily climb past 100 individual layers between the explosions, laser blasts, ship engines, and debris impacts.
The real question to ask yourself is, "Does this sound have a job?" If a layer doesn't add crucial information, heighten emotion, or build texture, it's just clutter.
The goal is an intentional mix, not a crowded one. Every single sound should earn its place. If you can't immediately say why it's there, try hitting the mute button.
This mindset is what separates a clean, powerful soundscape from a muddy, overwhelming one.
People mix these up all the time, but they have very different jobs in your edit.
Room tone is the sound of "silence" in a specific indoor location. It's the unique audio fingerprint of a space—the subtle hum of the air conditioner, the buzz from a refrigerator, or even the dead quiet of a soundproofed room. Its primary purpose is technical: you use it to fill the gaps between dialogue clips so you don't get that jarring, unnatural digital silence. It’s the audio spackle that smooths everything out.
Ambiance, on the other hand, paints the bigger picture. It’s the environmental sound that tells you where you are. Think of the steady chatter in a coffee shop, the sound of crickets and wind in a forest, or the distant sirens and traffic in a city. Ambiance is the sonic canvas; you layer your dialogue, foley, and specific sound effects on top of it to bring the world to life.
Yes, you can, and your software is smart enough to handle it. Modern NLEs like Adobe Premiere Pro or DaVinci Resolve will automatically conform audio files behind the scenes when you import them. So if you drop a 96kHz WAV file and an MP3 into the same timeline, it will work.
However, for professional results, consistency is key. Sticking to high-quality, uncompressed WAV files is always the best practice. I strongly recommend setting your project's audio to a 48kHz sample rate, which is the universal standard for video and film. This ensures you maintain the best possible audio quality from start to finish.
Ready to stop searching for the perfect sound and start creating it instead? With SFX Engine, you can generate custom, high-quality, royalty-free sound effects with a simple text prompt. Elevate your projects with audio that’s made just for you. Explore the possibilities and create your sound.