October 21, 2025 · Kuba Rogut
Want to reduce background noise on your microphone? The solution is a mix of optimizing your physical space, dialing in your mic settings, and using the right software to filter out the junk. The quickest wins? Simple stuff, like moving closer to your mic and killing that noisy fan. For more power, dedicated software can cancel out noise in real-time.
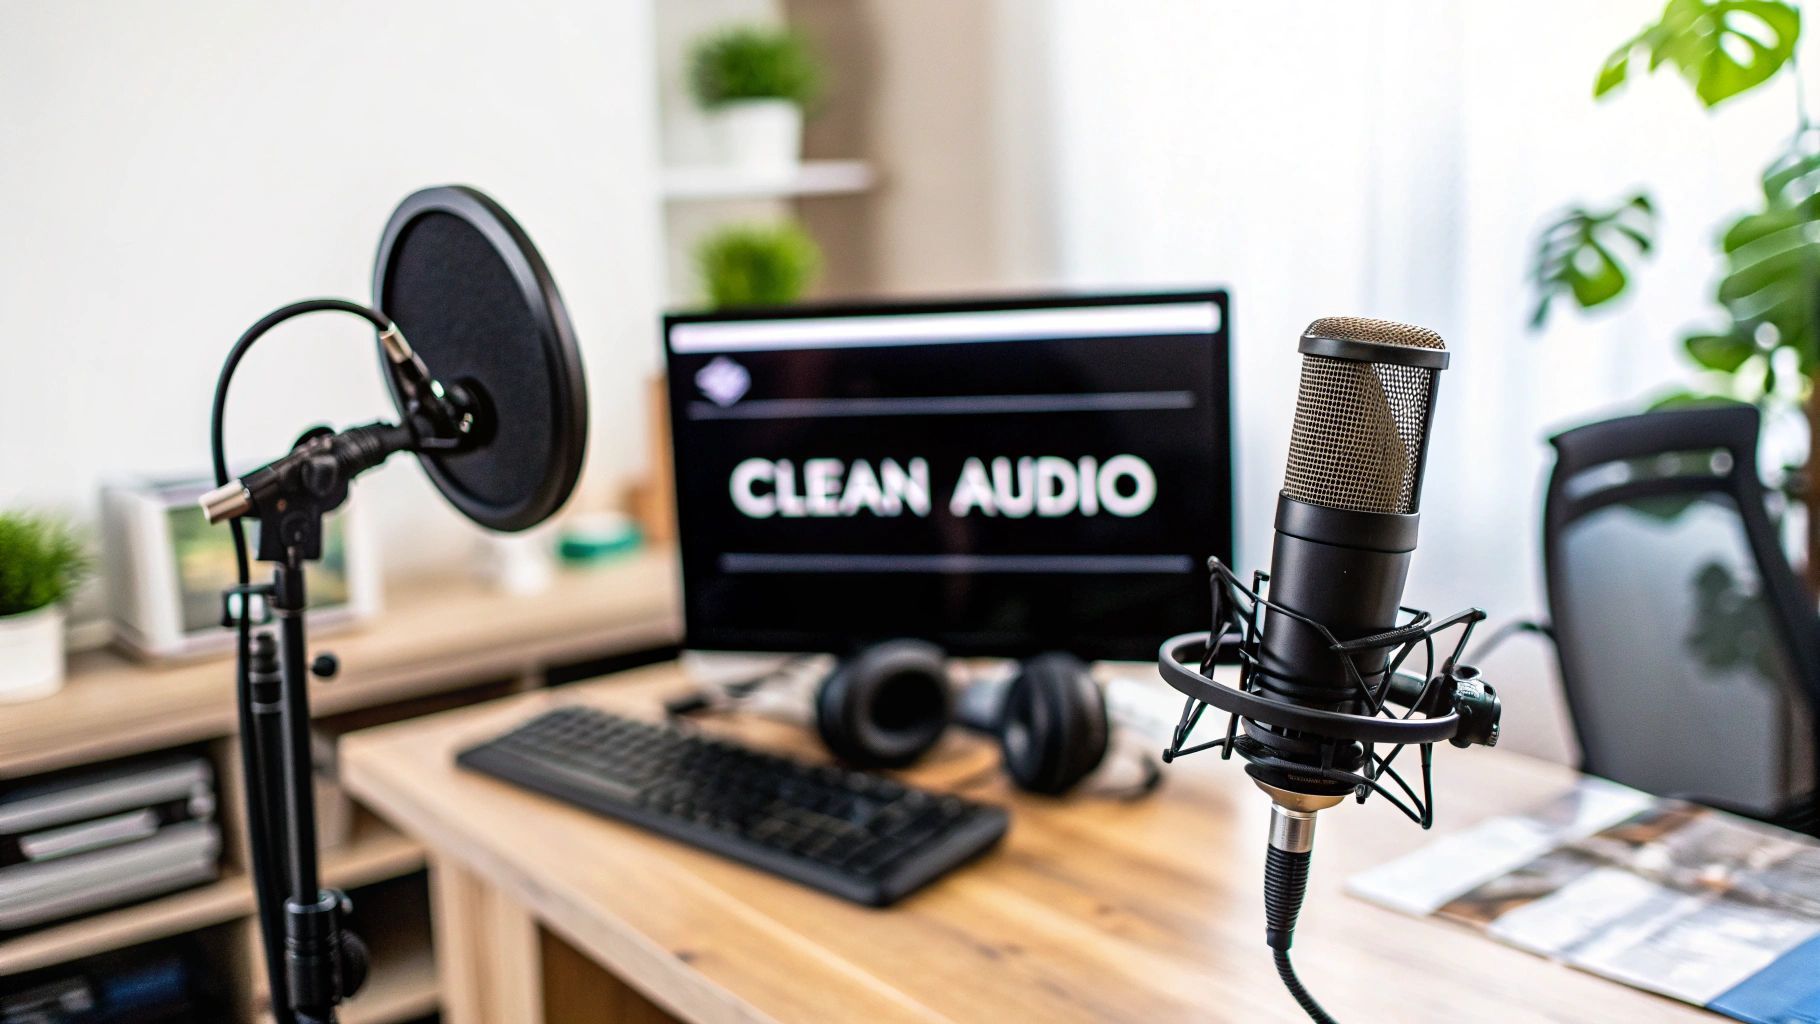
Nothing tanks good content faster than bad audio. Unwanted background noise is a huge distraction for your audience, muddles your message, and just sounds unprofessional. This guide is your roadmap to getting that crisp, clean audio you're after by fighting noise from three different angles: your recording space, your software, and your post-production process.
We’ll kick things off with the low-hanging fruit—simple tweaks to your room and mic position that deliver the biggest improvements right away. From there, we'll dive into some powerful software tools, from the settings already built into your computer to dedicated AI apps that scrub noise out as you speak.
Getting rid of background noise isn't about finding one magic button. The real secret is layering different strategies that work together to make your voice the star of the show. Think of this as your complete playbook for being heard, loud and clear.
Here’s the game plan:
Mastering these skills is more valuable than ever. The global microphone market was valued at a massive USD 7.21 billion, with noise suppression tech being a major driver of that figure. That market is on track to hit nearly $10 billion by 2030, all because clear audio is non-negotiable for remote work and content creation. You can find more details on the growth of microphone technology and its industry impact.
For anyone serious about their sound, whether for client calls or creative projects, you already get the importance of ensuring clear audio for professional podcasts. When your message is important, the quality of your audio has to match.
To really get a handle on this, it helps to think of noise reduction as having three core pillars. Each one addresses the problem from a different angle, and when you combine them, the results are fantastic.
| Strategy Area | Primary Goal | Example Techniques |
|---|---|---|
| Physical Environment | Stop noise at the source. | Turning off fans, closing windows, using acoustic panels. |
| Real-Time Processing | Filter noise out live. | Using software like Krisp, NVIDIA Broadcast, or built-in OS tools. |
| Post-Production | Clean up recorded audio. | Applying noise reduction plugins in an audio editor like Audacity. |
By tackling your physical space first, processing the signal live, and then tidying up anything that’s left, you create a powerful, multi-layered defense against unwanted background noise.
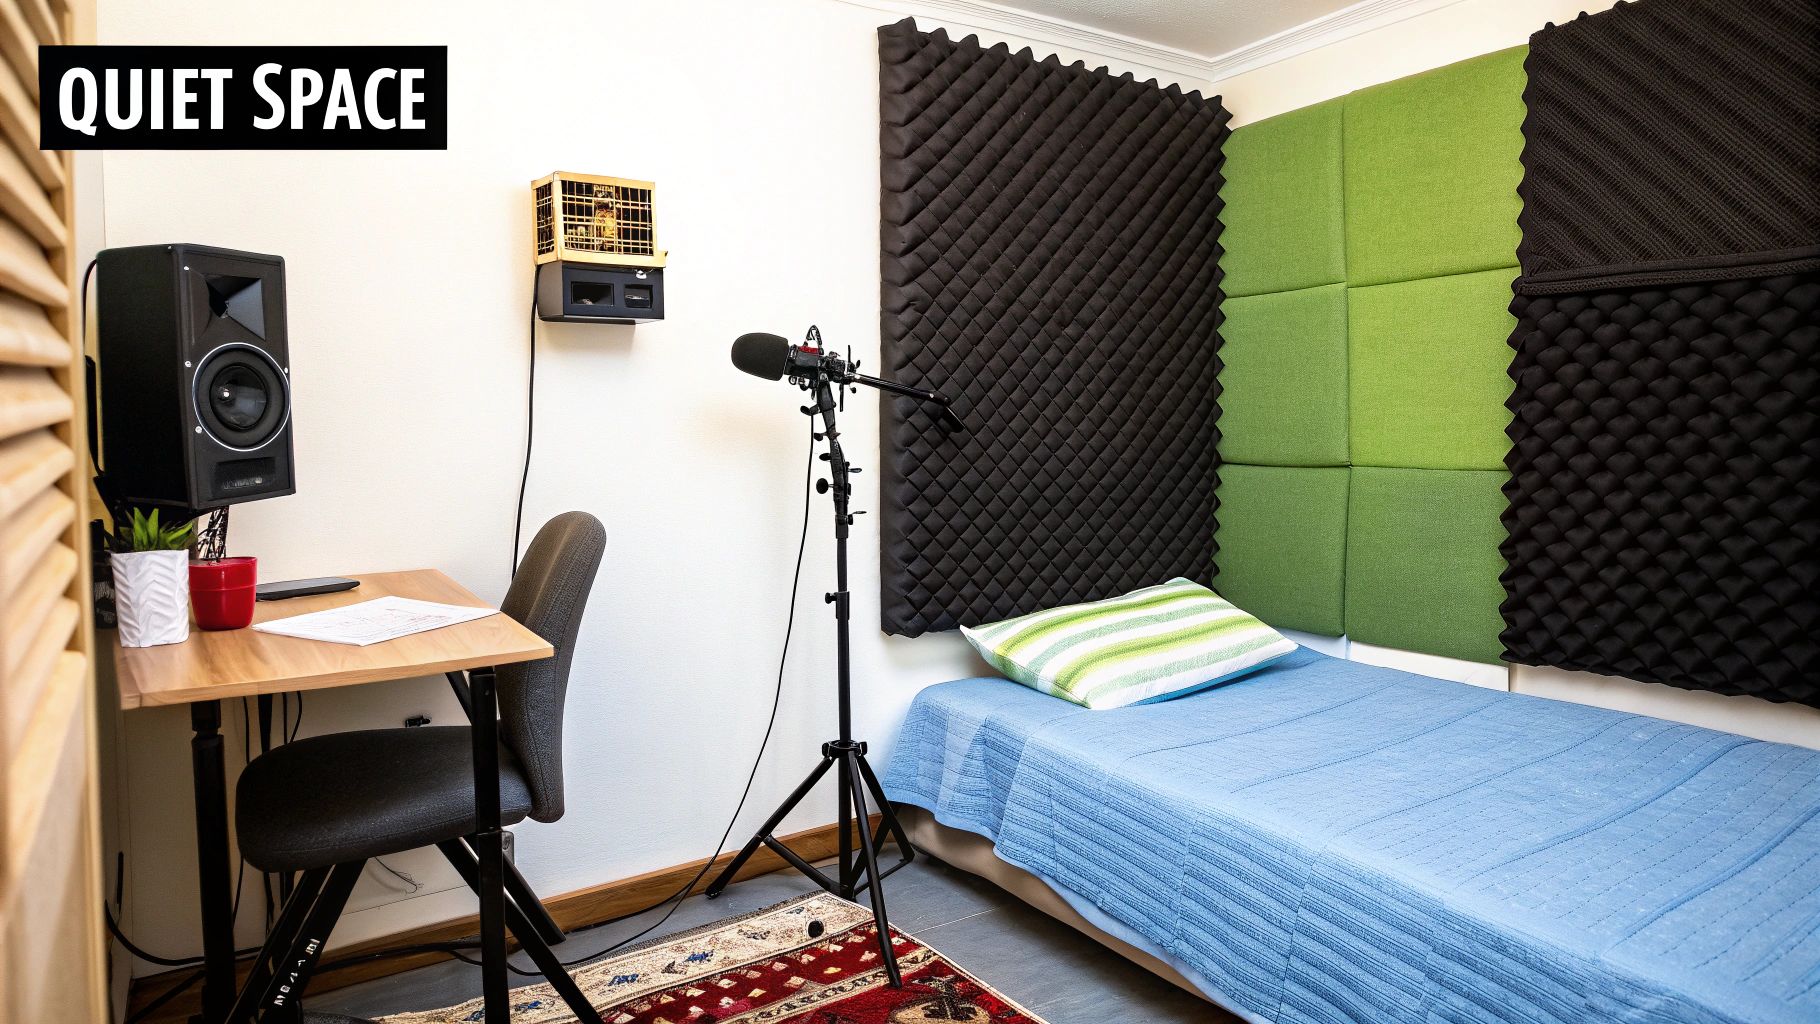
Before you even think about noise reduction plugins or fancy software, your first line of defense against background noise is the room you record in. Honestly, getting this part right lays the foundation for clean, professional-sounding audio and makes everything that comes after a whole lot easier.
Think of it this way: your room is part of the recording. Hard surfaces—like bare walls, a wooden desk, or a tile floor—are your enemy. They act like mirrors for sound, bouncing your voice all over the place and creating echo and reverb that your microphone will absolutely pick up. The real goal is to stop unwanted sounds before they ever get recorded.
You'd be surprised by what your microphone hears. We get so used to the daily hums and buzzes around us that our brains just tune them out. A sensitive mic, however, misses nothing.
Take a few minutes. Sit in your recording space, close your eyes, and just listen. That's it. You'll probably start to notice a few common culprits:
Once you’ve quieted the machines, it’s time to deal with the room itself.
Where you put your microphone matters just as much as what's in the room. The single best thing you can do for clearer audio is simple: get closer to the mic.
Try to position yourself about a palm's width away from the microphone's capsule. This one small change massively improves your signal-to-noise ratio. Your voice (the "signal") becomes overwhelmingly louder than the background ambiance (the "noise").
This allows you to turn down the microphone's input sensitivity, often called gain. Lowering the gain makes the mic less sensitive to everything, including those distant keyboard clicks, the echo from the far wall, and the hum you couldn't eliminate.
As a bonus, getting up close and personal with most cardioid microphones introduces the proximity effect. This phenomenon naturally boosts the bass frequencies in your voice, giving you that warm, classic "broadcast" sound. It's a win-win: clearer audio and a richer vocal tone.
You don’t need to spend a fortune building a professional studio. A little creative thinking with everyday household items can work wonders for absorbing those pesky sound reflections.
Creating a "dead" space around your microphone is key. The goal isn't to soundproof the entire room but to stop immediate reflections from reaching the mic. This is often more effective than complex software solutions applied later.
Here are a few quick and easy things to try right now:
For anyone looking to get more serious about taming their space, we've put together a full guide on how to sound-deaden a room that gets into more permanent solutions. By taking control of your environment first, you’ll find that you solve most of your noise problems before you even press record.
Your microphone is the first and most important gatekeeper for audio quality. Get this part right, and you’ll naturally eliminate a huge amount of background noise before you even hit the record button. It’s like using a spotlight instead of a floodlight—one focuses tightly on what matters, while the other illuminates all the distracting clutter in the background.
The type of mic you use plays a massive role here. Condenser microphones, like the popular Blue Yeti, are incredibly sensitive by design. They're fantastic for capturing every tiny nuance in a treated studio, but in a typical home office, that same sensitivity makes them notorious for picking up every keyboard click, distant siren, and echo in the room.
For most home recording, a dynamic microphone is a much smarter choice. Dynamic mics are inherently less sensitive and are built to capture sound from up close. It's why you see them on stage at loud concerts. They excel at rejecting anything that isn't directly in front of them, which makes them perfect for isolating your voice from the ambient sounds of your room.
The secret sauce to how a microphone rejects sound from the sides and back is its polar pattern. Think of it as the microphone's directional field of hearing. For vocals, the most common and effective pattern you'll want to use is the cardioid pattern.
A cardioid mic is all about focus. It primarily picks up sound from the front while actively rejecting sound from the sides and, most critically, the rear. If you could see it, the pattern would look like a heart shape around the microphone's head, with your mouth at the top and everything behind the mic falling into a dead zone. This is an absolute game-changer for cutting down background noise.
Here’s a great visual guide to setting up your mic to keep unwanted noise at bay.
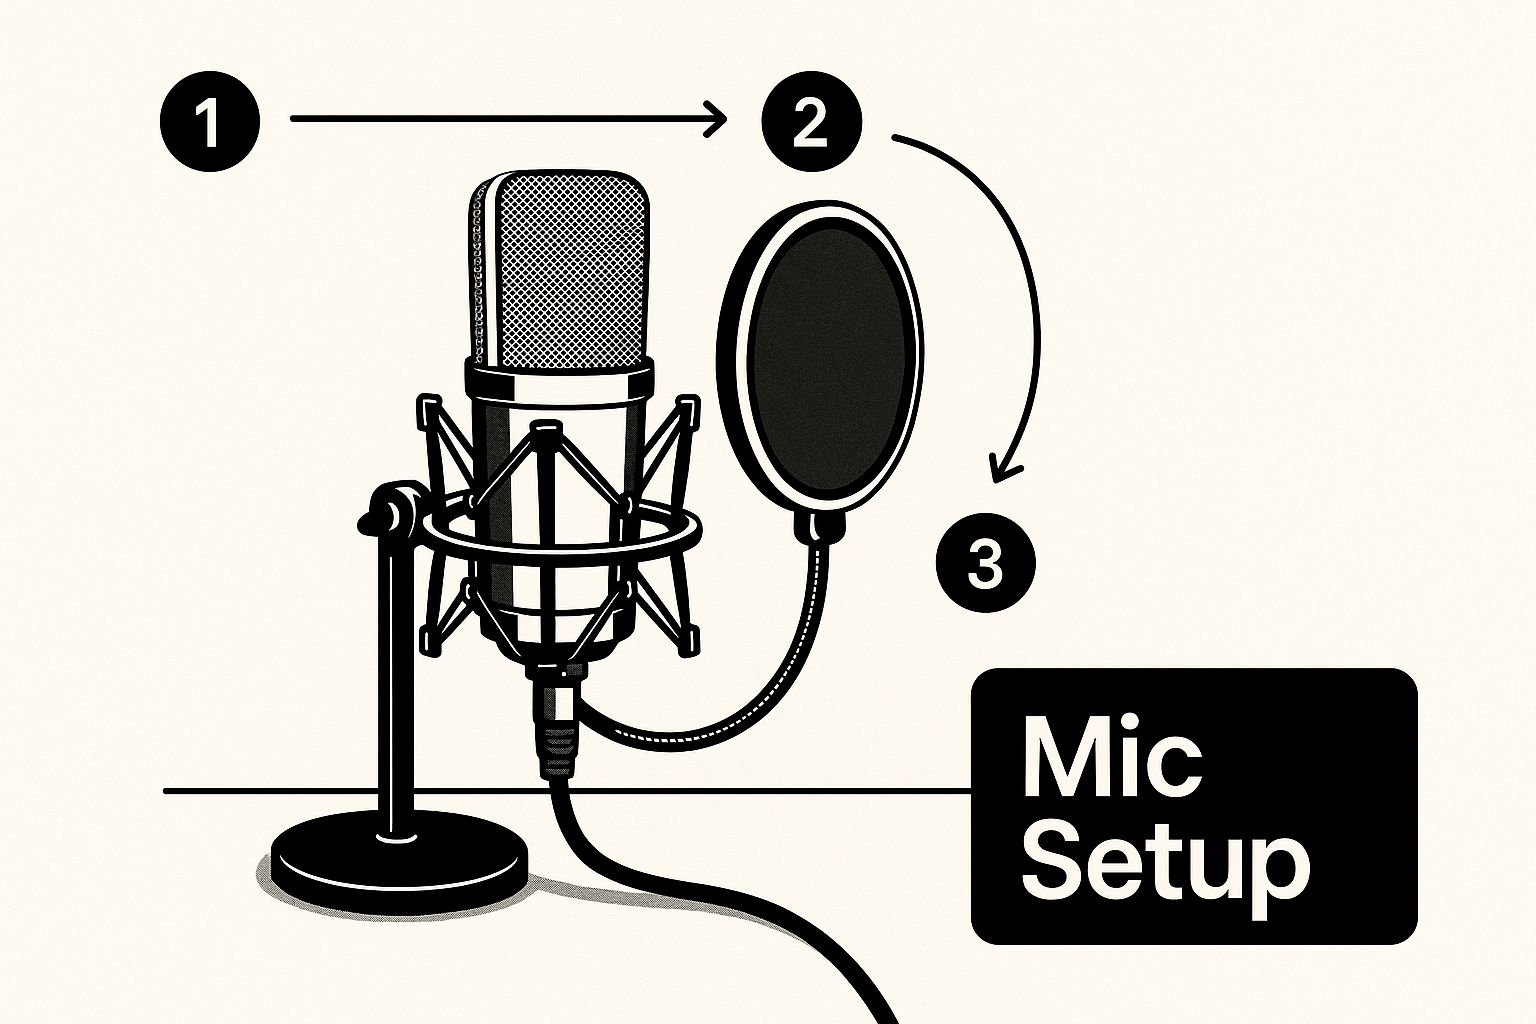
When you combine a directional mic with the right accessories, you create a powerful first line of defense against noise.
This push for clearer audio isn't just a niche concern; it's driving serious innovation. The global market for noise suppression microphones is expected to grow at a CAGR of around 15% through 2033, reaching a value of over $5.8 billion. That boom is fueled by the demands of remote work and virtual meetings, where clean audio is no longer a luxury. You can discover more insights about the noise suppression microphone market and the tech making it happen.
Once you've got the right mic, the single most critical setting to get right is the gain. It's a common mistake to think of gain as volume—it's not. Gain is your microphone's input sensitivity. Cranking it too high is a classic rookie move that basically tells your mic to listen for everything.
Think of the gain knob as a volume control for the entire world. When you turn it up, you're not just making your voice louder; you're amplifying the air conditioner, the dog barking down the street, and the low hum of your computer.
Your goal is to find that sweet spot where your voice comes through loud and clear, but the sensitivity isn't so high that the mic starts picking up every little ambient sound.
Here’s a simple process to nail it:
Finally, don't skip the accessories. Two inexpensive items are non-negotiable for clean vocal recordings. A pop filter is a simple screen that diffuses the harsh bursts of air from "p" and "b" sounds, and a shock mount isolates the mic from vibrations traveling up from your desk or mic stand. For a deeper dive into hardware, check out our guide on the best microphone for video recording.
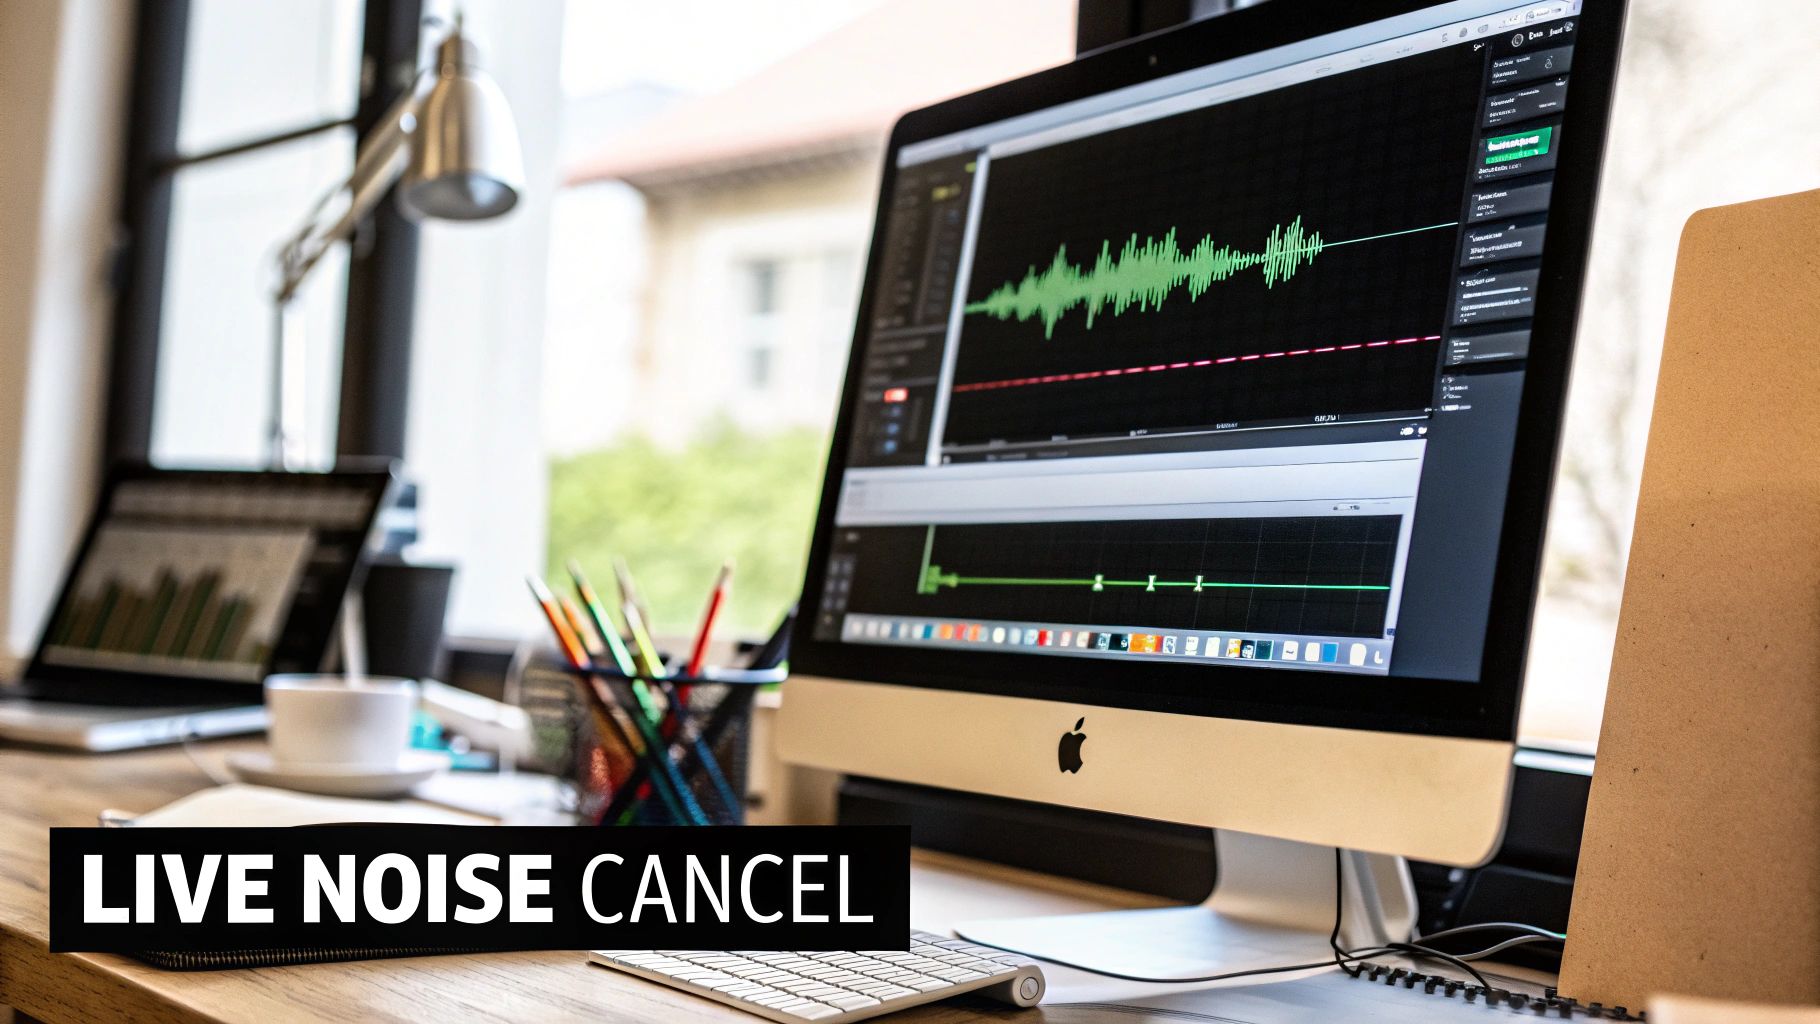
Once you’ve done everything you can with your physical space and mic technique, software becomes your secret weapon for getting that crystal-clear live audio. These tools work in real time, acting like a smart filter between your microphone and your recording or streaming app. They’re incredibly good at isolating your voice and ditching all the distracting sounds before your audience ever hears them.
Think of it as the final polish. You’ve handled the big problems by treating your room, and now you’re using sophisticated algorithms to catch anything that’s left. This tech, often called digital signal processing or now, more commonly, AI noise cancellation, is what makes it possible to sound professional even when your environment is less than perfect. It's no wonder this technology is exploding everywhere from high-end streaming setups to busy call centers. You can even find in-depth market research on ambient noise suppression microphones to see just how fast this field is moving.
Before you spend any money, it's worth checking out the free tools that are likely already on your computer. Both Windows and macOS have some surprisingly decent native features for cleaning up mic audio. They won't work miracles, but for a simple conference call, they can make a difference.
On Windows: Dive into your sound settings. Find your microphone under the "Recording" tab, open its properties, and look for an "Enhancements" tab. In here, you’ll often find checkboxes for "Noise Suppression" and "Acoustic Echo Cancellation." Flick those on and see if it helps.
On macOS: The "Use ambient noise reduction" feature has been around for a while in the Sound settings for built-in mics. The real star, though, is the newer "Voice Isolation" mode. You can access it from the Control Center during a call, and it uses machine learning to really focus on your voice.
These built-in options are great in a pinch. But if you're serious about your audio quality for streaming, podcasting, or recording, you'll quickly outgrow them and need something with a lot more muscle.
This is where things get really impressive. Dedicated AI applications are the true game-changers for live audio. Tools like NVIDIA Broadcast and Krisp use complex algorithms trained on thousands of hours of audio to learn the difference between a human voice and, well, everything else.
The results can feel like magic. I've seen NVIDIA Broadcast completely erase the sound of a loud mechanical keyboard and even a vacuum cleaner running in the hallway, all in real time and without tanking system performance.
These apps work by creating a virtual microphone on your system. So in Discord, Zoom, or OBS, you just select "NVIDIA Broadcast" or "Krisp" as your audio input instead of your physical mic. The software intercepts the audio, cleans it up instantly, and then passes the pristine signal on to your application.
My Two Cents: Don't just turn on an AI filter and assume it's perfect. Test it! Some apps are brilliant at killing constant, low hums from an AC unit, while others are better at catching sudden, sharp noises like a dog barking. Find what works best for your specific noisy environment.
If you're a streamer or content creator, you're probably already using a broadcasting app like OBS Studio. The good news is that OBS has powerful audio filters built right in, giving you much more precise control than a simple on/off switch.
The two most important filters for our purposes are the Noise Suppressor and the Noise Gate.
A Noise Suppressor is fantastic for getting rid of consistent background sounds, like computer fan noise or a persistent electrical hum. It analyzes the audio and subtracts that constant noise floor.
A Noise Gate, on the other hand, acts like an automatic mute button for your mic. You set a volume threshold, and if the sound hitting the mic is below that level—like your keyboard clicks or breathing between sentences—the gate simply cuts the audio off. When you start talking, your voice is loud enough to "open" the gate, and the audio passes through. It’s perfect for keeping your audio dead silent when you’re not speaking.
Choosing the right tool can feel overwhelming, as each has its strengths. Some rely on powerful hardware you might already own, while others are pure software solutions that work on almost any machine.
Here's a quick breakdown of the most popular options to help you decide which one fits your needs.
| Tool/Software | Technology Used | Best For | Cost |
|---|---|---|---|
| NVIDIA Broadcast | AI / Machine Learning (GPU-based) | Gamers and streamers with NVIDIA RTX GPUs who want top-tier noise, echo, and room reverb removal. | Free (requires compatible NVIDIA GPU) |
| Krisp | AI / Machine Learning (CPU/Cloud-based) | Professionals in online meetings, remote workers, and anyone needing a universal solution across all apps. | Free tier; Paid plans for more usage |
| OBS Studio Filters | Digital Signal Processing (DSP) | Content creators who want manual, granular control over noise gates and suppression levels. | Free and open-source |
| Native OS Tools (Win/macOS) | Basic DSP / Machine Learning | Casual users who need a quick fix for video calls without installing extra software. | Free (built into the operating system) |
Ultimately, the "best" tool depends entirely on your setup and what you're trying to achieve. For RTX card owners, NVIDIA Broadcast is a no-brainer. For everyone else, Krisp offers incredible flexibility, while OBS provides the ultimate hands-on control for creators who love to tinker.
https://www.youtube.com/embed/IV5jN_bv7cc
Let's be realistic: no matter how carefully you prep your recording space, some stray sounds are bound to sneak in. A distant siren, the hum of your refrigerator, or an accidental chair creak can easily ruin an otherwise perfect take.
This is exactly where post-production becomes your best friend. It’s not about fixing massive mistakes; it’s about applying that final, professional polish that makes your audio truly shine. With the right software, you can isolate and remove those distracting noises, making sure your listener's focus stays exactly where it should be.
If you're just starting out, you can’t go wrong with Audacity. It's free, powerful, and its noise reduction tool is legendary for a reason—it works, and it’s easy to understand. The process is a fantastic primer on how most noise removal software operates.
It all starts with finding a few seconds of pure "room tone" in your recording. This is the sound of your room when nothing is happening—just the ambient noise you want to get rid of.
This simple two-step method is incredibly effective for constant, steady background noises. Understanding this technique is a cornerstone of any good audio post-production workflow and builds a great foundation for more advanced work.
When you need to fix more than just a simple hum, you'll want to turn to professional-grade software. Tools like Adobe Audition or the industry-standard iZotope RX offer a whole new level of control, letting you visually edit your audio.
The real game-changer in these advanced programs is the spectral frequency display. It transforms your audio into a visual heatmap, where you can literally see different sounds—a cough, a phone ringing, a door slam—as unique shapes and colors on your screen.
Think about that for a second. You can spot a sudden dog bark as a distinct visual blotch. Using a tool like iZotope's Spectral Repair is like using Photoshop for audio; you can highlight that unwanted sound and simply erase it. The software is smart enough to rebuild the audio behind it, making the noise disappear as if it were never there. It's how the pros save recordings that would otherwise be completely unusable.
If you're a Windows user, many of the best video editing software for Windows come bundled with surprisingly powerful audio cleanup features, saving you from needing a separate program. Whether you stick with a free tool or invest in a professional suite, post-production is where you have the power to make your sound flawless.
Even with a dialed-in setup, you'll probably run into a few weird audio Gremlins. It happens to everyone. Let's tackle some of the most common headaches people run into when trying to get clean audio from their microphone.
If your voice sounds muffled, distant, or just plain weird, the culprit is almost always your positioning. You're probably not talking into the right part of the mic.
This is a classic rookie mistake, especially with popular side-address mics like the Blue Yeti. People see the shape and instinctively talk into the top, but you're supposed to speak into the front face—the side with the logo. Talking into the wrong spot means the mic's pickup pattern is actively trying to ignore your voice.
The fix is simple: turn the mic so you're speaking directly into its front. Get nice and close, about a palm's width away, and you'll immediately notice your voice sounds clearer, fuller, and more present.
Ah, the mechanical keyboard. A joy to type on, a complete nightmare for audio recording. Highly sensitive condenser mics will pick up every single satisfying (and distracting) clack.
You’ve got a few solid options here:
A lot of people think a more expensive microphone will magically solve their noise issues. The truth is, a well-chosen dynamic mic like the Audio-Technica ATR2100x will often give you cleaner audio in a noisy room than a pricey condenser mic ever could.
That low-frequency drone you hear is almost certainly electrical interference, what we call a ground loop. It happens when your audio gear, computer, and other devices are plugged into different power outlets. Tiny differences in their electrical grounding create a hum, usually right around 50-60 Hz.
First, try the easy fix: plug all of your equipment—your computer, audio interface, speakers, everything—into a single power strip. This often solves the problem instantly.
If the hum persists, a ground loop isolator is your next best friend. It's a cheap little gadget that you plug into your audio signal path to break the electrical connection that's causing the buzz.
Ready to skip the cleanup and get perfect sound from the start? SFX Engine uses AI to generate custom, royalty-free audio for any project. Stop wrestling with background noise and start creating pristine sound effects on demand. Craft your perfect audio at SFX Engine.