September 26, 2025 · Kuba Rogut

Before you start tacking foam panels to your walls, let's get one crucial thing straight. You need to know if you're trying to sound deaden a room or soundproof it. People use these terms interchangeably all the time, but they are two completely different beasts. Mixing them up is the number one rookie mistake, and it can be a costly one.
The real goal of sound deadening is to tame the acoustics inside the room. We're talking about controlling echoes, killing nasty reflections, and getting rid of that hollow, cavernous sound. It's all about adding soft, absorbent materials to surfaces so sound waves get soaked up instead of bouncing all over the place.
Soundproofing, on the other hand, is about isolation. It’s about building a fortress to stop sound from getting in or out. Think of it as containment—you're trying to keep your band's practice session from annoying the neighbors or stop the noisy street traffic from ruining your podcast recording.
So, what's your actual goal? Answering this question honestly will save you a world of headache and a pile of cash.
Acoustic treatment—our fancy term for sound deadening—is what you need to improve sound clarity. When sound hits hard surfaces like drywall, wood floors, or glass, it bounces back, creating a mess of reverberation (reverb). This is what makes conversations hard to understand in a big, empty restaurant or makes your home studio recordings sound like they were made in a bathroom.
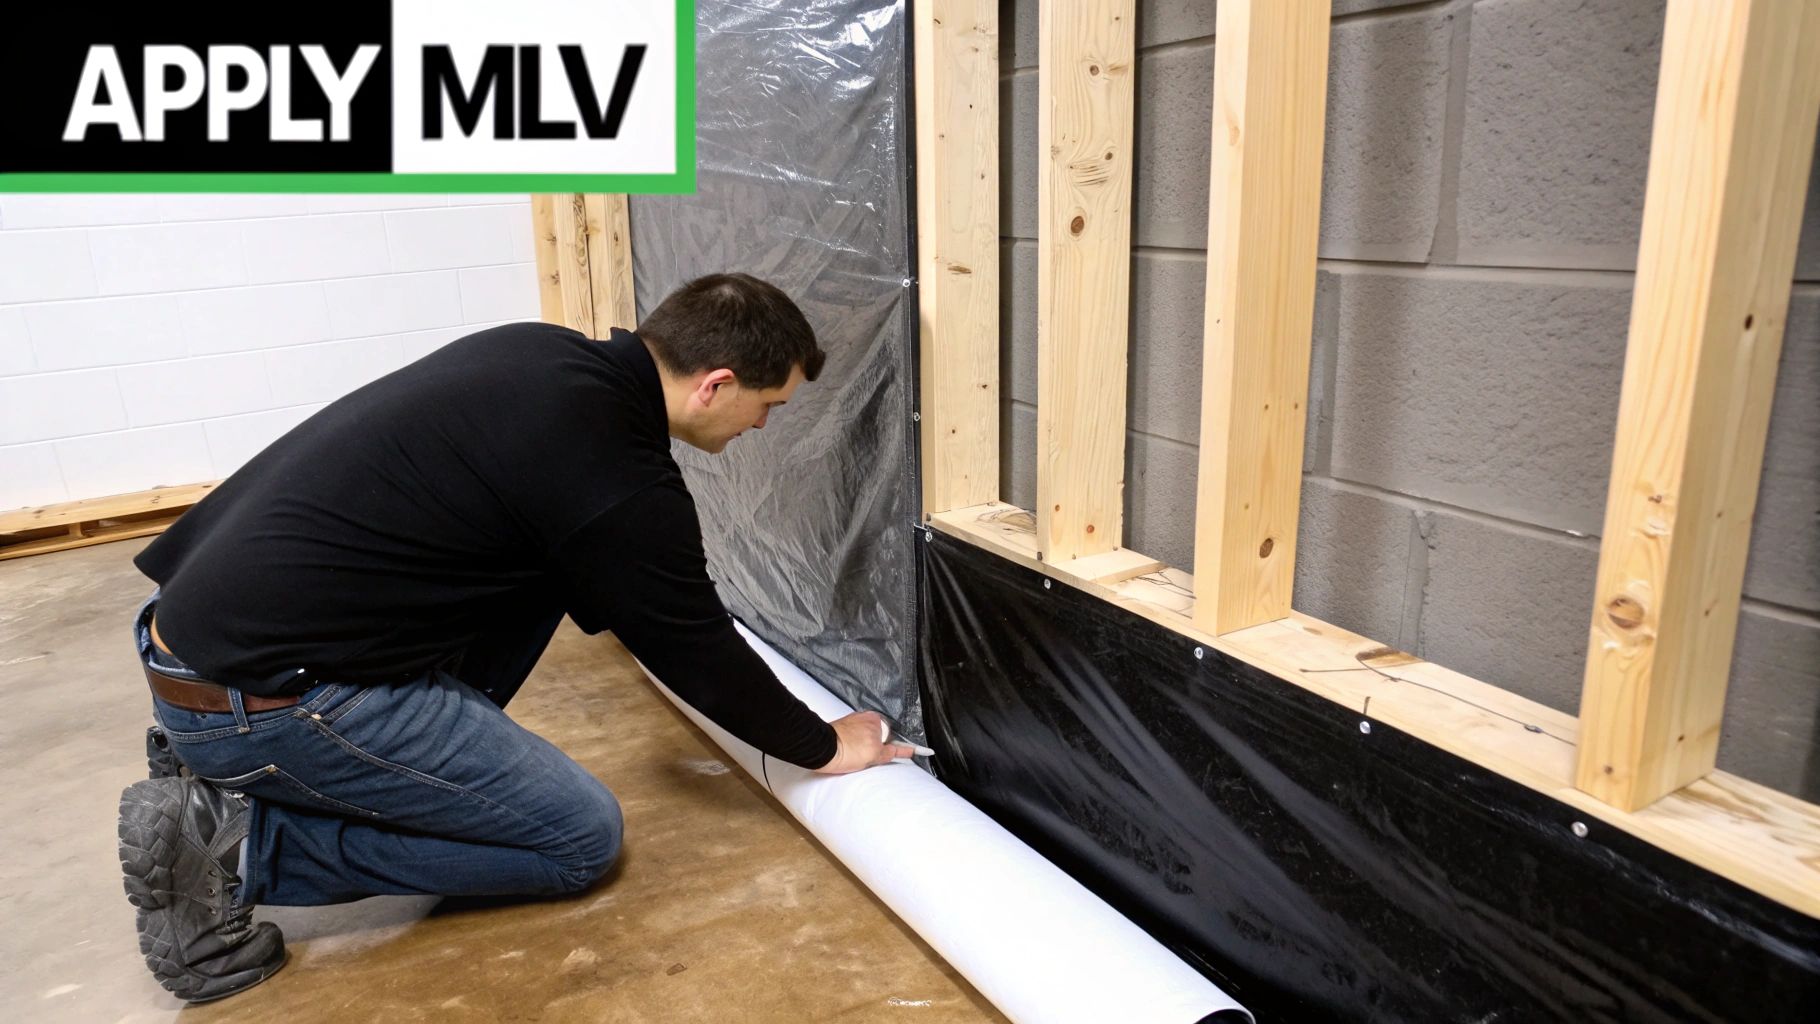
Soundproofing is a much bigger, more structural undertaking. It’s about adding serious mass and density to your walls, floor, and ceiling to create a barrier that sound waves simply can't muscle through.
Let’s put this into a real-world context. If you're setting up a home recording studio, your main concern is capturing a crisp, clean vocal take. That means you need fantastic sound deadening to absorb reflections so the mic only picks up the singer's voice, not the room's echo.
But if you’re a drummer, your priority is probably soundproofing. You need to keep that powerful sound from leaking out and driving everyone else in the house crazy. You’re building a box, plain and simple.
The bottom line is this: Sound deadening makes the sound inside the room better. Soundproofing keeps sound in or out of the room. Figure out which one you actually need before you spend a dime.
And this isn't just a niche hobby anymore. The demand for quiet spaces is booming. The indoor soundproof room industry is currently valued at a whopping USD 2.3 billion and is expected to nearly double by 2033. That tells you just how many people are looking for better control over their sound environments. You can dig into more of this data over at Verified Market Reports.
To make this crystal clear, let's break down the key differences.
This table gives you a quick rundown of the fundamental differences between the two, helping you pinpoint exactly what your project calls for.
| Aspect | Sound Deadening (Acoustic Treatment) | Soundproofing (Sound Isolation) |
|---|---|---|
| Primary Goal | Improve sound quality inside a room by absorbing reflections and echo. | Block sound from traveling between spaces (in or out). |
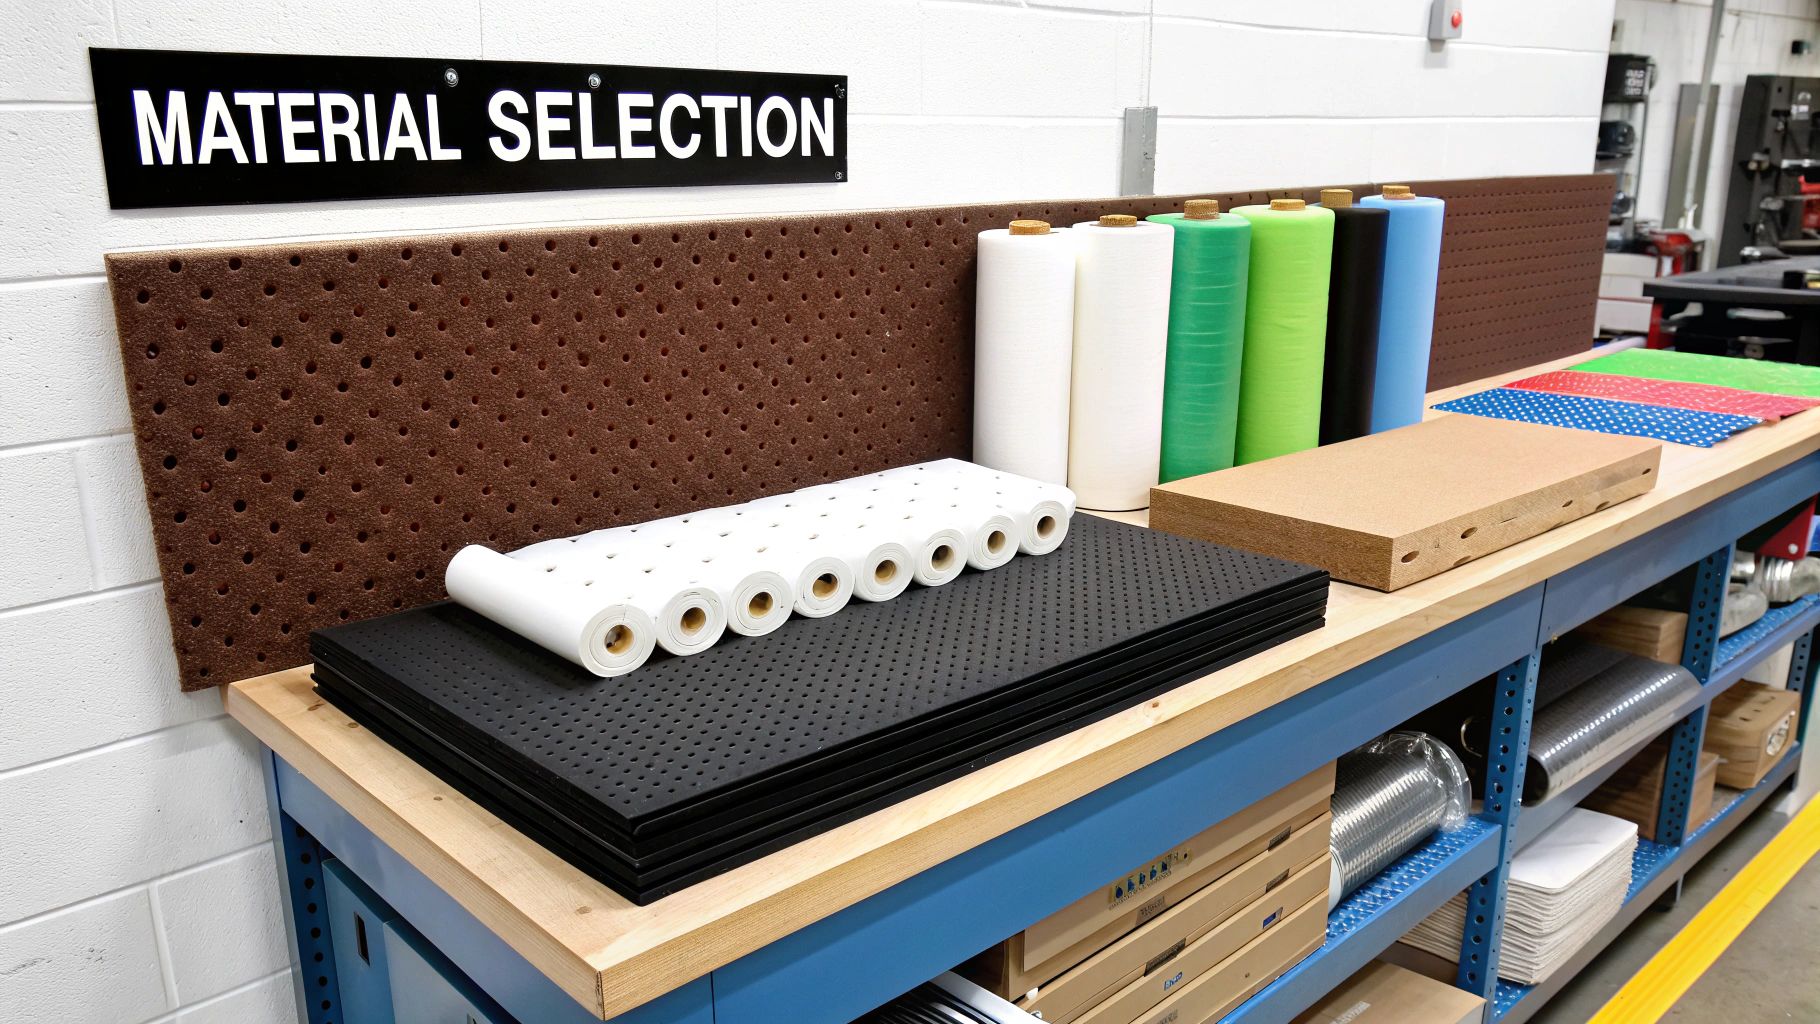
| Common Materials | Acoustic foam panels, bass traps, thick rugs, heavy curtains, fabric wall hangings. | Mass-loaded vinyl (MLV), double-layered drywall, Green Glue, acoustic caulk, solid-core doors. |
| Complexity | Relatively simple, often a DIY project. Materials are added to existing surfaces. | Often involves construction, like adding new wall layers or replacing windows and doors. |
| Best For | Home studios, home theaters, listening rooms, offices, podcasts, and video conferencing. | Drum rooms, commercial music studios, apartment living, and spaces near loud noise sources. |
Ultimately, knowing what you're up against is half the battle. Sound deadening tackles the reflections you hear, while soundproofing blocks the noise you don't want to.
Once you’ve sorted out the acoustics in your room, you might still find unwanted noise creeping into your recordings. If that’s the case, our guide on how to remove background noise offers some great digital solutions that work hand-in-hand with a well-treated room.
Before you even think about buying a single acoustic panel, you need to play detective. Every room has its own acoustic signature, a unique sound shaped by its dimensions, layout, and the materials inside it. Throwing up foam in random spots is a shot in the dark—you might get lucky, but you probably won't.
So, the first real step is to simply listen. I don't mean just hearing the noise; you need to actively pay attention to how sound behaves in the space. This diagnostic phase is honestly the most important part of the whole process. It ensures your effort and money go exactly where they’ll make a real difference.
You don't need a lab coat or expensive gear to get a good read on your room's problems. A couple of simple, time-tested methods can reveal a surprising amount about where your sound issues are coming from.
The Clap Test
This is the classic, quick-and-dirty way to check for echo and reverb. Stand in the middle of your room and give one single, loud, sharp clap. Then, just listen.
The Mirror Trick
This is a clever technique I’ve used for years to find the exact spots on walls and ceilings causing the worst reflections. These are called first reflection points, and they are priority number one for treatment.
Here’s how it works:
These points are where sound waves hit first before bouncing to your ears. Treating them directly is a surgical strike that’s far more effective than just carpeting the walls with panels.
Once you know the problem, you can define your solution. What do you actually use this room for? The answer drives your entire strategy.
Your goal isn't just to "make it sound better." It's to optimize the room for its specific function. A home theater has vastly different acoustic needs than a home office used for Zoom calls.
Think about what a "win" looks like for your space. Here are a few common scenarios:
Understanding your room's purpose is everything. If you happen to be building from the ground up, integrating this kind of planning early on can save a lot of headaches, as it's one of the key considerations when building a house.
Taking the time to do this quick assessment allows you to create a targeted, effective plan. This focused approach gets you the best possible results, turning a sonic mess into a space that sounds fantastic. As you dial in your room's acoustics, you'll find it leads to a much more refined listening experience. If you're looking to go even further, our guide on https://sfxengine.com/blog/how-to-improve-sound-quality offers more insights that build on these physical treatments.

Stepping into the world of acoustic treatment can feel a bit like learning a new language. You're hit with all sorts of technical jargon and a dizzying array of products. But don't get overwhelmed.
The secret is to boil it all down to two core concepts: absorption and diffusion.
Think of it this way: absorbers are like sponges that soak up sound, while diffusers are like prisms that scatter it. Getting these two to work together is the real key to transforming a room with harsh echoes into one that sounds clear, balanced, and professional.
When you're dealing with reverb and echo, absorbers are your go-to solution. Their job is to literally stop sound waves in their tracks, converting the acoustic energy into a minuscule amount of heat. This prevents the sound from bouncing around the room, which is what causes that distracting flutter echo or cavernous, boomy feeling.
You're not alone in seeking better sound. The demand for controlled acoustic spaces is exploding, with the global indoor soundproof room market projected to hit around $862 million by 2025. This isn't just for music studios; it's for home offices, podcasting rooms, and even quiet spaces in homes.
Let's look at the most common tools for the job:
I’ve seen this countless times: someone covers their walls in thin, cheap foam. All this does is kill the high frequencies, leaving the muddy low-end to run wild. The result is a dull, lifeless, and completely unbalanced sound. A surgical, targeted approach is always the way to go.
While absorbers remove sound energy from a room, diffusers preserve it by scattering it in a bunch of random directions. Instead of a single, hard reflection smacking you in the ear, a diffuser breaks that wave up into countless smaller, weaker reflections that your brain doesn't register as a distinct echo.
This is how you get rid of harsh reflections without making the room sound completely dead and unnatural. Diffusion adds a wonderful sense of spaciousness and air, making the acoustics feel open and organic.
Diffusers are typically made from wood or other hard materials. You'll often see them in these forms:
To help you decide what's best for your space, here's a quick rundown of how these material types stack up against each other.
| Material Type | Primary Function | Best For | Average Cost |
|---|---|---|---|
| Acoustic Foam | Absorption | Taming high/mid-frequency flutter echo on walls and ceilings. | $ - $$ |
| Mineral Wool/Fiberglass Panels | Absorption | Broadband control, especially effective on low-mid frequencies. | $$ - $$$ |
| Bass Traps | Absorption | Targeting problematic low-frequency buildup in room corners. | $$ - $$$$ |
| Quadratic/Skyline Diffusers | Diffusion | Breaking up reflections to create a spacious, natural sound. | $$$ - $$$$ |
| Bookshelves / Furniture | Both | A free, functional way to add both absorption and diffusion. | Free - $ |
Ultimately, the best approach uses a combination of these materials to achieve a balanced acoustic environment.
The real magic happens when you use both absorption and diffusion strategically. You're not trying to build an anechoic chamber (a room with zero reflections); you want a room that sounds controlled yet natural.
A classic, battle-tested strategy is to place your absorbers at the "first reflection points." These are the spots on your side walls and ceiling where sound from your speakers would bounce directly into your ears. This kills the most offensive, clarity-muddying reflections right away.
Then, you can place diffusers on the wall behind you. This allows the sound to travel the length of the room and get broken up, adding a sense of depth and life without creating a slap-back echo. This hybrid approach delivers clarity and natural ambiance—the best of both worlds.
And don't forget the floor! Hard surfaces like wood or tile are basically giant mirrors for sound. A simple but effective trick is adding a thick rug. Learning about choosing the perfect area rug can add a powerful layer of absorption right where you need it, helping to tie your entire acoustic treatment plan together.
Having the right materials is only half the battle. Knowing where to put them is what really moves the needle. A strategic approach to placement is the secret to transforming a room with panels slapped on the walls into a space with genuinely controlled, clear acoustics.
It’s all about working smarter, not just harder. The goal is to target the specific spots where sound waves cause the most trouble, giving you the biggest bang for your buck. This isn't about blanketing every surface; think of it more like acoustic surgery. Let's walk through a practical blueprint for getting it right.
If you do only one thing, make it this: treat the first reflection points. These are the spots on your walls and ceiling where sound from your speakers bounces once before hitting your ears. Nailing these spots eliminates the most obnoxious echoes right at the source.
There's a classic, easy way to find them called the "mirror trick." Sit in your main listening chair and have a friend slide a small mirror along the side walls. Any spot where you can see one of your speakers in the mirror is a first reflection point. Mark it with a piece of painter's tape.
And don't forget the ceiling! It's a huge, flat surface that's often ignored. Do the same mirror trick on the ceiling, finding where the speakers reflect back to your listening position. An absorption panel at each of these marked spots will make an immediate, dramatic difference in your sound clarity.
Low-frequency sound waves are long, powerful, and a real headache to control. They naturally pile up in the corners of a room, creating a muddy, boomy mess that can completely swallow your low-end detail. This is exactly what bass traps are designed to fix.
These are thick, dense absorbers made to soak up that low-end energy. The ideal setup is to place them vertically in every corner of the room, running floor to ceiling if you can. If your budget is tight, prioritize the two corners on the wall your speakers are facing. Getting these corners under control is absolutely essential for tight, balanced bass.
For a deeper dive into creating a professional listening environment, our guide on acoustic treatment for home studios has even more detailed advice.
The wall directly behind your speakers—often called the front wall—is another hot spot. Sound radiates from speakers in all directions. The waves that shoot backward hit this wall and bounce right back toward you, mixing with and smearing the direct sound.
By placing absorptive panels on this wall, right behind and between your speakers, you can clean up your stereo image significantly. It stops those secondary reflections from muddying the waters, which gives you a much more precise and defined soundstage.
One of the most common mistakes I see is people neglecting the front wall. They’ll treat the sides and the back of the room but leave the area behind the speakers completely bare. This one simple step can tighten up your audio imaging more than you might think.
Once you've mapped out where everything goes, the actual installation can be pretty simple. You don't need to be a contractor to get this done cleanly and securely.
Here are a few go-to methods that work well:
This chart breaks down the foundational process of sealing gaps before you even think about placing treatments. It’s a crucial first step for real sound control.
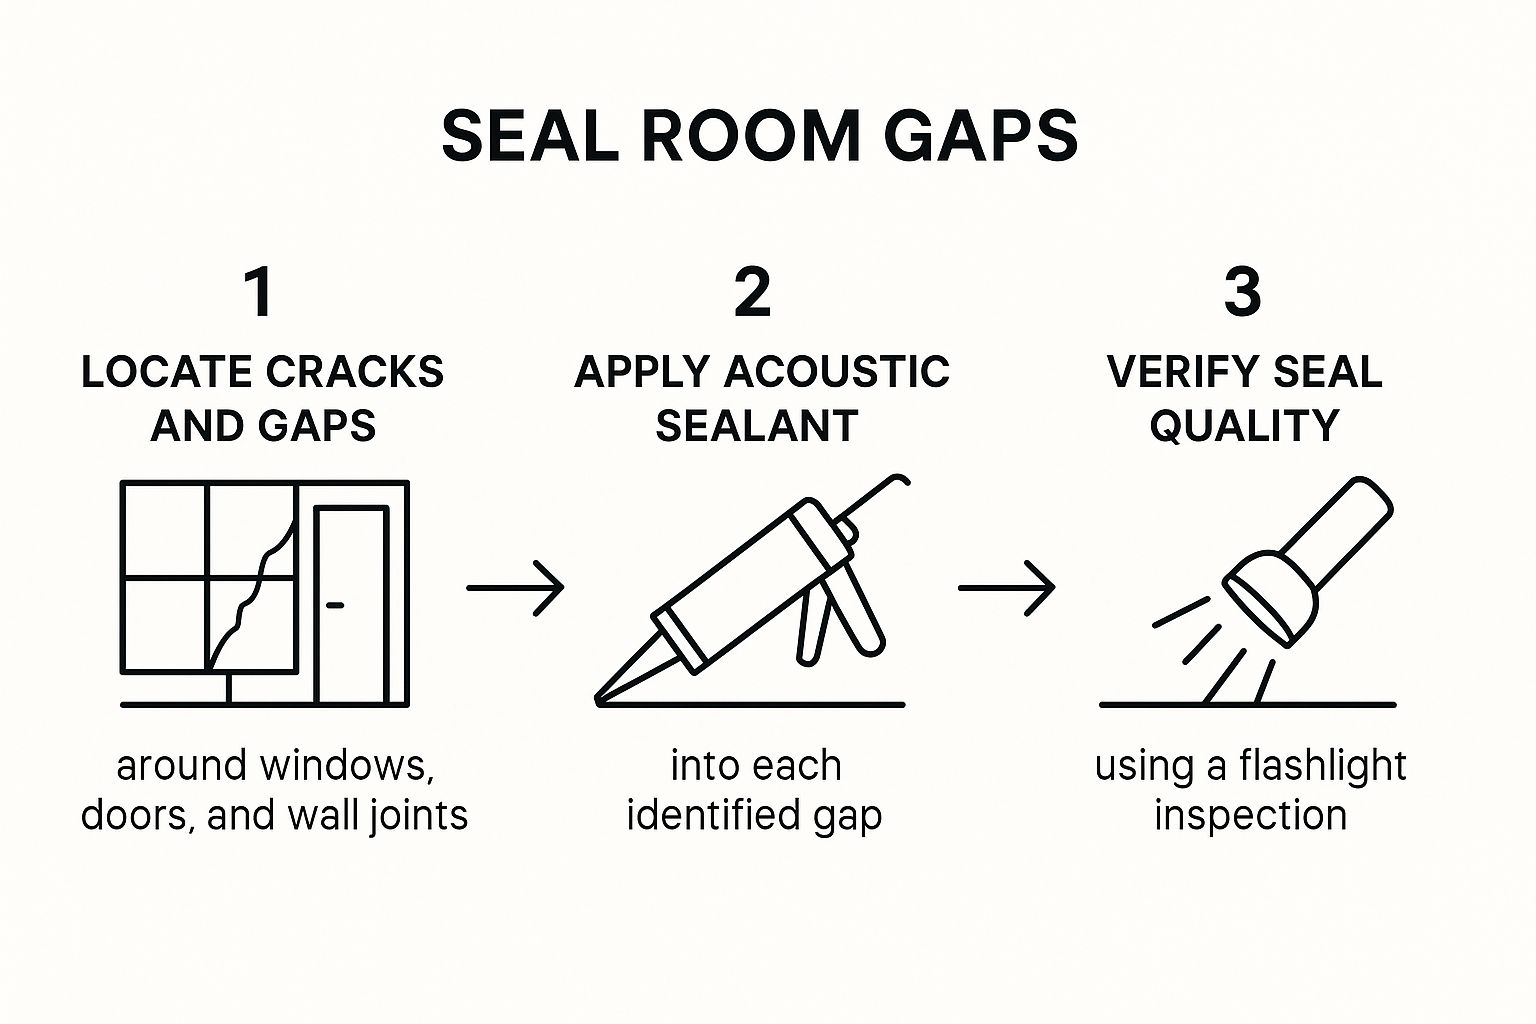
As you can see, a simple but methodical approach of finding, sealing, and checking for leaks ensures your acoustic treatment can do its job properly.
You absolutely don't need a pro-level budget to start taming your room's sound. The truth is, you probably already own some of the most effective sound-deadening materials—they're just disguised as everyday decor. This is great news if you're renting, trying to save money, or just want your acoustic fixes to look good.
The core principle is simple: soft stuff absorbs sound, and irregular surfaces scatter it.
By strategically using the furniture and decor you already have, you can achieve a surprising amount of acoustic control. It’s all about learning to see your belongings through a new, "acoustic" lens.
Think of every hard, flat surface in your room—the floor, the walls, the windows—as a mirror for sound waves. Your goal is to cover these reflective points with things that will soak up that sound energy instead of bouncing it back at you.
This is where your existing home goods become your secret weapons.
First, look down. A bare hardwood or tile floor is a massive source of harsh reflections and that annoying "flutter echo" you hear when you clap.
Rugs are your best friend. A thick, plush area rug is one of the most powerful and affordable acoustic treatments out there. It acts as a giant absorber on your floor, taming the sound bouncing between it and the ceiling. The thicker and denser, the better. Think shag or heavy wool.
Ditch the flimsy blinds. Those large, bare windows are just as problematic as a bare floor. Heavy curtains or drapes made from velvet, suede, or a thick thermal-lined fabric, on the other hand, can work wonders. They essentially act as wall-mounted absorbers, cutting down echo and even dampening a bit of outside noise.
Embrace comfy furniture. Your big, overstuffed couch and plush armchairs are already doing a ton of acoustic heavy lifting. Soft, upholstered furniture is a fantastic, naturally placed sound absorber. If a room sounds hollow and empty, it's often because it is too empty.
While absorption is crucial for killing echo, you also need diffusion to scatter the remaining sound waves. This prevents the room from sounding unnaturally dead and lifeless. And one of the best diffusers you can get is something you probably already have: a bookshelf.
A common mistake I see is people thinking a perfectly neat, flat wall of books is a great diffuser. The real magic comes from variety. Books of different heights, thicknesses, and depths create an irregular surface that scatters sound in every direction, beautifully breaking up harsh reflections.
This random, "messy" arrangement is far more effective than a perfectly uniform library wall. The varied surface, combined with the porous nature of all that paper, creates a powerful acoustic tool that also happens to look great.
Now, let's tie these ideas together. You don't just do one thing; you layer these solutions to create a more balanced acoustic environment.
Start with the biggest surfaces first.
Lay down the largest, thickest rug your space and budget can handle. This immediately establishes your acoustic foundation.
Next, treat the windows. Swap out those thin blinds for heavy, absorptive drapes. You've just knocked out another huge reflection point.
Then, get smart with furniture placement. Use your sofa, chairs, and ottomans to break up large, empty walls and open spaces. You can even hang a fabric wall tapestry for extra absorption.
Finally, build your diffuser. Place a large bookshelf against a problematic wall—especially the one behind your main listening spot—and fill it with a varied collection of books.
By using items you already own, you can make a huge dent in your room's acoustic problems without ever buying a single "official" acoustic panel. It's an approach that's not only cost-effective but also integrates seamlessly into your home's decor, proving that great sound doesn't have to come at the expense of style.
Even the best-laid plans can hit a snag. When you're figuring out how to sound deaden a room, a few questions always seem to pop up. Let's run through some of the most common ones I hear, so you can move forward without any guesswork.
This is the big one, and the answer almost always surprises people: you need a lot less than you think. There's a persistent myth that you have to plaster every wall with panels to get a good result. That's just not true.
In most rooms, strategically covering just 15-25% of your wall space will work wonders. The key is to be smart about it.
Focus your treatment on the first reflection points—those spots where sound bounces directly off a wall and into your ears. Hitting these problem areas with precision is so much more effective (and cheaper!) than just throwing panels up everywhere and hoping for the best.
My personal rule of thumb? Start with less. Treat the most obvious spots, listen to the room, and only add more if you still hear a problem. It’s a heck of a lot easier to add another panel than to take one down and patch the wall.
I get this question all the time. The short answer is: please don't. While it's a popular DIY myth, egg cartons are just thin cardboard. They don't absorb sound waves in any meaningful way. Their shape might diffuse a tiny bit of high-frequency sound, but the effect is practically zero.
The same goes for foam mattress toppers. That foam is engineered for sleeping, not for acoustics. It doesn't have the density or the specific open-cell structure needed to trap sound energy. Honestly, you'd get better results just hanging a heavy blanket on the wall.
Understanding this is crucial for getting your room to sound right. They look different, and they do very different jobs.
Here’s how I think about it:
A truly balanced room usually needs a mix of both. Use foam for the higher-frequency reflections and dense mineral wool panels for bass traps in the corners or for broadband absorption on your front and back walls.
Absolutely, and you need to take this seriously. When you're buying any kind of acoustic material, especially foam, check for a Class A fire rating. This is the highest standard for building materials, meaning it's been tested and is highly resistant to spreading flames.
Cheaper, unrated foam can be a massive fire hazard. It can ignite in a flash and release toxic smoke. Don't cut corners here. Spending a bit more for properly rated materials is a non-negotiable part of the job. Your goal is to make your room sound better, not to create a safety risk.
Ready to create the perfect sound for your project without the background noise? With SFX Engine, you can generate custom, studio-quality sound effects from a simple text prompt. Stop searching for the right sound and start creating it. Explore our AI-powered sound effect generator and hear the difference for yourself.