September 25, 2025 · Kuba Rogut
If you're serious about getting professional-sounding recordings and mixes out of your home studio, acoustic treatment isn't just a good idea—it's essential. It's the single most effective upgrade you can make. The process involves strategically placing materials like absorption panels and bass traps to tame reflections, echoes, and weird frequency buildups.
Ultimately, it’s about making sure the sound you hear from your speakers is the real sound, not a funhouse mirror version of it distorted by your room. This is all about managing sound within the room, which is a totally different ballgame than soundproofing.
Before you drop another dime on a new microphone, interface, or pair of monitors, let's talk about the biggest and most overlooked variable in your entire setup: the room itself. I’ve seen it a hundred times—people spend thousands on fancy equipment only to get frustrated by muddy recordings and mixes that just don’t translate anywhere else. Nine times out of ten, the culprit is an untreated room.
Think of an untreated room as a hall of mirrors for sound. When your speakers play a note, the direct sound hits your ears, but it's instantly followed by a chaotic storm of reflections bouncing off the walls, ceiling, floor, and even your desk. Your brain can't easily separate the clean, direct sound from all that reflected noise, leaving you with a smeared, inaccurate sonic picture.
It's really easy to get these two confused, but they solve completely different problems.
For your home studio, acoustic treatment is priority number one. After all, if the sound inside your room is a mess, who cares if you can't hear the dog barking outside? That said, if external noise is a major problem, looking into DIY window soundproofing solutions can be a good first step, but just remember it's a separate project from treating the acoustics inside the room.
In a typical rectangular room, a few common acoustic issues will wreck your sound. Once you know what they are, you can start fighting back.
These are the big one, especially for bass. Standing waves happen when a sound wave’s length perfectly lines up with one of your room's dimensions (length, width, or height). The result is a massive, uncontrolled buildup of energy at specific low frequencies. This creates "boomy" spots where the bass is completely overwhelming and "nulls" where it seems to disappear entirely. It’s why your mix might sound bass-heavy in the back corner but thin and weak at your chair.
Ever clap your hands in an empty hallway and hear that zinging, metallic ring? That's flutter echo. It’s a fast, sharp echo that bounces back and forth between two parallel, reflective surfaces, like bare drywall. It adds a harsh, unpleasant vibe to your recordings and makes it impossible to hear subtle details like reverb tails or delay repeats.
A little natural room sound can be nice, but the long, muddy reverb tails in an untreated space just cloud everything up. This kind of reverb smears the sharp attack of your drums, making them sound less punchy, and it can push vocals back into the mix, killing their clarity and focus. You end up hearing way more of the room's messy sound than your actual music.
A huge mistake I see people make is thinking that better gear will fix a bad-sounding room. The hard truth is that a world-class microphone in an untreated room will just capture all the room's flaws in stunning, high-definition detail. Treating your room is, without a doubt, the most significant upgrade you can make.
The growing demand for high-quality audio has caused the acoustic products industry to boom. The acoustic panel market was valued at around USD 1.76 billion and is expected to hit approximately USD 2.58 billion by 2034. This growth is a direct reflection of how many people are building home studios and home theaters and realizing they need these solutions.
To give you a quick cheat sheet, here’s a breakdown of the most common acoustic problems and how to start fixing them.
| Acoustic Problem | What It Sounds Like | Primary Treatment |
|---|---|---|
| Standing Waves | "Boomy" or uneven bass that changes as you move around the room. | Bass Traps placed in room corners. |
| Flutter Echo | A fast, metallic, "zinging" echo when you clap your hands. | Absorption Panels on parallel walls. |
| Excessive Reverb | Sound is muddy, indistinct, and lacks clarity, like you're in a cave. | A combination of Absorption Panels and Diffusers. |
| Comb Filtering | A "phasey" or hollow sound caused by early reflections off your desk or walls. | Absorption Panels at first reflection points. |
Once you get a handle on these acoustic villains, you can turn your room from an obstacle into your most valuable asset. If you want to dig deeper into the core concepts of good audio, our guide on how to improve sound quality is a great place to start.
Every room has its own sound—a unique acoustic personality shaped by its size, shape, and what’s inside it. Before you even think about buying acoustic panels, your first job is to get to know your room's specific quirks. This isn't about pulling out expensive measurement mics or getting a degree in physics. It's about using your ears and a few simple, proven techniques to find the problem spots.
Think of it as acoustic reconnaissance. You're on a mission to identify the main culprits that are messing with your sound: flutter echo, bass buildup, and early reflections. These are the things that prevent you from hearing a true, accurate picture of your music.
Let's start with the easiest one in the book: the clap test.
Just stand in the middle of your room, away from big furniture, and give a single, sharp clap. Now, listen carefully to what comes back. Is it a clean, quick decay? Or do you hear a kind of metallic, zinging trail or a rapid-fire series of echoes?
That "zing" is flutter echo. It’s the classic sound of audio bouncing frantically between two parallel, hard surfaces, like your bare drywall. It’s one of the most common issues in untreated rooms and will make your recordings sound harsh and smeared.
My first "studio" was a spare bedroom with nothing on the walls. The flutter echo was so bad that every snare hit sounded like it had a cheap, metallic reverb plugin permanently attached. The clap test instantly revealed the problem, pointing me toward my first set of absorption panels.
Alright, now for the tricky part: the low end. Bass frequencies are notorious for acting weirdly in small rooms. They pile up in some spots, creating boomy messes, and completely disappear in others, leaving you with "nulls." To find these, you need to do a bass sweep.
You can use a free online tone generator or a sine wave plugin in your DAW. Start a tone playing around 200 Hz and slowly sweep the frequency down to about 40 Hz. As it plays, walk slowly around your room. Pay special attention to the corners and the wall behind your desk. You will literally hear and feel the bass volume jump up and down.
This little exercise gives you a practical map of how bass behaves in your space. It's crucial for figuring out where to put bass traps and, just as importantly, where not to put your chair or subwoofer.
Early reflections are the very first sound waves that bounce off a surface—like your side walls, ceiling, or even your desk—and hit your ears. They arrive just a few milliseconds after the direct sound from your speakers, and they're absolute chaos for your stereo image and overall clarity. Finding and treating these "first reflection points" is a huge priority.
The easiest way to find them is the classic mirror trick.
Sit down in your mix position, right in the sweet spot. Get a friend to help you by sliding a small mirror flat along the left wall. The moment you can see the tweeter of your left speaker in that mirror, you've found the first reflection point for that side.
Now, do the same thing for all the key surfaces:
Mark each of these spots with a piece of painter's tape. These are the most important places to hang your first acoustic panels. Treating them creates what’s known as a "Reflection-Free Zone" (RFZ) around your head, which makes a massive difference in your ability to hear detail and judge stereo placement accurately.
And while you're focused on perfecting your room's internal sound, if outside noise is also a problem, our guide on how to remove background noise has some great tips that go hand-in-hand with this process. By mapping out all these issues first, you can be smart with your treatment and put your money where it will truly count.
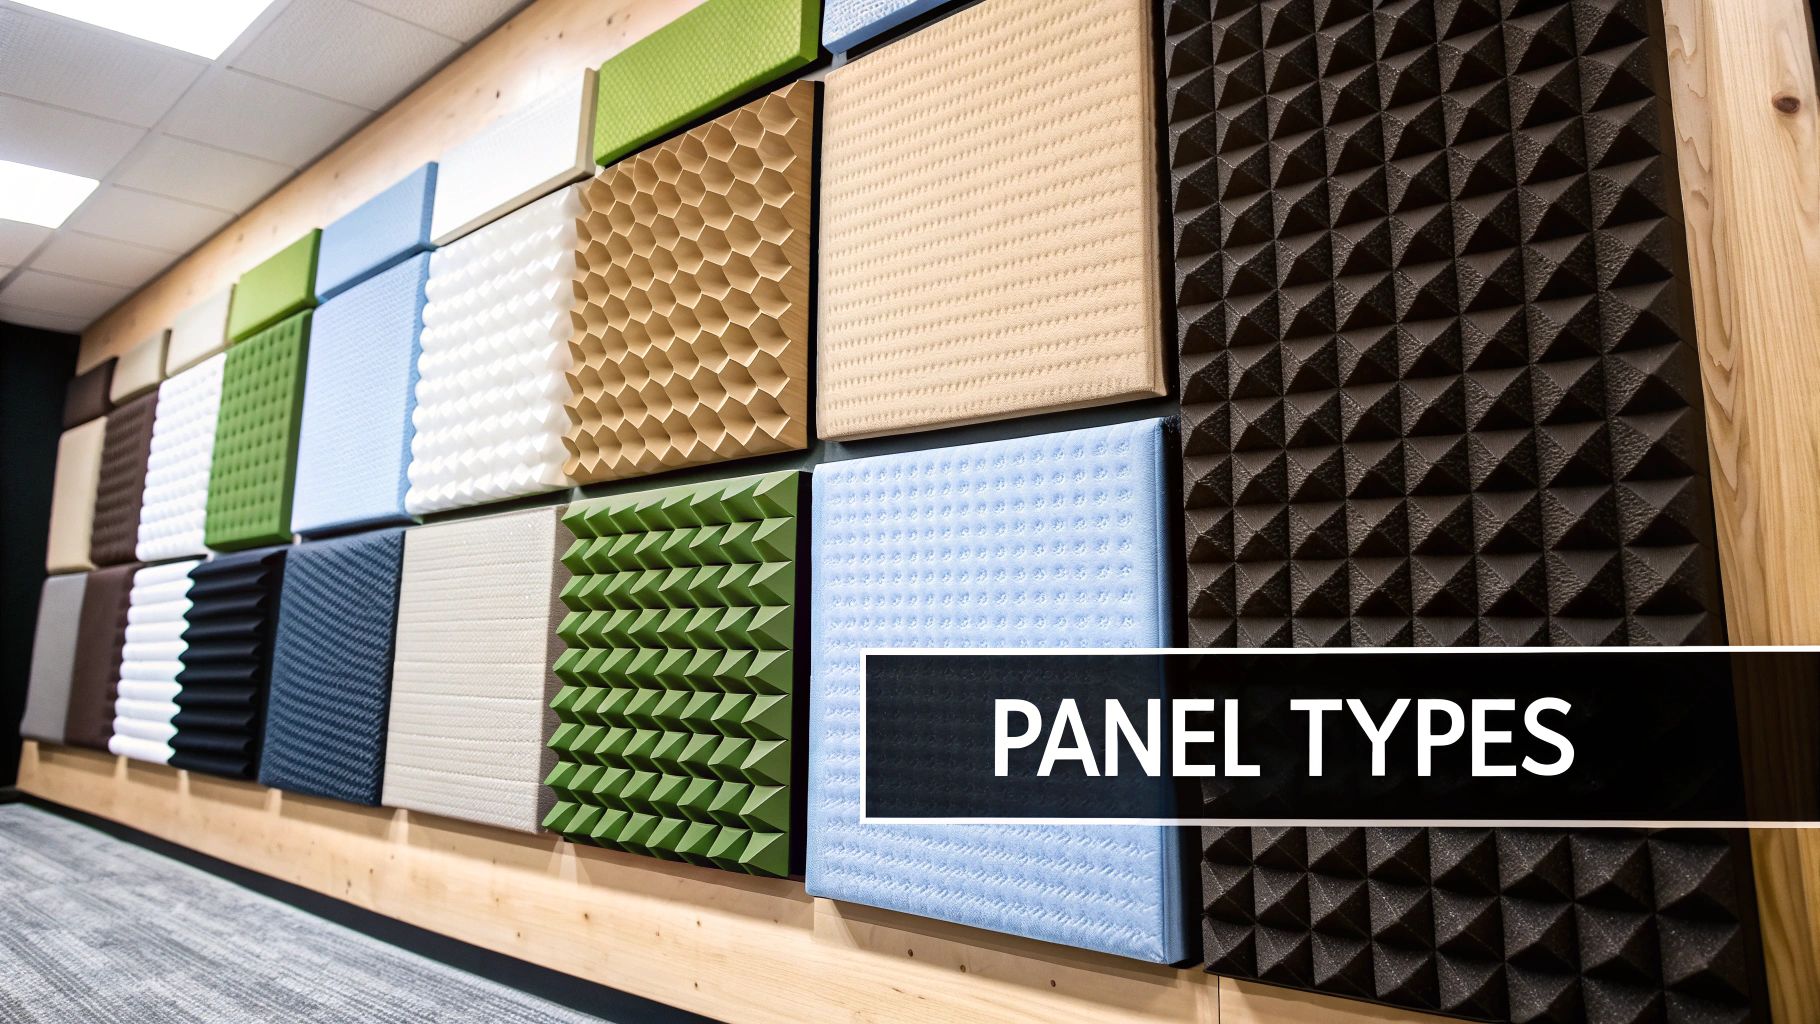
Alright, you’ve pinpointed the trouble spots in your room. Now comes the fun part: picking your gear. The world of acoustic treatment can feel a bit overwhelming, but it really just boils down to three jobs: absorption, diffusion, and bass trapping. Getting a handle on what each one does is the key to spending your money wisely and actually fixing the problems you have.
This isn't a niche market, either. The demand for controlled audio environments is huge—the partially enclosed acoustic enclosure segment alone was valued at nearly USD 5.9 billion and is still climbing. That number tells you something: while the initial investment might sting a little, the payoff in audio quality is massive.
Absorption is all about taming flutter echo and that smeary, uncontrolled reverb. Think of an absorber as a sound-wave sponge. Its job is to take incoming sound energy and convert it into a minuscule amount of heat, stopping it from bouncing right back at your ears. This is done with porous materials designed to trap those waves.
For broadband absorbers—the workhorse panels that handle a wide range of frequencies—the gold standard materials are rigid fiberglass and mineral wool. You might know them by brand names like Owens Corning 703 or Rockwool. This isn't the fluffy pink stuff in your attic; we're talking about dense, semi-rigid boards engineered specifically for this purpose.
When you’re looking at absorption panels, two things matter most:
Don't forget about windows and other hard surfaces. Things like heavy, purpose-built noise-reducing curtains can be surprisingly effective for dampening outside noise and killing some of that internal reflection.
Please, do yourself a favor and avoid the cheap, egg-carton-style foam. It might look like it belongs in a studio, but it only absorbs the very highest frequencies. It does next to nothing for the muddy reverb and flutter echo that are actually ruining your mixes. For real results, you need to use proven materials like mineral wool or rigid fiberglass.
If you only remember one thing from this guide, make it this: bass traps are non-negotiable. Low-frequency energy is a beast. It builds up in the corners of your room, creating those nasty standing waves and the boomy, uneven bass response we talked about earlier. Your standard two-inch absorption panels are practically invisible to these powerful waves.
To control the low end, you have to bring out the big guns. That means thick, substantial traps. The most common and effective type is the porous absorber bass trap, which is basically just a very thick broadband panel—often 6 inches or more—stuffed into a corner. These are often called "super chunks" or triangular traps, and they work wonders because they have the sheer mass and depth required to slow down those long, powerful sound waves.
You might also hear about membrane traps (or diaphragmatic absorbers). These are sealed boxes with a flexible front panel that vibrates at a specific bass frequency to dissipate its energy. They are incredibly effective but are tuned to very narrow frequency bands and are much more complicated to design or build. For most home studios, good old-fashioned porous absorbers are the way to go.
While absorption is about killing reflections, diffusion is about scattering them. Instead of a single, hard reflection smacking you in the face, a diffuser shatters that sound wave and disperses it in countless different directions. This gets rid of harsh, distinct echoes without making your room sound completely dead and claustrophobic.
Diffusers are usually made of wood and have those cool-looking, complex patterns of varying depths. They work beautifully on the back wall of your studio to break up slap echo from the monitors or on the ceiling to create a more open, spacious sound. It’s all about creating a listening environment that feels natural and comfortable.
This is where you have to make a call based on your budget, time, and how handy you are. Do you build your own panels or buy them pre-made? There’s no wrong answer here.
To help you figure it out, it's useful to see a direct comparison of the trade-offs.
| Factor | DIY Acoustic Panels | Commercial Acoustic Panels |
|---|---|---|
| Cost | Much cheaper. You're mostly paying for raw materials, especially if you need a lot of panels. | More expensive. You're paying for labor, company overhead, and shipping costs. |
| Performance | Can perform just as well as commercial panels if you build them right with the proper materials. | Consistent, lab-tested performance. You get exactly what you pay for, no guesswork. |
| Time & Effort | A serious time commitment. It involves research, sourcing materials, and messy construction. | Ready to hang straight out of the box. Installation is fast, clean, and simple. |
| Aesthetics | Completely customizable. You can pick any fabric, wood, or finish to match your studio's vibe. | Professional and clean, but you're limited to the manufacturer's selection of styles and colors. |
Frankly, building your own panels is an awesome way to get top-tier acoustic treatment on a home studio budget. But you have to be honest with yourself about the time and effort involved. If you’d rather spend that weekend making music, then buying commercial panels is a smart, efficient choice.
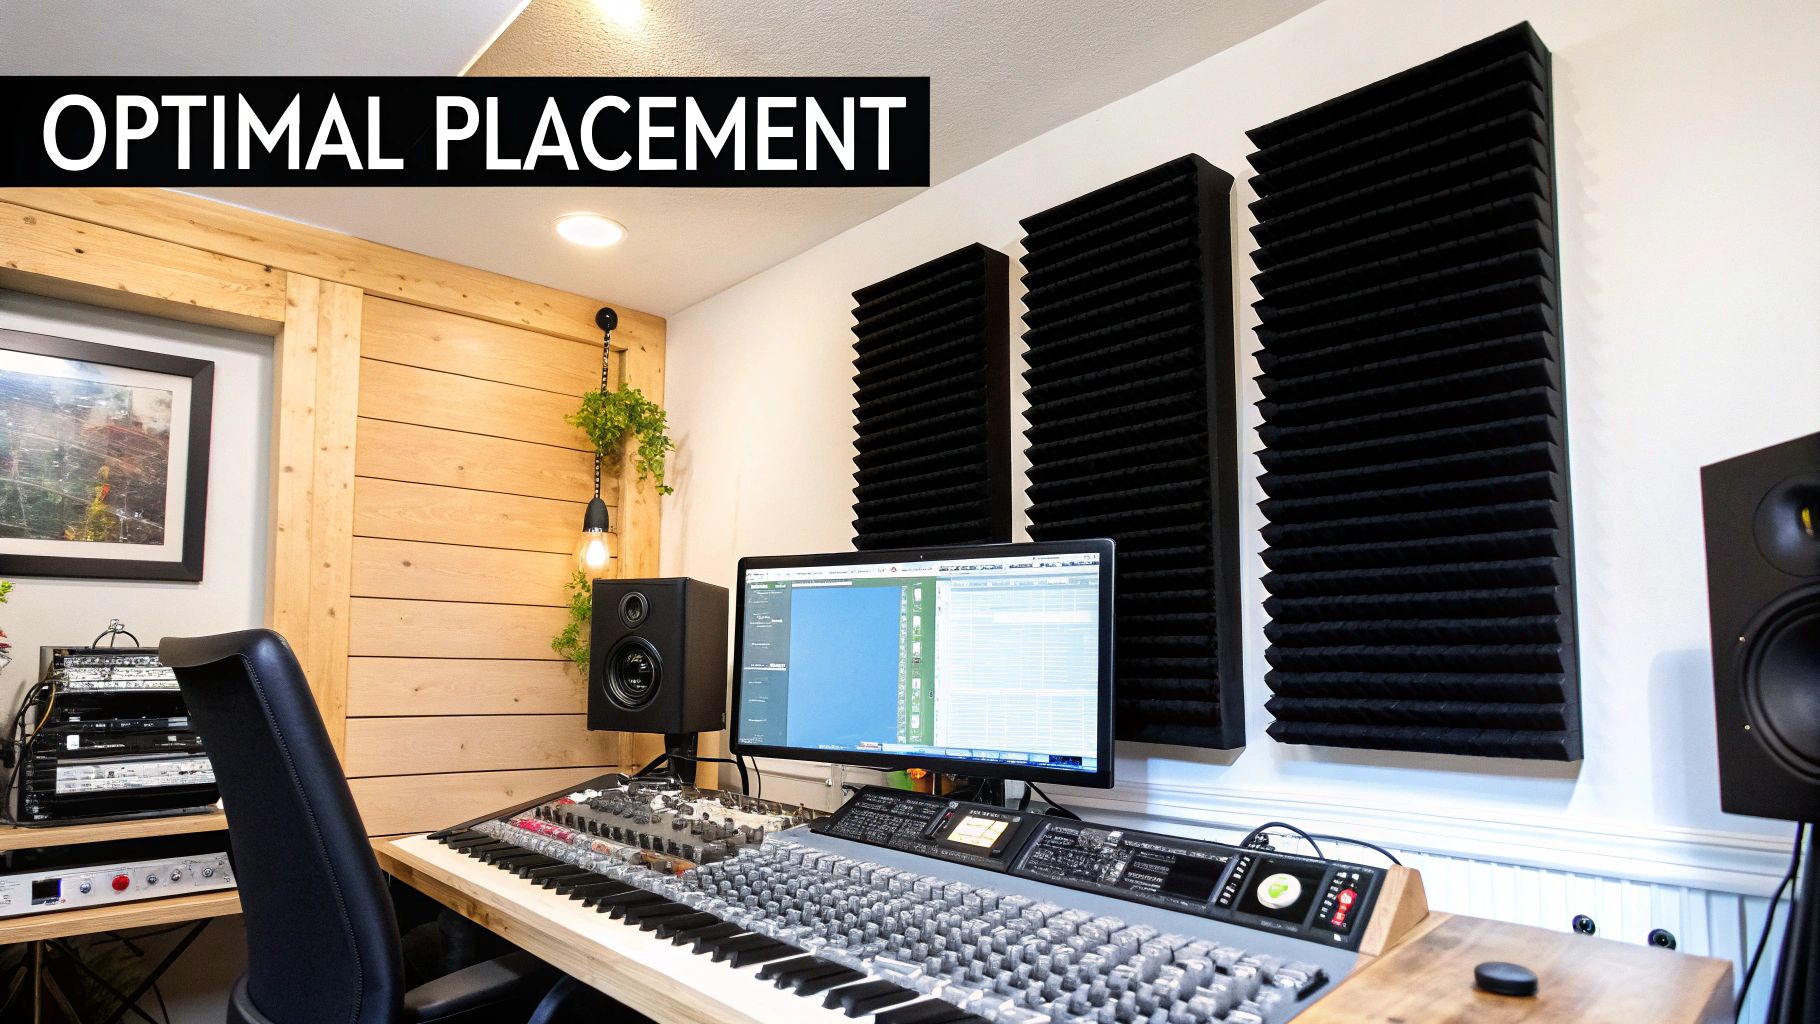
Knowing where to put your acoustic treatment is every bit as important as what you buy. You could have the best panels in the world, but if you just stick them on the walls randomly, you'll get mediocre results at best. A strategic plan, on the other hand, can completely transform a room with surprisingly few panels.
The whole idea is to hit the biggest problems first. That way, you get the most bang for your buck and hear a real improvement with every panel you hang.
Let's start where the biggest issues live in small rooms: the low end.
Low-frequency sound waves are powerful, and they go everywhere. They punch right through thin foam panels and have a nasty habit of building up in the corners where your walls meet. This pressure cooker effect is what creates standing waves—the culprit behind that boomy, uneven bass that makes getting a clean mix feel impossible.
For that reason, bass trapping is your first and most important priority.
The best spot for the thick, dense bass traps we've talked about is right in the vertical corners of your room. If you can stack them floor-to-ceiling, even better.
Focusing on these corners first will do more to tighten up your low end than anything else you can do.
I once worked in a room where a single bass note around 80 Hz was so overpowering in the back corner it would literally make the walls vibrate, yet you could barely hear it at the mix position. Popping floor-to-ceiling bass traps in just two of the corners made a world of difference. Trust me, don't skip this.
With the low end under control, it's time to deal with early reflections. These are the pesky sound waves that bounce off your side walls and ceiling, reaching your ears a few milliseconds after the direct sound from your speakers. This seemingly small delay is enough to smear your stereo image and blur the fine details in your mix.
You've already found these problem spots with the mirror trick. Now it's time to treat them.
Treating these three points creates what we call a "Reflection-Free Zone" (RFZ). Inside this zone, you're primarily hearing the direct sound from your speakers, not the room. The result is a crystal-clear sonic picture that makes panning and reverb decisions so much easier. If you want to dive deeper into how this impacts your perception of space, you can learn more about what stereo imaging is in our detailed article.
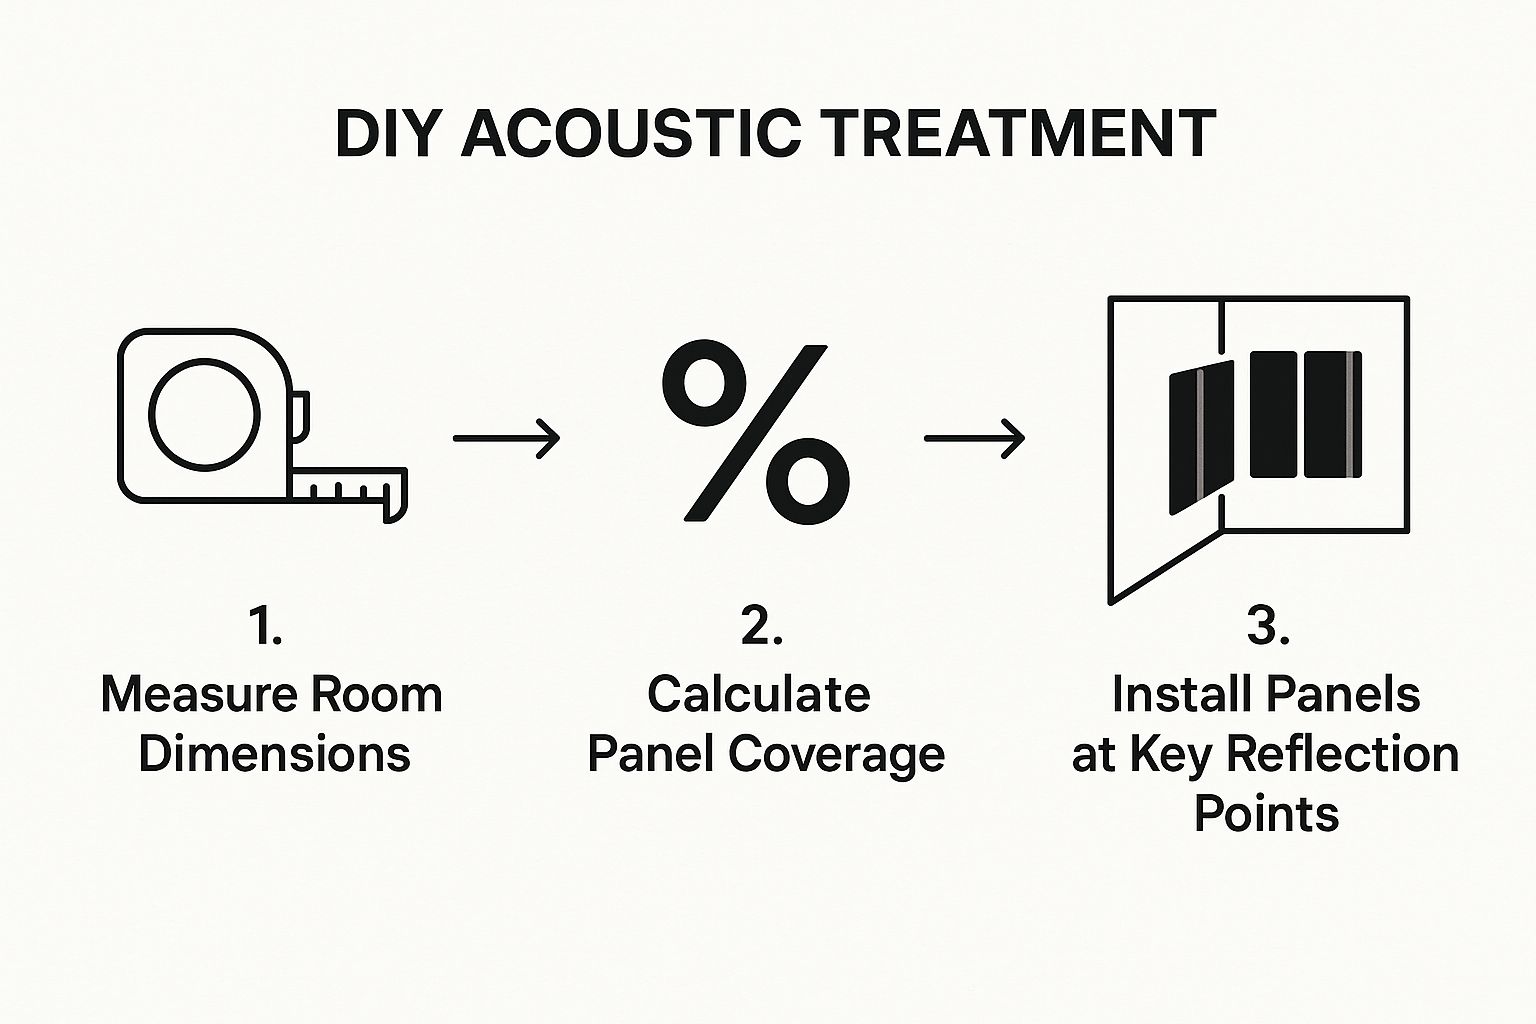
This workflow keeps things simple. It’s all about calculating how much coverage you need and putting it where it will have the biggest impact—like these crucial first reflection points.
The final piece of the puzzle is the wall directly behind your listening position. This surface is the main cause of slap echo, that distinct, sharp echo you hear when you clap your hands. If you leave this wall untreated, sound from your monitors will bounce right back and hit you in the back of the head, muddying up everything.
You've got two great options here, and the choice usually comes down to room size and budget.
The demand for effective acoustic treatment for home studios is exploding, with the market for indoor soundproofing growing at a rate of about 8.7% annually. This boom is fueled by creators just like you who understand that a good-sounding room is non-negotiable.
By following this priority plan—corners first, then first reflections, and finally the back wall—you’re systematically fixing your room’s biggest acoustic flaws. You’ll hear a clear, undeniable improvement with each step you take.
Alright, you've done the hard work of assessing your room and picking out the right treatment. Now for the final step: getting it all installed correctly. This is where the rubber meets the road, and a few simple techniques can make a huge difference. Let's walk through how to hang everything securely and sidestep some common mistakes that can sabotage your sound.
For most standard two-inch or four-inch panels, I'm a big fan of impaling clips. They're just simple metal plates with sharp spikes that you screw into the wall. Once they're up, you just press your panel onto them, and it holds firm. They're dead simple and give you a nice little air gap right out of the box.
If you're dealing with heavier gear like chunky corner bass traps or a ceiling cloud, you’ll want something a bit more heavy-duty. Z-clips are your best bet here. They come in two interlocking parts—one for the wall, one for the panel—that slide together to create a super secure mount. It’s a rock-solid solution for anything you don't want to worry about falling.
Here's a trick I've used for years that dramatically boosts your panels' performance without costing you an extra dime: create an air gap. By mounting your panels a few inches off the wall instead of flat against it, you can seriously increase their ability to absorb lower frequencies.
Think about it: a two-inch panel with a two-inch air gap behind it can perform nearly as well as a much thicker four-inch panel mounted flush. The sound wave goes through the panel, bounces off the wall, and has to travel back through the panel again to get out. You’re essentially getting double the absorption for those longer, more stubborn wavelengths.
You don't need fancy mounting hardware for this. A few small wooden blocks glued to the back corners of a panel will do the trick perfectly. Just hang it with picture wire or impaling clips as usual. It’s easily one of the best bang-for-your-buck moves you can make in acoustic treatment.
I’ve seen a lot of home studios over the years, and the same few mistakes pop up time and time again. Learning from them now will save you a ton of frustration down the line. Here’s what to watch out for when setting up acoustic treatment for home studios.
This is the classic rookie error. You see that cheap, egg-carton foam all over the internet, and it looks like what you’d find in a studio. The problem is, it does next to nothing for the frequencies that actually cause problems. It might absorb a bit of the high-end shimmer, but it won't touch the muddy mids or boomy lows. The result? A room that sounds dull and lifeless, but is still full of flutter echo and reverb.
It’s so easy to get laser-focused on the four walls around you that you completely forget what’s above your head. The ceiling is a massive, flat surface just waiting to bounce sound right back down into your ears. It's almost always one of your primary first reflection points.
This one’s a little more subtle. We have a natural instinct to make things look symmetrical, so we place panels in the same spots on the left and right walls. But what if your desk isn't perfectly centered? Maybe a doorway forces you to sit closer to the left wall. If you treat the room symmetrically, your listening experience will be unbalanced.
Even after mapping out your plan, a few questions always seem to surface. It’s totally normal. Let's tackle some of the most common things that trip people up when they're planning acoustic treatment for home studios. Getting these fundamentals right from the start will save you a ton of headaches and money down the road.
These are the exact questions I hear all the time from producers and engineers trying to get their rooms to translate properly. The answers are simple, but they’re crucial for getting the sound you're after.
This one is huge. It's probably the most common point of confusion, and getting it wrong is a recipe for disappointment. They are two completely separate concepts with different goals, materials, and methods.
Acoustic treatment is about controlling the sound inside your room. The whole point is to improve the listening environment by taming reflections, echoes, and standing waves. We use things like absorption panels and diffusers to create a clear, accurate sound for mixing and recording.
Soundproofing, on the other hand, is all about sound isolation. The goal is to prevent sound from getting out of your room or from the outside getting in. This is a construction job—think adding mass with drywall, decoupling structures, and sealing every last air gap. For a home studio, you always, always start with acoustic treatment.
Here's the simplest way to think about it: Acoustic treatment makes your room sound great. Soundproofing stops your roommates or neighbors from hearing your kick drum at 2 a.m. One is for making better music; the other is for keeping the peace.
There's no single, magic formula here, but a good starting point for a small home studio is to treat between 20% to 30% of your total wall and ceiling surface area. But honestly, that's just a ballpark. What matters way more is where you put the treatment.
Placement is everything. You can't just buy a 12-pack of foam and stick the panels up randomly.
Follow the strategy we laid out earlier:
Once you’ve covered those critical areas, stop. Listen. Play some reference tracks. If you still hear a ton of flutter echo or problematic ringing, then you can add a few more panels. The goal is a controlled, natural-sounding room, not a dead, anechoic chamber. Over-treating a room will suck the life right out of it, making it a horrible space to be creative in.
I get it. You want to save some cash, and you've seen the pictures online. But the answer to this is a hard "no." These DIY "solutions" are almost completely useless for real acoustic control.
Sure, a few heavy moving blankets might absorb a tiny bit of high-frequency sizzle, but they won't do a thing for the mid-range flutter echo or the low-frequency mess that plagues nearly every small room. And egg cartons? That's a complete myth. Their shape and flimsy paper material provide zero meaningful absorption or diffusion. They just make your room look like a fire hazard.
To get professional-sounding results, you need to use materials actually designed for the job. Dense, porous stuff like mineral wool or rigid fiberglass has the proven physical properties needed to absorb a wide range of frequencies. Don't waste your time or energy on hacks that won't actually solve your room's problems.
Ready to create the perfect sound for your next project? With SFX Engine, you can generate custom, high-quality, royalty-free sound effects instantly using AI. Stop searching for the right sound and start creating it. Explore SFX Engine and get started for free today!