August 2, 2025 · Kuba Rogut
Learning how to sync audio and video is one of those fundamental skills that really separates amateur work from a truly professional production. It’s all about taking a high-quality audio track—say, from a dedicated microphone—and perfectly aligning it with the original audio from your video camera, making sure what your audience hears matches what they see, down to the millisecond.
Have you ever watched a video where someone's lips are moving, but the words you hear are just slightly off? It’s jarring. Even a tiny delay feels unnatural and instantly pulls the viewer out of the moment. That little disconnect, often called a lip-sync error, can make your entire project feel cheap and can even subconsciously make the audience trust you less.
This is why getting the sync right is the bedrock of any believable, high-quality video. It's the reason professional productions, from Hollywood blockbusters to top-tier YouTube channels, almost always record their audio separately. A dedicated microphone placed right next to the person speaking will always capture richer, cleaner sound than the tiny mic built into a camera sitting several feet away. The price you pay for that incredible audio quality is having to sync it up later in your edit.
Mastering audio sync isn't just about dragging clips around on a timeline until the waveforms look right. It’s about building a seamless, immersive experience for your audience.
When you nail the sync, you guarantee a few things:
If you think about it, the entire history of "talkies" starting in the 1920s was a frantic race to perfect this very alignment. Decades of innovation, from the classic film clapperboard to today’s powerful software, have all been aimed at solving this one core challenge. The Audio Engineering Society actually has a fascinating timeline showing just how far we've come.
"Bad audio will make viewers click away faster than bad video. If the sync is off, you've lost them before they even know why."
Ultimately, it doesn't matter if you're a filmmaker, a vlogger, or creating videos for a corporation—knowing how to sync audio is essential. And while you're focused on getting your dialogue perfect, don't forget that custom sound effects can take your project to the next level. You can even find a free AI audio generator to create unique sounds for your project. Taking the time to master sync is a direct investment in the quality and impact of everything you create.
Before you can really fix an audio sync problem, it helps to get what's happening under the hood. The whole game of aligning sound and picture—what we call "lip-sync"—is all about timing. We're talking about incredibly tiny increments, but even a slight offset can feel jarring to your audience. It instantly shatters the illusion you’ve worked so hard to build.
This timing is measured in milliseconds (ms), and you’d be surprised how quickly the human brain can spot an error. The gap between a perfect sync and a distracting mistake is often just a few frames of video. This is why knowing how to sync audio with video with near-perfect precision is a non-negotiable skill for any creator.
According to the International Telecommunication Union, lip-sync errors start becoming noticeable once they cross the ±45 millisecond threshold. When the audio comes before the video, that's a positive value. When it comes after, it's a negative value. Modern digital video relies heavily on timestamps to keep these two streams locked together, a process that’s absolutely critical for everything from blockbuster films to your latest YouTube video.
So, what causes this dreaded drift in the first place? It's rarely one big, obvious mistake. It’s usually a subtle technical mismatch that gets worse and worse over the length of a clip.
If you’re combining visuals with narration, for example, getting a clean screen recording with voice-over from the get-go is your best defense against these problems. Pinpointing the root cause is the key to preventing it from ever happening again.
The most maddening sync issues are the ones that start out perfectly fine but slowly drift apart. This is almost always a dead giveaway that you have a frame rate or sample rate conflict between your source files and your project settings.
Let's dig into some of the most common reasons your audio and video decide to part ways. These issues usually stem from small inconsistencies in how different devices record or process time-based data.
Sync drift is often the result of a technical mismatch between your source files and your editing environment. Here’s a breakdown of the usual suspects and how to keep them from ruining your project.
| Issue | Description | How to Prevent |
|---|---|---|
| Variable Frame Rate (VFR) | The video’s frame rate fluctuates during recording, a common feature in smartphones and screen capture software to save resources. | Convert your VFR footage to a Constant Frame Rate (CFR) using a tool like HandBrake before importing it into your editor. |
| Sample Rate Mismatch | Your project is set to one audio sample rate (e.g., 48kHz, the video standard) but your audio was recorded at another (e.g., 44.1kHz, the CD standard). | Check your source audio's sample rate and make sure your project’s audio settings match. If they don't, conform the audio file to the project's sample rate. |
| Processing Delays | Different hardware components, like your CPU and audio interface, process their respective streams at slightly different speeds. | This is less common but can happen. Render small sections to check for drift and ensure your drivers are up-to-date. Using high-quality hardware also minimizes this risk. |
Being mindful of these potential landmines is the first real step toward achieving a clean, professional sync. Always take a moment to check your source files and confirm your project settings before you start cutting. It’s a simple habit that can save you from some of the most frustrating headaches in video editing.
Thankfully, the days of nudging clips frame by frame to get a perfect sync are mostly behind us. Modern non-linear editing software (NLEs) comes packed with some incredibly smart, built-in tools that can handle the grunt work for you. This frees you up to focus on what really matters: telling a great story.
The magic behind this is audio waveform analysis. Your editing program listens to the scratch audio from your camera and compares it to the clean audio from your external recorder. It then intelligently hunts for matching patterns and snaps them together with surprising precision. It’s a huge time-saver.
Whether you're working in Adobe Premiere Pro, DaVinci Resolve, or Final Cut Pro, the process is pretty similar. You’ll start by importing your video clip (with its scratch audio) and your high-quality external audio file into your project bin.
Next, just drop both clips onto your timeline. Select them both, right-click, and look for an option like "Synchronize" or "Auto-sync Audio."
Your software will then ask you how you want to sync. You'll typically see a few options:
Once you hit "OK," the software will analyze and align the clips. Just like that, they're perfectly in sync on your timeline. This feature has completely changed post-production workflows, turning a tedious chore into a simple click. Many editors will sync all their footage at the start of a project and organize these synced clips into bins for a faster, more streamlined edit.
After you've synced your clips, you'll run into a common crossroads: should you use the "Merge Clips" function? This feature takes your video track and the newly synced high-quality audio and bakes them into one brand-new clip in your project bin.
On the surface, merging seems like a great way to tidy up your project and timeline. But it's not always the best move.
A Word of Caution: Merging clips creates a new, simplified media file, which is great for organization. The trade-off is that it can lock you in, making it much harder to adjust the individual audio and video tracks later.
For example, if you need to slip the audio a few frames to fix a slight drift, a merged clip can make that a real headache. I usually prefer a non-destructive workflow where I just link the synced clips on the timeline instead of merging them. This gives me maximum control and flexibility down the road.
Ultimately, your choice depends on the project's demands and your own editing style. Working with professional screen recording editing software can often simplify this process, as these tools are designed for complex media management. And if you're looking to elevate your projects even further, consider checking out our guide on how to create sounds to add some custom audio flair.
Automated sync tools are fantastic time-savers, but they're not perfect. Sooner or later, you'll hit a wall. Maybe you're working with tricky footage, mismatched audio files, or the software just decides not to cooperate. When the automated process fails, you're left with a frustrating mess.
This is exactly why every serious editor needs a solid fallback: the art of manual syncing. Knowing how to line up audio and video by hand is a fundamental skill that gives you complete control and the confidence to fix any sync issue that comes your way. The most reliable way to do this hinges on finding a sharp, clear cue in both your picture and your sound.
There's a reason the clapperboard (or slate) is such an iconic symbol of filmmaking. It's designed for one specific job: creating a crystal-clear reference point for both the camera and the sound recorder. The concept is simple, but pulling it off requires a bit of precision in the edit bay.
Start by dropping your video clip and the separate, high-quality audio file onto different tracks in your timeline. Your first task is to scrub through the video to find the exact frame where the two parts of the clapperboard snap shut. This is your visual anchor.
Now, turn your attention to the audio track's waveform. You’re looking for a big, sharp peak—the unmistakable sound of the clap. I can't stress this enough: zoom way in on your timeline. You need to be able to see the individual frames and the fine detail of the waveform to get this right.
Pro Tip: Don't just trust your eyes. Most editors have an audio scrubbing feature (you can often activate it by holding Shift while dragging the playhead). This lets you hear the audio frame by frame, making it much easier to pinpoint the very beginning of the clap sound with far more accuracy than just looking at the waveform.
Once you've located both the visual and auditory cues, it's just a matter of dragging the audio clip left or right. Line up that spike in the waveform perfectly with the frame where the slate closes. Play it back a few times to make sure it's dead on.
What happens if you were on a shoot without a clapperboard? Don't sweat it. A single, sharp hand clap right at the start of the take can work just as well. It gives you the same ingredients: a clear visual of your hands meeting and a distinct peak in your audio.
The steps for syncing a hand clap are identical to using a proper slate:
This is a true lifesaver for run-and-gun shoots, impromptu interviews, or any time you just need a quick sync point without the formal gear.
This whole process, whether with a professional slate or a simple clap, boils down to a few core actions.
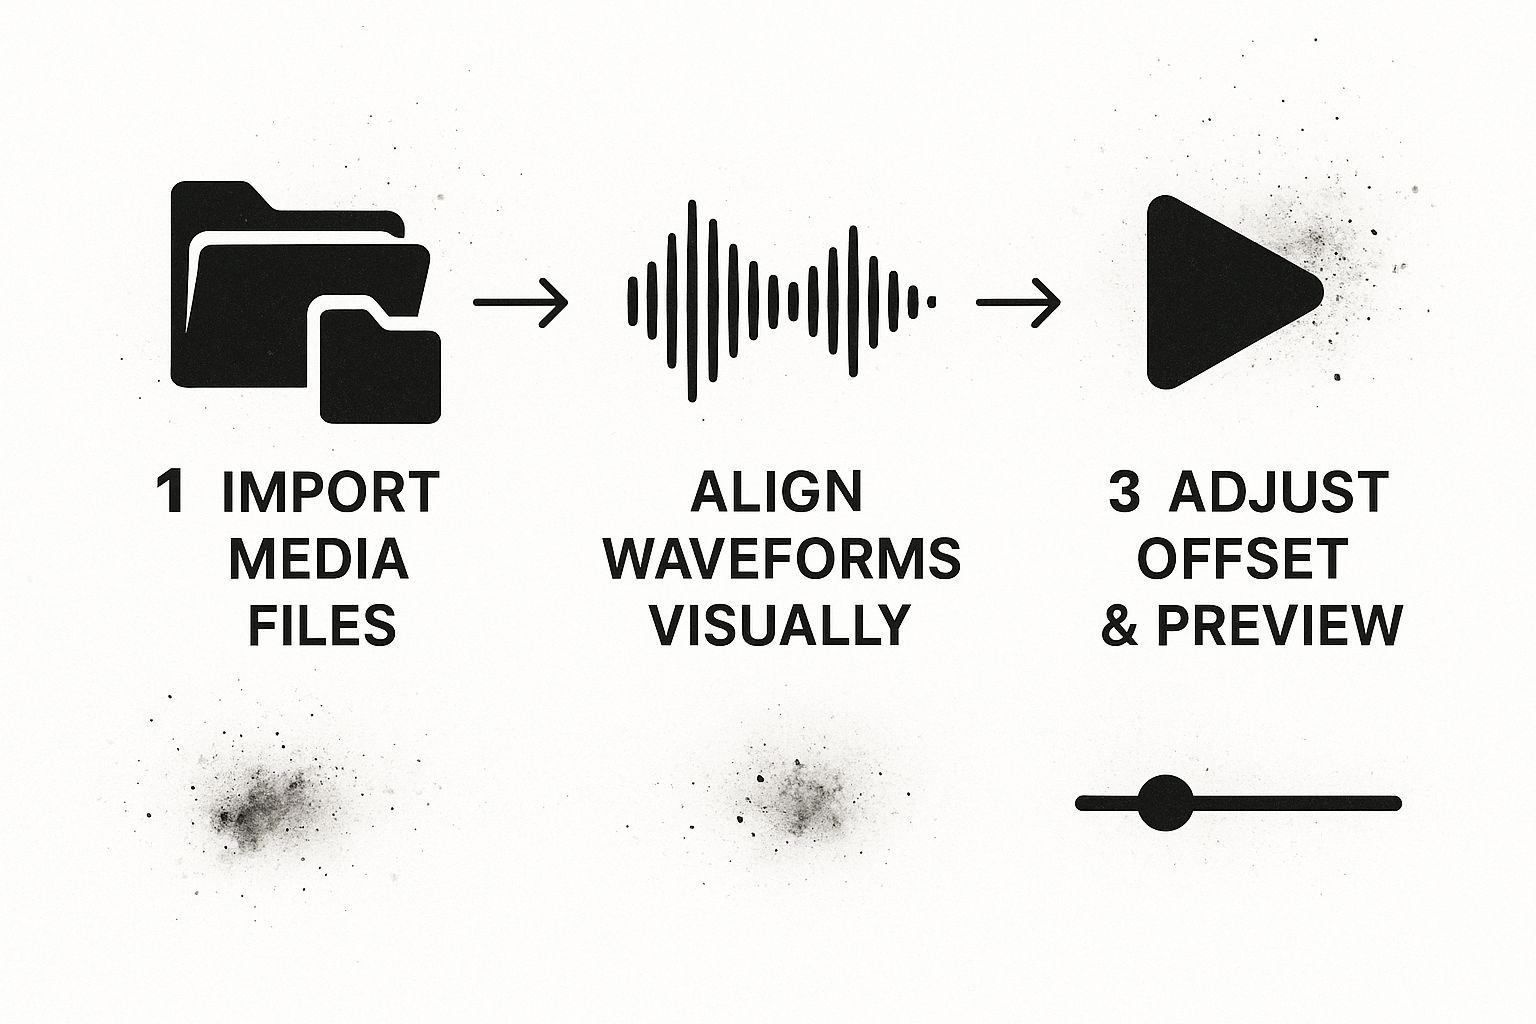
As the workflow shows, the fundamental steps of importing your media, aligning your sync points, and then fine-tuning the result are universal. Once you get these manual techniques down, you'll never feel stuck again. You'll always have full control over your edit.
 Even when you nail your sync technique, you'll eventually run into an editor's worst nightmare: audio that starts perfectly aligned but slowly wanders out of sync. This maddening issue, known as audio drift, is something I see all the time, especially with longer recordings like interviews, podcasts, or event footage.
The usual suspect is almost always Variable Frame Rate (VFR) footage. A lot of consumer gear—think smartphones, webcams, and screen recorders—uses VFR to manage processing power. The device adjusts the frame rate as it records, which is a disaster for the strict, unmoving timeline in your editing software. This inconsistency is what causes your audio to gradually fall out of step with the video.
Honestly, the single best way to beat audio drift is to tackle it before you even drop a clip into your timeline. The mission is to convert that troublesome VFR footage into a rock-solid Constant Frame Rate (CFR). This gives you a video file with a consistent time base that your editing software can understand and work with flawlessly.
A fantastic—and completely free—tool for this is HandBrake. I make it a habit to run any questionable footage through it before importing.
Here's the quick and dirty on using HandBrake for this:
This small pre-editing step is an absolute game-changer. I can't tell you how many hours of frustration this will save you down the road.
Audio drift is like a leaky faucet. At first, it's just a tiny, unnoticeable drip, but if you ignore it, you’ll end up with a flooded-out project. Converting to CFR is like fixing the pipe before it ever has a chance to burst.
Another sneaky culprit behind sync issues is a sample rate mismatch. You can think of the sample rate as your audio's version of a frame rate. For video production, the industry standard is 48kHz, but for music or audio CDs, it's often 44.1kHz.
If your project is set to 48kHz but you bring in an audio clip recorded at 44.1kHz, your software will try to play it back at the project's rate. This stretches or squishes the audio, causing it to drift over the duration of the clip.
Always make it a habit to check your source files and project settings. If you find a mismatch, most NLEs have a function to "Conform" or "Interpret" the audio to the correct sample rate. Consistency is key, especially when you're pulling in different audio elements. If you're building a soundscape, you might find a great library of free sound effects for games and other media, but always double-check their technical specs. Building these checks into your initial import process is a professional habit that will keep your sync tight.
Once you get the hang of syncing audio, you start running into those tricky, real-world problems that most guides don't cover. What happens when the slate is missing? Or when a long clip slowly falls out of sync?
Let's dig into some of those common questions I hear from other editors. Think of this as your personal cheat sheet for when you hit a wall in the edit bay and need a quick, practical answer.
Honestly, the tools you already have are probably all you need. The big players in the video editing world—Adobe Premiere Pro, DaVinci Resolve, and Final Cut Pro—all come with incredibly powerful, built-in sync functions. They can analyze your audio waveforms or read timecode to line everything up automatically in just a couple of clicks.
Now, if you're tackling a massive project, like a reality show with ten cameras or a feature-length documentary, you might want to call in the specialists. A dedicated tool like Red Giant's PluralEyes is legendary in the industry for a reason. It's incredibly fast and accurate, and it often works its magic on clips that make the built-in NLE tools give up.
The "best" software really comes down to your project's needs. For 95% of jobs, the sync tools baked right into your NLE are more than enough to get a frame-perfect result.
So, before you go shopping for new software, master what you've got. You'll be surprised how capable it is.
This is the classic editor's nightmare, but it's far from a lost cause. When you don't have a clapboard or a clear reference sound, you have to put on your detective hat. Your mission is to find any moment where a visual action creates a sharp, distinct sound.
You'll need to look for tiny, almost hidden cues. Some great ones to hunt for are:
This takes patience. You’ll be zoomed way in on your timeline, nudging the audio clip one frame at a time until the sound and action are perfectly aligned. It’s tedious work, no doubt about it, but this manual technique is an essential skill that can salvage an otherwise unusable take.
Yes, and you absolutely should. Fixing audio drift is a massive headache, but preventing it is surprisingly easy. The number one culprit behind audio that slowly falls out of sync on long recordings is Variable Frame Rate (VFR).
Most phones and some consumer cameras record in VFR to save space, but it wreaks havoc in professional editing software. The solution is simple: convert your footage to a Constant Frame Rate (CFR) before you even import it into your project.
You can use a free tool like HandBrake or Shutter Encoder to do this. This one preparatory step forces the video's timing to be stable, giving your editor a clean, reliable file to work with. Taking five minutes to convert your files upfront can save you hours of frustrating adjustments later.
Ready to elevate your projects with studio-quality audio? At SFX Engine, we empower creators with a free, AI-powered sound effect generator. Craft custom, royalty-free sounds for your films, games, or podcasts with just a text prompt. Explore SFX Engine and start creating your unique soundscape today.