In modern video editing, professional sound design is not a luxury; it is a necessity that separates amateur content from polished, cinematic experiences. While stunning visuals capture attention, the carefully crafted audio landscape builds immersion, drives emotion, and tells a complete story. Yet, many editors treat sound as an afterthought, leading to flat, uninspired results that fail to engage the audience. This guide is designed to break that cycle by providing a collection of powerful and practical Premiere Pro sound effects tips.
We will explore seven essential techniques that move beyond the basics. You will learn actionable strategies for everything from organizing your assets with the Essential Sound Panel to mastering dynamic transitions with keyframe automation. We will also cover how to build custom sound libraries and integrate AI-generated audio for a more efficient and creative workflow. Whether you're a filmmaker, a content creator, or a podcaster, these specific methods will help you refine your process and produce truly compelling soundscapes. Mastering these strategies will transform your audio workflow, giving you the control needed to elevate every project from a simple cut to a fully realized sonic journey.
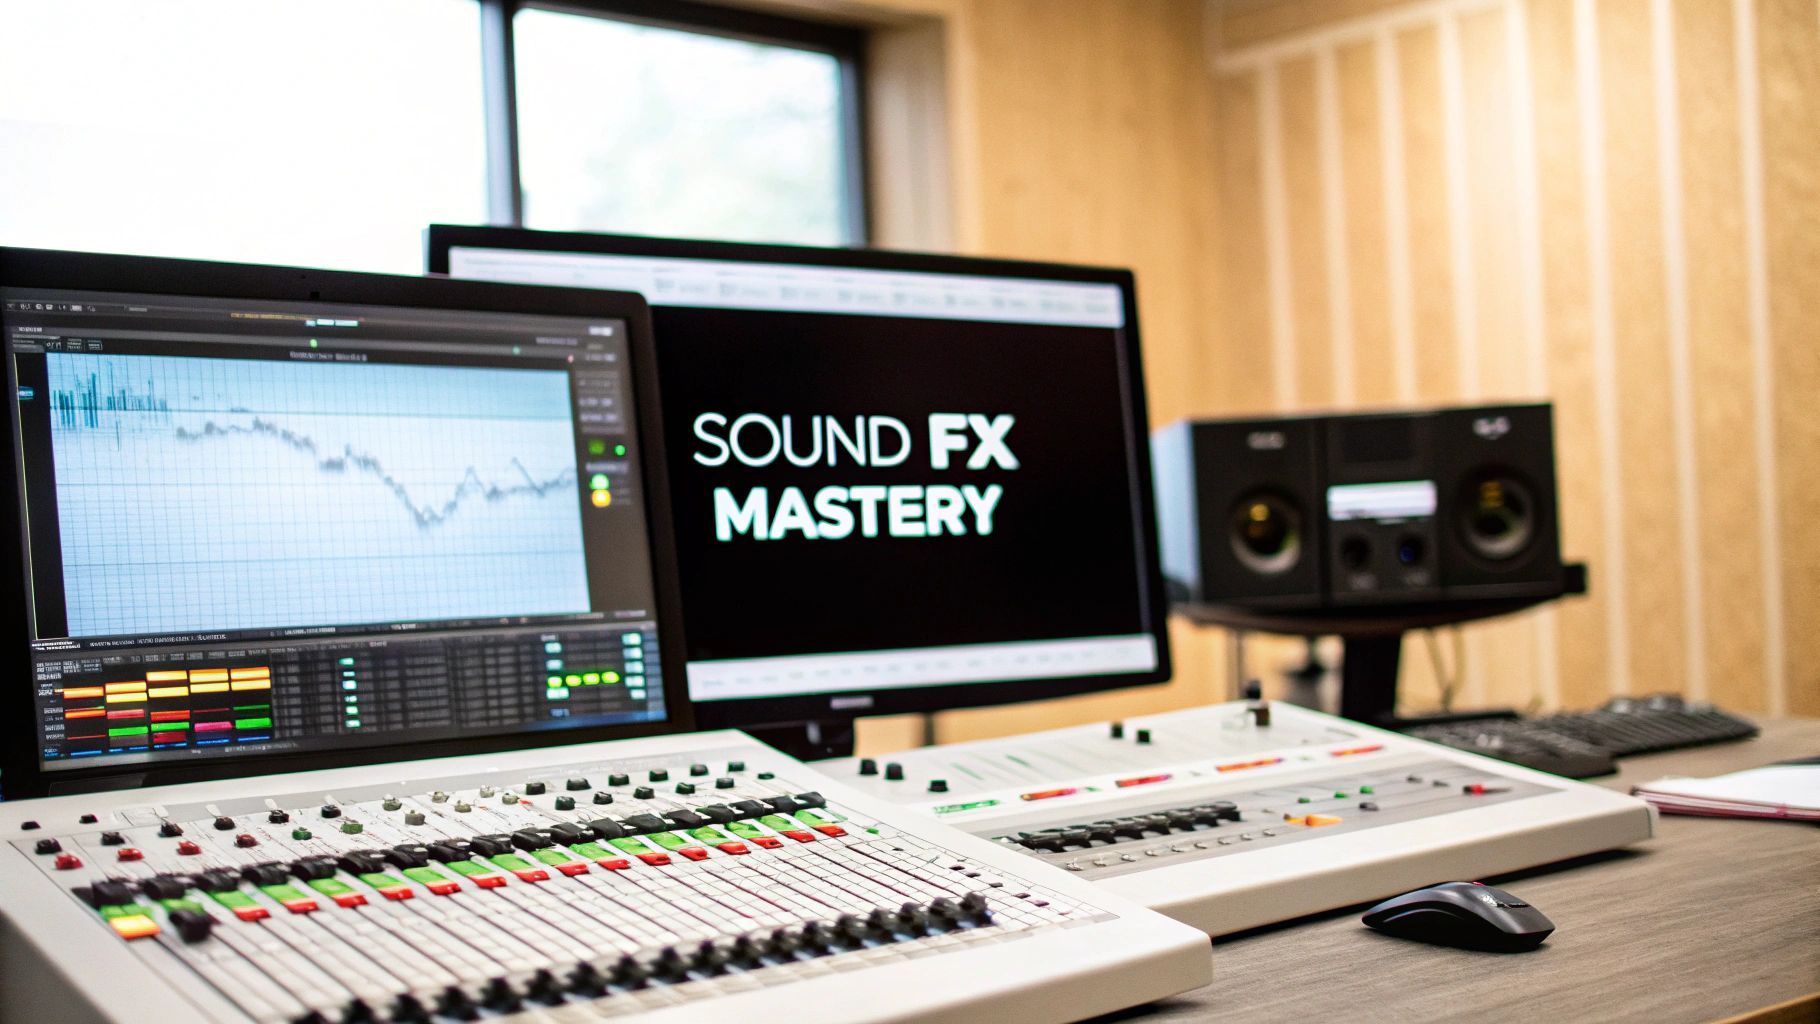
The Essential Sound Panel is one of Premiere Pro's most powerful yet underutilized tools for audio management. Instead of treating your timeline as a chaotic collection of audio clips, this dedicated workspace allows you to apply professional-level organization by assigning specific roles to each sound. It’s a game-changer for anyone looking for Premiere Pro sound effects tips that genuinely streamline their workflow.
By selecting an audio clip and assigning it a type like Dialogue, Music, SFX, or Ambience, you unlock a customized set of controls tailored to that specific audio category. This not only keeps your project tidy but also enables powerful batch processing. For example, you can apply the same reverb preset to all your SFX clips at once, saving immense time and ensuring sonic consistency. This is especially useful when integrating a large number of custom sounds, such as those generated with an AI tool like SFX Engine, into a complex project.

This approach transforms audio editing from a manual, clip-by-clip chore into a systematic, role-based process. A filmmaker can instantly isolate and adjust all background ambient sounds without touching the dialogue. Similarly, a game developer can tag hundreds of generated sound effects by interaction type (e.g., footsteps, impacts, power-ups) for quick, targeted adjustments.
To make the most of the Essential Sound Panel, follow these practical steps:
SFX_Footstep_Gravel_01 or AMB_Forest_Night_Windy. This makes them easily searchable within Premiere.Static sound effects can make a project feel flat and lifeless. Keyframing in Premiere Pro is the essential technique for breathing dynamism into your audio, allowing you to animate parameters like volume, panning, and effects over time. This method is fundamental for creating smooth fades, building tension, and crafting a professional, immersive soundscape.
By adding keyframes directly to an audio clip's timeline, you gain precise control over its properties from one moment to the next. This is invaluable when blending multiple sounds or integrating custom-generated assets. For instance, an AI-created sound effect from SFX Engine might need its volume gently ramped up to match the on-screen action, or an ambient track might need to be panned from left to right to follow a character's movement. Keyframing provides the granular control to make these adjustments seamless and intentional.
Keyframing transforms audio from a static element into a dynamic storytelling tool. Instead of abrupt starts and stops, sounds can evolve naturally within the scene. An action filmmaker can use volume keyframes to make distant thunder grow louder as a storm approaches, enhancing the sense of dread. A podcast editor can create a perfect, smooth cross-fade between an intro music track and the host's dialogue, ensuring clarity and professionalism. This level of control is a hallmark of high-quality audio production.
To effectively use keyframe animation for your audio, follow these practical steps:
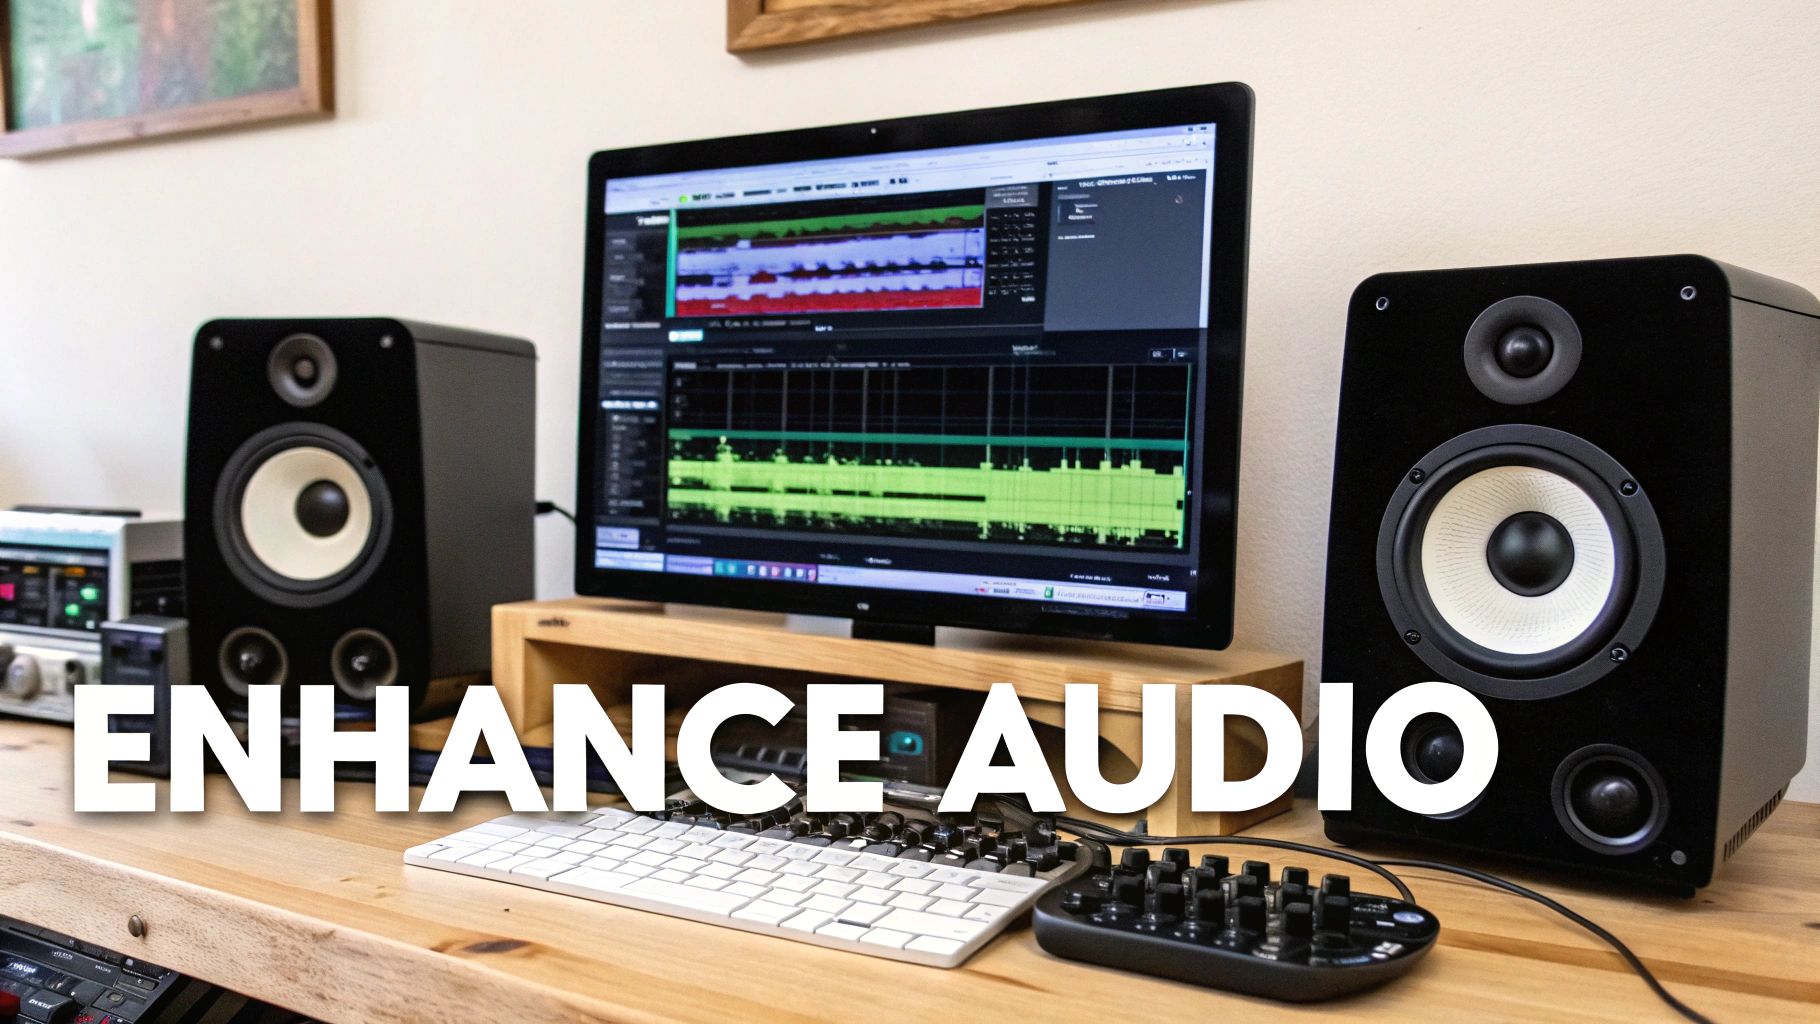
Raw sound effects are just the starting point; professional sound design is achieved through skillful application of audio effects and meticulous mixing. Premiere Pro’s extensive library of built-in effects, including EQ, Reverb, Compression, and Delay, allows you to transform basic sounds into assets that perfectly fit your project’s sonic landscape. This is one of the most critical Premiere Pro sound effects tips for elevating production value.
When you combine these tools with custom-generated sounds, such as those from an AI tool like SFX Engine, you unlock limitless creative potential. A generic explosion sound can be placed in a vast canyon with reverb, or a subtle AI-generated room tone can be compressed to sit perfectly under dialogue. Proper mixing ensures every element, from the loudest impact to the quietest ambient whisper, serves its purpose without clashing.
This approach moves beyond simply placing sounds on a timeline and into the realm of true sound design. It allows you to create cohesion, depth, and emotional impact. A filmmaker can use EQ and reverb to make a gunshot sound convincingly like it's echoing through a specific warehouse, while a podcaster can use subtle compression on background SFX to ensure they never overpower the host's voice, maintaining clarity and professionalism.
To effectively use effects and mixing, integrate these professional practices into your workflow:
A perfectly designed sound effect loses all its power if its timing is off by even a few frames. Strategic placement and precise timing in relation to visual events are fundamental to effective audio design, transforming a good edit into a great one. In Premiere Pro, this means meticulously synchronizing audio clips with on-screen cues, understanding audio precedence, and creating intentional layers of sound to build a convincing sonic environment.
This technique is crucial for making an audience feel the action rather than just watch it. For instance, an action editor can sync the "thud" of a punch to the exact frame of impact, creating a visceral reaction. Similarly, documentary filmmakers can subtly introduce ambient sounds generated with a tool like SFX Engine right before a scene transition, emotionally preparing the viewer for the new location. The ability to generate custom sound variations ensures that if a standard effect doesn't fit the visual rhythm, you can create one that does.
This approach directly links the auditory and visual experience, creating a seamless and immersive reality for the audience. When sound and picture are perfectly synchronized, the brain accepts them as a single event, heightening emotional impact and realism. Misaligned audio, conversely, breaks this immersion and can make a high-quality production feel amateurish.
To master sound effect placement and timing in your projects, follow these practical steps:
Working efficiently in post-production means having the right assets at your fingertips without wasting time searching. Building a custom, well-organized sound library is a foundational practice that separates amateurs from professionals. Instead of re-downloading or re-creating sounds for every project, you can develop a proprietary collection of audio assets that ensures brand consistency and drastically speeds up your workflow. This is one of the most impactful Premiere Pro sound effects tips for long-term productivity.
Premiere Pro supports this workflow through custom bins and integration with Adobe's CC Libraries, allowing you to create and access your sound collections directly within the application. By curating a library of go-to sounds, you can pull pre-approved audio elements instantly. This is particularly powerful when you use a tool like SFX Engine to generate specific, royalty-free effects, as you can build a massive, commercially-safe library tailored perfectly to your niche without any licensing worries.

This strategy moves you from a reactive to a proactive workflow. Production houses maintain genre-specific libraries (e.g., horror, sci-fi) to rapidly prototype and finish projects. Similarly, podcast networks create branded audio toolkits with consistent intros, outros, and transitions to maintain a uniform identity across all their shows. By investing time upfront in organization, you save countless hours in the long run and elevate the quality of your sound design.
To build and manage your sound library effectively, follow these best practices:
Category > Sub-Category > Specific_Sound. For example: Vehicles > Cars > Toyota_Prius_Engine_Start.SFX_ for effects, AMB_ for ambience, and MUS_ for music. Include descriptive keywords, such as SFX_Door_Creak_Wood_Slow.Moving beyond individual clip adjustments, submixes offer a powerful hierarchical approach to audio management in Premiere Pro. Instead of applying effects and volume changes to dozens of separate clips, a submix track lets you group related audio categories like dialogue, music, or sound effects. You can then process this entire group with a single set of controls, dramatically improving efficiency and sonic cohesion.
This method is indispensable when handling a large volume of assets, such as a collection of custom sounds generated with a tool like SFX Engine. By routing all these effects to a dedicated SFX Submix, you can apply a universal reverb to match an environment or use a single EQ to shape their collective frequency profile. This is one of the most effective Premiere Pro sound effects tips for achieving a professional, unified soundscape without tedious, repetitive work on individual clips.
Submixing creates a structured, logical workflow that mirrors how professional audio engineers mix complex projects. It allows for broad-stroke adjustments at the group level before fine-tuning individual elements. A filmmaker can easily lower the entire ambient sound bed during a key dialogue scene, or a game audio designer can manage hundreds of generated impact sounds as one cohesive unit, ensuring they all sit perfectly in the mix.
To integrate submixes into your workflow, follow these practical steps:
Modern audio production is being transformed by AI-generated sound effects, which integrate seamlessly into Premiere Pro workflows. Platforms like SFX Engine allow creators to generate custom, royalty-free sound effects on-demand, which eliminates the need to manage extensive sound libraries or pay for expensive licenses. This approach accelerates production while maintaining professional quality, making it one of the most forward-thinking Premiere Pro sound effects tips available today.
By combining the speed of AI generation with Premiere’s robust organizational and processing tools, you create a powerful, streamlined workflow. Instead of searching for a "close enough" sound, you can generate the exact effect your project needs in seconds. For instance, an indie filmmaker can produce a unique ambient soundscape perfectly matched to a specific on-screen location, while a game developer can generate hundreds of unique variations for footsteps or impacts to create a more immersive audio landscape.
This strategy bridges the gap between creative need and asset availability, providing a nearly infinite, bespoke sound library. It’s particularly valuable for content creators on tight deadlines or budgets who need custom sounds without the cost of a professional sound designer. When integrated into a larger creative strategy, the use of specialized AI Content Tools can dramatically boost productivity across video and audio projects.
To effectively integrate AI-generated SFX into your Premiere Pro projects, follow these steps:
| Technique | 🔄 Implementation Complexity | ⚡ Resource Requirements | ⭐ Expected Outcomes | 📊 Ideal Use Cases | 💡 Key Advantages / Tips |
|---|---|---|---|---|---|
| Utilize the Essential Sound Panel for Professional Audio Organization | Medium — setup & tagging required | Low–Medium: time to tag, no extra plugins | ⭐⭐⭐⭐ — consistent levels, faster locating of assets | Large libraries, collaborative editing, podcasts | Batch tag on import; use loudness match; keep naming conventions |
| Master Keyframe Animation for Dynamic Sound Effect Transitions | High — frame-accurate skills needed | Medium–High: time, CPU for many keyframes | ⭐⭐⭐⭐ — precise, natural transitions and dynamic mixes | Action films, game audio, detailed sound design | Start simple, prefer Bezier curves, save keyframe presets |
| Leverage Audio Effects and Mixing for Professional Sound Design | Medium–High — requires audio knowledge | High: CPU, possible third‑party plugins, monitoring | ⭐⭐⭐⭐⭐ — polished, cohesive, broadcast-ready audio | Film post, game mixing, final polish for podcasts | Use EQ to remove clashes, master bus for consistency, avoid over‑processing |
| Implement Proper Sound Effect Placement and Timing for Maximum Impact | Medium — careful listening and sync work | Low–Medium: time, multiple tracks increase project size | ⭐⭐⭐⭐ — enhanced emotional impact and clarity | Explosion sync, footsteps in games, scene transitions | Rely on waveform peaks, dedicate foley tracks, leave headroom |
| Build Custom Sound Libraries and Manage Audio Assets Efficiently | Medium — initial organization overhead | Medium: storage, metadata entry, CC Library limits | ⭐⭐⭐⭐ — faster future projects, brand consistency | Production houses, game studios, podcast networks | Use hierarchical folders, consistent prefixes, archive old libs |
| Optimize Audio Workflow with Submixes and Master Output Control | Medium–High — routing knowledge required | Low–Medium: more efficient CPU usage overall | ⭐⭐⭐⭐ — unified processing, faster global adjustments | Large projects, film post, games with many SFX | Create Dialogue/Music/SFX/Ambience submixes; color‑code; save templates |
| Maximize Workflow Efficiency by Integrating AI‑Generated SFX with Premiere's Native Tools | Low–Medium — depends on automation/API use | Medium: internet, subscription/credits, import time | ⭐⭐⭐⭐ — rapid custom SFX, cost and licensing advantages | Indie creators, small studios, high‑volume content | Use specific prompts, generate variations, import metadata intact |
Navigating the world of audio within a video editing suite can often feel secondary to the visuals, but as we've explored, sound is the unseen force that dictates emotion, pace, and immersion. The journey from basic audio placement to sophisticated sound design is built on a foundation of both technical skill and creative vision. The collection of Premiere Pro sound effects tips detailed in this guide provides a comprehensive roadmap for any editor looking to elevate their projects from good to unforgettable.
By mastering the Essential Sound Panel, you bring order and efficiency to what can easily become a chaotic timeline. This organizational prowess sets the stage for more creative endeavors. Dynamic control, achieved through precise keyframe animation, allows you to breathe life into static sounds, making them move and react in concert with your visual narrative. This isn't just about fading in and out; it's about crafting nuanced transitions that feel organic and intentional.
The real transformation begins when you move beyond simple placement and start actively designing your soundscape. Layering multiple effects, meticulously adjusting EQ with the Parametric Equalizer, and using audio effects like Reverb or Delay are not just corrective measures; they are powerful creative tools. These techniques allow you to build texture, create a sense of physical space, and add a professional polish that separates amateur work from professional productions.
Remember, the goal is to build a cohesive audio experience where every sound has a purpose. Key takeaways from our exploration include:
The path to mastering audio in Premiere Pro is iterative. Don't feel pressured to implement every single one of these techniques at once. Instead, choose one or two areas to focus on in your next project. Perhaps you'll start by organizing your audio into roles using the Essential Sound Panel or experiment with creating a simple submix for all your ambient background noises.
By consistently applying and building upon these Premiere Pro sound effects tips, you will gradually develop an intuitive understanding of how sound and picture work together. You'll begin to not just hear the audio in your projects, but to feel it. This is where you transition from a video editor who works with sound to a true storyteller who crafts complete, immersive audiovisual experiences. The investment you make in learning these skills will pay dividends, resulting in more engaging, professional, and emotionally resonant work that captivates your audience from the first frame to the last.
Ready to spend less time searching for the perfect sound effect and more time creating? SFX Engine uses AI to generate unique, high-quality, and royalty-free sound effects in seconds, integrating seamlessly into your Premiere Pro workflow. Find the exact sound you need, right when you need it, at SFX Engine.