October 30, 2025 · Kuba Rogut
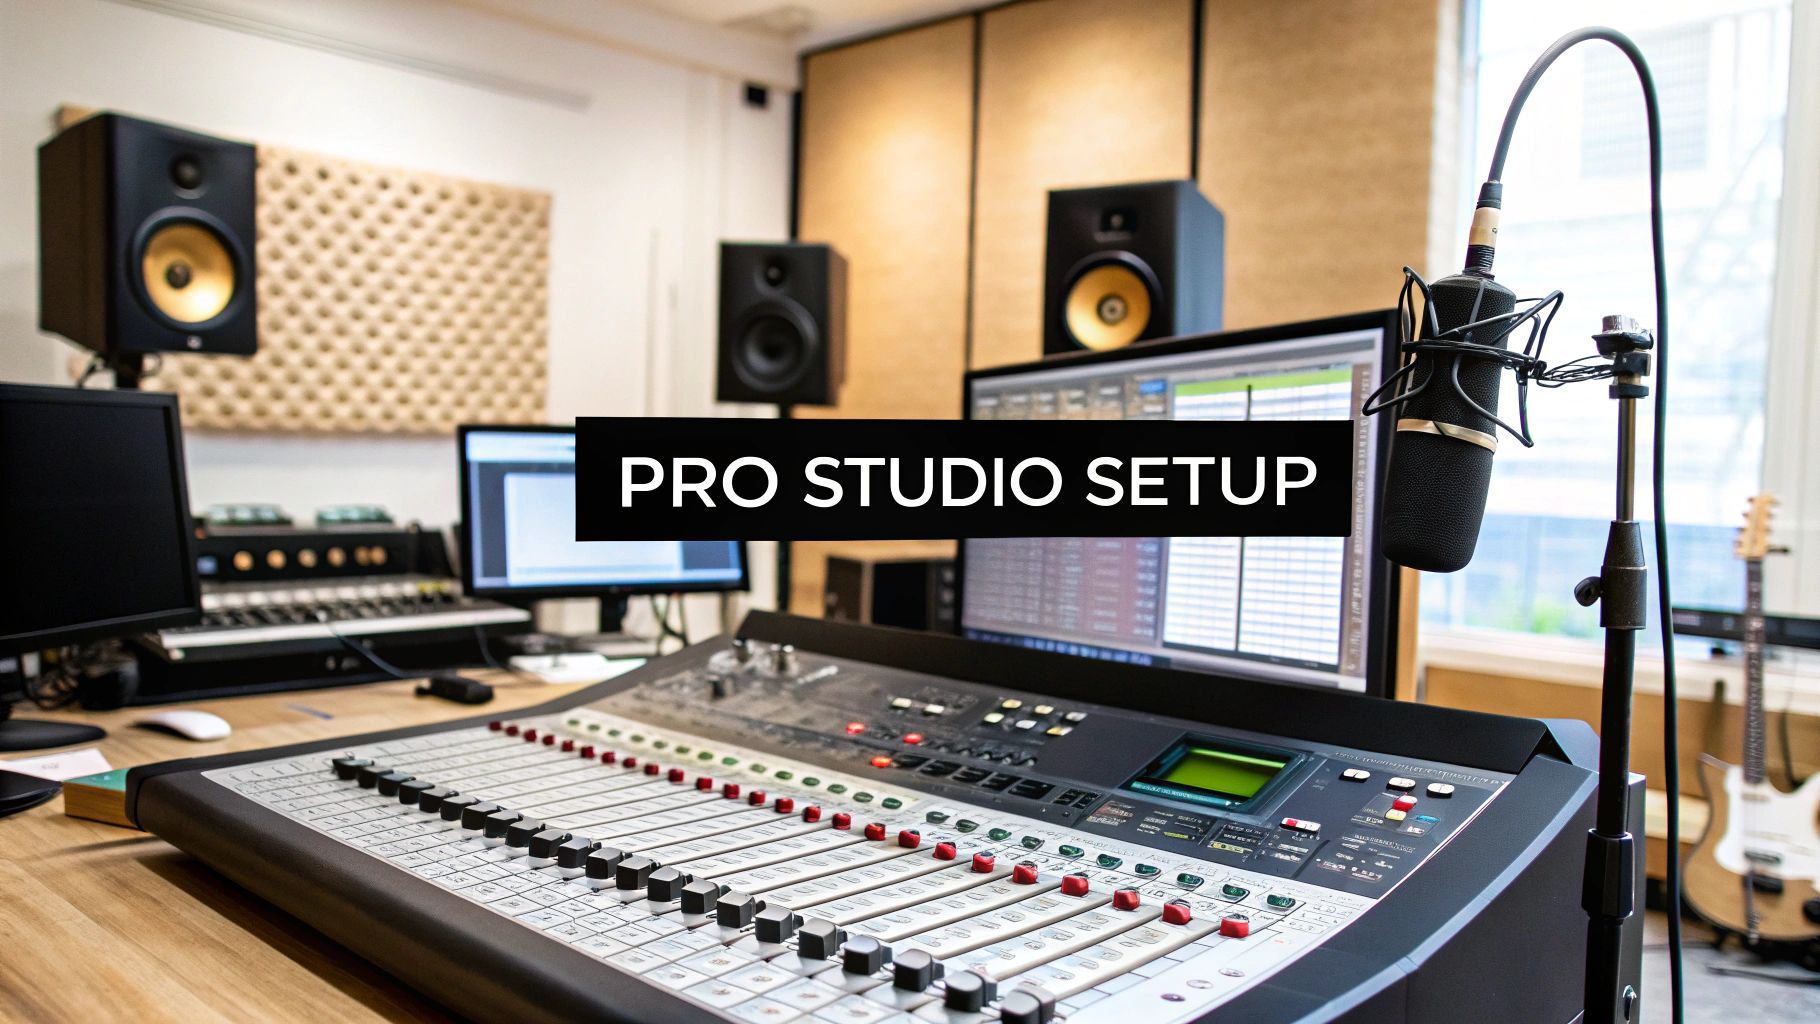
Before you even think about dropping cash on a fancy microphone or a new set of monitors, we need to talk about the most important piece of gear in your entire studio: the room itself. I can't stress this enough. An untreated, acoustically flawed room will sabotage every recording and mix, no matter how expensive your equipment is.
Think of it this way: your room is the first instrument in every signal chain.
It’s a classic rookie mistake—thinking a high-end microphone will magically solve the problems of a bad-sounding room. The hard truth is that a sensitive condenser mic will just do a better job of capturing all those nasty reflections, flutter echoes, and standing waves. It'll highlight the flaws, not hide them.
The goal here isn't to create a completely dead, anechoic chamber. That would sound unnatural. Instead, the aim is to control the sound so that what you're hearing from your speakers is a true, accurate representation of your audio. We call this process acoustic treatment.
Now, a lot of people mix up acoustic treatment with soundproofing, but they are two totally different beasts. Getting this distinction right from the beginning will save you a ton of headaches and money.
Here’s a quick breakdown to clear things up. This table will help you figure out where to focus your energy and budget to get the best results for your studio.
| Concept | Primary Goal | Common Materials | Typical Application |
|---|---|---|---|
| Acoustic Treatment | To control sound inside the room by absorbing or diffusing sound waves. | Acoustic foam, fiberglass panels, bass traps, diffusers. | Reducing echo and reverb for clearer recordings and mixing. |
| Soundproofing | To block sound from entering or leaving the room. | Mass loaded vinyl, drywall, Green Glue, resilient channels. | Preventing outside noise from ruining a take, or keeping loud music from disturbing neighbors. |
For the vast majority of home and project studios, your money is best spent on acoustic treatment. It's the one thing that directly improves the quality of your sound. While soundproofing is great if you live in a noisy area or have thin walls, it's a massive, expensive construction project that's often overkill.
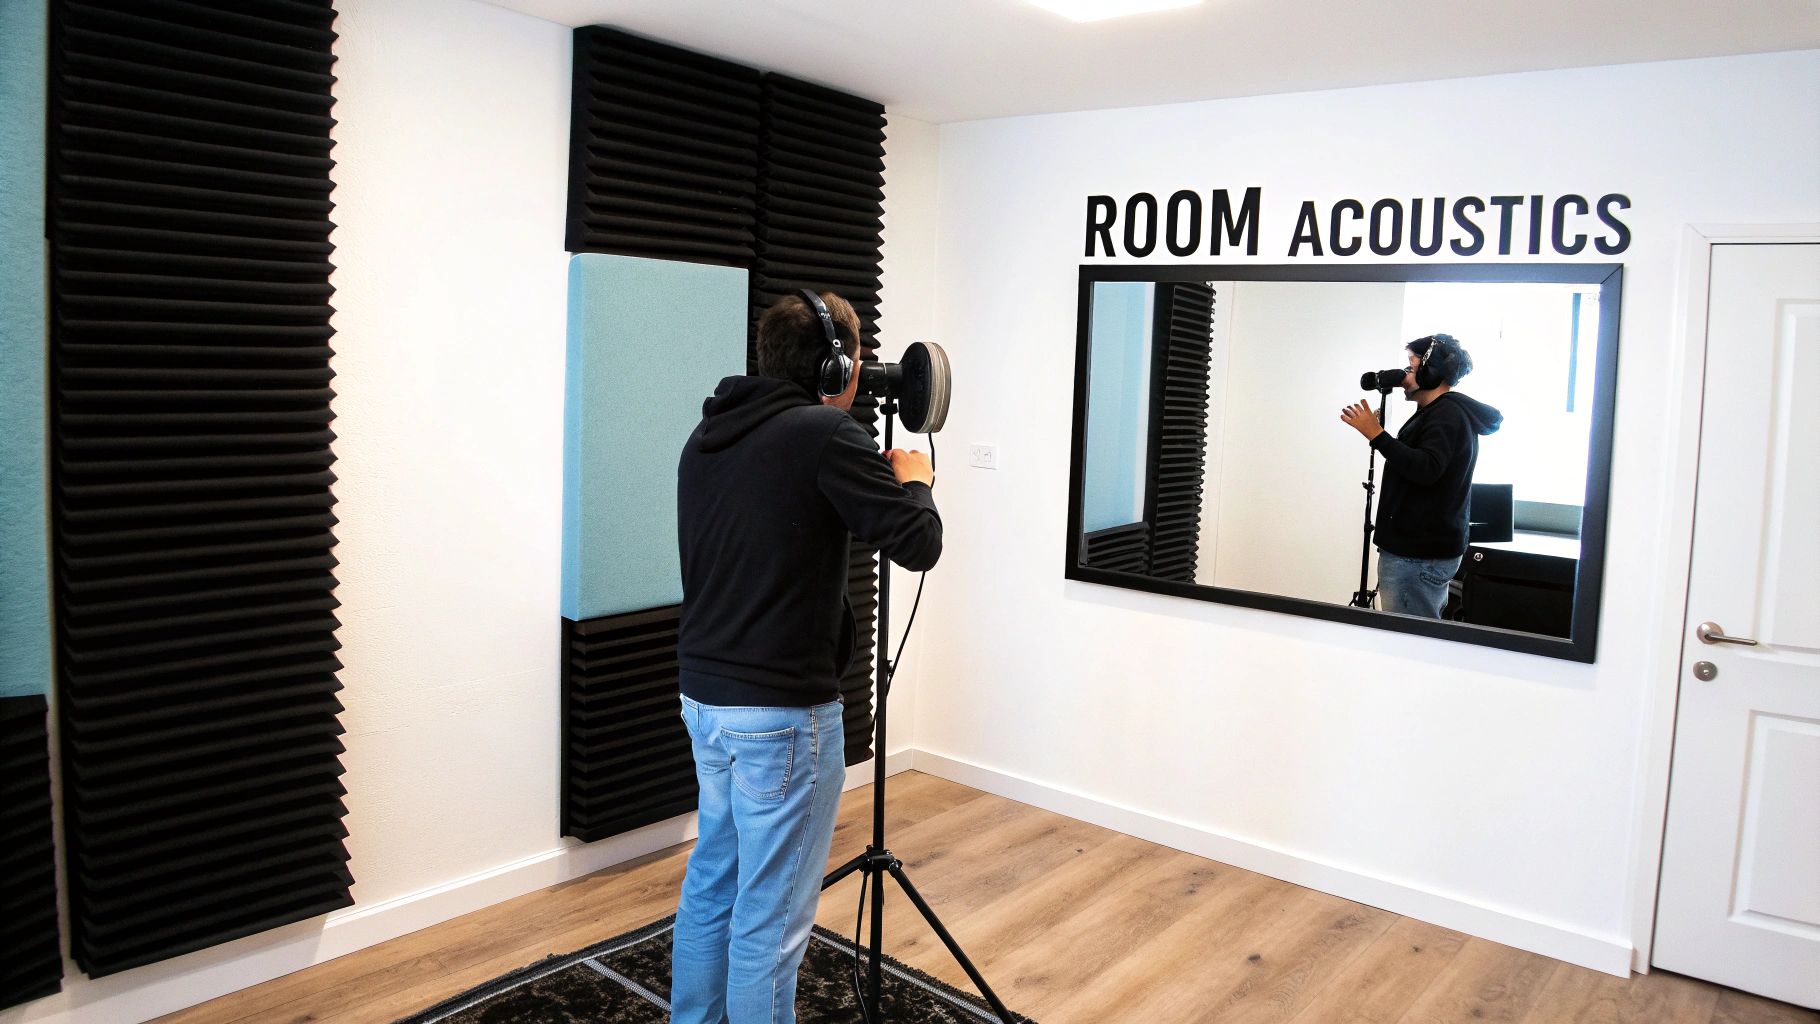
So, where do you start? The first job is to hunt down the problem areas in your room. Sound waves love to bounce off hard, parallel surfaces like your drywall, ceiling, and hardwood floors. The specific spots where these reflections hit your ears right after leaving the speakers are known as first reflection points, and they are your primary targets.
Here’s a simple trick to find them:
Repeat this for the other side wall, the ceiling above you, and the wall directly behind your monitors. Slapping an absorption panel on each of these spots will make an immediate, noticeable improvement. For a more detailed walkthrough, check out this guide on acoustic treatment for home studios.
If you do nothing else, treat your first reflection points and your corners. This is where you'll get the biggest bang for your buck. Low frequencies love to pile up in corners, creating a boomy, muddy low-end that makes accurate mixing a guessing game.
That low-frequency buildup is the number one sonic plague in small rooms. To fight it, you need bass traps. These are just thick, dense absorptive panels specifically designed to soak up all that unruly low-end energy.
You have to place them in the corners of your room—not just the vertical corners where walls meet, but also where the walls meet the ceiling. Getting this right is absolutely essential for tightening up your bass response and achieving a clear, defined mix.
You can buy pre-made bass traps from companies like GIK Acoustics or Auralex, or you can go the DIY route with some rigid fiberglass or mineral wool to save some cash. Whatever you do, don't skip this step. Without proper bass trapping, you'll simply never be able to trust what you're hearing, and you’ll be fighting your room forever.
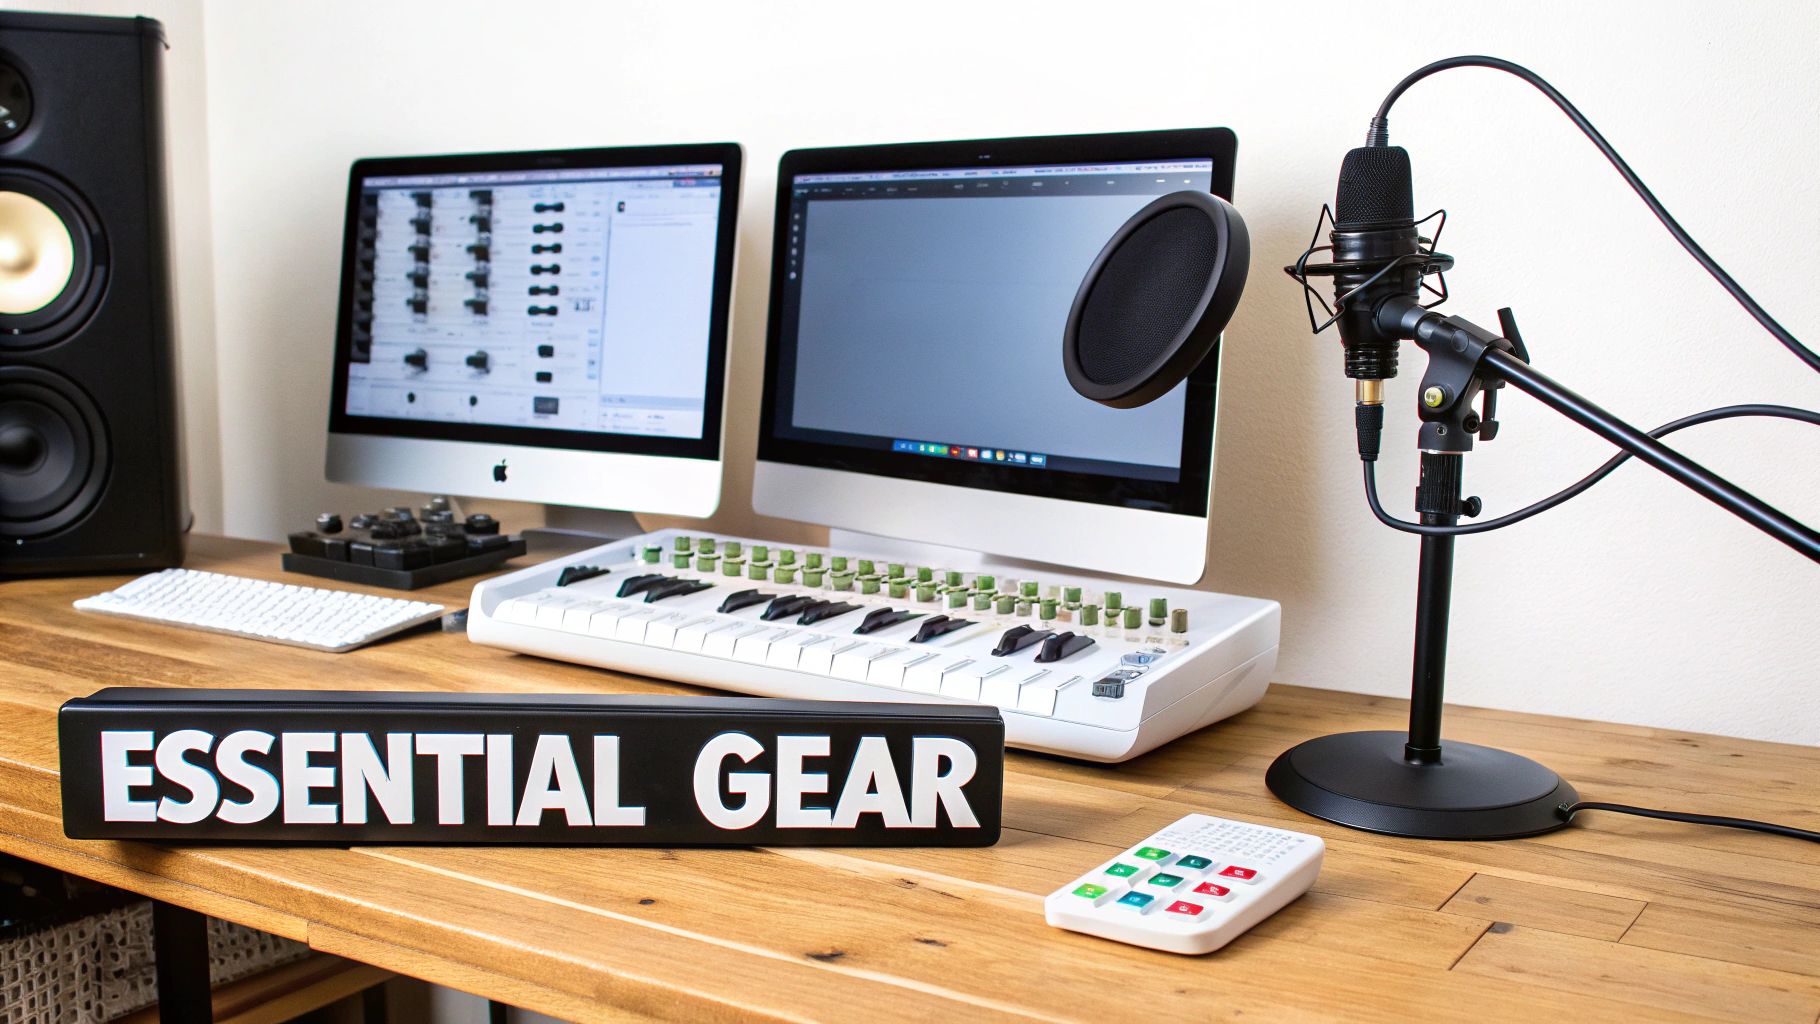
Okay, you've tamed your room's acoustics. Now for the fun part: picking the gear that will actually capture, process, and play back your music. This is where we get hands-on, moving past generic shopping lists to build a reliable system that works together seamlessly.
The market for this stuff is massive right now, which is both a blessing and a curse. In fact, the studio equipment market is expected to jump from $15 billion in 2025 to a whopping $25 billion by 2033. All that growth means more options, but it also means you need to choose wisely. You can see more on these trends from Data Insights Market.
Your first major decision starts with the heart of your studio: the audio interface. Think of it as the central nervous system—it’s the critical bridge between the analog sound of your instruments and the digital world inside your computer.
The single most important spec on an interface is its I/O (Input/Output) count. This number tells you exactly how many things you can record at once. My advice? Don't just plan for what you're doing today; think about where you might be in a year or two.
Once you've figured out your I/O needs, the next thing to look at is the quality of the preamps and converters. The preamps give the weak signal from your mics a clean boost, and the converters are what translate the sound from analog to digital (A/D) and back again (D/A). Better components here mean cleaner, clearer, and more professional-sounding recordings.
There’s no such thing as a "one-mic-fits-all" solution. A truly professional setup has a versatile collection of mics because different tools are needed for different jobs. You'll primarily be working with three types: condenser, dynamic, and ribbon mics. Each one has a unique personality.
I see so many beginners make the mistake of buying one expensive condenser mic and trying to use it on everything. The truth is, a simple $100 dynamic mic will sound infinitely better on a cranked guitar amp or a snare drum than a sensitive condenser, which would just get overwhelmed and sound brittle.
Let's break down where each type really shines:
| Microphone Type | Best Suited For | Real-World Example |
|---|---|---|
| Condenser | Detailed, crisp sources like vocals, acoustic instruments, cymbals. | Capturing the airy detail in a singer's voice or the bright "ping" of a ride cymbal. |
| Dynamic | Loud, punchy sources like guitar amps, drums, and rock vocals. | Recording a distorted electric guitar without the fizz and harshness. |
| Ribbon | Smooth, warm, and natural-sounding sources. Magic on electrics & brass. | Taming the piercing high-end of a trumpet or getting a classic, mellow guitar tone. |
Choosing the right mic is obviously vital for music, but that same logic applies to video production. If that's part of your work, check out our deep dive on finding the https://sfxengine.com/blog/best-microphone-for-video-recording.
Finally, you need an honest way to hear what you're actually doing. Your average consumer speakers or headphones are designed to make music sound good, usually by hyping the bass and treble.
Studio monitors do the opposite. They're built for a brutally honest, flat frequency response. They show you the unvarnished truth of your mix, including all the flaws.
That honesty is exactly what you need. It forces you to fix problems in the mix so that your track sounds great everywhere—from cheap earbuds to a high-end car stereo. When you set them up, make sure you form an equilateral triangle between your ears and the two speakers. This "sweet spot" is where you'll get the most accurate stereo image. Trust me, investing in good monitors is just as important as the mic you record with.
Forget the giant mixing consoles of yesterday. In any modern studio, the real command center is your computer and the software it runs. This digital duo is where the magic happens, from capturing that perfect take to wrestling with dozens of CPU-hungry plugins. A machine that can't keep up isn't just a minor hassle—it's a roadblock to your creativity, inviting crashes, glitches, and the dreaded latency that can kill a performance.
At the core of it all are the computer itself and your Digital Audio Workstation (DAW). Getting these two components right is non-negotiable. If you're building a new machine or giving your current one a much-needed boost, it pays to do your homework and compare studio computer hardware and storage options to ensure you're investing wisely.
When you're shopping for a computer built for audio, some specs matter a whole lot more than others. Your goal is a machine that can juggle complex, multi-track sessions without breaking a sweat.
With your hardware locked in, it's time to pick your DAW. This is the software where you'll spend all your time recording, editing, mixing, and mastering. There's no single "best" DAW out there; the only thing that matters is finding the one that’s best for you. It really boils down to personal workflow and what feels right.
Your DAW is more of a creative partner than a simple tool. The right one just gets out of your way and lets you make music, instead of forcing you to constantly fight with the technology.
A few industry heavyweights tend to cater to different creative styles. For decades, Pro Tools has been the standard in traditional recording studios for tracking and mixing. Logic Pro X is an unbelievable value for anyone on a Mac, packed with a massive library of sounds and plugins right out of the box. And for electronic musicians and live performers, Ableton Live is often the top choice, thanks to its brilliant clip-based workflow.
The best way to figure it out is to try them. Most offer free trials. To get a head start, this detailed digital audio workstation comparison breaks down the pros and cons of the top contenders. See which one clicks.
Having a rack full of cool gear is one thing, but making it all work together seamlessly is another beast entirely. This is where a solid grasp of signal flow becomes your most important tool. It’s simply the path your audio signal takes from the source, through all your equipment, and into your recording software.
Think of it like plumbing. For clean water to come out of the tap, every pipe and valve has to be connected correctly. For a clean recording, every cable and gain stage has to be set just right.
It's a skill that's more in demand than ever. The global sound recording studios market is projected to reach $6.2 billion in revenue by 2025, which tells you just how many people are building setups like these. To make sure your investment pays off, you've got to nail the fundamentals. You can find out what's driving this growth and see why getting the technical details right is so critical.
At its heart, a recording signal chain is just a logical path that gets sound from the real world into your computer. Let's trace a common example, like recording a singer.
Here’s the journey their voice takes:
The brain of this whole digital operation is your studio computer. Its performance dictates how smoothly this process runs.
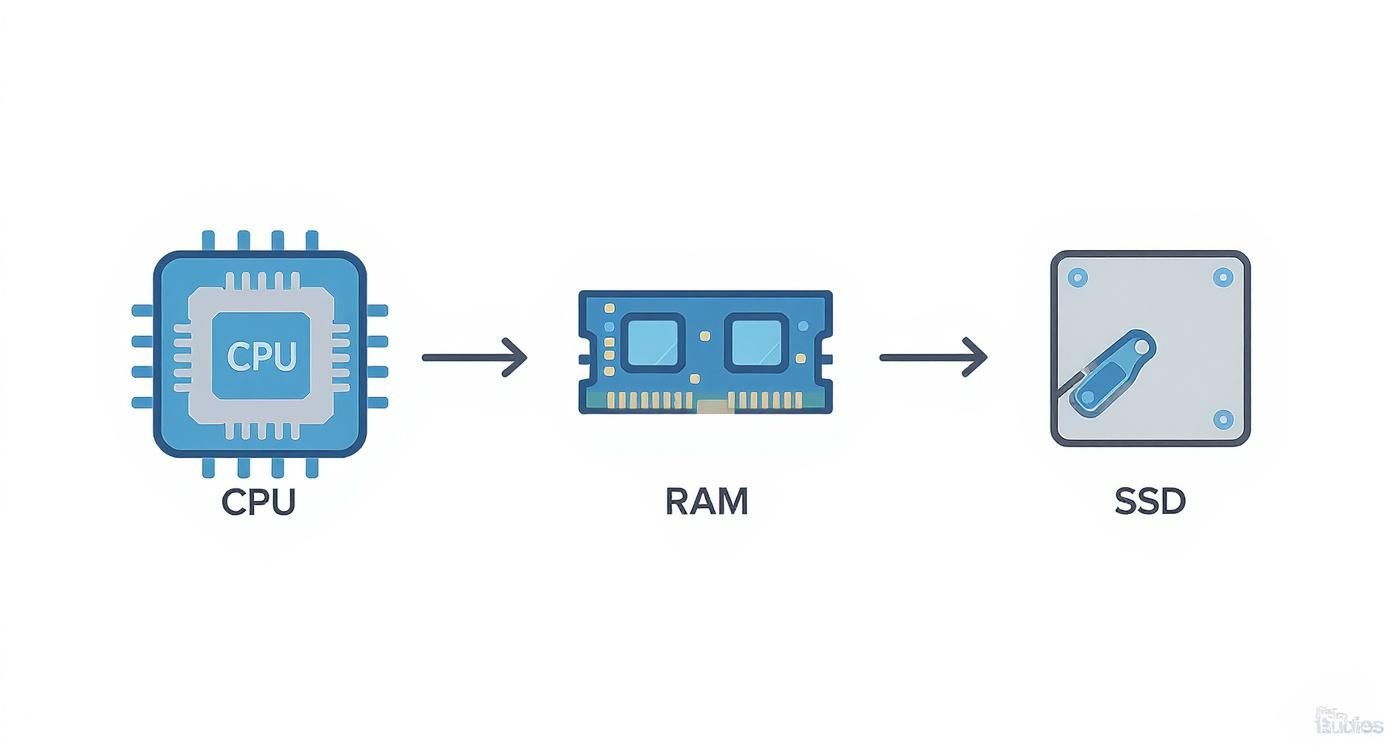
These three components—the CPU, RAM, and SSD—are the power trio that keeps your sessions running glitch-free, even with dozens of tracks and plugins.
One of the most common pitfalls I see with signal flow is poor gain staging. This is just the art of setting the volume level correctly at every step in the chain to get the best possible signal with the least amount of noise.
If you don't get the levels right, you'll run into trouble. If the signal is too low, you’ll have to crank it up later, bringing up all the background hiss and hum with it. Too high, and you get clipping—that nasty, crunchy digital distortion that you can't fix in the mix.
The golden rule here is to record hot enough to be well above the noise floor, but low enough to avoid any chance of digital clipping. Aim for your peaks to hit somewhere between -12dB and -6dB in your DAW. This gives you a clean signal with plenty of headroom.
Mastering this balancing act is what separates the pros from the amateurs. It’s not just a technical task; it's the foundation of every great-sounding recording.
Once you've got the big-ticket items sorted, it's time to focus on the details. This is what truly separates a pile of gear from a functional, professional recording studio. The unsung heroes—cables, stands, and filters—are the connective tissue that keeps your workflow smooth and your recordings pristine. Skimping on these is a classic rookie mistake.
Let's start with cables. Investing in quality balanced XLR and TRS cables isn't about being fancy; it's about noise rejection. Cheap, unbalanced cables are basically antennas for hum and interference, which can absolutely ruin an otherwise perfect take.
And for vocals, a pop filter is completely non-negotiable. This simple screen softens the harsh "p" and "b" sounds (plosives) that overload a microphone's capsule and create ugly distortion. Trust me, it will save you hours of painful editing down the line.
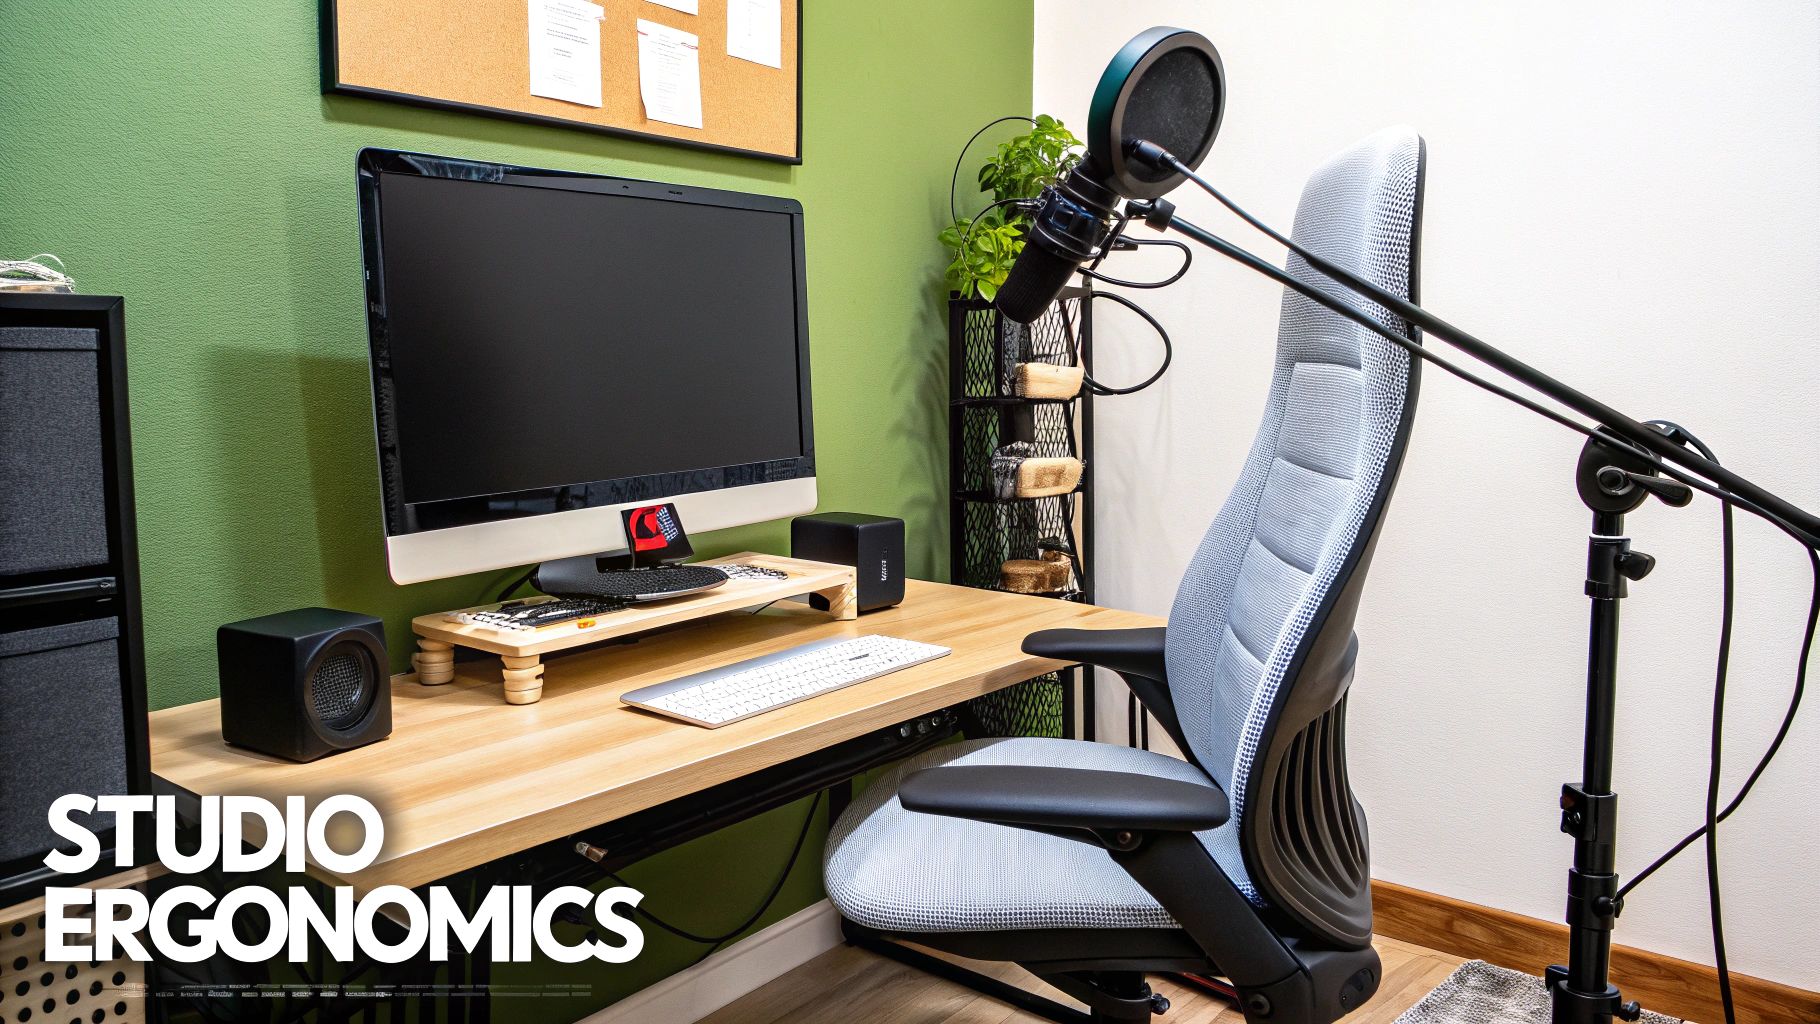
You’re going to be spending a lot of time in this room, so ergonomics aren't a luxury—they're a necessity. Your physical comfort directly impacts your focus and creative stamina, especially during those long mixing sessions. A badly designed workspace is a fast track to fatigue and burnout.
Here’s what I’d prioritize for a comfortable and efficient setup:
Protecting your gear is just as important as protecting your body. Take the time to understand the critical difference between power strips and surge protectors. A good surge protector is cheap insurance against electrical spikes that could fry thousands of dollars worth of equipment.
Don't forget about the humble microphone stand and shock mount. A wobbly, cheap stand can droop during a take or even fall over completely. A shock mount is just as crucial for isolating the mic from vibrations traveling through the floor and stand.
The demand for great-sounding audio is only getting bigger, with the US audio production industry expected to reach $1.7 billion by 2025. This growth means that building a reliable, professional-grade studio is more important than ever. It's these small ergonomic choices and quality accessories that provide the foundation for consistent, high-quality work.
Putting together a professional recording studio can feel like you're trying to solve a puzzle with a thousand moving parts. No matter how much you read, questions always pop up. Let's tackle some of the most common ones I hear from people building their spaces.
Ah, the classic quantity versus quality debate. I've seen people go both ways, but from my experience, quality always wins. It’s not even close.
A single, great microphone will give you better results than a locker full of mediocre ones. The same principle holds true for every piece of your signal chain—your audio interface, your monitors, and yes, even your cables.
My best advice? Start with a minimal, high-quality setup. A fantastic vocal mic running through a clean preamp on a solid 2-channel interface, monitored on one pair of honest speakers, will produce more professional-sounding tracks than a room overflowing with budget gear. Every single time.
This is a tough one because "good enough" really depends on your goals. The aim isn't to create a perfectly dead, anechoic chamber—those actually sound weird and unnatural. You're just trying to build a controlled space where your monitors tell you the truth, so your mixes translate everywhere else.
Try the good old-fashioned clap test. Walk around your room and give a sharp clap. What do you hear? If you get a metallic, "zinging" sound or a long, fluttery echo, you still have some reflection problems to solve, likely with more absorption panels.
When your clap sounds tight, clean, and dies away quickly without any lingering ring, you're in a really good place.
For the vast majority of modern home and project studios, a good audio interface is all you'll ever need. It's the central hub that does all the heavy lifting: converting analog signals to digital, providing clean preamps for your mics, and getting sound out to your monitors. It’s the perfect all-in-one solution for working inside a DAW.
So, when does a big hardware mixer actually make sense?
For most of us making music at home, a quality interface with the right number of inputs is the smarter, more efficient, and more affordable path. Your DAW is your mixer—and a massively powerful one at that.
Ready to create custom sounds for your projects? With SFX Engine, you can generate unique, royalty-free audio with simple text prompts. Find the perfect sound effect you've been imagining.