November 17, 2025 · Kuba Rogut
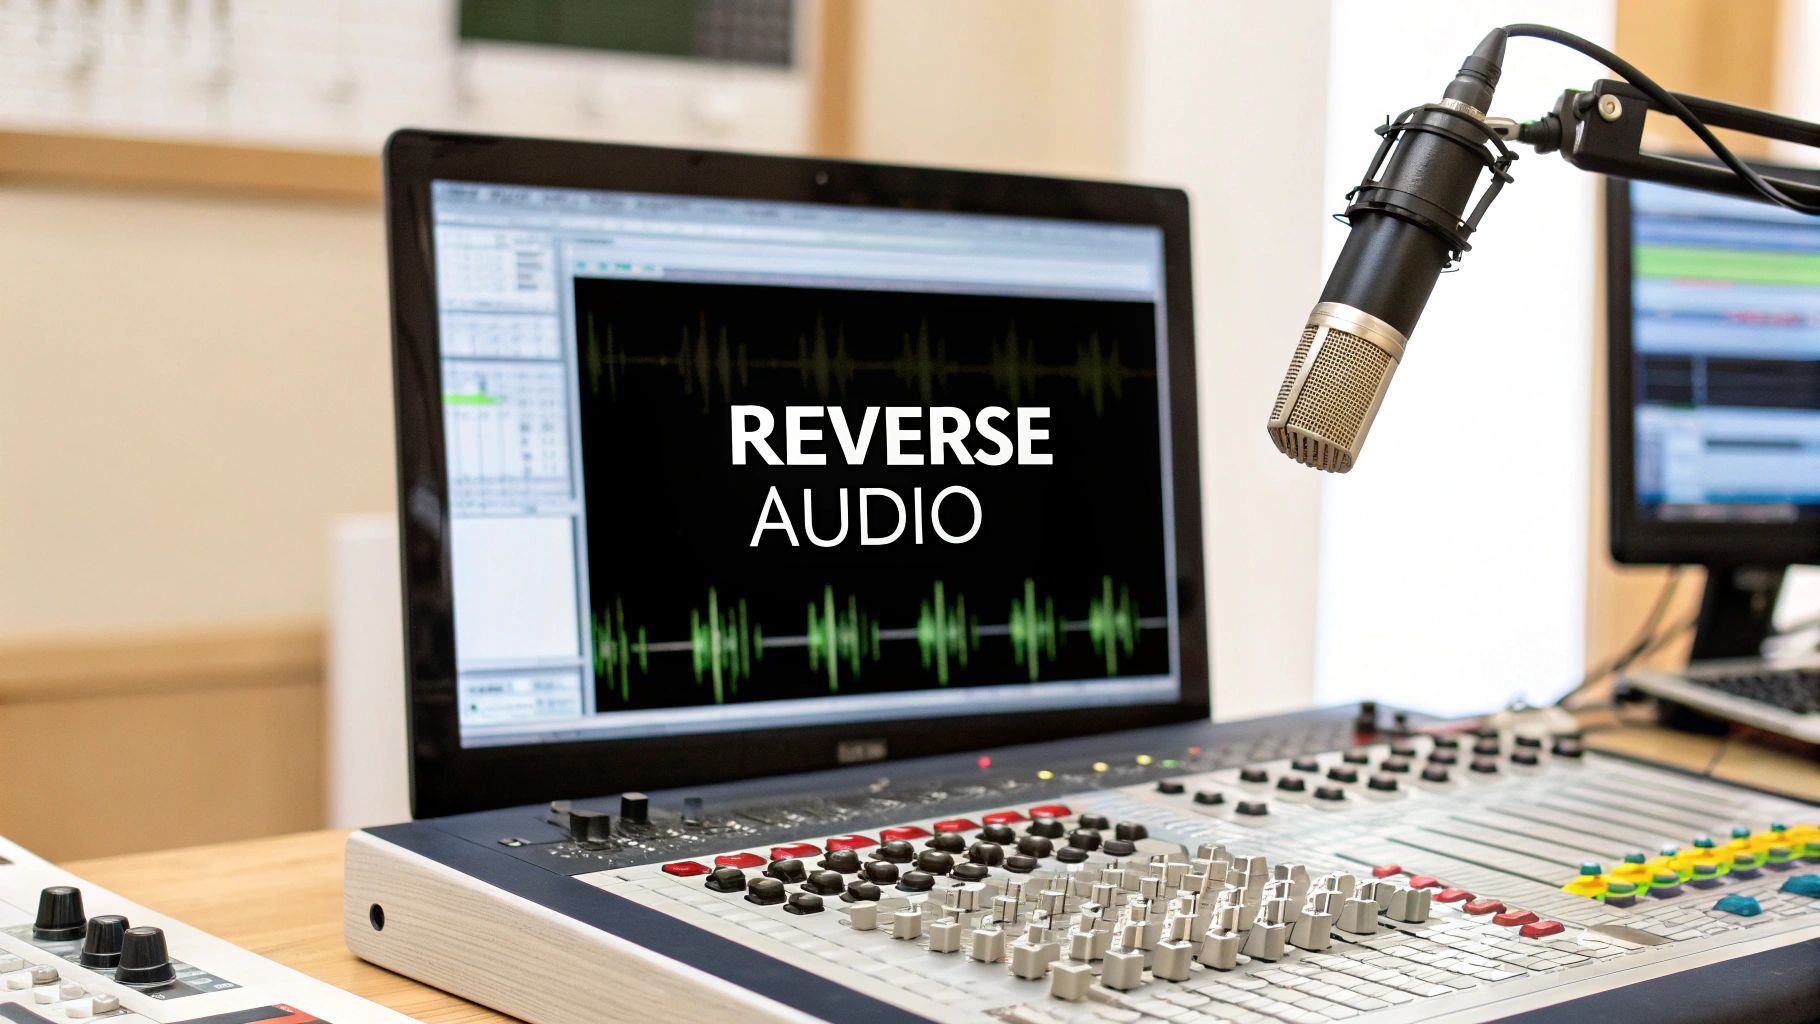
A reverse audio effect is a classic sound design trick where you simply play an audio clip backward. It sounds simple, but this one move can completely transform a sound, turning a familiar decay into a swelling, dramatic build-up. It's an incredibly powerful tool for creating suspense, crafting unique transitions, or just adding a touch of the surreal to music, film, and podcasts.
At its heart, reversing audio is all about messing with time. When you flip a sound, you're inverting its natural envelope. The sharp, percussive attack and gradual fade-out of something like a cymbal crash becomes a slow, rising whoosh that culminates in an abrupt cutoff. This completely messes with our expectations and changes the emotional weight of the sound.
This isn't some new-fangled digital trick, either. The technique has a rich history that goes way back to the experimental tape music of the mid-20th century. While it popped up in the 1950s, it really hit the big time during the psychedelic 1960s. Artists like Jimi Hendrix famously used backward guitar on tracks like 'Are You Experienced?', making his instrument sound like it was from another dimension. You can get a great overview of its history from the pioneers who championed it in this excellent MusicRadar article.
So, why has this simple effect stuck around for so long? Its real strength is in its ability to create sounds that are both alien and yet somehow familiar. Our brains are hardwired to recognize the natural decay of sounds, so when that's flipped on its head, it immediately grabs our attention. This makes it a go-to for building tension and creating moments that stick with the listener.
Here are a few ways I see it used all the time:
This single effect is a true workhorse in creative audio. To really get a handle on its role, it helps to see it within the larger context of how sounds shape our experiences. We cover this in more detail in our guide on what is sound design.
The true magic of the reverse audio effect is its ability to defy expectations. It takes a known sound and presents it in a way that feels completely new, forcing the listener to pay attention and wonder what's coming next.
Below is a table showing some practical applications of reversed audio across different media, illustrating how this versatile effect can be used to achieve specific creative goals.
| Creative Applications of the Reverse Audio Effect | | :--- | :--- | :--- | | Application | Sound Source Example | Desired Outcome | | Musical Transitions | Cymbal Crash, Snare Hit | Creates a "riser" or "swoosh" effect that builds anticipation for a chorus or drop. | | Eerie Atmosphere | Piano Chord, Vocal Phrase | Generates a haunting, dreamlike, or unsettling background texture for film or games. | | Sound Effect Design | Glass Shattering, Explosion | Creates magical "whooshes" or sci-fi power-up/power-down sounds from organic sources. | | Podcast/Video Stingers | Short Melodic Jingle | Provides a smooth, polished, and professional-sounding transition between segments. | | Rhythmic Ghost Notes | Hi-Hat or Shaker Loop | Adds a subtle, "sucking" rhythmic complexity that enhances the groove without cluttering it. |
Ultimately, reversing audio is far more than just a button in your DAW—it’s an artistic choice. It's a way to inject mystery, add dynamic energy, and give your projects a unique sonic signature that makes people sit up and listen.
Getting a basic reverse effect is one of those fundamental skills every producer should have, and the good news is, it's incredibly straightforward. The core process is pretty much the same no matter what software you're using. If you can handle basic edits, you can do this. It’s all about knowing where your DAW tucks away its audio processing tools.
First things first, you need to decide what you're reversing. Let’s say you want to create a classic build-up into a chorus. A cymbal crash is perfect for this. Find one that lands right on the "one" beat of the drop and use your slice tool to chop it into its own little clip. You want the whole thing—from the initial hit to the long, fading tail.
Now that your clip is isolated, it's time to flip it. This is where DAWs have their own little quirks, but the reverse function is almost always hiding in one of three places:
Once you hit that reverse button, the DAW will render a brand-new audio file. You’ll see it immediately—the waveform will be visibly flipped, with the long, quiet tail now acting as a swelling ramp-up.
Positioning is everything. For that reverse cymbal trick, you need to drag the new, reversed clip so its ending lands exactly where the original cymbal hit was supposed to be—right on the downbeat of the chorus. This creates that classic "whoosh" sound that pulls the listener right into the next section of the song.
You'd perform all these actions on an audio track in an interface that looks something like this:
In a setup like the one above, you’d simply select your audio region, find the reverse command, and then slide the resulting clip into place to create the perfect transition.
Pro Tip from Experience: Never delete the original, forward-playing clip. I just mute it or drag it to an unused track. You'd be surprised how often you'll want to layer it back in with the reversed version to create a more complex sound that has both the swell and the sharp, familiar transient.
This workflow is universal, whether you're using Ableton Live, Logic Pro, FL Studio, or something else. The menu names might differ slightly, but the logic—isolate, process, position—never changes.
If you're still deciding on the right software for your needs, our digital audio workstation comparison is a great resource to see how different platforms stack up for tasks just like this one. Once you nail this simple process, you've opened a door to much more creative sound design.
Going beyond a simple flip is where you unlock the real magic of the reverse audio effect. When you start combining reversal with other processing, you can cook up sounds that are complex, evolving, and totally your own. There's a reason these advanced techniques are staples in professional sound design—they transform everyday audio into something extraordinary.
One of the most famous tricks in the book is the reverse reverb. This is the secret sauce behind those iconic, ghostly swells that build incredible tension right before a vocal comes in or a beat drops. It takes a few steps to get it right, but the jaw-dropping result is always worth the effort.
Another game-changer is pre-processing. Instead of just reversing a dry, clean sound, you slap your effects on before you hit reverse. This completely alters the sonic texture that gets played backward, often leading to wonderfully rich and unexpected outcomes.
The reverse reverb is a classic move that adds a serious professional polish to any track. It’s my go-to for creating a smooth, atmospheric lead-in that perfectly sets the stage for a big moment.
Here’s how I build it:
What you're left with is a reverb tail that plays backward, swelling up in volume and intensity until it cuts off perfectly at the start of your original, forward-playing sound. It’s a beautiful thing.
Pre-processing is where you can really get wild and let your creativity run loose. When you apply effects to a sound before reversing it, the character of those effects gets flipped right along with the audio.
Think about it: distort a piano chord before you reverse it. The harsh, crackling tail of the distortion suddenly becomes a sizzling, crescendoing attack. Or maybe try adding a phaser to a synth pad first; when you reverse it, the modulation will sweep in backward, creating a hypnotic, evolving texture you couldn't get any other way.
This basic workflow—isolate a sound, process it, then flip it—is laid out in the infographic here.
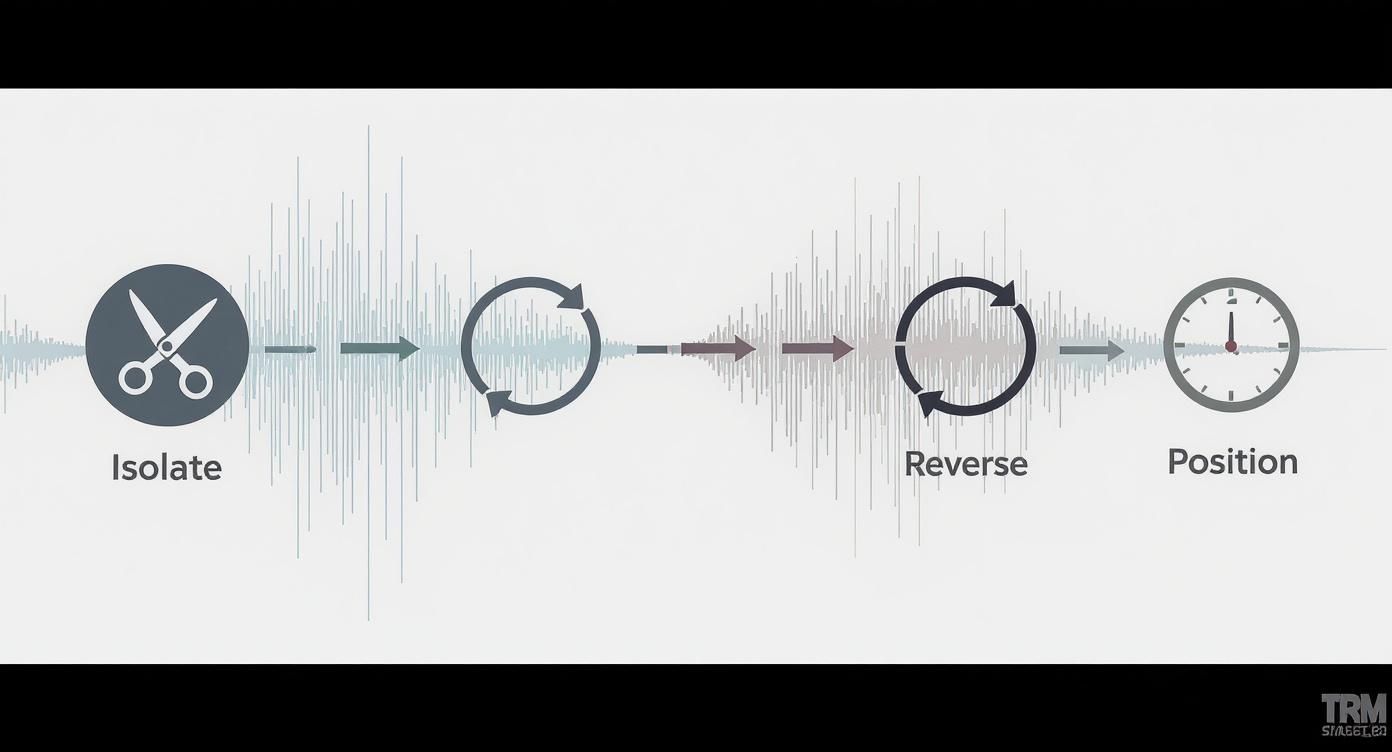
This visual is a great reminder of the core steps that open up all these advanced techniques, giving you the power to bend audio in really satisfying ways.
If there’s one secret weapon I’ve learned to rely on over the years, it’s layering. After you've created a cool reversed sound, try blending it back with the original forward version. You can gently fade the original in or just mix it quietly underneath to add back some of that familiar attack. The result is a sound that’s both otherworldly and grounded.
For example, I often layer a reversed cymbal swell directly under the original crash. This gives you both the cinematic build-up and the powerful, sharp impact. It creates a far more dynamic and compelling moment than either sound could on its own, adding that pro touch to transitions and hits in any project.
Creating a cool reverse effect is one thing, but making it actually work in a busy mix is a whole different challenge. If you just drop it in, it's likely to clash with everything else, creating a muddy, disconnected sound. The trick is to make it feel intentional—like it was always meant to be there.
The first stop is almost always equalization (EQ). Because a reversed sound swells up from nothing, it tends to create a huge buildup of low-mid frequencies, typically right in the 200-500 Hz range. That’s the classic “mud” zone, and if you let it run wild, it will absolutely kill the clarity of your mix.
I usually start with a high-pass filter to carve out all that unnecessary low-end rumble. This instantly gives your kick drum and bassline room to breathe. After that, a gentle, targeted cut in those low-mids is often all it takes to let the unique swell of the effect cut through without overpowering the track.
The dynamic signature of a reversed sound is, by its nature, a crescendo. This slow build can be a real headache to manage in a mix. It often starts out too quiet to be noticed and then suddenly jumps out at the end, throwing off the entire balance. This is a perfect job for a compressor.
Try using a compressor with a gentle ratio, somewhere around 2:1 or 3:1, paired with a slower attack. As the reversed audio gets louder, the compressor will gradually kick in, gently taming that final peak. This helps smooth out the swell, ensuring the effect builds tension naturally without any sudden, amateur-sounding volume spikes.
The real artistry in mixing reversed sounds comes from automation. It’s what transforms a static effect into a living, breathing part of your track that moves with the music and directs the listener's ear.
Think about automating the volume fader to make the build even more dramatic, or automating the pan to have the sound sweep across the stereo field. A reversed cymbal that starts in the left channel and rushes over to the right just before a chorus hits? That's an incredibly effective way to build energy and movement.
Automation gives you the kind of pinpoint control that static settings just can't match. It lets you fine-tune how the effect interacts with the rest of your track on a moment-by-moment basis. Here are a few automation tricks I find myself using all the time:
These mixing and automation concepts are fundamental to getting professional results. If you're ready to learn about the final polishing stages, understanding how to master audio will give you a much clearer picture of how to achieve that perfect sonic balance. By thoughtfully carving out space and adding dynamic movement, you can make sure your reverse effects truly serve the project.
Knowing how to reverse audio is one thing, but the real artistry comes from knowing why and when. This isn't just a technical trick; it's a powerful tool for storytelling. You can use it to build heart-pounding tension, craft surreal dreamscapes, or just add that final layer of polish that makes a project shine.
This all started way back in the 1940s and 1950s with the rise of magnetic tape. Experimental composers, particularly in the musique concrète movement, began physically flipping and splicing tape. Pioneers like Karlheinz Stockhausen paved the way, and soon enough, artists like The Beatles and Frank Zappa were bringing these mind-bending sounds to the mainstream. If you're a history buff, the story of these groundbreaking reverse tape effects is a fascinating rabbit hole to go down.
Every producer knows the classic reversed cymbal swell. It's a staple for a reason—it just works. That swelling crescendo creates a sonic vacuum that sucks the listener right into the drop.
But don't just stop at cymbals. Try reversing a long, drawn-out vocal note or a heavily distorted synth pad. You can create massive, custom-built risers that feel perfectly glued to your track because they’re made from your track.
Another great technique is backmasking, which is just reversing small bits of vocals. Sneak a reversed word or phrase in right before it's sung forward. It’s an almost subliminal trick that catches the ear and creates an intriguing hook that people feel more than they hear.
I often use a reversed snare or clap sample to lead into the main hit on beats two and four. It’s a subtle trick, but it adds a unique “sucking” feel to the groove, making the rhythm feel more dynamic and less static.
In film and video games, reversed audio is pure narrative gold. The moment you hear a reversed sound, you're instantly cued that something is off. Filmmakers use it to signal a flashback or a dream sequence by subtly reversing background ambience or bits of dialogue. It immediately lets the audience know that the normal rules of reality have been suspended.
For game designers, the possibilities are endless for supernatural or magical events:
Don't think this effect is only for music and sci-fi. Even in a podcast, a quick reverse whoosh can be an incredibly slick transition between segments. I often just take a small piece of the intro music, reverse it, and add some reverb to create a custom transition that sounds way more professional than a generic sound effect from a stock library.
If you're creating short-form video, these little sonic details are what make your content stand out. Polishing your audio is just as important as the visuals, so it's worth exploring these Instagram Reels best practices to see how you can make every element count. It's these small, thoughtful touches that elevate a project from amateur to professional.
When you start playing around with reversed audio, a few common questions and creative hurdles tend to pop up. It can feel a bit counterintuitive at first, but getting a handle on these typical issues will save you a ton of frustration and let you get back to the fun part: designing cool sounds.
One of the first things people ask is if they can slap a reverse effect onto a track in real-time, just like they would with a reverb or delay plugin. The short answer is, not really.
A true reverse audio effect is what we call an offline process. Your software needs to know what the end of the clip sounds like before it can start playing it backward. It has to process the whole file first, from finish to start, and then render it out. While some experimental granular synths might be able to create a pseudo-backward effect on tiny grains of sound, you can't reverse an entire audio clip on the fly.
Ever reverse a drum hit and wonder why it sounds so weak and mushy? That's a classic problem. It happens because the transient—that initial, sharp smack of the drumstick on the head—is now at the end of the sound. The new "attack" is just the quiet, fading tail of the original sound, which makes for a pretty soft and blurry entrance.
Luckily, there are a couple of great ways to fix this:
You'll quickly find that some sounds reverse way better than others. The golden rule is to look for sounds with a long, obvious decay or tail. When you flip it, that long tail turns into a dramatic, swelling attack—the classic "whoosh" build-up that sound designers love.
Cymbals, reverb tails, sustained vocal notes, and long piano chords are absolute magic for this. Their gradual fade-out is the perfect raw material for crafting those smooth, cinematic swells that build tension so effectively.
On the other hand, short, staccato sounds like a stick click or a closed hi-hat don't give you much to work with. Since they have almost no decay, reversing them just results in a weird little blip. The real secret is to just experiment. You never know—reversing a simple field recording of a passing car might just create the unique, textural sound your project was missing.
Ready to create sounds that defy expectations? SFX Engine lets you generate custom, royalty-free sound effects with simple text prompts. Whether you need a cinematic whoosh or a ghostly texture, craft the perfect audio for your project in seconds. Explore the possibilities at https://sfxengine.com.