August 24, 2025 · Kuba Rogut
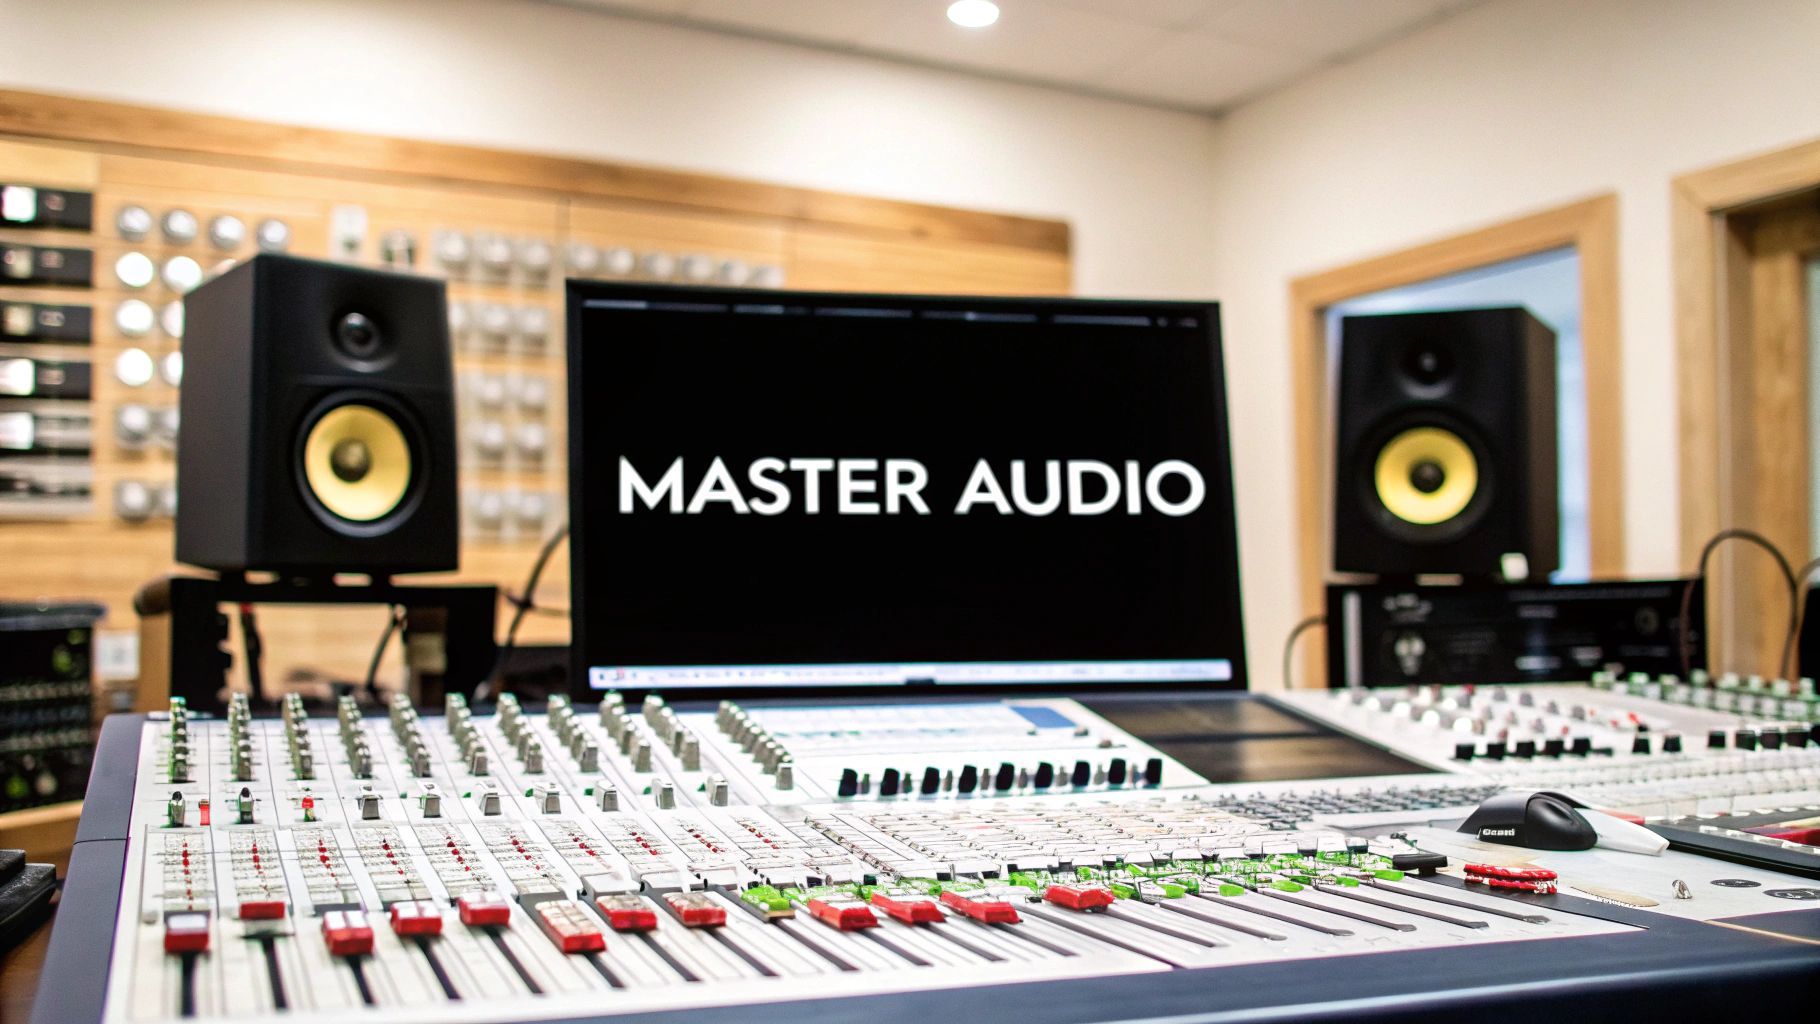
Audio mastering is that last, crucial step. It's the final polish that takes a great mix and makes it sound truly professional and ready for the world. We’re talking about using specialized tools—EQ, compression, limiting—to nail a balanced frequency response, get the dynamics under control, and achieve a competitive loudness that holds up on any playback system.
It's important to remember that mastering isn't a magic fix for a bad mix. It's about enhancing a good one.
Before you even think about loading a plugin, you need to get your head around what mastering is and, just as importantly, what it isn't. Think of it as the final quality control checkpoint for your music. It’s the bridge between your controlled studio environment and the wild, unpredictable listening spaces of your audience—from a car stereo to a pair of cheap earbuds.
The single most important goal is translation. A track that sounds incredible on your expensive studio monitors could easily turn into a muddy mess in a car or sound tinny and thin on a laptop. Mastering is all about smoothing out those inconsistencies so your music hits with the same impact, no matter where it's heard.
So, what are we really trying to do here? It all boils down to a few key objectives that work together to create that polished, professional sound.
Mastering is a game of inches, not miles. It's about making small, subtle improvements that add up to a big difference. This requires a ton of restraint and some seriously critical listening skills. Your job is no longer to focus on the individual kick or vocal; you're now focused on the entire sonic painting.
The best mastering is the kind you don't even notice. It just feels like the track was always supposed to sound that way—powerful, clear, and emotionally engaging.
Ultimately, mastering is the final artistic stamp on a project. It’s a way of honoring all the hard work that went into the recording and mixing by presenting the music in its absolute best light. It’s not just a technical process; it’s the last creative touch before you send your art out into the world.
 You can’t get a killer master from a flawed mix. It's just that simple. The single biggest mistake I see producers make is rushing their final export, handing off a file that’s already painted into a corner. If you're serious about mastering, getting this hand-off right is the most important part of the entire process.
Think of mastering as putting your mix under a microscope. Every tiny issue—a bit of harshness in the cymbals, some mud in the low-mids, or a stray hum—gets magnified. That’s why a clean, well-balanced mix is your best friend.
The absolute number one rule is to leave enough headroom. This is just the space between your track’s loudest moment and the digital ceiling of 0 dBFS. When you push your mix right up against that ceiling, you leave the mastering engineer with nowhere to go.
As a rule of thumb, aim for your track’s peaks to bounce somewhere between -6 dBFS and -3 dBFS. This isn't just some random number; it's the sweet spot that provides enough space for the mastering engineer to apply their tools—EQ, compression, saturation—without instantly running into digital clipping. A mix that's already red-lining a limiter is dead on arrival.
If you find your mix is too hot, don't just yank down the master fader. That's a rookie move. The right way to do it is to go back and lower the individual tracks or sub-groups feeding your main output. This way, you preserve the internal balance you worked so hard on while creating that crucial headroom.
This next one is a biggie. Take off any processing on your master bus that’s just there to make things loud. We’re talking about your limiters, maximizers, or that super-aggressive multi-band compressor you threw on at the end.
Why? Because the mastering engineer needs to hear the real dynamic range of your mix. That limiter you used to impress a client has already squashed the life out of your track, and you can't unscramble that egg.
Your job in the mix stage isn't to deliver a loud file. It's to deliver a dynamic file, full of potential. Let the mastering engineer handle the loudness.
Now, this doesn't mean your mix bus has to be completely naked. If you have a compressor that's providing essential "glue" or an EQ that's part of your track's core sound, by all means, leave it. The litmus test is simple: is it a creative choice, or is it just for volume? If it's just for volume, bypass it before you export.
With your mix prepped and sounding great, it’s time to bounce it down. The settings you choose here are critical. If you export to a compressed format like an MP3, you're literally throwing away audio data that can never be recovered.
For a perfect hand-off, stick to these settings:
Before you hit that export button, give the entire track one final, focused listen. Hunt for any clicks, pops, or weird noises you might have missed. Sometimes these are small ambient sounds that need cleaning up. For a deeper dive on that, our guide on how to remove background noise has some solid techniques you can use right in the mix stage.
Alright, you've got your mix prepped and ready to go. Now comes the fun part: building the processing chain that will take your track from a great mix to a polished, professional master. This isn't about just throwing a bunch of plugins on a track and hoping for the best. It's a deliberate process, and the order you place your tools in is absolutely critical.
Think of it like an assembly line for your sound. Each processor hands its work off to the next, so the sequence makes all the difference. While there's always room for experimentation, a classic, time-tested signal chain is the best place to start. It gives you a logical workflow to get the clarity, punch, and volume you're after.
First up in almost any professional mastering chain is a corrective equalizer. Its job is strictly cleanup. Before we start boosting or compressing anything, we need to find and remove any problematic frequencies that could get exaggerated later on. This is precision work, not a creative flourish.
Got a little bit of "boxiness" around 400 Hz? That's a classic problem that can make a track feel muddy. Here, you'd use a parametric EQ with a really tight Q (that’s the bandwidth) to surgically scoop out just a decibel or two right at the source of the problem. You should barely even hear the change—if the EQ is obvious, you’ve probably cut too much.
A few other common cleanup tasks include:
Think of this as prepping the canvas. By taking care of these little issues first, you give every other processor in your chain a much cleaner, more balanced signal to work with.
With the cleanup done, it's time to bring in a tonal equalizer. This is where we shift from surgeon to artist. Instead of making narrow cuts, we're now adding character with broad, musical-sounding boosts and shelves.
This is your chance to add that expensive-sounding "air" with a gentle high-shelf boost above 10 kHz, or maybe give the low end a more solid foundation with a wide bump around 60-80 Hz. The key word here is subtle. We’re talking tiny adjustments, often just 0.5 dB to 1.5 dB. In mastering, these small moves add up to make a massive difference.
A great master often comes from the sum of many small, almost imperceptible changes. Tonal EQ is where you add that subtle warmth or air that makes a track feel complete without fundamentally changing the mix.
This image really drives home how crucial the steps before mastering are. A clean source is everything.
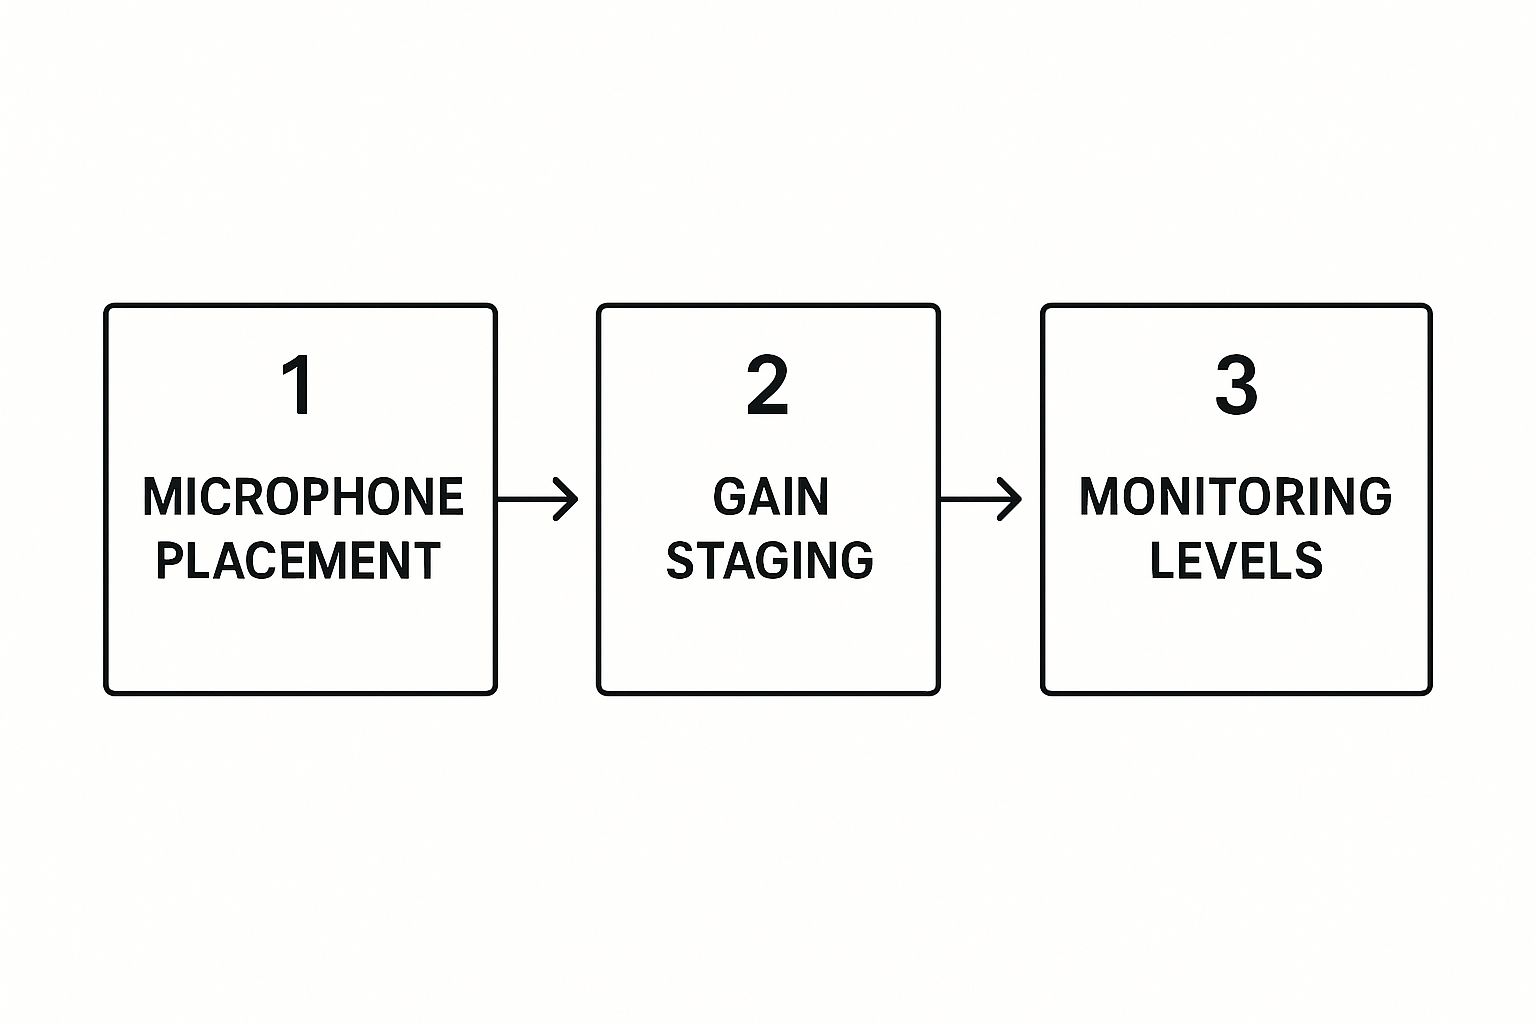
As you can see, fundamental choices in microphone placement and gain staging set the stage for a successful master long before the final chain is even built.
Next in the chain is the compressor, which might be the most misunderstood tool in mastering. We're not here to squash the track and kill all the dynamics. The goal is to add a bit of "glue"—a gentle cohesion that makes all the separate elements feel like they're playing together in the same room.
The settings for a mastering compressor are incredibly delicate:
You should only be seeing 1-2 dB of gain reduction on the loudest parts of the song. If your compressor's meter is slammed the whole time, you're crushing the life out of your music. This gentle dynamic control just tucks in the loudest peaks and ever-so-slightly lifts the quieter parts, creating a more unified and powerful sound.
Choosing the right tool for each job is essential. This table breaks down the key processors and when to reach for them.
| Mastering Tool | Primary Function | Best Use Case Scenario |
|---|---|---|
| Corrective EQ | Removing problematic frequencies. | Fixing a muddy low-mid range or taming a harsh cymbal before any other processing. |
| Tonal EQ | Broad, musical sound shaping. | Adding a touch of "air" to the highs or warmth to the lows to enhance the overall vibe. |
| Compressor | Adding cohesion and "glue." | Gently evening out the dynamics to make the mix feel more unified and powerful. |
| Stereo Imager | Adjusting the width of the soundstage. | Widening the high frequencies for a sense of space while keeping the low end tight and centered. |
| Limiter | Increasing final loudness. | The very last step to bring the track up to a competitive volume without clipping. |
Each of these plugins has a distinct role. Understanding their specific functions helps you build a chain that works logically and effectively.
After we've managed the dynamics, it's a good time to look at the stereo field. A stereo imager gives you control over the perceived width of your track, but this is one tool where a little goes a long way. If you get too aggressive, you can introduce nasty phasing problems that make your mix sound weak or fall apart completely when played in mono.
A great technique is to subtly widen the high frequencies for more air and space, while simultaneously narrowing the low end to keep it powerful and focused. For example, you might make everything above 5 kHz a bit wider to help the cymbals and reverb tails shimmer, while collapsing everything below 150 Hz to mono. This keeps your kick and bass locked right in the center, giving the track a rock-solid foundation.
The level of skill needed for these technical processes is a big reason why professional mastering is its own discipline. The global audio editing mastering systems market was valued at around USD 11.32 billion in 2024 and is projected to hit USD 29.43 billion by 2033. That growth is partly driven by the high barrier to entry that genuine expertise creates. You can dig into the full report on audio editing and mastering systems for more on market dynamics.
The very last processor in our chain is the limiter. This is the gatekeeper, the tool that brings your track up to a competitive commercial loudness for streaming and radio. Its only job is to raise the overall level while preventing the signal from ever going over a set ceiling (typically -0.1 dBFS to -0.3 dBFS), which would cause digital clipping.
The trick is to push it just enough to get the volume you need without introducing audible distortion or undoing all the dynamic work you did earlier. A good target is about 2-4 dB of gain reduction on the very loudest peaks. If you find you need to push it harder than that to be loud enough, the real problem is likely back in the mix stage.
Always listen for any crunch or distortion, especially in the low end. And constantly A/B your master against well-mastered commercial tracks in the same genre. This final check ensures your track is not just loud, but also clean, punchy, and ready for listeners.
The "loudness wars" are over. Long gone are the days of smashing your tracks with a limiter just to be the loudest song on a CD. In the streaming world, that kind of brute force actually works against you.
Every major platform, from Spotify to Apple Music, now uses loudness normalization. If you upload a track that’s excessively loud, they just turn it down. All that aggressive limiting you did? It just leaves you with a squashed, lifeless mix that now plays back at the same perceived volume as a much more dynamic, open-sounding track. You lose all that punch for nothing.
Forget what your peak meter is telling you. The metric that truly matters today is LUFS, which stands for Loudness Units Full Scale.
Unlike peak meters that only show the absolute loudest, instantaneous moment, LUFS measures perceived loudness over time—much closer to how our ears actually hear. It gives you a real-world reading of how loud your track feels to a listener from beginning to end. When you're mastering for modern distribution, your target shifts from hitting 0 dBFS to hitting a specific integrated LUFS value.
This isn't just a niche topic for audio nerds; it's a huge part of the industry. The global audio editing and mastering system market was valued at $3.8 billion in 2023 and is projected to hit $7.6 billion by 2032. That growth is fueled by the need for high-quality audio that meets these precise new standards. You can dig into the data behind this trend and learn more about the audio editing market.
While every platform has its own slightly different algorithm, they’ve mostly settled on a similar loudness target. If you aim for this general sweet spot, your music will translate well pretty much everywhere.
The goal is no longer to be the loudest. It's to sound the best at the target loudness. Mastering to around -14 LUFS integrated is a solid, safe strategy that works for almost any platform.
Working this way preserves the dynamic range you worked so hard to create in the mix. The snap of the snare, the subtle reverb tails—they won't get lost in a sea of over-compression. If you want to get a better handle on controlling dynamics, our guide on https://sfxengine.com/blog/what-is-audio-compression is a great place to start.
Beyond LUFS, there’s one other critical number to watch: True Peak. When your pristine WAV file gets converted into a lossy format like an MP3 or AAC for streaming, the encoding process can actually create new, tiny peaks that are higher than what your standard meter shows.
These "intersample peaks" can cause nasty digital clipping and distortion on the listener's end, even if your master file looks perfectly clean.
A True Peak meter is designed to catch this. It anticipates how the signal will behave after encoding, showing you the absolute ceiling your audio will hit. To stay in the clear, set your limiter's output ceiling so your True Peak never goes above -1.0 dBTP (decibels True Peak). I personally often aim for -1.5 dBTP just to be extra safe.
Here's a quick cheat sheet for your mastering goals:
| Metric | Target Value | Why It Matters |
|---|---|---|
| Integrated LUFS | -14 LUFS | Your track plays at a competitive volume without being penalized and turned down. |
| True Peak | -1.0 dBTP | Prevents nasty distortion when your audio is converted for streaming. |
Mastering for streaming is a balancing act. You need to be loud enough to compete but dynamic enough to feel powerful. By keeping a close eye on your LUFS and True Peak, you can confidently create masters that sound clean, professional, and exactly how you intended them to, no matter where they're played.
Artificial intelligence has definitely found its way into the audio world, and mastering is no exception. Automated platforms can listen to your track and spit out settings for EQ, compression, and loudness in just a few seconds. If you're still learning the ropes or you're up against a tight deadline, these tools can feel like a godsend, giving you a quick way to get a louder, more polished track.
But let's be real about it: AI is a powerful assistant, not a replacement for your ears. Think of it as a super-smart co-pilot. It can get you 80% of the way there in no time, but that last 20%—the part that comes down to taste, feeling, and creative vision—that’s still on you. The smart move is to use these tools as a starting point, never the final word.
This balanced approach is more important than ever as the tech gets better. The global mastering software market is on track to hit around $250 million in 2025, and a big chunk of that growth comes from AI features making professional tools more accessible. You can dig deeper into the growth of the mastering software market to see just how much is changing.
So, how do you make these tools work for you without letting them take over the project? It’s all about staying in the driver's seat. Instead of just clicking "accept" on whatever the AI suggests, treat its output as a really good preset that you can then shape and refine.
Try this: run your mix through an AI mastering service and listen critically to the result. What did it do? Did it brighten up the top end? Did it use some subtle compression to glue everything together? Honestly, analyzing the AI's decisions is one of the fastest ways to learn what a professional master can do for a track.
Here's a practical workflow I've found works well:
AI mastering tools are fantastic at certain things. They’re great at pattern recognition, so they can quickly spot common problems like a muddy low-end or a harsh high-end and apply a standard fix. But they definitely have their limits.
Where AI Shines
Where Human Ears Still Win
The best approach is a hybrid one. Let the AI handle the heavy lifting and the broad technical strokes. Then, you step in to add the final artistic polish and emotional context that only a human can.
At the end of the day, the smartest way to use AI mastering is as a trusted second set of ears. After you think you’ve finished your own master, run your track through an AI service as a final sanity check. You'd be surprised how often it will flag an issue you completely missed, like a frequency buildup you’ve gone "deaf" to after listening for hours.
This method keeps you in control while giving you a valuable, objective reference point. It helps you sidestep common mistakes and forces you to make more informed decisions. By treating AI as a collaborator instead of a magic "fix it" button, you can level up your skills, improve your workflow, and consistently produce better-sounding masters.

As you get deeper into mastering, you'll naturally start running into the same questions that every producer faces. It's all part of the process. Let's walk through some of the big ones so you can move forward with a bit more clarity.
The short answer is: yes and no.
Mastering your own tracks is a fantastic way to sharpen your ears. It forces you to listen with a critical, analytical perspective and really understand how the final polish gets applied. For demos, personal projects, or just learning the ropes, it's an invaluable exercise.
But there's a catch: objectivity. When you've poured your soul into writing, recording, and mixing a song for weeks, your perspective is anything but fresh. A professional mastering engineer brings two critical things to the table: an unbiased set of ears and a perfectly tuned listening environment. For an official, commercial release, that outside perspective is often what pushes a track from good to truly great.
This is probably the most common point of confusion for new producers. I've always liked the analogy of building a car. Mixing is like assembling the engine, attaching the doors, and installing the seats. Mastering is the final detailing and quality check before it hits the showroom floor.
Mixing is all about the individual ingredients. You're working with the multitracks—the separate stems for drums, bass, vocals, synths, etc. The goal here is to balance levels, pan instruments across the stereo field, and use effects to make everything gel into a single, cohesive stereo track.
Mastering picks up where mixing leaves off. You're no longer working with individual stems, but with that final stereo file. This stage is about making broad adjustments to the entire song to improve its overall clarity, punch, and loudness, making sure it sounds great everywhere.
A mix focuses on the relationships between the instruments inside the song. Mastering focuses on the song as a whole and its relationship with the outside world.
Learning when to step away from the controls is one of the hardest skills to develop. It's so easy to keep tweaking.
A master is done when it hits three key benchmarks without introducing new flaws. First, it sounds balanced and powerful on your main monitors. Second, it reaches a competitive loudness for its genre without sounding squashed or distorted.
Third—and this is the big one—it translates. You absolutely have to check it on other systems. Listen in your car, on laptop speakers, and with a cheap pair of earbuds. Does it hold up against commercial songs in a playlist? If the answer is yes, and any more processing starts to make it sound worse, not better, then it's time to stop.
The golden rule here is to avoid the temptation to overdo it. The art of mastering often lies in knowing when to leave it alone.
Ready to add unique, high-quality audio to your projects? With SFX Engine, you can instantly generate custom, royalty-free sound effects using simple text prompts. It's a game-changer for producers, filmmakers, and game developers who need the perfect sound on demand.