Audio compression is really just a way of automatically controlling volume. Imagine you have a tiny, lightning-fast audio engineer living inside your computer. Their only job is to ride the fader, turning the sound down when it gets too loud and, sometimes, turning it up when it gets too quiet.
This constant, subtle adjustment is the secret behind that polished, professional sound you hear in music, podcasts, and films. It creates a more consistent and powerful listening experience.
Ever wonder how a podcast host’s voice stays so clear and upfront, never getting too quiet or too loud? Or how every drum hit, bass note, and guitar strum in your favorite song feels perfectly balanced and energetic?
The answer, almost every time, is audio compression. It’s one of the most essential tools in any audio engineer's toolkit, but it does its best work when you don't even notice it's there.
At its heart, compression tames a recording's dynamic range—the natural difference between its loudest peaks and quietest whispers. A raw vocal take, for example, is full of dynamics. Some words might be barely audible while a sudden powerful note can jump out and feel jarring. Compression smooths out those peaks and valleys.
Before we go any further, it's crucial to clear up a common point of confusion. The term "audio compression" actually describes two completely different things. They both "compress" audio, but for entirely different reasons.
Here's a quick look at the two main forms you'll encounter.
| Compression Type | Primary Goal | Common Use Case |
|---|---|---|
| Dynamic Range Compression | To control volume and shape sound artistically. | Making a vocal sit perfectly in a mix or adding punch to a drum track. |
| Data Compression | To reduce the digital file size of an audio recording. | Creating an MP3 file for streaming on platforms like Spotify. |
Both are vital to the audio world, but they operate in different domains. One is an artistic tool for mixing, while the other is a technical process for delivery.
Audio compression isn’t about making things louder; it's about making everything audible. The goal is to manage dynamics so that every nuance of a performance can be heard clearly, resulting in a more cohesive and engaging experience for the listener.
For the rest of this guide, our focus will be squarely on dynamic range compression—the creative tool that shapes the sound of modern music. We’re going to break down its controls, explore the different flavors of compressors, and give you practical ways to start using it in your own projects. You'll soon see why it’s truly the unsung hero of professional sound.
The story of audio compression doesn't start in a modern digital studio. Its roots actually go all the way back to the golden age of radio in the 1930s. Before it was ever a creative tool, compression was a broadcast necessity. Its job was purely technical: keep the signal loud and clear without frying the expensive transmission gear.
Back then, engineers had to wrangle the wild dynamics of live broadcasts. A singer hitting a powerful high note or an orchestra swelling to a crescendo could overload the system, causing nasty distortion for listeners. They needed an automatic way to control these peaks, which led to the invention of the first, very basic compressors.
A major breakthrough came in 1937 with the Western Electric 110A Program Amplifier. This beast of a vacuum-tube machine was built to automatically turn down the volume whenever the signal got too hot. It was a game-changer, allowing a 3 dB increase in the average signal level. This effectively doubled a radio station's broadcast area without needing a more powerful transmitter.
It wasn't until the 1950s and 60s that a new wave of studio engineers started looking at these devices differently. They saw past the technical utility and realized this box could be a creative weapon, a way to fundamentally shape the character of a recording. The tool migrated from the transmission tower to the control room, and music was never the same.
Producers like the legendary Bill Putnam Sr. were at the forefront of this movement. He figured out that if you pushed a compressor hard on purpose, you could do a lot more than just manage volume. You could completely change a sound's attack, its decay, and its overall feel.
Compression transformed from a purely functional device into an artistic brush. It allowed producers to paint with dynamics, adding punch, weight, and emotional intensity to recordings in ways that were previously impossible.
This creative approach to compression quickly became the secret sauce behind countless iconic records. All of a sudden, drums could punch through a mix with incredible force, basslines felt fatter and more solid, and a lead vocal could sit right on top of everything else, dripping with presence and emotion.
What started as a simple fix for radio engineers became an essential part of the audio production process. If you're curious about how all the pieces fit together, you can explore the entire workflow in our guide on what is audio production. This evolution cemented compression's place not just as a technical tool, but as a core element of musical expression that's still essential in every studio today.
To really get a handle on audio compression, you have to get familiar with its control panel. At first glance, all those knobs and meters can look pretty intimidating, but each one has a specific job. Think of a compressor as a smart, automatic volume knob, and these controls are the instructions you give it.
Getting comfortable with them is the difference between just slapping a compressor on a track and using it with real purpose and precision. Let's break down the five core parameters you'll find on almost every single compressor out there, from vintage hardware to modern plugins.
Each of these controls answers a basic question about how you want to wrangle your audio's dynamics.
A common misconception is that compressors make things louder. They don't—they make things quieter. The loudness you hear comes from using Make-up Gain to boost the entire, newly-controlled signal. This brings up the quiet details and creates a denser, more consistent sound.
The infographic below shows a different kind of compression—the kind used to make audio files smaller for storage or streaming. It's a useful distinction to keep in mind.
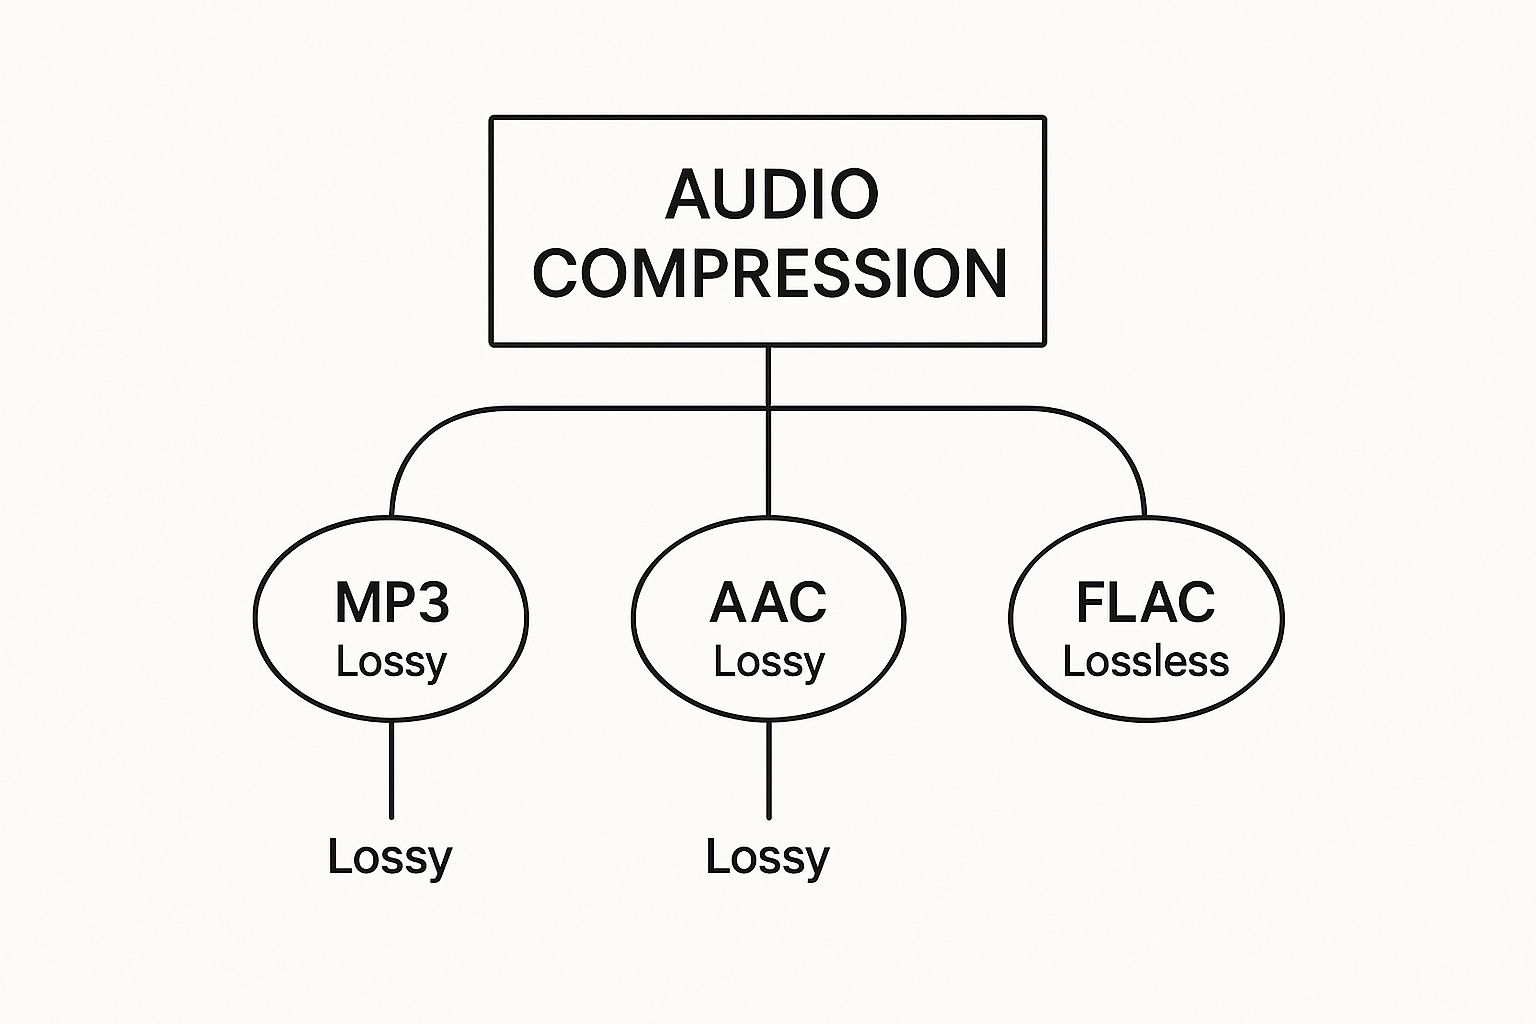
This visual breaks down the difference between "lossy" formats (like MP3s) that sacrifice a bit of quality for small file size, and "lossless" formats (like FLAC) that keep every single bit of the original audio intact.
Beyond those five main controls, you'll often see a setting called the Knee. This little control fine-tunes how the compressor starts applying that gain reduction, making the transition either sharp or gentle.
Just like a chef reaches for different spices to create a specific taste, a mix engineer uses different types of compressors for their unique sonic personalities. Not all compressors are built the same. The circuitry tucked away inside—the very guts of the machine—dictates how it reacts to the audio you feed it, and in doing so, leaves its own distinct fingerprint on the sound.
Learning to recognize these different "flavors" is what separates basic dynamics control from true creative sound shaping. While there are thousands of plugins and hardware units out there, most of them can be traced back to one of four classic designs. Each one has a signature sound and a job it does better than anything else.
The VCA (Voltage Controlled Amplifier) is probably the most common and versatile compressor you'll come across. Think of it as the reliable, transparent workhorse of the studio. It relies on a modern electronic chip to handle the gain reduction, which gives it a remarkably clean, precise, and predictable response.
Because they can react so quickly, VCAs are fantastic for clamping down on sharp, sudden peaks—like the crack of a snare drum—or for locking a bouncy bass guitar right into the pocket of the groove. When your main goal is simply to control dynamics without adding a bunch of color or vintage vibe, a VCA is almost always the right tool for the job.
Then you have the FET (Field Effect Transistor) compressor. If the VCA is a meticulous surgeon, the FET is an unpredictable rock and roll star. It uses a specific type of transistor that mimics the behavior of old-school tube circuits, giving it an incredibly fast, aggressive, and often colorful sound.
The undisputed king of this category is the legendary Urei 1176. It’s famous for its lightning-fast attack and the pleasing musical distortion it adds when you really push it. This is exactly why engineers grab it to add punch and raw excitement to vocals, drums, and electric guitars.
When a track just needs more energy, attitude, and a bit of analog grit, a FET compressor is your best friend. Its aggressive character can make an instrument feel like it’s jumping out of the speakers.
An Optical (or Opto) compressor has a really interesting design. The audio signal itself powers a tiny internal light source, which then shines on a light-sensitive resistor. The louder the signal, the brighter the light gets, and the more gain reduction is applied.
This clever mechanism has a natural, physical lag to it—the light can't just switch on and off instantly. This creates the characteristically smooth, gentle, and incredibly musical response that optical compressors are known for.
The Teletronix LA-2A is the most iconic optical compressor ever made, celebrated for its almost magical ability to control dynamics while adding a subtle warmth and richness.
Finally, we have the Vari-Mu (Variable Mu) compressor, the undisputed heavyweight champion of "mix glue." These classic designs use actual vacuum tubes to perform the gain reduction, which imparts a rich, warm, and creamy sound that's impossible to miss. They tend to be slower and less grabby than other types.
You typically wouldn't use a Vari-Mu for surgical peak-taming on a single track. Instead, its real magic happens when you place it across a full mix or a group of instruments, like a drum bus. Its gentle, program-dependent compression helps pull all the different elements together, making them feel like a single, cohesive performance.
With so many distinct personalities, it helps to see how these classic designs stack up against one another.
| Compressor Type | Key Characteristic | Best For |
|---|---|---|
| VCA | Clean, fast, precise, and predictable. | Taming sharp transients on drums, controlling bass, clean dynamic control. |
| FET | Ultra-fast, aggressive, and adds harmonic color. | Adding punch and attitude to vocals, drums, guitars, and parallel compression. |
| Optical | Smooth, gentle, and transparently musical. | Effortlessly leveling vocals, bass, and acoustic instruments without artifacts. |
| Vari-Mu | Rich, warm, creamy, and slow-reacting. | "Gluing" together a full mix or instrument group (bus compression). |
Each one of these archetypes offers a different sonic tool. Understanding what makes each one tick is the first step toward choosing the right one for your music, turning compression from a technical necessity into a powerful creative tool.
So far, we've been talking about compression as a way to shape the dynamics of a sound. But there's a whole other side to it: data compression. This is the technology that made your digital music library possible, powers streaming giants like Spotify, and completely redefined how we share and listen to music.
Without it, a single high-quality song could easily eat up a hundred megabytes or more. Imagine trying to fit just a handful of those on your phone. Data compression is what makes audio files small enough to be practical.
When you want to shrink an audio file, you have two very different ways to do it. Knowing which is which is crucial to understanding what's happening to your sound.
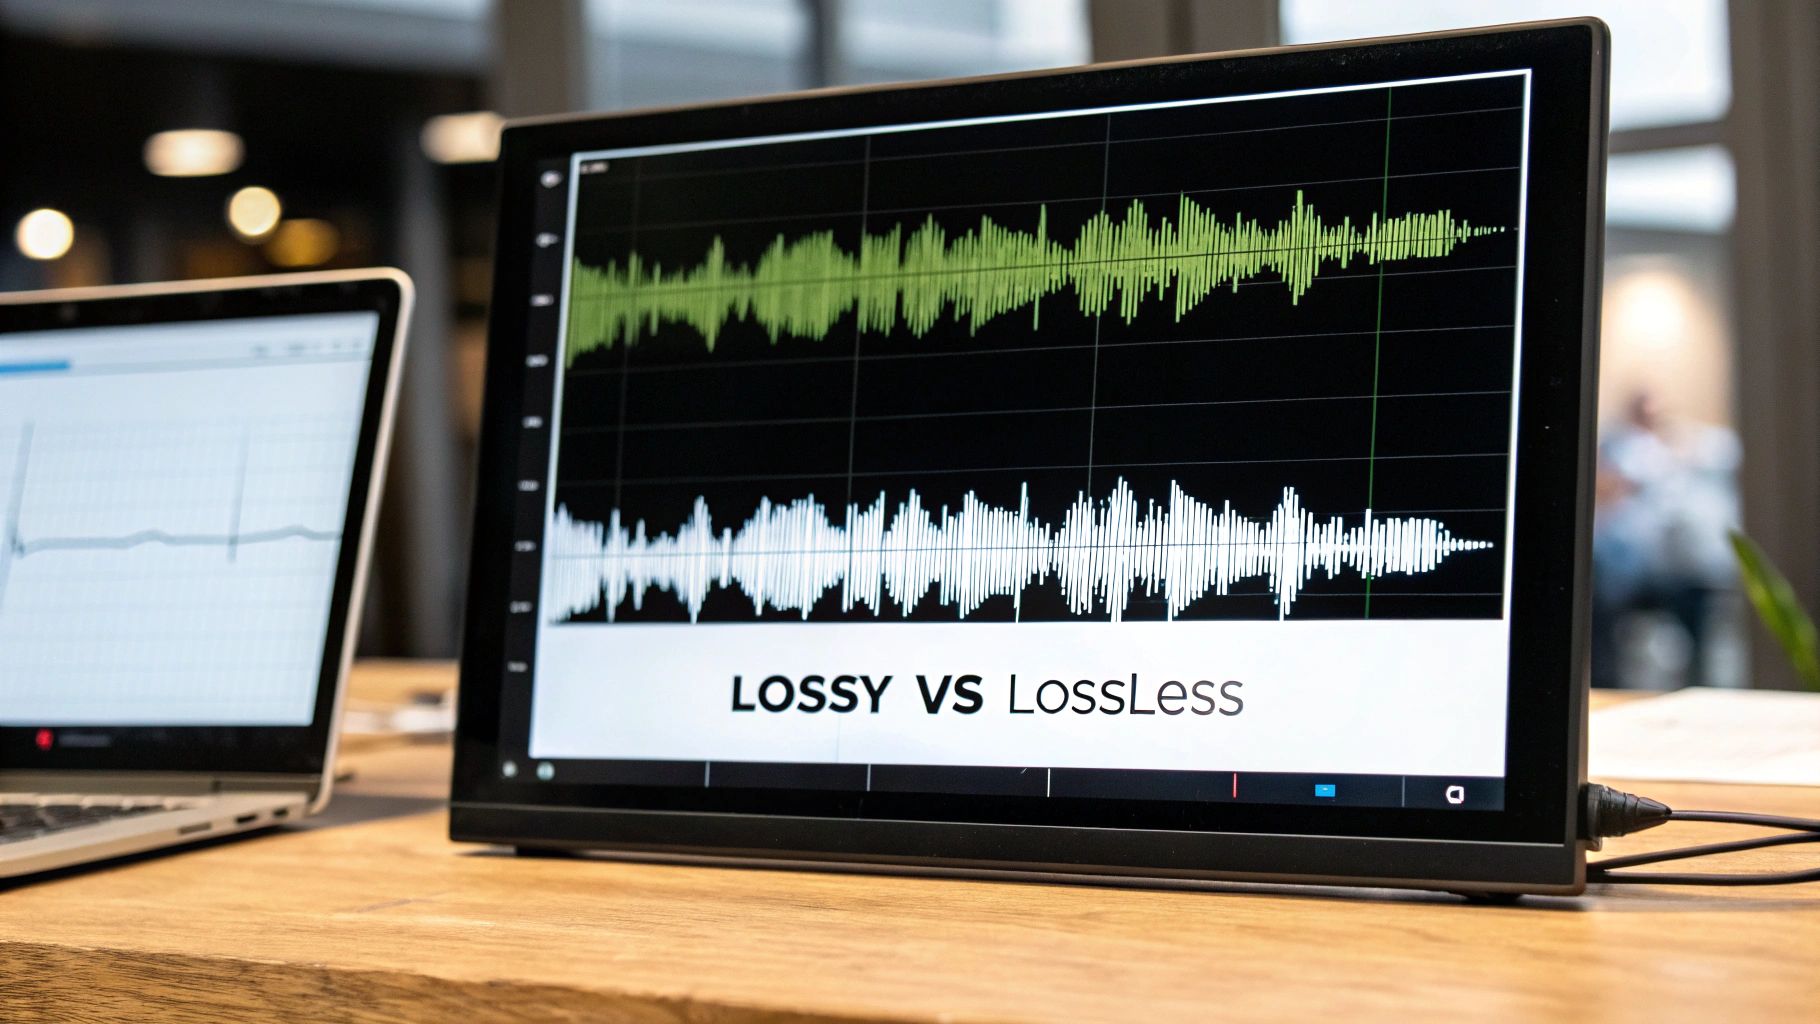
Lossless Compression: Think of this as vacuum-packing your audio. Formats like FLAC (Free Lossless Audio Codec) or Apple's ALAC find smart ways to represent the same audio data more efficiently, taking up less space. When you play the file, it's "unpacked," and every single bit of the original recording is put back exactly where it was. The final result is 100% identical to the source, just smaller for storage.
Lossy Compression: This is where things get a bit more drastic. Formats you've definitely heard of, like MP3 and AAC, achieve their tiny file sizes by permanently deleting parts of the audio. The magic, however, lies in what they choose to throw away. The goal is to only remove the sounds your brain probably wasn't going to notice anyway.
Lossy compression makes a calculated bet. It wagers that by removing certain frequencies—like very quiet sounds that are drowned out by louder ones or tones outside the main range of our hearing—it can drastically shrink a file without you noticing much of a difference.
This seemingly magical process of "intelligent" data removal is rooted in a field called psychoacoustics—the study of how we perceive sound. The seeds of this revolution were planted back in the late 1970s with early research into digital audio algorithms.
It all came together in 1979 when a team at Germany's Erlangen-Nuremberg University, including student Karlheinz Brandenburg, started integrating psychoacoustic models into their work. This research laid the direct groundwork for the MP3 format. You can actually follow the entire fascinating timeline of this audio breakthrough on MP3-History.com.
By understanding what our ears and brain prioritize, lossy encoders could identify and toss out the "unimportant" audio information. The result was a file that could be up to 90% smaller than a track on a CD. Suddenly, music was small enough to download on slow dial-up modems and you could fit thousands of songs in your pocket. This wasn't just a step forward; it was a complete game-changer that kicked off the digital music boom and reshaped an entire industry.
Knowing the theory behind compression is one thing, but knowing exactly when to reach for it is what truly separates good audio from great audio. Think of it as a specific tool for a specific job. You don't use it on every track just because you can; you use it to solve a problem.
The key is to listen first and make intentional choices. Is a vocal getting lost in the mix? Is a snare drum lacking impact? Those are the moments when compression becomes the solution, not just a default setting. Let's dig into a few real-world scenarios where it makes all the difference.
In music, compression is often your secret weapon for adding character, energy, and cohesion, helping every instrument find its perfect spot in a crowded mix.
Adding Punch to Drums: Want a kick or snare to really hit you in the chest? Try a slower attack time, somewhere around 15-30ms. This lets the initial "smack" of the drum—the transient—punch through before the compressor kicks in on the sound's body. A fast release ensures it's ready for the next hit without sounding sluggish.
Evening Out Vocals: A singer's performance is naturally full of dynamic shifts. To keep the vocal front and center without losing its emotion, a compressor with a medium attack and release is perfect. A moderate ratio, like 3:1 or 4:1, will gently control the loudest parts while letting the quieter, more intimate moments breathe.
A classic trick is to use "bus compression." You put a single, subtle compressor across a whole group of instruments, like the entire drum kit or even the final mix. People often call this "mix glue" because it magically makes all the separate elements feel like they're playing together in the same room.
When it comes to spoken word, your goal is simple: clarity and consistency. The listener should never, ever have to reach for their volume knob. Compression is how you achieve that.
For that polished, broadcast-ready voice, use a compressor with a fast attack to instantly catch any loud plosives or sudden shouts. A medium release will keep it all sounding smooth and completely natural. The idea is to create an effortless, even listening experience from beginning to end.
This is a non-negotiable step in any serious production process, something we explore further in our guide to mastering the audio post production workflow. When you get your dynamics under control, your message stays front and center, making your content way more engaging for your audience.
As you start exploring the world of audio compression, a few questions are bound to pop up. Getting these sorted out early will help you build a solid foundation and sidestep some common mixing pitfalls later on. Let’s tackle a few of the big ones.
One of the first traps everyone falls into is over-compression. It’s tempting to keep squashing a track until it sounds huge and powerful on its own, but this can easily suck the life right out of the performance. Remember, the goal is always control, not the complete obliteration of dynamics.
Can you use too much audio compression? Absolutely. This is probably the number one mistake in audio production. Over-compression leaves a track sounding flat, lifeless, and just plain tiring to listen to, effectively killing the very character you wanted to enhance.
Another common point of confusion is the difference between a compressor and its much more aggressive cousin, the limiter. They work in a similar way, but they have completely different jobs.
A limiter is really just a compressor with an incredibly high ratio—we're talking 10:1 all the way up to infinity-to-one (∞:1). Its purpose isn't to gently shape the sound; it's to create an unbreakable ceiling that the audio signal simply cannot pass.
Finally, a classic question: does turning a WAV file into an MP3 affect its dynamic range? The short answer is no, not directly.
Creating an MP3 is a form of data compression, a process designed to make the file size smaller by cleverly removing parts of the audio spectrum that the human ear is less likely to notice. Dynamic range compression, on the other hand, is a creative process you apply inside your digital audio workstation.
So, while most commercial music is heavily compressed before it's converted to an MP3, the MP3 conversion process itself doesn't change the track's dynamics.
Ready to create audio that stands out? With SFX Engine, you can generate custom, high-quality sound effects in seconds using simple text prompts. Find the perfect sound for your project at https://sfxengine.com.