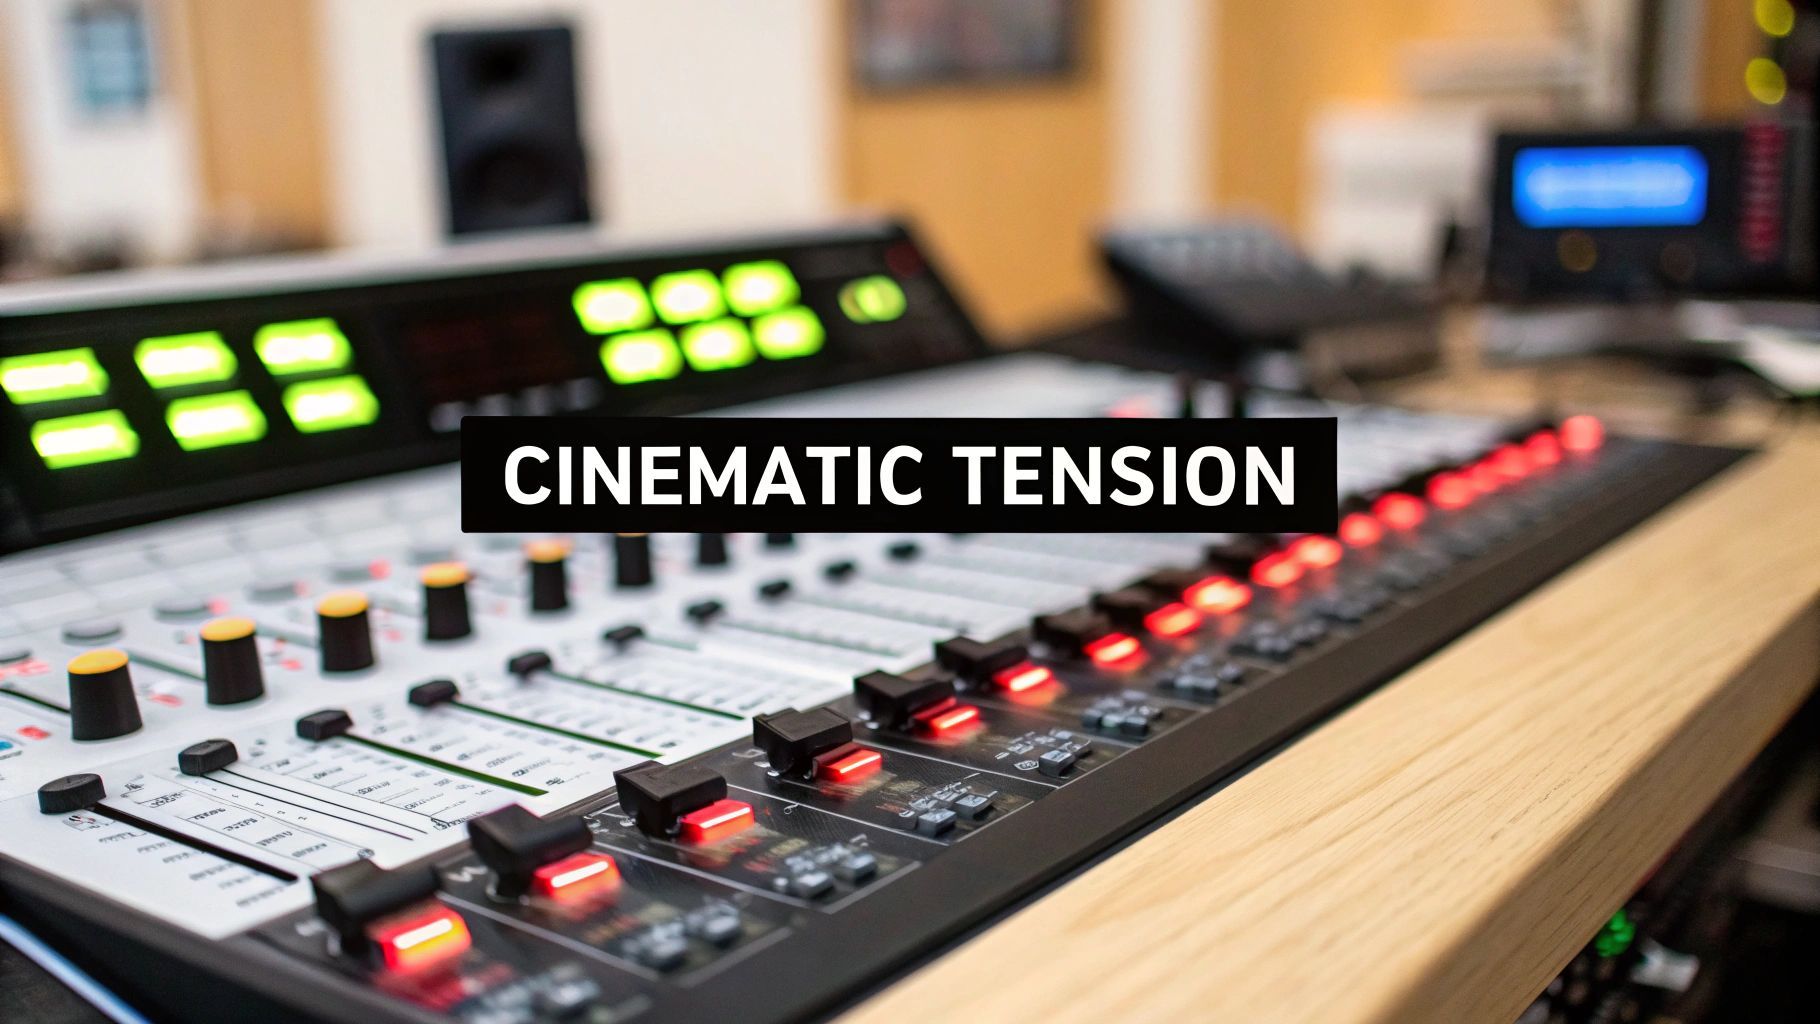
November 25, 2025 · Kuba Rogut
Riser sound effects are all about building anticipation. Think of them as audio elements that gradually ramp up in pitch, volume, or intensity to signal that something big is about to happen. They’re a cornerstone of sound design, especially in film trailers, electronic music, and video games, where they’re used to build tension and signal an upcoming climax.
Have you ever felt your heart pound in the final seconds of a movie trailer? Or that surge of adrenaline just before the beat drops in a high-energy dance track? More often than not, that feeling is the direct result of a perfectly crafted riser. These aren't just simple audio tricks; they're powerful psychological tools designed to hook a listener and not let go.
At its heart, a riser plays on our innate response to escalating sounds. When a sound gets progressively higher, louder, or more complex, it triggers an instinctual feeling that something is coming. It’s an auditory cue that builds expectation, practically forcing our brains to brace for a resolution. This is exactly why risers sound effects are so critical for creating dramatic impact.
The real magic of a riser is its power to manipulate our perception of time and emotion. As the sound climbs, it creates a feeling of upward momentum that pulls the audience right along with it. It’s an incredibly flexible technique that can be molded to fit almost any genre or mood.
To get a feel for how specific effects like risers shape a project, it's helpful to look at how general podcast sound effects are used to guide a listener's emotional journey in a different medium.
A well-designed riser doesn't just fill silence; it actively shapes the listener's emotional state. By controlling the speed, complexity, and texture of the ascent, you can craft anything from subtle tension to overwhelming, heart-pounding excitement.
Ultimately, getting good at making risers is about more than just picking the right synth preset. It’s about understanding how to tell a story with sound and creating an auditory journey that leads to a powerful and satisfying payoff.
Jumping into sound design can seem daunting, but building a solid riser from the ground up is actually one of the best ways to learn the fundamentals. We'll start with a totally blank patch in your favorite synthesizer and focus on the two key ingredients that make a riser work: pitch and filtering. The goal here is to craft a genuinely usable effect, giving you a core skill you can riff on endlessly.
The heart of any synth sound is the oscillator—it’s what makes the noise in the first place. Go ahead and select a sawtooth wave. Why a saw? Because it's packed with rich harmonics, which gives us a ton of sonic material to carve into with our filter later on. A sine wave, for example, is too pure; you'd just get a clean tone sweeping up, which lacks that aggressive, evolving texture we're after.
With our sound source chosen, let's make it rise. Instead of trying to manually twist a pitch knob for 16 bars (which never sounds smooth), we'll automate it. Use a pitch envelope or a Low-Frequency Oscillator (LFO) set to a slow ramp-up shape. Map this modulator to your oscillator's pitch and give it a nice, long attack time. I usually start somewhere between four to sixteen bars, depending on the track's tempo and how much anticipation I want to build. Now, when you hold down a note, you'll hear the pitch climb steadily, creating that classic tension.
Okay, we have our pitch sweeping upwards. Now it's time to shape the character and energy with a filter. For risers, a low-pass filter is your absolute best friend. By automating its cutoff frequency, we can make the sound evolve from a dark, muddy rumble into a bright, piercing sizzle right at the climax.
Start by setting the cutoff frequency way down low, so you can barely hear anything but the sub-bass. In your DAW, create an automation lane for the filter cutoff and draw a ramp that opens it up over the exact same duration as your pitch sweep. This one-two punch of rising pitch and an opening filter is the secret sauce to a powerful, dynamic riser.
The real magic in riser design happens when you start layering automation. A simple pitch sweep is fine, but when you combine it with filter movement, volume swells, and evolving effects, you create something that feels truly professional and emotionally impactful.
Once the basic structure is in place, it's the little details that bring it to life. A static sound can feel boring, so let's add some subtle movement to make it feel more organic.
When you're ready to get serious about crafting your own sound effects, using one of the best music production programs is a must for deep synthesis and processing. The industry reflects this, too—the sound effects software market was valued at an impressive USD 14,263.9 million in 2022 and is expected to climb to USD 31,250 million by 2030, which shows just how vital these tools are for creators. For a more detailed look at the creation process, don't miss our guide on how to make a sound effect.
A single synth patch can get you a functional riser, but the truly massive, impactful ones you hear in professional productions are almost always built from several distinct layers. It’s a bit like composing a piece of music; a single instrument can carry a tune, but a full orchestra creates an immersive experience. By layering different sonic elements, you can craft a riser with a depth and richness that a solo sound source just can't match.
The trick is to think about the frequency spectrum. A great riser needs to fill out the lows, mids, and highs to really grab the listener. I've found that breaking the sound down into a few core components is the most effective way to build something powerful and clean.
This diagram shows the basic signal flow for a typical synth-based riser layer, which is often the heart of the effect.
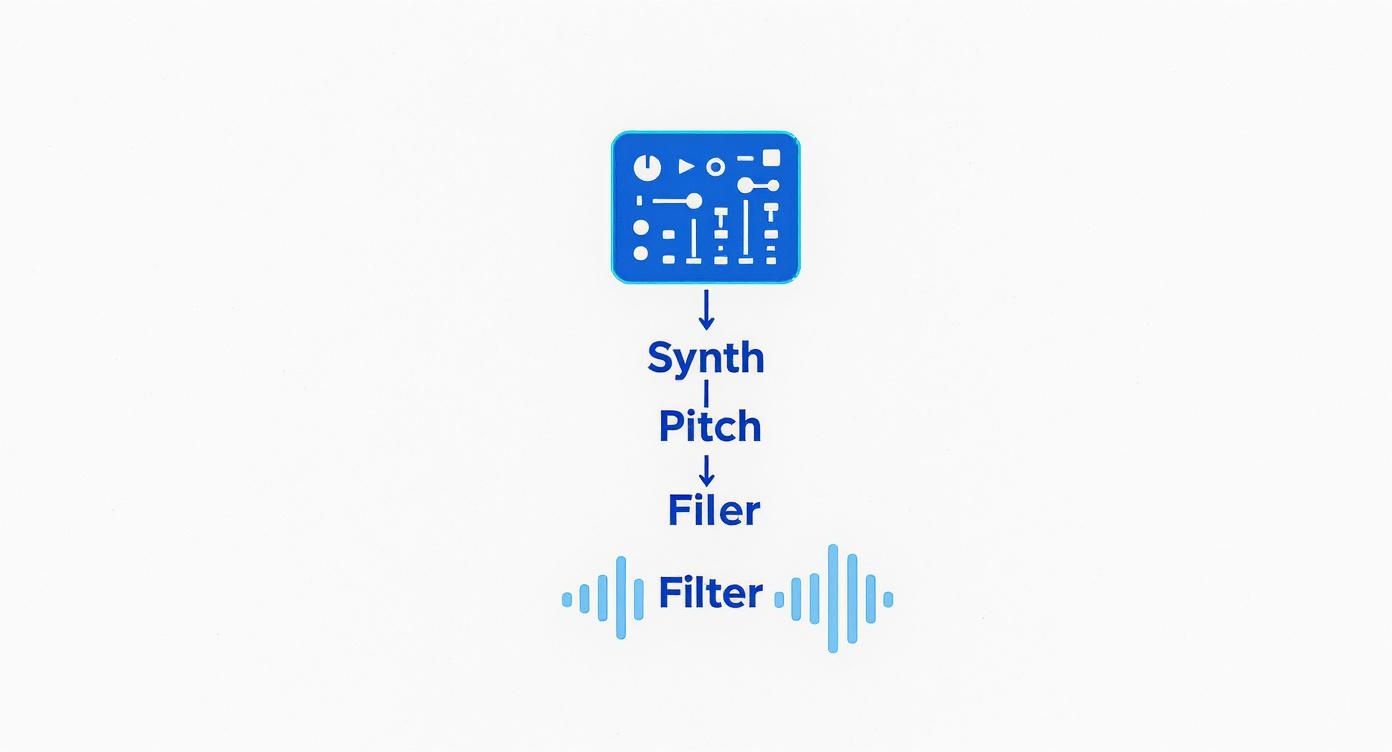
As you can see, the feeling of upward movement comes from automating both the pitch and the filter cutoff over the duration of the sound.
To avoid creating a muddy mess, it helps to give each layer a specific job. This way, every part contributes to the whole instead of fighting for space.
Building a complex riser often means combining these different sonic elements. Each layer is chosen to occupy a specific part of the frequency spectrum, ensuring the final sound is full-bodied and well-balanced.
| Layer Type | Frequency Range | Common Sound Sources | Primary Purpose |
|---|---|---|---|
| Sub Bass | 20-100 Hz | Sine wave, low-passed saw wave | Provides foundational weight and physical impact. |
| Mid-Range Core | 100-2,000 Hz | Detuned supersaws, wavetable synths, distorted leads | Defines the main character and melodic/harmonic content. |
| High-End Sizzle | 2,000-20,000 Hz | White/pink noise, reversed cymbals, granular textures | Adds excitement, brightness, and a sense of air. |
| FX/Ambience | Varies | Reverb swells, field recordings, modulated textures | Creates depth, space, and a unique atmospheric quality. |
By thinking in these distinct layers, you can build risers that are not only powerful but also tailored to the specific emotional context you need.
With your layers in place, the real creative work begins: automation. A rookie mistake is to just copy and paste the same automation curves—for pitch, filter, volume, etc.—onto every single track. This works, but it often sounds robotic and flat.
The secret to a more organic, professional-sounding build is to use slightly different automation for each element.
For example, you could have the sub-layer rise in pitch slowly and steadily to provide a solid, unwavering foundation. At the same time, the synth core could follow a more exponential curve, sweeping up faster as it approaches the end to inject more energy. You can see similar principles at play in the way many drama sound effects are built to heighten tension.
Don't be afraid to let your layers start and end at slightly different times. Having the high-frequency sizzle fade in a second or two after the sub-bass begins can create a more gradual and intriguing introduction to the sound.
This approach of staggering and varying the automation makes the final riser feel like a single, living thing. It breathes life into the effect, giving it a dynamic complexity that commands attention and perfectly sets up the moment that follows.
So you've layered your synths and sculpted the core pitch and filter sweeps. You have a solid foundation, but a truly memorable riser needs to feel alive. This is where modulation and automation come into play, turning a static sound into something that breathes and evolves.
Without this step, even the most carefully layered risers sound effects can come across as flat and predictable. We need to inject some movement—a sense of internal energy that builds right alongside the main sweep. Think of it less as a technical process and more as adding a performance, full of subtle shifts that pull the listener in and build anticipation.
One of my favorite ways to instantly add energy is to modulate the riser’s volume or filter with a Low-Frequency Oscillator, or LFO. This creates a rhythmic pulse or a tremolo-like effect that can seriously amp up the tension. But just setting it and forgetting it isn't enough.
The real magic happens when you automate the LFO's rate. Picture a slow, deep pulse at the start of the riser that gradually accelerates, becoming a frantic flutter right before the drop. This speeding-up effect is an incredibly potent tool for building suspense.
This technique adds a layer of complexity that keeps the listener's ear hooked, making the final peak feel that much more explosive.
Modulation isn't limited to what you can do inside the synth. Automating your effects can completely transform how the riser sits in the mix and how its scale is perceived. The goal is to make the sound grow not just in volume, but in sheer size.
For example, a riser can begin its life completely dry and mono, feeling small and focused. As it builds, you can automate a few key parameters to make it feel like it's exploding outward to fill the entire stereo field.
A riser's journey isn't just about going from low to high pitch. It's about evolving from small to large, dry to wet, and narrow to wide. Automating these transformations is what creates a truly cinematic and immersive experience.
Here are a few powerful effects automation tricks I use all the time:
When you start combining these modulation and automation techniques, you're no longer just designing a sound. You're choreographing an auditory event, crafting risers sound effects that have genuine professional depth and emotional weight.
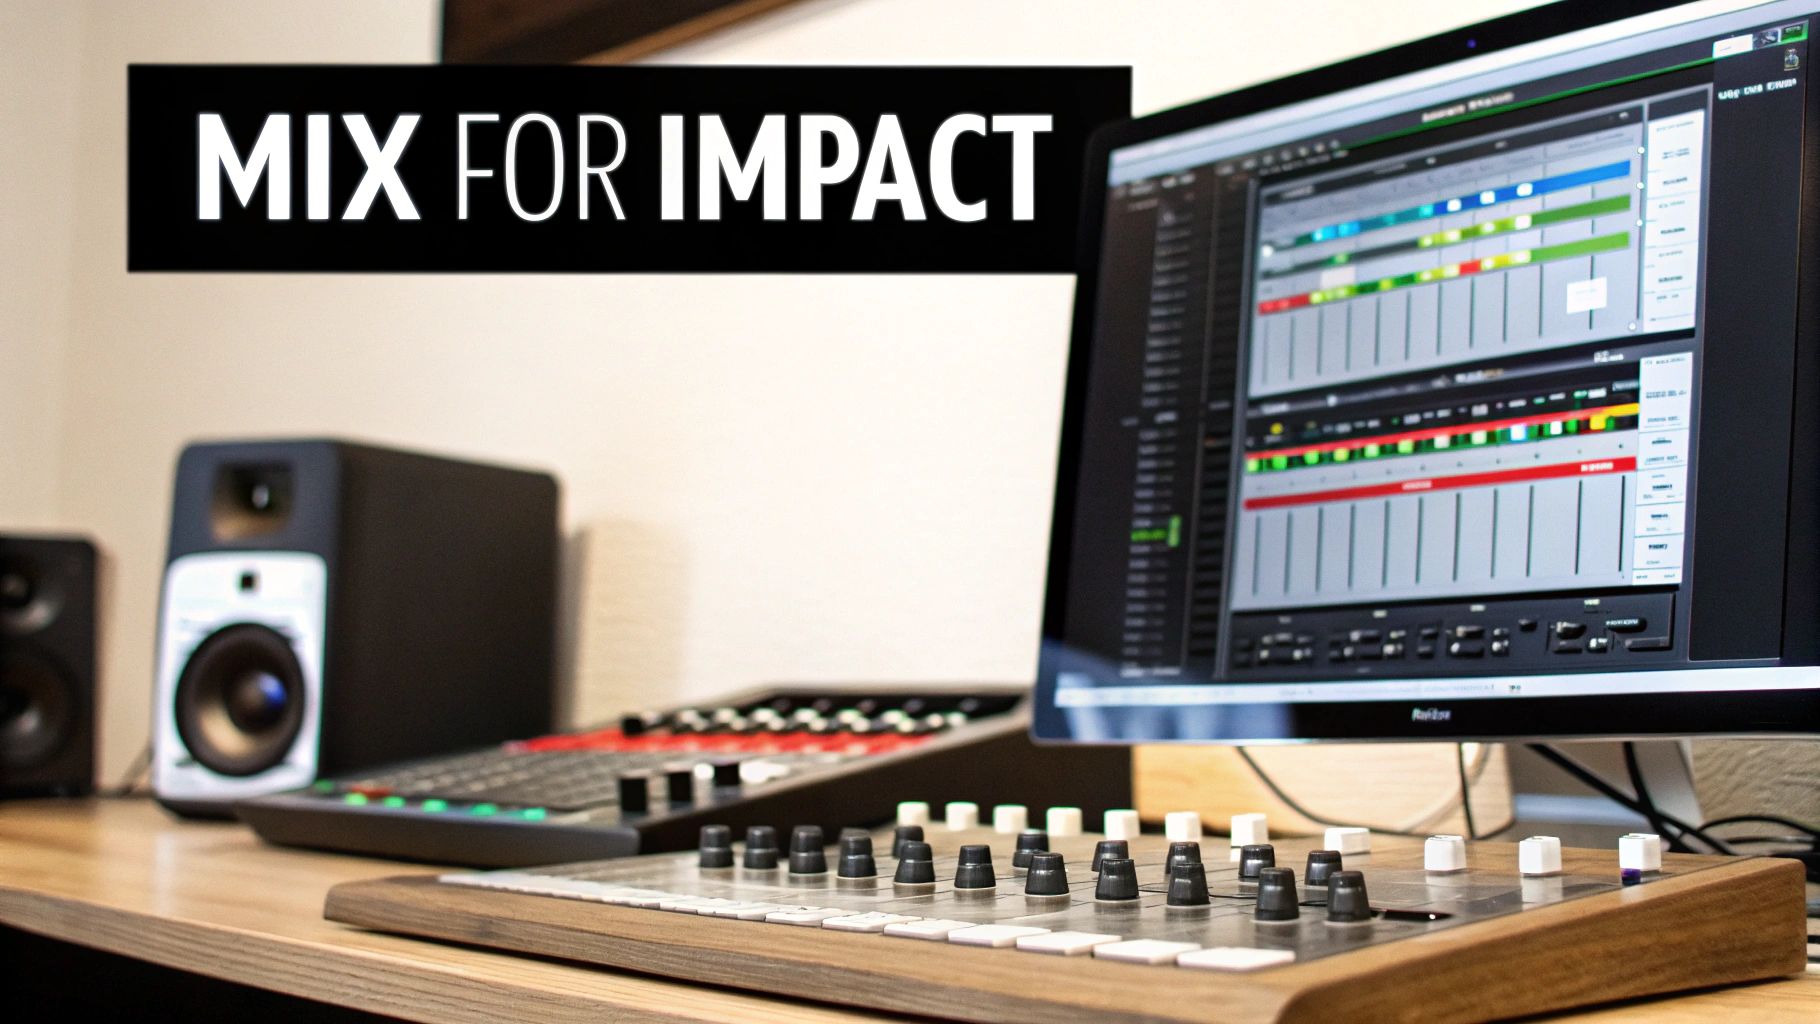
You've designed a powerful, layered riser, but now comes the final—and most critical—part: making it sit perfectly in a full production. A great riser doesn't just get louder; it carves out its own space and amplifies the arrangement around it. This is where a bit of thoughtful mixing transforms a good sound effect into a track-defining moment.
The goal isn't just to crank up the volume. It’s about making it truly impactful. That means carefully managing its frequency content, dynamics, and spatial presence so it builds tension without turning your mix to mud, then vanishes to let the climax hit with absolute force.
One of the most effective mixing tricks I’ve learned for risers sound effects is automating a high-pass filter. This simple move does two crucial things at once: it builds sonic tension and it cleans up the low-end of your mix, clearing the runway for the drop.
Here’s how you do it. Slap a high-pass filter on your riser's track or group channel. At the very beginning of the sound, set the filter’s cutoff frequency way down, maybe around 20-30 Hz, so it’s not really doing anything. Then, as the riser builds, automate that cutoff to sweep upwards. The sound gets progressively thinner until only the high frequencies are left right at the peak.
By automating a high-pass filter to rise with your sound, you create a powerful psychoacoustic effect. The listener hears the sound getting smaller and tighter, which builds an incredible amount of tension right before the bass and kick drum slam back in.
This technique not only makes the riser feel more dynamic but also guarantees it won't clash with the kick or sub-bass when the next section of your track hits. It's a pro move for a clean, powerful transition.
If you built your riser from multiple layers, a touch of compression is the perfect glue to meld them into one cohesive sound. The key here is subtlety. You’re not trying to crush the dynamics you worked so hard to create; you're just looking for gentle dynamic control.
Here are the settings I usually start with:
This gentle "bus compression" helps meld your sub, synth, and noise layers, making them feel like they belong together without killing the dynamic build. It’s an effect that’s often felt more than heard.
The professional application of these audio techniques contributes to the massive growth of the sound reinforcement market, which was valued at USD 8.54 billion in 2024. Systems in this market rely on well-mixed audio for clear and impactful sound. You can explore more data about this growing market at MarketsandMarkets.com.
Finally, let's talk space. Reverb and delay can add immense depth, but they can also turn your mix into a muddy mess in a heartbeat if you’re not careful. The trick is to automate them. Just like you did with the EQ, make your spatial effects grow along with the riser.
I recommend using a send/return track for your reverb. Start with the send level at zero and slowly automate it to increase as the riser builds. This makes the sound feel like it's expanding into a huge, cavernous space. Then, right before the drop, automate the send level back down to zero.
This move creates a fantastic contrast between a huge, washed-out riser and a dry, punchy drop. It’s a classic production technique that never fails to add excitement.
Even when you have a good system down, you’re bound to hit a few snags designing risers. Let's walk through some of the common questions and creative roadblocks that trip up even seasoned producers and sound designers.
One of the first hurdles is getting a riser to sync perfectly with your track's tempo and musical structure. For instance, how do you get a riser to build over exactly eight bars in a 120 BPM song? It all comes down to some simple math.
An eight-bar riser at 120 BPM needs to be precisely 16 seconds long. Once you know that, you can set the duration for all your automation—pitch, filters, volume, you name it—to create a build-up that feels perfectly locked into the rhythm of your track.
Getting this kind of detail right is what separates amateur work from professional sound design. It’s no surprise the global sound effects services market was valued at around USD 2.5 billion in 2023. With projections hitting nearly USD 4.8 billion by 2032, the demand for high-quality, polished audio is only growing. You can dig into the numbers yourself with these market growth insights at DataIntelo.com.
This is a classic one. You've built a riser, but it just sounds weak and lacks that chest-thumping impact you were going for. The secret weapon here is almost always layering. A single synth patch, no matter how good, rarely has enough sonic real estate to create a truly massive build on its own.
Start by adding a dedicated sub-bass layer—even a simple sine wave works wonders—to provide that foundational low-end rumble. Then, bring in some texture. A little filtered white noise or a reversed cymbal crash can fill out the high frequencies and add that professional-sounding sizzle.
A riser's perceived power comes from its presence across the full frequency spectrum. If it feels weak, listen closely to figure out what's missing—is it the lows, mids, or highs? Then, add a new layer specifically to fill that sonic gap.
There’s no magic number here; the answer is always "it depends on the context." The length of your riser should serve the emotional arc of your project.
My advice? Experiment. Try out a few different lengths and see what feels best for the moment you're trying to create.
Ready to create stunning, custom risers sound effects in seconds? At SFX Engine, our AI-powered tool lets you generate unique, royalty-free audio with simple text prompts. Elevate your projects and bring your creative vision to life by visiting https://sfxengine.com today.