January 10, 2026 · Kuba Rogut
In modern video editing, compelling visuals are only half the story. The other, often overlooked, half is sound design: the art of crafting an immersive, emotionally resonant audio experience that elevates your narrative from good to unforgettable. Great sound design doesn't just support the picture; it guides the audience's focus, builds tension, and breathes life into every frame. For video editors, mastering audio is no longer an optional skill but a critical component of professional storytelling.
This guide offers 10 essential sound design tips for video editors, moving beyond basic fades and into the nuanced techniques that separate amateur projects from polished, professional productions. We'll explore everything from strategic silence to the power of layering, providing actionable steps to transform your workflow and final output. These concepts are designed to give you a deeper command over the emotional impact of your projects.
For a foundational understanding, you might also find general tips for making great video sound useful as you begin your audio journey. Let's dive into the specific techniques that will make a tangible difference in your edits.
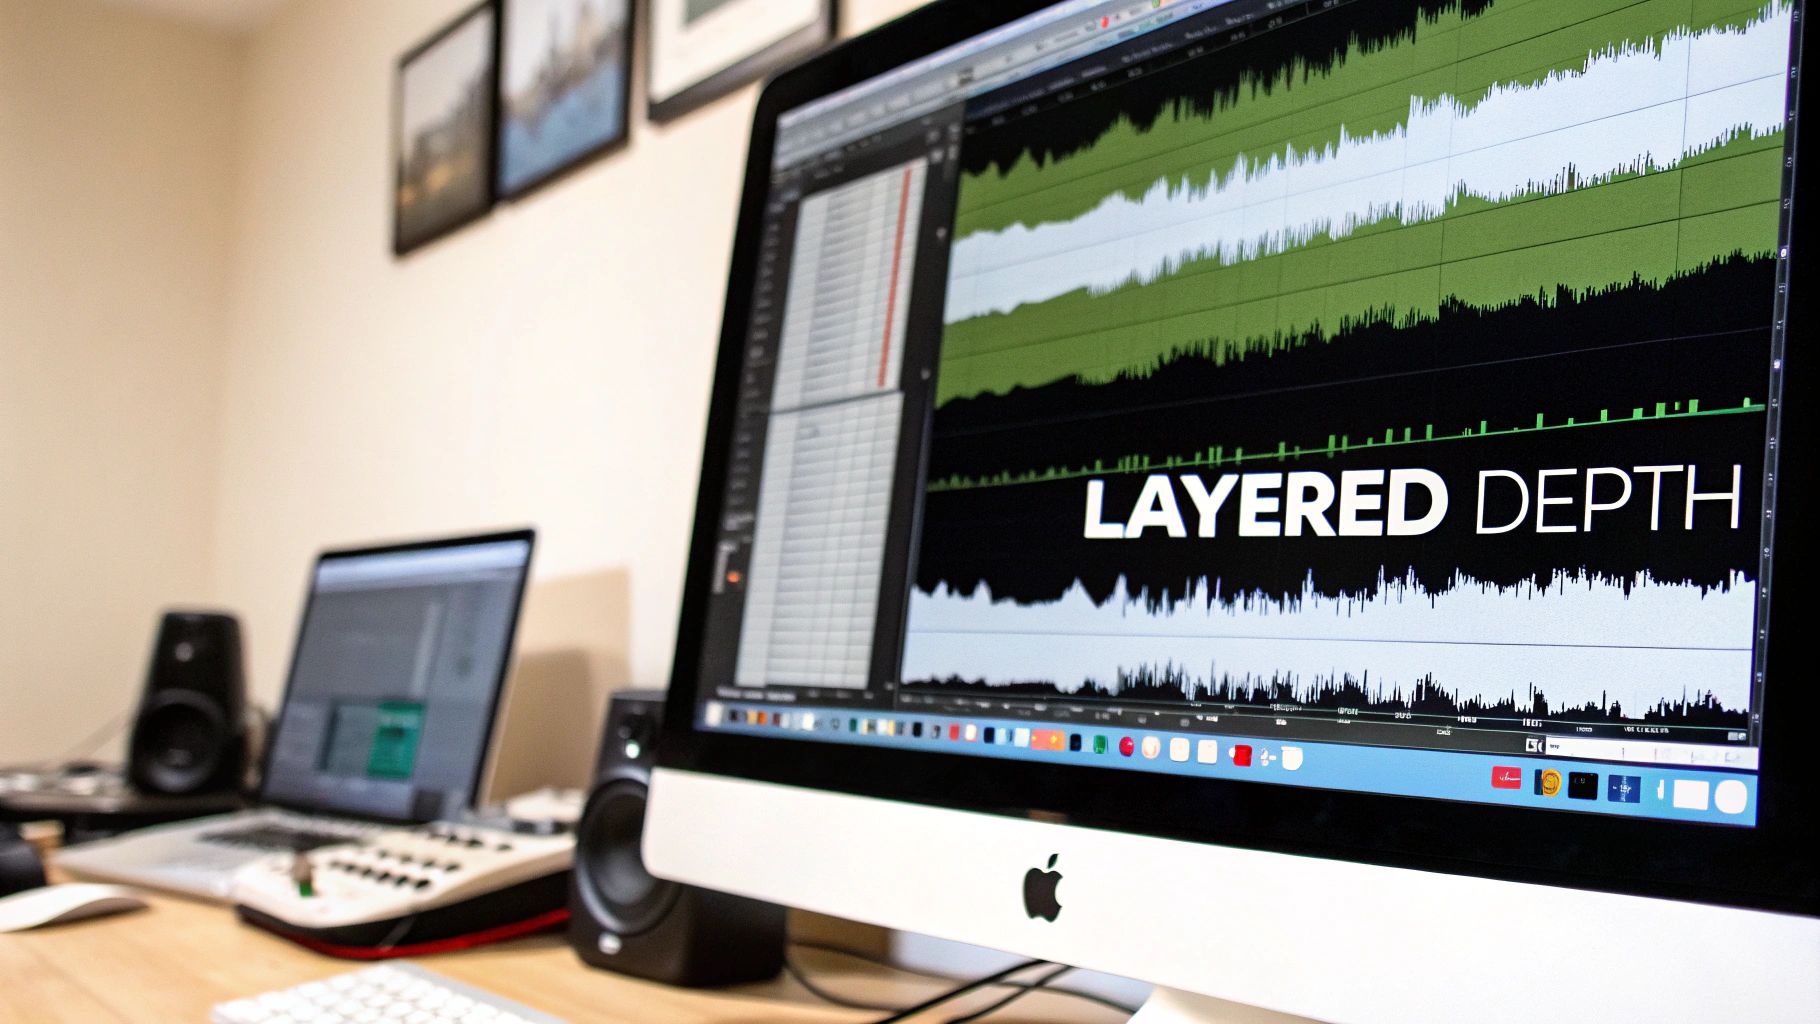
A single sound effect rarely captures the complexity of a real-world event. Layering, the practice of combining multiple sound sources, is a fundamental technique for creating rich, complex audio textures that feel immersive. By stacking complementary sounds, you can build a dimensional soundscape that prevents your audio from sounding thin or one-dimensional.
For example, a simple “punch” sound effect can be transformed by layering a low-frequency thump for impact, a whoosh for movement, and the subtle sound of cloth rustling to sell the action. This approach moves beyond basic audio placement and into true sound design, a crucial skill for any modern video editor.
To effectively use layering in your projects, apply these sound design tips:
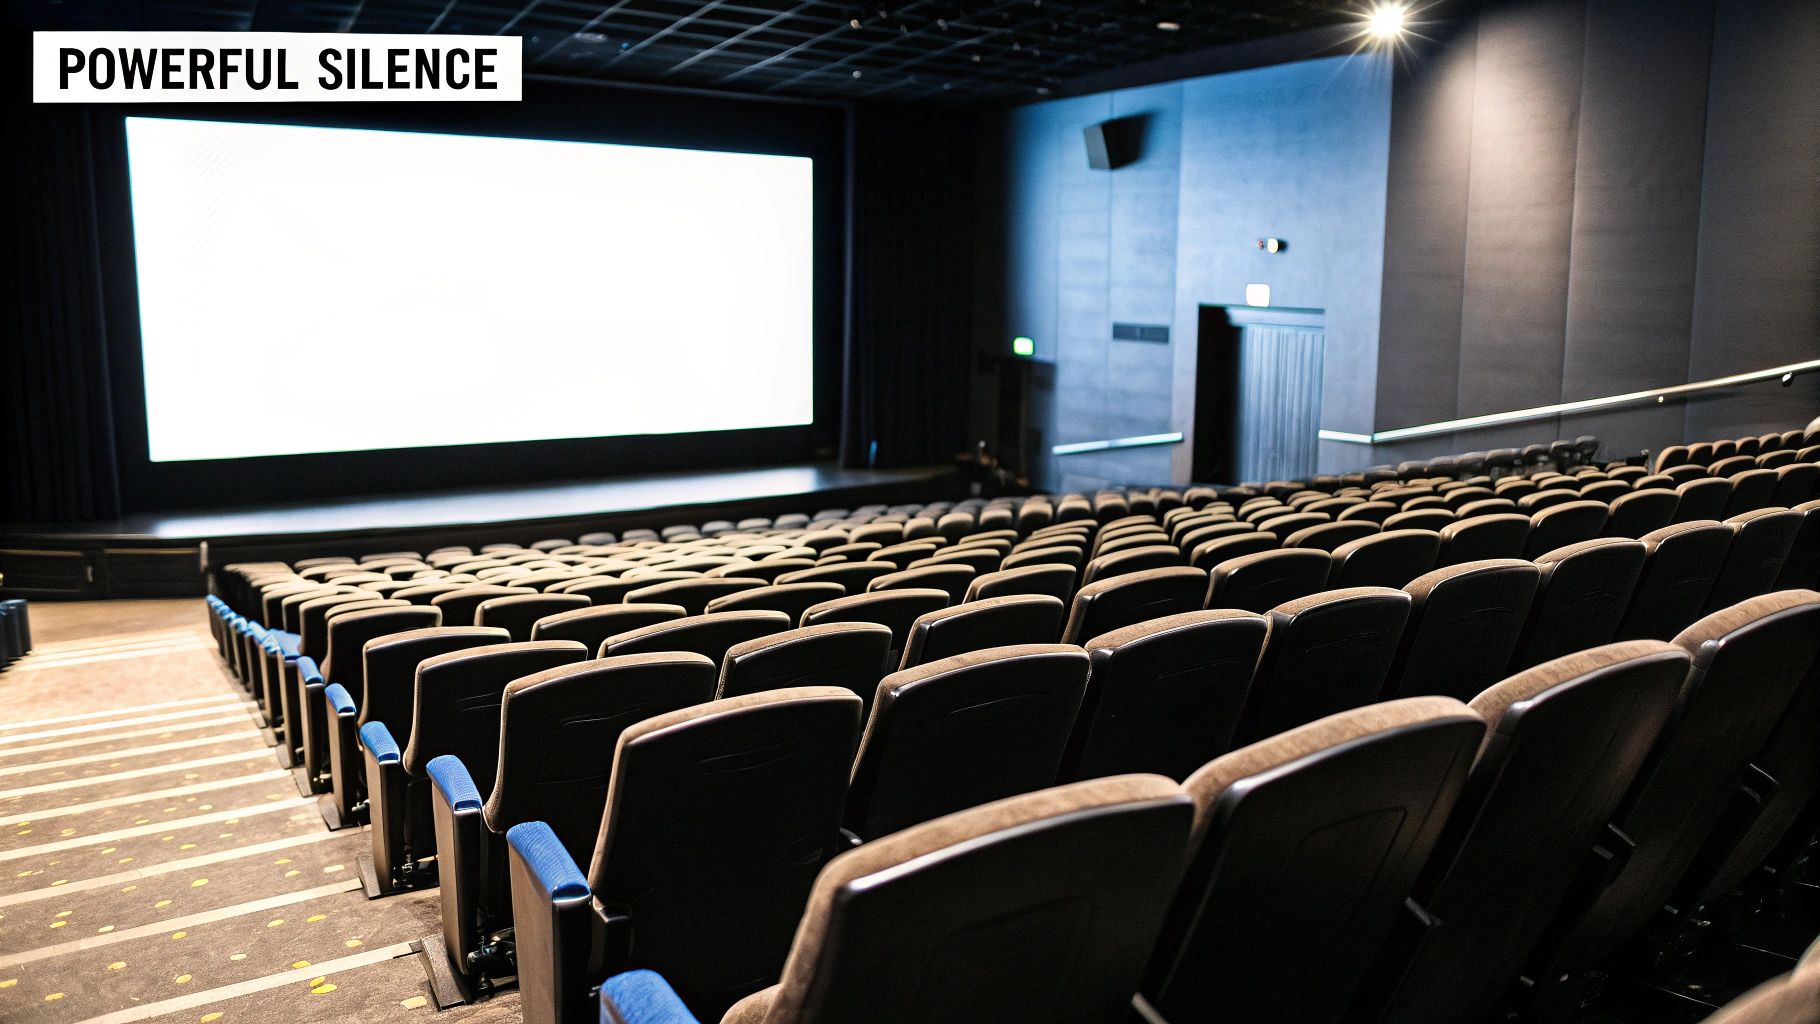
Silence is one of the most powerful and underutilized tools in a video editor's audio toolkit. It is not merely the absence of sound but a deliberate creative choice that creates tension, directs focus, and provides emotional weight. By strategically placing quiet moments, you give the audience space to process information and build anticipation, making the sounds that follow feel significantly more impactful.
This technique is essential for creating dynamic and emotionally resonant experiences. For example, in Christopher Nolan’s Inception, the brief silence before the iconic “BRAAAM” sound amplifies its bone-rattling impact. Similarly, Apple’s product videos masterfully use minimal audio to create a sense of sophistication and focus, proving that what you don’t hear can be as important as what you do.
To effectively harness the power of silence, apply these sound design tips for video editors:
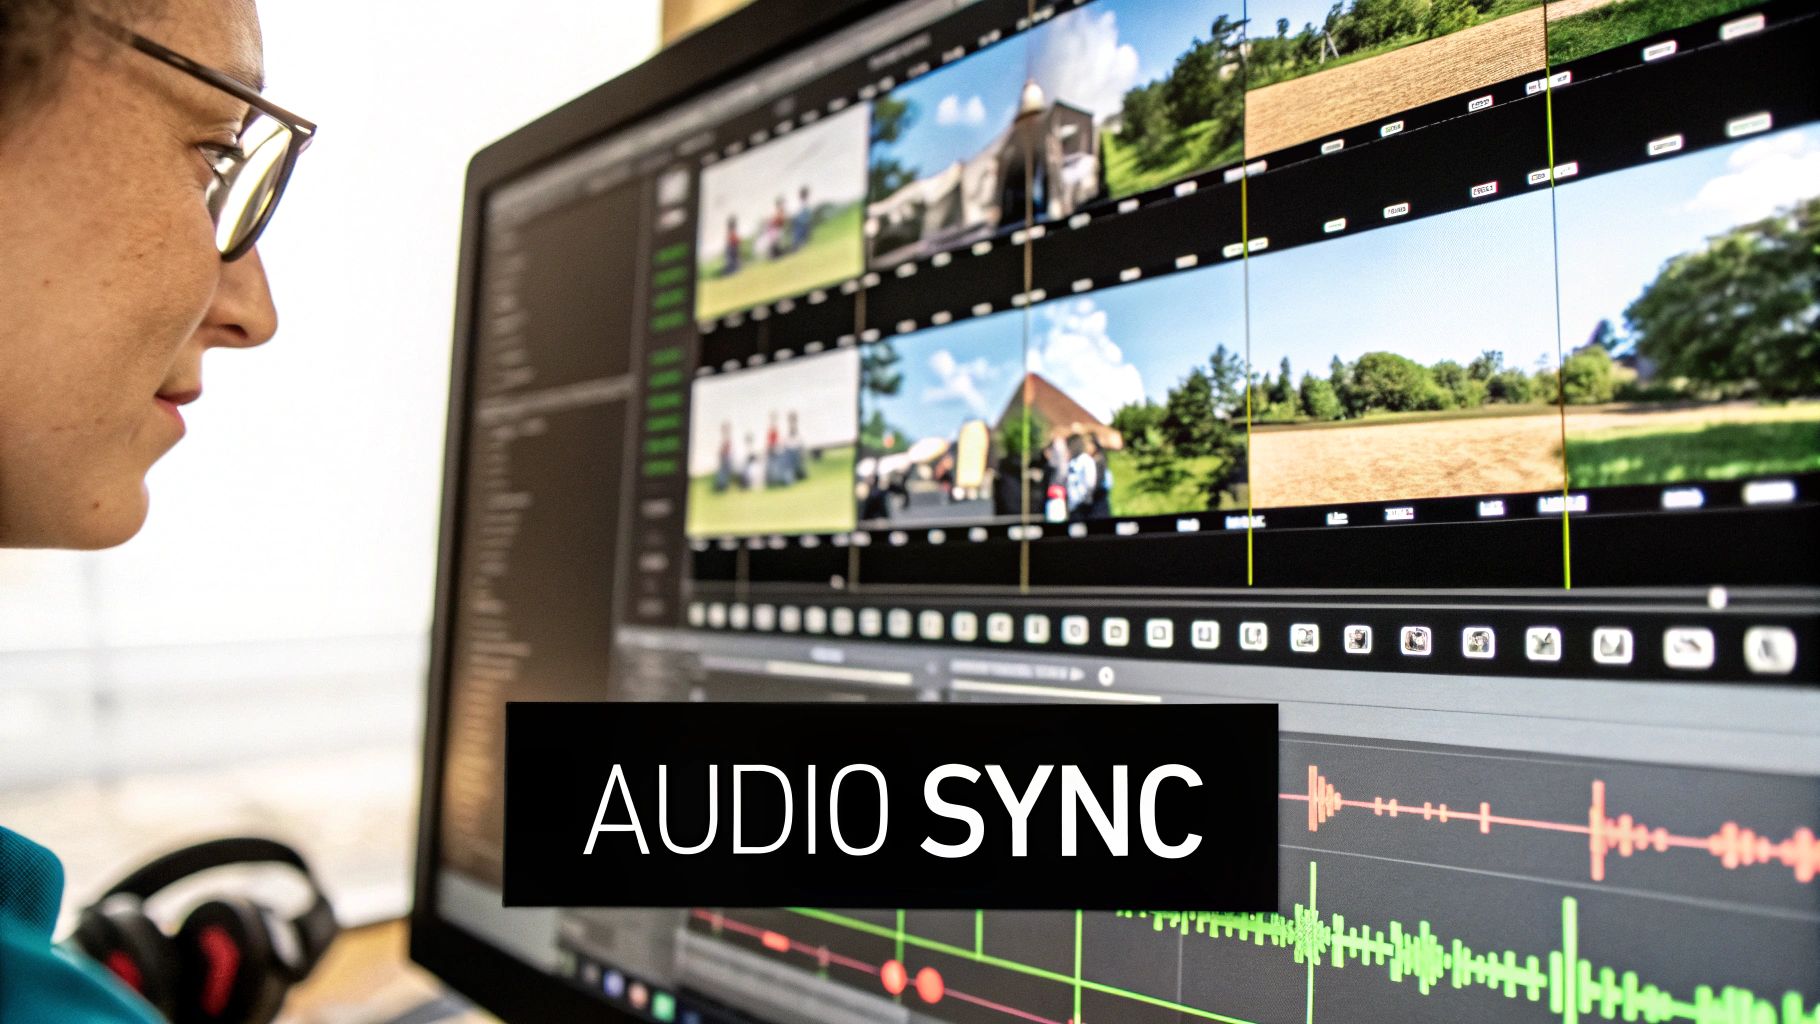
True audio-visual synchronization is about more than just lining up dialogue; it's about aligning the entire soundscape with on-screen motion and editorial pace. When sound effects, music, and ambience perfectly match the visual timing, cuts, and energy levels, the viewer experiences a seamless immersion. This technique, mastered by directors like Edgar Wright, transforms a sequence from a simple series of shots into a rhythmic, engaging experience.
For example, the rapid-fire cuts in a Marvel trailer are punctuated by powerful sound hits, and the choreography in a music video feels more dynamic when every movement is synced to an audio element. This synchronization ensures that sound doesn't just accompany the picture; it elevates it.
To achieve precise synchronization, integrate these professional sound design tips into your workflow:
Equalization (EQ) is the art of sculpting the frequency content of your audio to ensure every sound has its own distinct space in the mix. By strategically cutting or boosting specific frequencies, you can prevent sounds from clashing, a phenomenon known as “frequency masking,” where one sound obscures another. This is essential for maintaining dialogue clarity against a busy background or making a key sound effect pop.
For instance, dialogue primarily lives in the 2-5kHz range. If a musical score or ambient noise also has strong energy in that same range, your dialogue will sound muffled and unintelligible. By using EQ to gently reduce those frequencies in the music, you carve out a space for the dialogue to shine through, a technique fundamental to professional sound design tips for video editors. This ensures a clean, polished, and professional final product.
To effectively use EQ in your video editing workflow, apply these techniques:
Abrupt audio cuts can instantly break a viewer's immersion, feeling jarring and unprofessional. Smooth transitions and crossfades are essential for seamlessly guiding the listener between different sounds, scenes, or musical cues. By carefully blending audio elements, you create a polished, continuous experience that feels intentional and high-quality.
For instance, when cutting from an exterior street scene to an interior office, a hard cut between the ambient sounds would be jarring. A better approach is to use a crossfade, allowing the street noise to gently fade out as the office hum fades in. This technique makes scene changes feel natural and is a hallmark of professional sound design tips for video editors.
To create professional-grade audio transitions, implement these techniques:
Compression is a powerful tool that reduces the dynamic range of an audio signal, making the quietest parts louder and the loudest parts quieter. For video editors, this means greater control over audio consistency, preventing jarring volume spikes and ensuring every sound element sits perfectly in the mix. By taming unpredictable peaks, compression helps create a polished, professional soundscape where nothing feels out of place.
For instance, applying compression to a voice-over track ensures it remains clear and present, even when background music swells. In action sequences, it can add punchiness to impacts or explosions, making them feel more impactful without overwhelming the listener. This level of dynamic control is a cornerstone of effective sound design, transforming raw audio into a cohesive and engaging experience.
To effectively use compression in your sound design, consider these practical tips:
Spatial audio positioning uses stereo panning and imaging to place sounds within a three-dimensional acoustic space. Rather than leaving every sound in the center, this technique allows you to position audio elements to the left, right, or across the stereo field, creating an immersive environment that guides the viewer's attention and enhances realism.
This goes beyond simple left-right balance. Modern techniques used in Dolby Atmos film mixes or immersive video games extend this concept into a full 360-degree soundscape. For a video editor, mastering spatial placement is a powerful way to add a layer of professional polish and make your scenes feel more dynamic and alive.
To effectively use spatial positioning in your projects, apply these sound design tips:
Reverb is the effect of sound reflecting off surfaces in a physical space, creating a sense of environment and depth. Proper application is one of the most powerful sound design tips for video editors, as it can place disparate audio elements into a cohesive, believable world. By manipulating reverb parameters like decay time and pre-delay, you can convincingly simulate anything from a cramped closet to a vast cathedral.
For example, applying a short, tight room reverb to dialogue can create a feeling of intimacy or claustrophobia in a thriller. Conversely, a long, cavernous reverb on an orchestral score, a technique favored by composers like Hans Zimmer, can evoke a sense of grandeur and scale. This control over perceived space is what separates a flat, amateur mix from a professional and immersive soundscape.
To effectively use reverb and shape your project’s acoustic environment, apply these tips:
Foley is the art of performing and recording custom sound effects in sync with the picture to enhance realism. Sounds like footsteps, rustling clothes, or a character handling an object are often added in post-production to create a more immersive and believable audio experience. Combining these bespoke Foley recordings with library sound effects allows you to build a hyper-realistic soundscape that grounds the visuals in reality.
Even subtle Foley details can dramatically elevate production value. For instance, the detailed sound design in Pixar films relies heavily on Foley to give animated characters weight and presence. This technique is a cornerstone of professional sound design, adding a layer of authenticity that pre-made sound effects alone cannot capture.

To integrate Foley into your projects, apply these sound design tips for video editors:
For a deeper dive into this essential technique, you can learn what Foley sound is and how it's made.
Sound is a powerful tool for directly influencing an audience's emotional state. Emotional sound design goes beyond simply matching audio to visuals; it involves using specific frequencies, tones, and musical cues to trigger psychological responses. By understanding these associations, a video editor can manipulate viewer mood, build suspense, or evoke empathy on a subconscious level.
For instance, the simple, two-note string theme from Jaws is a masterclass in creating primal fear, while psychological horror films often use high-frequency, dissonant tones to create an unbearable sense of unease. This technique allows sound to narrate the emotional journey of a scene, a critical skill for any editor looking to elevate their storytelling.
To effectively implement emotional cues, apply these sound design tips for video editors:
| Technique | Complexity 🔄 | Resources ⚡ | Expected outcomes 📊 | Ideal use cases 💡 | Key advantages ⭐ |
|---|---|---|---|---|---|
| Layering Multiple Sound Elements for Depth | High (multi‑track, phase/timing) | Moderate–High (many sources, CPU) | Rich, immersive depth; cinematic texture | Atmospheres, film scores, game environments | Complete creative control; custom sound creation |
| Using Silence and Negative Space Strategically | Low–Medium (creative judgment) | Low (no extra assets) | Heightened tension, focus, contrast | Dramatic reveals, dialogue emphasis, trailers | Cost‑effective; strong emotional impact |
| Matching Audio to Visual Motion and Pacing | High (frame‑accurate sync) | Moderate (time, markers, variants) | Seamless immersion; polished, rhythmic edits | Trailers, action edits, music videos, cut‑heavy scenes | Guides attention; enhances emotional timing |
| Utilizing EQ and Frequency Balancing | Medium (trained ear) | Low–Moderate (EQ tools, analyzers) | Improved clarity; reduced masking | Dialogue, podcasts, final mix polishing | Better intelligibility; tonal separation |
| Creating Smooth Transitions and Crossfades | Medium (timing, curve control) | Low (DAW features) | Invisible segues; sustained immersion | Montages, podcasts, scene-to-scene edits | Prevents jarring cuts; professional polish |
| Implementing Compression and Dynamic Control | Medium–High (attack/release, ratios) | Low–Moderate (compressors, monitoring) | Consistent loudness; controlled peaks | Voice‑over, game SFX, music mastering | Consistency; increased punch and presence |
| Spatial Audio and Stereo Panning Techniques | Medium–High (monitoring, formats) | Moderate–High (surround tools, testing) | Immersive, directional soundstage | VR/360, games, immersive film mixes | Enhanced spatial realism; attention guidance |
| Understanding and Controlling Reverb and Room Acoustics | Medium (RT60, pre‑delay tuning) | Moderate (convolution CPU, plugins) | Realistic sense of space; cohesive mix | Scene environments, orchestral scoring | Unifies sources; perceived depth and environment |
| Foley and Realistic Sound Effect Layering | High (recording, sync, editing) | High (mics, studio space, time) | Hyper‑realistic, detail‑rich audio | Film, animation, close‑up SFX | Authenticity; elevated production value |
| Emotional Sound Design and Psychological Audio Cues | High (psychological nuance) | Low–Moderate (careful selection) | Strong mood manipulation; narrative emphasis | Horror, drama, advertising, storytelling | Powerful emotional control; narrative support |
Navigating the world of audio can feel like a secondary task for many video editors, but as we've explored, sound is not just a supplement; it's a fundamental pillar of storytelling. The journey from a competent editor to an exceptional creator is paved with a deep understanding of audio. Mastering these sound design tips for video editors is what separates a good video from a truly unforgettable one. It’s the difference between a project that is simply watched and one that is deeply felt.
We've covered a wide array of techniques, moving from the foundational to the nuanced. You now have a toolkit to transform your audio from flat and functional into something dynamic and immersive. Think of each tip not as an isolated rule, but as a brushstroke you can combine with others to paint a complete sonic picture.
The most powerful takeaway is this: sound design is an active process of listening. It’s about more than just dragging and dropping sound effects into your timeline. It's about closing your eyes and truly hearing the world you are building. Does the ambience feel authentic? Does the impact of a footstep match the surface? Does the emotional score swell at the right moment to amplify the narrative?
Your next step is to consciously apply these principles. Don’t try to master everything at once. Pick one or two concepts from this list for your next project. Focus on layering ambience for one edit, then concentrate on dynamic control for the next. This iterative process of focused practice will quickly build your skills and, more importantly, your confidence. You will begin to develop an intuitive sense for what a scene needs to sound like, crafting a signature style that makes your work instantly recognizable. The goal is to make your audio so seamlessly integrated that it becomes an invisible, yet powerful, force that guides the viewer's experience.
Ready to streamline your workflow and find the perfect sound in seconds? SFX Engine offers an AI-powered library that allows you to generate high-quality, unique sound effects instantly, giving you more time to focus on the creative aspects of your design. Stop searching and start creating by visiting SFX Engine to see how it can revolutionize your audio post-production.