November 30, 2025 · Kuba Rogut
The old saying is true: failing to plan is planning to fail. Nowhere is this more obvious than in video production. Think of it like a chef preparing for a complex dinner service; they don't just start cooking. They do their mise en place—every ingredient is chopped, measured, and laid out. Pre-production is our mise en place, and it’s the secret ingredient to a smooth, successful shoot.
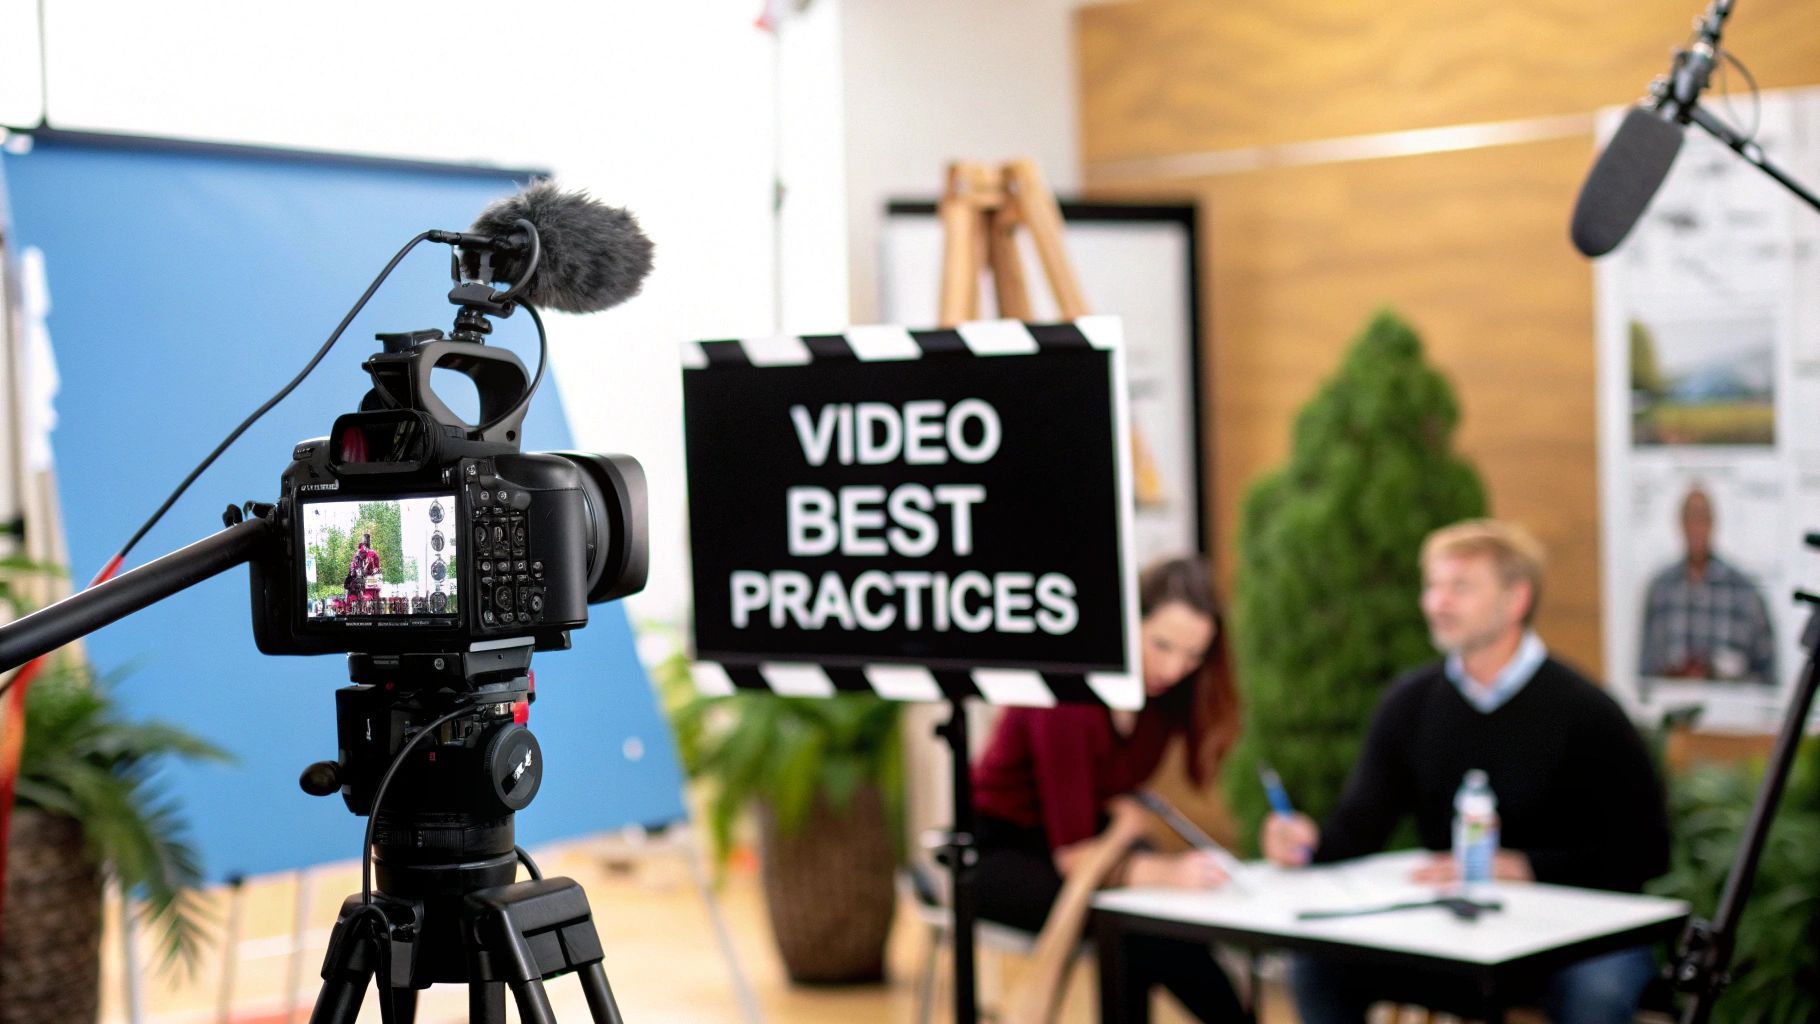
Every great video you've ever seen started its life on paper, long before a camera was even turned on. This is pre-production, and frankly, it's the most important part of the whole process. Rushing it or—even worse—skipping it is a one-way ticket to on-set chaos, blown budgets, and a final video that just doesn't connect. This is where you wrestle your big ideas into a concrete, practical roadmap.
This whole phase boils down to asking the tough questions early. What are we really trying to say? Who are we trying to reach? What should they feel when the credits roll? Nailing down these answers first means every single choice you make later—from camera lenses to music cues—has a clear purpose.
It all starts with the script. Your script is far more than just dialogue; it's the soul of your project. It lays out the story, sets the rhythm, and defines the overall tone. Even for something that seems simple, like a corporate interview, a tight script stops you from rambling and ensures the core message lands with precision.
With a solid script in hand, it's time to see the project. A storyboard is essentially a comic book version of your video, mapping out each shot. It dictates camera angles, composition, and key actions. This visual blueprint gets everyone—from the director to the sound designer—on the exact same page about how each scene should look and feel before you've spent a dime on filming.
"Storyboarding is the best way to see your movie before you've made it. It’s a process of trial and error on paper, which is a lot cheaper than trial and error on film." - Martin Scorsese, acclaimed film director.
This is where you catch problems before they become expensive headaches. A storyboard might show you that a planned wide shot is impossible in a cramped office, or that a specific action sequence feels clunky. It’s your chance to fix it on paper, not on a costly set with a full crew waiting.
Once the creative vision is locked, you pivot to the nuts and bolts. The shot list is your on-set bible, breaking down every single shot you need to capture. It typically includes:
This document is what keeps a shoot day running like a well-oiled machine, ensuring nothing gets missed. At the same time, you're scouting locations and building the budget. The right location can make a video, but you have to be practical. Is there too much background noise? Is there enough power? Can you actually get all your gear in there?
Your budget is the framework that holds the entire project together. It's not about stifling creativity; it's about channeling it within real-world constraints. A good budget accounts for everything: crew, gear, locations, food, and all the post-production work. This kind of disciplined planning has become essential, especially as the industry has ramped back up. In fact, 9,511 films were produced globally in 2023, a staggering 68% increase from the 2020 slump, highlighting just how much production workflows have had to adapt. You can learn more about these global film production trends and what they mean for the industry.
To keep all these moving parts in check, a clear checklist is your best friend. It ensures no critical step is overlooked before the cameras start rolling.
This table breaks down the core tasks that turn a good idea into a production-ready plan. Following it helps guarantee that by the time you arrive on set, all the hard questions have already been answered.
| Phase | Key Task | Primary Goal | Common Pitfall |
|---|---|---|---|
| Concept | Idea & Script Development | Define the story, message, tone, and target audience. | A vague or unfocused script that lacks a clear purpose. |
| Visualization | Storyboarding & Shot Listing | Create a visual blueprint for every scene and shot. | Skipping this step, leading to confusion and delays on set. |
| Logistics | Budgeting & Scheduling | Allocate resources realistically and create a timeline. | Underestimating costs or not allowing for contingencies. |
| Resources | Crewing & Location Scouting | Assemble the right team and secure practical locations. | Choosing a location that looks good but has sound/light issues. |
| Preparation | Gear Prep & Talent Casting | Ensure all equipment is ready and actors are selected. | Not testing equipment beforehand or miscasting key roles. |
Ultimately, pre-production is an investment. The time and effort you put in here will pay you back tenfold with a smoother production, a happier crew, and a final video that truly delivers on its original vision.
Alright, you've done the homework. Your pre-production plan is solid, and now it's time for the fun part: bringing it all to life on set. This is the production phase, where all that careful planning pays off. Getting the fundamentals of camera, lighting, and sound right at this stage is the single most important thing you can do to guarantee a professional-looking final product.
Think of it like cooking a great meal. You can be the best chef in the world, but if you start with low-quality ingredients, the dish will suffer. The editing suite is your kitchen, but the footage and audio you capture on set are your raw ingredients. Every decision you make—from camera placement to lighting choices—directly shapes the quality of those ingredients.

Great visual storytelling is all about composition. It’s more than just pointing and shooting; it’s about intentionally arranging everything inside the frame to guide your audience's eye and make them feel something. Two of the most powerful tools in your compositional toolbox are the rule of thirds and leading lines.
These aren't unbreakable laws, but they're incredibly effective starting points. Once you understand why they work, you can begin to consciously break them to create specific effects.
To really unlock your camera's potential, you need to get out of "auto" mode and learn the exposure triangle: aperture, ISO, and shutter speed. These three settings work together to control how much light hits your camera’s sensor, and each one comes with its own creative superpower.
When you know how to balance these three elements, you move from just capturing an image to truly crafting it. You're no longer a camera operator; you're an artist painting with light.
Lighting is what gives your scene shape, mood, and focus. The go-to technique for professionals everywhere is the classic three-point lighting setup. It consists of a key light (your main, brightest light), a fill light (a softer light to fill in shadows), and a backlight (to create separation from the background). This simple setup instantly makes your subject look dimensional and polished.
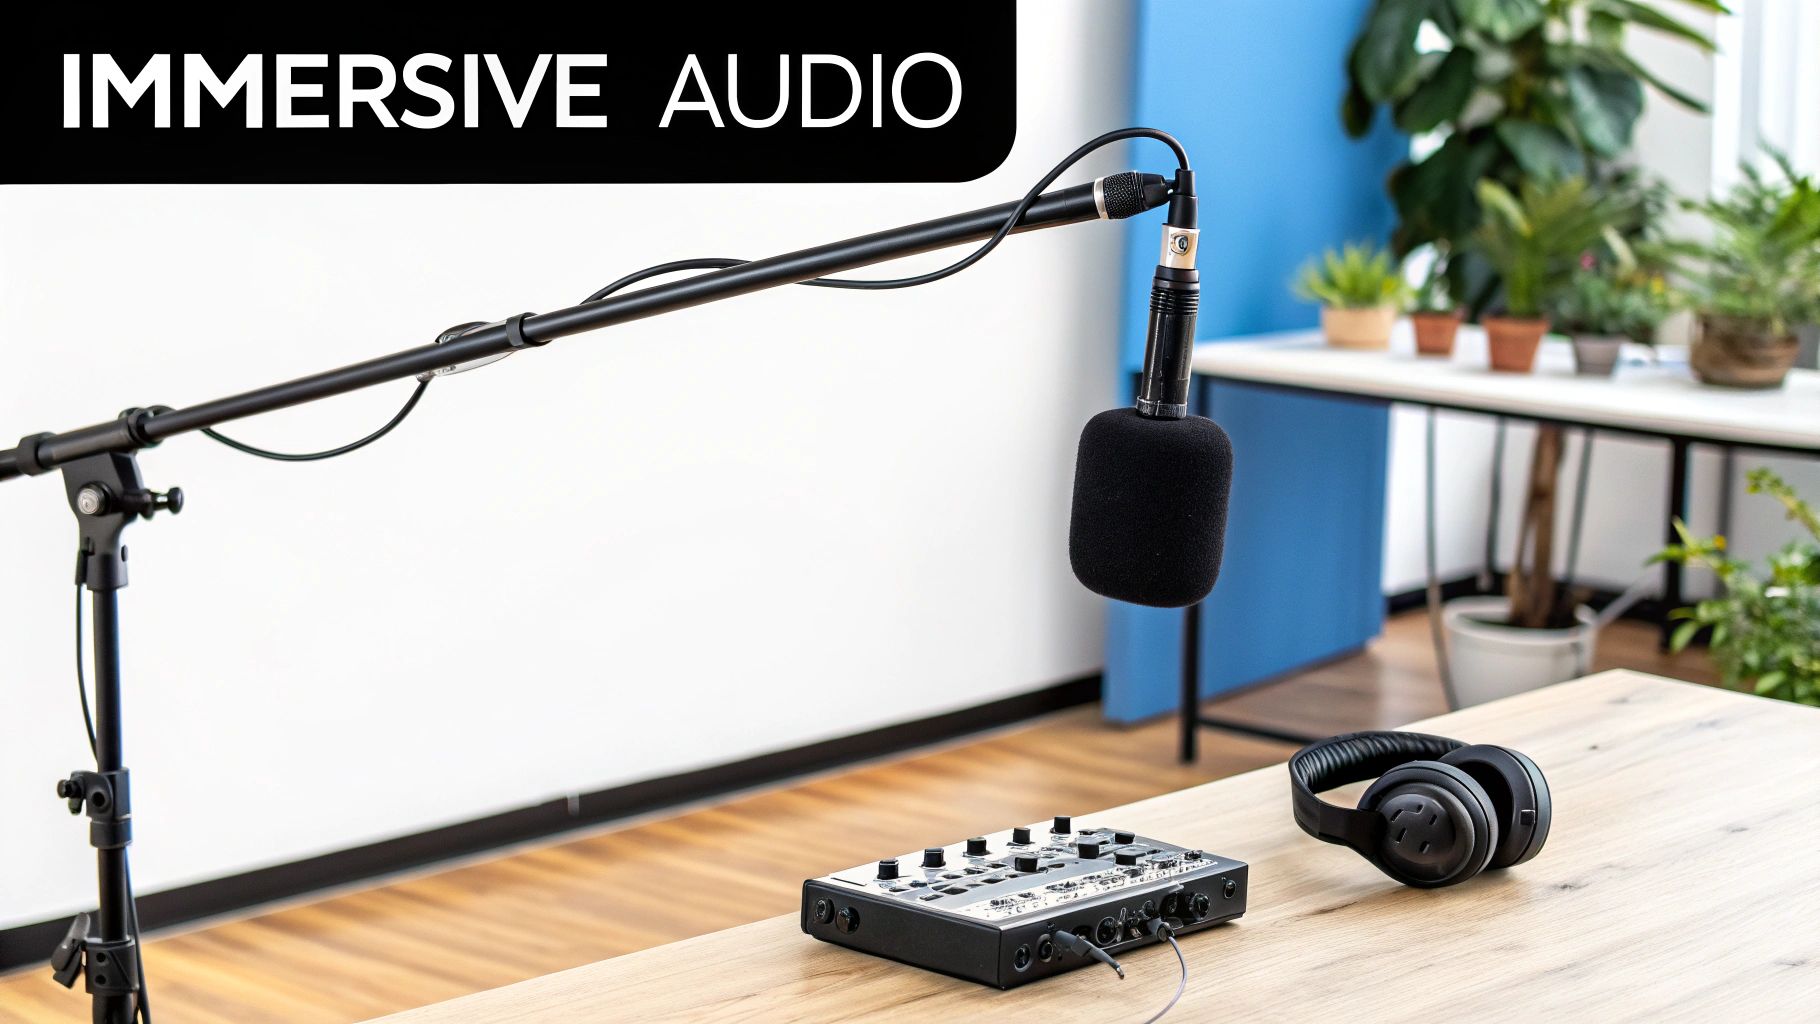
And finally, sound. I'll say it plainly: bad audio will kill a good video, every single time. Don't ever treat on-set audio as an afterthought. Your goal here is to capture crystal-clear dialogue and sound, free from distracting echoes or background hum. That means using the right mic for the situation and getting it as close to the source as possible.
If you want to go deeper, we've put together a full guide on choosing the best microphone for video recording to help you match your audio quality to your visuals. Trust me, putting in the effort here will save you countless headaches in post-production.
We've all seen it: a beautifully shot video that's completely ruined by terrible audio. While great visuals might catch someone's eye, it's the sound that holds their attention and makes them feel something. It's an invisible force, but a powerful one.
In fact, audiences are far more forgiving of grainy video than they are of bad audio. A scratchy microphone or poorly mixed track instantly makes even the most expensive production feel cheap. That’s why mastering the art of audio isn't just a bonus—it's absolutely essential.
Getting great audio isn't just about capturing clean dialogue. It’s about building a complete sonic world from the ground up, a layered soundscape that pulls the viewer right into the scene. Think of it like a painting: your dialogue is the main subject, but the atmosphere and emotion come from all the details in the background.
A truly immersive track is a careful blend of several key ingredients. It’s not just about what people are saying, but the world they’re saying it in.
When you weave these layers together just right, people stop hearing them as separate elements. They just experience one cohesive, believable world.
This is where you go from audio technician to audio architect. Sound design is the strategic placement of effects to add meaning and impact. A perfectly timed SFX can make a movie punch feel bone-crunching, a magical spell seem truly powerful, or a quiet, tense moment feel utterly unbearable.
Having a well-organized and easily accessible sound library is a game-changer here. Nothing kills creative flow faster than endlessly scrolling through generic sound folders, trying to find that one perfect thud.
Tools like SFX Engine are changing how creators approach this. Instead of hunting for a pre-made sound, you can simply describe the exact audio you need and generate a custom sound effect on the spot. This cuts out the tedious search and lets you stay focused on the creative work.
Of course, finding the right sound is only half the battle. Making sure it lands in the perfect spot is just as crucial. For a detailed walkthrough on this, our guide on how to sync audio with video will get you up to speed.
Once you have all your audio elements—dialogue, music, SFX, and Foley—laid out on your timeline, it's time for the final steps: mixing and mastering. This is where you balance all the layers to make sure they work together harmoniously.
Mixing is the art of giving every sound its own space to breathe. It’s all about clarity. You don’t want a loud explosion to completely drown out a critical line of dialogue, nor do you want a character’s subtle footsteps to be totally inaudible.
During the mix, you’ll adjust volume levels, use equalization (EQ) to shape the frequencies of each sound, and apply compression to keep the dynamics in check.
The very last touch is mastering. Here, you apply subtle, final adjustments to the entire mix, giving it that professional polish and ensuring it sounds fantastic everywhere—from a high-end theater system to a pair of cheap earbuds.
This is where the project truly comes to life. All those scattered clips, audio files, and ambitious ideas finally get forged into a coherent, compelling story. It’s less like an assembly line and more like a sculptor chipping away at a block of marble—you’re methodically removing everything that isn't necessary to reveal the masterpiece within.
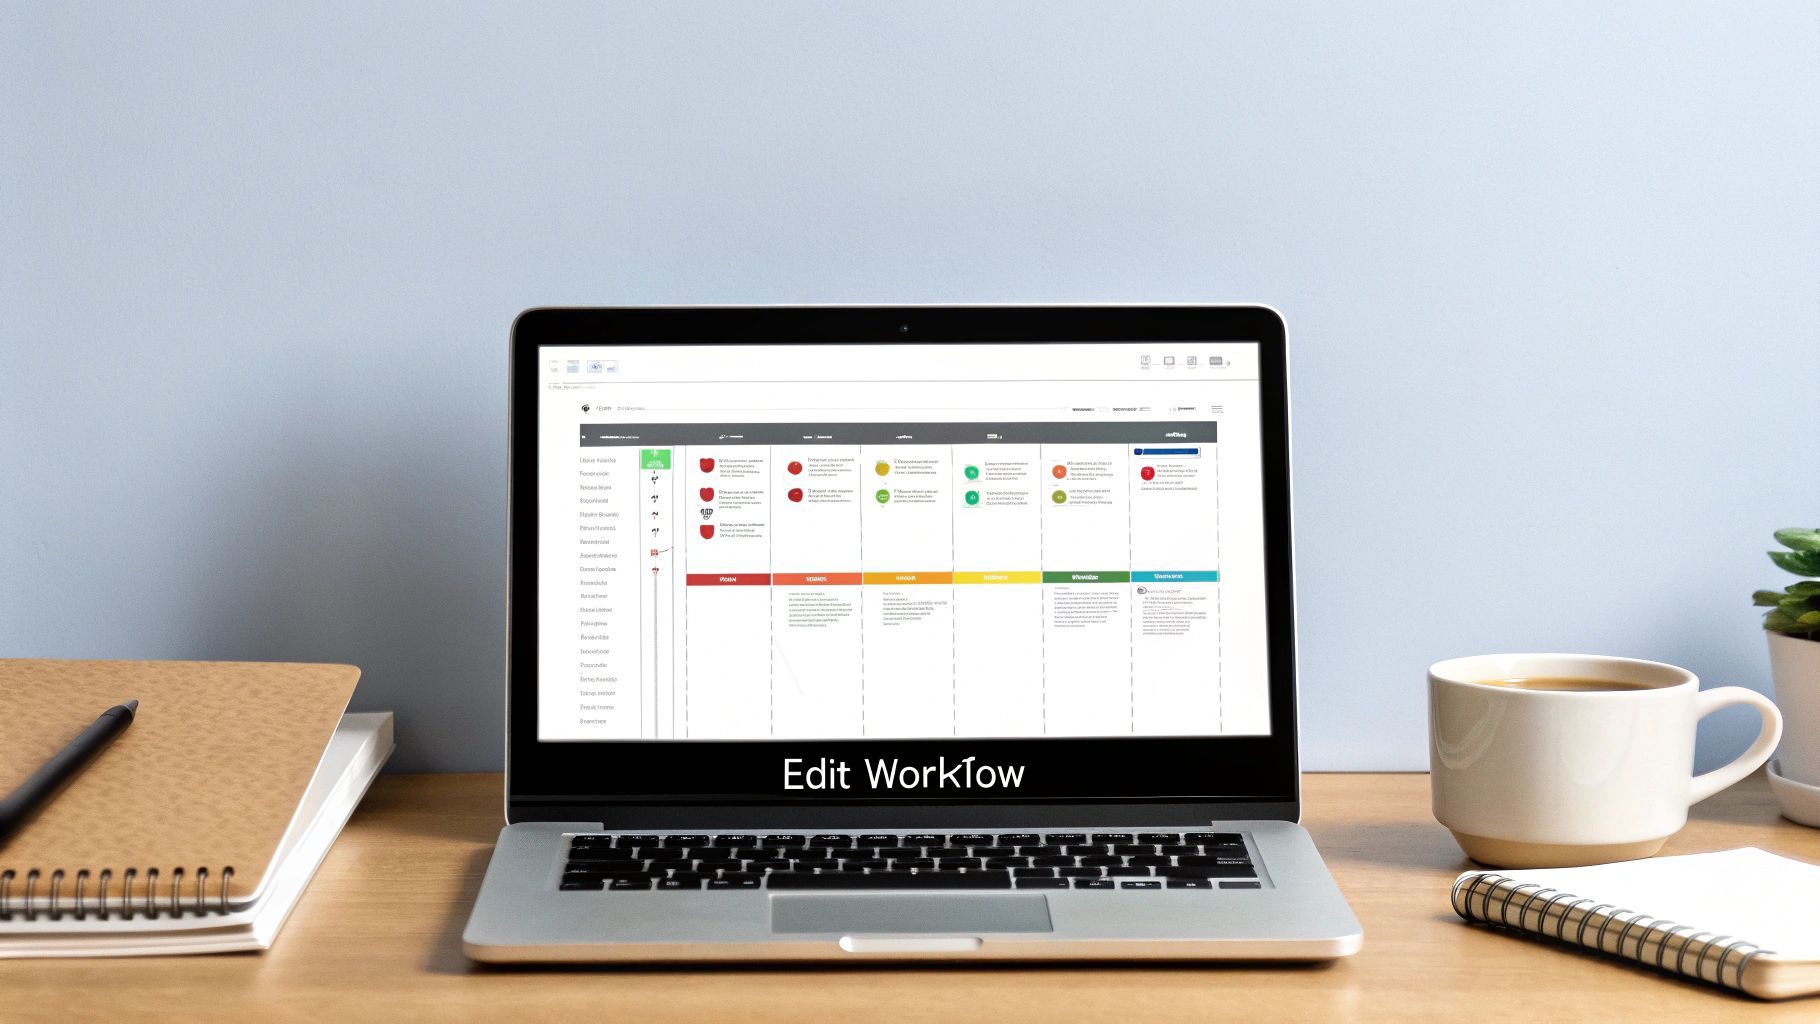
A structured approach is your best defense against drowning in hours of footage. This isn’t just about having the right software; it’s about disciplined organization and a clear vision for the final narrative. Without a logical workflow, you’ll get lost. With one, every decision, from the first cut to the final color grade, serves the story you set out to tell.
The very first thing you need to do in any edit is get organized. Before you even think about dragging a clip to the timeline, sort through your footage. Create bins for different scenes, label your best takes, and sync up all your audio. This initial housekeeping feels tedious, but it will save you countless hours of frustrated searching later on.
Once everything has a place, you can build the rough cut. Think of this as the skeleton of your video. The goal here isn't perfection; it’s simply about getting the main story beats down in the right order. You’re just laying out the essential clips on your timeline to establish the basic flow and rhythm, completely ignoring minor mistakes or awkward pauses for now.
A great rough cut tells the story, even if it tells it badly. Its whole purpose is to confirm that the narrative works and the pacing feels right before you invest hours into the finer details.
This is your chance to spot major structural problems. Does the story actually make sense? Are there any glaring plot holes or missing shots you need to address? It’s far better to discover these issues now than after you’ve spent a day finessing transitions. A solid rough cut gives you the confidence that your story is fundamentally sound.
With your story's foundation in place, it’s time to move on to the final edit. This is where you polish that rough assembly into a seamless experience. You’ll tighten up cuts, refine the pacing until it just feels right, and choose the perfect transitions to guide the viewer's eye—and emotions—from one shot to the next.
Pacing is everything. A sequence with quick, sharp cuts can create a sense of excitement and urgency. On the other hand, longer, more deliberate shots can build tension or give the audience a moment for emotional reflection. Every single cut must have a purpose, whether it's to advance the plot, reveal a character's reaction, or create a specific feeling. A well-executed edit is invisible; the audience is so absorbed they don't even notice the cuts. This process is deeply intertwined with sound, which is why a clear understanding of the audio post-production workflow is so critical for a truly cohesive final product.
Color is easily one of the most powerful storytelling tools you have. In post-production, this process is generally broken into two distinct steps: color correction and color grading.
Mastering these stages is what separates amateur videos from professional productions. A disciplined workflow is non-negotiable, especially in such a fast-growing market. In the United States, the Movie and Video Production industry is projected to hit $40.9 billion in revenue by 2025, fueled by a massive compound annual growth rate of 24.6% since 2020. That kind of growth just underscores the need for efficient and effective video production best practices if you want to stand out. You can dig into more data about the U.S. video production market and its significant expansion.
Your project isn't truly finished until it’s in the hands of your audience, looking exactly as you intended. This last mile—the delivery stage—is where all your hard work gets packaged to shine on every screen, from a 4K television to a tiny smartphone screen. It’s where technical precision meets audience awareness.
Think of it like mastering a song. The music is written and recorded, but the mastering engineer is the one who makes sure it sounds incredible on club speakers, cheap earbuds, and everything in between. Optimizing your video is the same idea; you're ensuring it looks crisp and professional no matter where it's being watched.
https://www.youtube.com/embed/3vSVZ8V2O-o
When you hit that "Export" button, you're usually met with a wall of intimidating technical terms: codecs, containers, and bitrates. Let's cut through the jargon so you can choose the right settings with confidence.
If you're focused on creating short-form content, the team at Shortgenius has some great insights into making videos that are both concise and impactful, which pairs nicely with optimizing for modern platforms.
Every social platform has its own secret sauce for video processing. Just exporting one generic file and uploading it everywhere is a classic mistake that leads to ugly compression artifacts and painfully slow load times.
This is more critical than ever. Consumer behavior shows that by 2025, a staggering 69% of Americans will watch most of their video on mobile devices, not traditional TVs. This mobile-first reality makes platform-specific optimization non-negotiable. You can dig deeper into these game-changing video marketing statistics to understand the shift.
The goal is to give each platform a file that's as close to their ideal specs as possible. This stops them from having to re-compress your video, which is what absolutely tanks your quality.
To make things easier, here is a quick reference table with some solid starting points for the most common platforms.
Here’s a quick-reference guide to help you hit the sweet spot for the most popular channels, ensuring your video looks its best without creating a massive file.
| Platform | Recommended Resolution | Target Bitrate (Mbps) | Recommended Format |
|---|---|---|---|
| YouTube | 1920x1080 (1080p) | 8–12 Mbps | .MP4 (H.264) |
| 1080x1920 (Vertical) | 4–6 Mbps | .MP4 (H.264) | |
| Vimeo | 1920x1080 (1080p) | 10–20 Mbps | .MP4 (H.264) |
| TikTok | 1080x1920 (Vertical) | 5–8 Mbps | .MP4 (H.264) |
These settings give each platform a clean, high-quality source file to work with, which ultimately preserves the look you worked so hard to achieve.
Before you hit publish, there's one last step that can dramatically expand your audience: accessibility.
Adding accurate closed captions (CC) or subtitles isn't just a "nice-to-have" feature anymore. It's a fundamental part of modern video production. Captions open up your content to viewers who are deaf or hard of hearing, not to mention the huge number of people scrolling through feeds in public with the sound off. It’s a simple step that makes your work more inclusive and ensures your message lands with everyone.
Even with the best game plan, every project throws a few curveballs. It’s just part of the creative process. This section is all about tackling those common questions and sticking points that pop up along the way, giving you practical answers to keep your project moving.
Think of this as your personal cheat sheet for navigating those frequent hurdles and making smarter calls when you're in the thick of it.
If you ask ten seasoned pros, you'll likely get ten versions of the same answer: pre-production is king. Every other stage—shooting, editing, everything—rests on the foundation you build here.
A solid plan, a well-written script, and a detailed storyboard are your best defense against chaos on set, budgets spiraling out of control, and an end product that just doesn't make sense. Pouring your time into this stage saves you an incredible amount of money, headaches, and heartache down the road. It’s how you turn a cool idea into an actual, achievable plan.
A day spent getting the details right in pre-production can easily save you a week of damage control in the edit bay. It's the smartest investment you can make.
You don't need to drop a ton of cash on fancy gear to dramatically improve your sound. The single most effective thing you can do costs nothing: get the microphone as close as possible to the person or thing making the sound.
Seriously, it's that simple. A cheap lavalier mic clipped onto a speaker's collar will sound infinitely better than a high-end shotgun mic mounted on a camera ten feet away. Physics is on your side.
Beyond that, here are a few other free or low-cost tricks:
These small adjustments can make a night-and-day difference, giving your entire video a more professional feel without touching your budget.
People often use these terms interchangeably, but they’re two very different—and sequential—parts of the post-production puzzle. Getting this right is a huge part of achieving a polished, cinematic look.
Color correction is the technical part. It’s all about fixing problems and making your footage look normal and consistent. This is where you adjust the white balance so a white shirt actually looks white, fix the exposure so you aren't losing details in shadows or highlights, and match the contrast between different shots. The goal is to create a clean, neutral starting point.
Color grading, on the other hand, is the fun, creative step that comes after correction. This is where you give your footage a specific "look" to create a mood. Think about the deep blues and greens of a sci-fi thriller or the warm, sunny yellows in a feel-good romantic comedy. That’s grading.
In a nutshell: Correction is about being accurate; grading is about being artistic. You have to do the first to properly do the second.
Social media is a whole different ball game. You’re fighting for attention in a sea of endless content, so your approach has to be fast, punchy, and mobile-first.
To get your videos to stand out on platforms like Instagram, TikTok, or YouTube Shorts, you need to nail a few key things:
For a great look at how a well-run production leads to a happy outcome, check out this Crucial Music Video Testimonial that shows the power of getting all these details right. At the end of the day, winning on social media is about delivering value fast and in a format that feels native to the platform.
Ready to elevate your project with the perfect sound? SFX Engine empowers you to create custom, royalty-free audio with AI. Stop searching and start creating the exact sound effects your story demands. Generate your first sounds for free by visiting https://sfxengine.com.