October 23, 2025 · Kuba Rogut
Ever grab a water splash sound effect from a stock library, drop it into your project, and just feel... disappointed? It often sounds flat, generic, and completely disconnected from the action on screen. This is a common frustration, and it's exactly why learning to shape your own audio is a game-changer for any creator.
Let's be real: that one-size-fits-all splash you downloaded for free probably won't work. It’s either too grand, too tiny, or just doesn't hit the right emotional note. A sound effect isn’t just filler noise; it's a vital piece of the story you're telling.
Imagine the difference between a small pebble skipping across a serene pond versus a character desperately diving into a churning ocean. A generic splash can't possibly convey the unique weight, speed, and environment of those two very different moments. That mismatch pulls your audience right out of the world you’ve worked so hard to create.
Our brains are amazing at processing sound to understand the world around us. A well-designed water splash can instantly ground a scene in reality or crank up the tension. When what we hear matches what we see, the experience becomes seamless and totally immersive.
But when the sound is off? It creates a subtle, jarring feeling that tells the viewer something isn't quite right, even if they can't put their finger on why. This is precisely why big-budget film productions pour so much time and money into sound design. Movies like Pirates of the Caribbean are a masterclass in this, using countless distinct water sounds to sell the chaos of every cannonball hit and stormy sea battle.
The goal isn't just to add a sound; it's to add the right sound. A custom effect carries the unique sonic signature of your scene, making the final product feel polished and intentional.
Not too long ago, creating custom sounds meant booking studio time, buying expensive mics, and performing hours of Foley work. If you're curious, you can learn more about what is Foley sound in our guide on the topic.
Thankfully, tools like SFX Engine have completely changed the landscape. Instead of spending hours scrolling through libraries hoping to find a "close enough" sound, you can now generate a totally unique water splash sound effect from the ground up. This puts you in the driver's seat, giving you total control to make sure the final sound perfectly matches your vision.
Alright, this is where we get our hands dirty and start making some noise. We're going to generate the core water splash sound effect that will serve as our foundation.
When you're working with a tool like SFX Engine, the first pass isn't about perfection. It’s about creating a solid, high-quality starting point—a sonic block of clay that we can shape and refine. You need good raw material before you can get into the fine details.
If you want to dig deeper into the whole creative workflow, we've got a great guide on how to create sound effects that covers the broader process.
When you fire up SFX Engine, you’ll see a clean interface with a few powerful sliders. I always start with two: Size and Intensity. Honestly, these two settings alone will shape about 80% of your sound's initial character.
Here's what that simple starting interface looks like.
As you can see, it's not overwhelming. The idea is to let you experiment quickly and find a vibe that works for your scene without getting bogged down in options.
Getting this right is definitely more art than science, but I've found a few starting points that work well in practice:
Here's a pro tip: Don't just generate one sound and call it a day. Create three or four variations using the same settings. The subtle differences in each AI-generated take can be surprising, and you'll often find one that just feels better than the others.
Let's put this into practice. Say you're working on an animated scene where a kid is stomping in a muddy rain puddle. You need a sound that’s light, quick, and has that slightly thick, murky quality.
Following the guide for a smaller object, you generate a few options. You get a nice, crisp splash, but it sounds a bit too much like clean water. It doesn't have that "puddle" feel.
No problem. This is exactly where you want to be. You've established the correct scale. Now you know the next step will involve tweaking other parameters to add that muddy texture. By getting the initial size and force right, you've built a foundation that’s perfectly matched to the visuals, making the next customization steps much more effective.
Once you've got a solid foundational splash, it's time to give it some real character. This is the fun part—where you take a generic sound and mold it into something that fits your scene perfectly. Think about it: a splash in a murky swamp sounds completely different from one in a crystal-clear cenote. It's all about tweaking the finer details to tell a more specific story.
The demand for high-quality, specific audio is huge. Professional libraries used in filmmaking and game development can contain over 200,000 sound effects, just trying to keep up. A quick browse through the extensive collection on Epidemic Sound shows you just how much variety exists for a simple water splash. This is precisely why creating your own custom sounds can make your project stand out.
To really dial in the details, I focus on three powerful parameters first: Duration, Surface Tension, and Reverb. Think of these as your primary sculpting tools.
A longer Duration can imply a much larger object hitting deeper water, creating a prolonged sound. On the other hand, a short, sharp duration is perfect for something quick and impactful, like a pebble skipping across a lake.
Surface Tension is more subtle, but it's a game-changer. Cranking it up gives you a tighter, more cohesive sound, almost like a single, perfect droplet hitting a still pond. Lowering it creates a more chaotic, broken-up effect—ideal for turbulent water or a forceful impact that shatters the surface.
This decision tree gives you a great starting point for how an object's size should influence the initial sound.
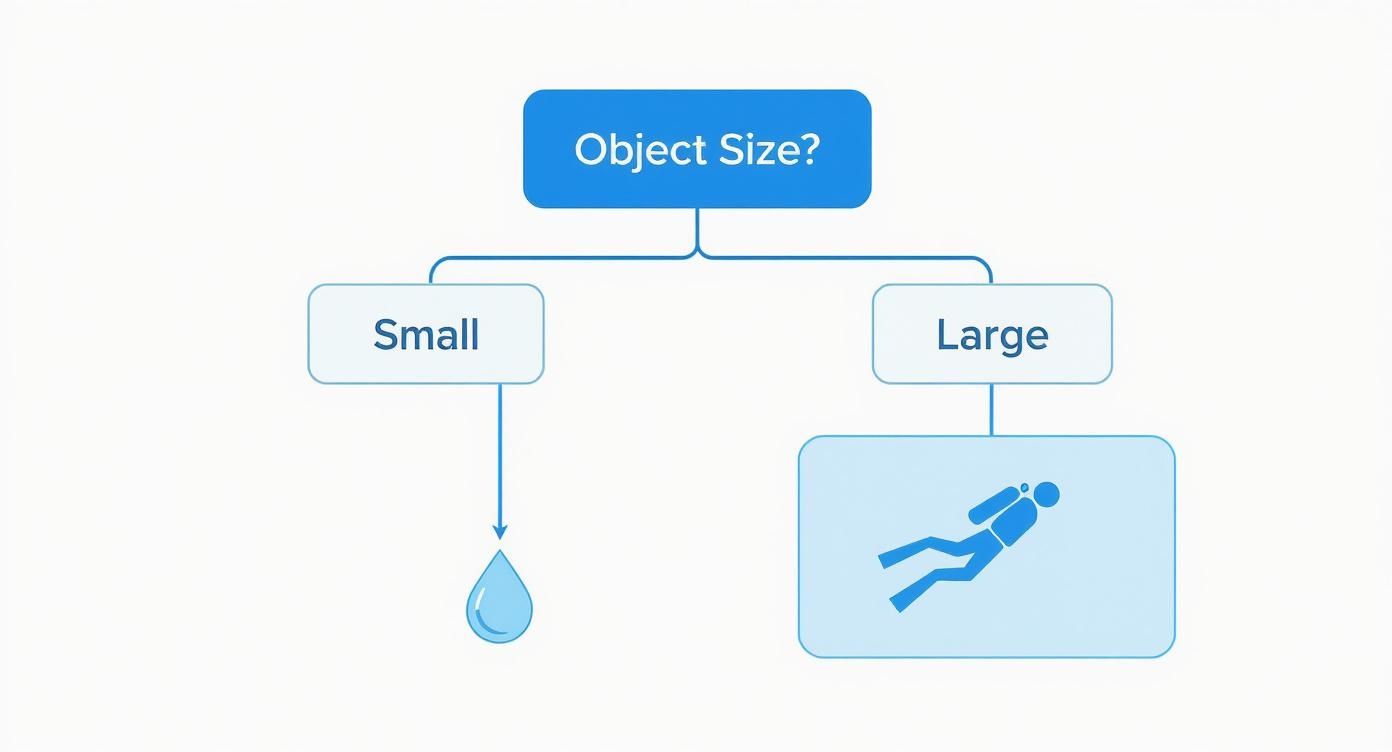
As you can see, a small object needs a delicate touch from the get-go, while a larger one demands a more powerful and expansive sound profile right away.
Finally, Reverb is what puts your water splash sound effect into a physical space. Is this happening in a tight, tiled bathroom where the sound bounces everywhere? Or is it out on a vast, open ocean? More reverb will give you that enclosed, echoey feel, while less reverb is key for an open-air setting where the sound just dissipates.
My personal technique is to close my eyes and visualize the scene. I ask myself what the water feels like—is it thick, thin, calm, or violent? This mental picture directly informs how I adjust these nuanced settings.
To give you a practical starting point, I've put together a table with some recommended SFX Engine settings for common scenarios. These aren't rigid rules, but they're fantastic for getting you in the right ballpark quickly.
| Scenario | Size Setting | Intensity Setting | Reverb Setting | Expected Result |
|---|---|---|---|---|
| Pebble in a Pond | Small (10-20) | Low (15-25) | Minimal (5-10) | A quick, light 'plink' with a gentle ripple. |
| Person Diving In | Large (70-85) | High (80-95) | Medium (30-40) | A deep, powerful 'whoosh' followed by a heavy splash. |
| Rain Puddle Splash | Small (15-25) | Medium (40-50) | Low (10-20) | A sharp, messy splash, as if from a car tire. |
| Cave Drip | Tiny (5-10) | Low (10-20) | High (70-80) | A delicate, echoing 'plop' that resonates. |
Use these settings as a guide, and don't be afraid to experiment. Sometimes the most interesting sounds come from pushing the parameters in unexpected ways.
For that final professional polish, you might want to run your generated sound through some audio enhancement tools. These can help clean up the sound, add clarity, and give it that extra punch to sit perfectly in your final mix. Moving beyond presets and actively sculpting these details is what elevates your audio from just being functional to being truly immersive.
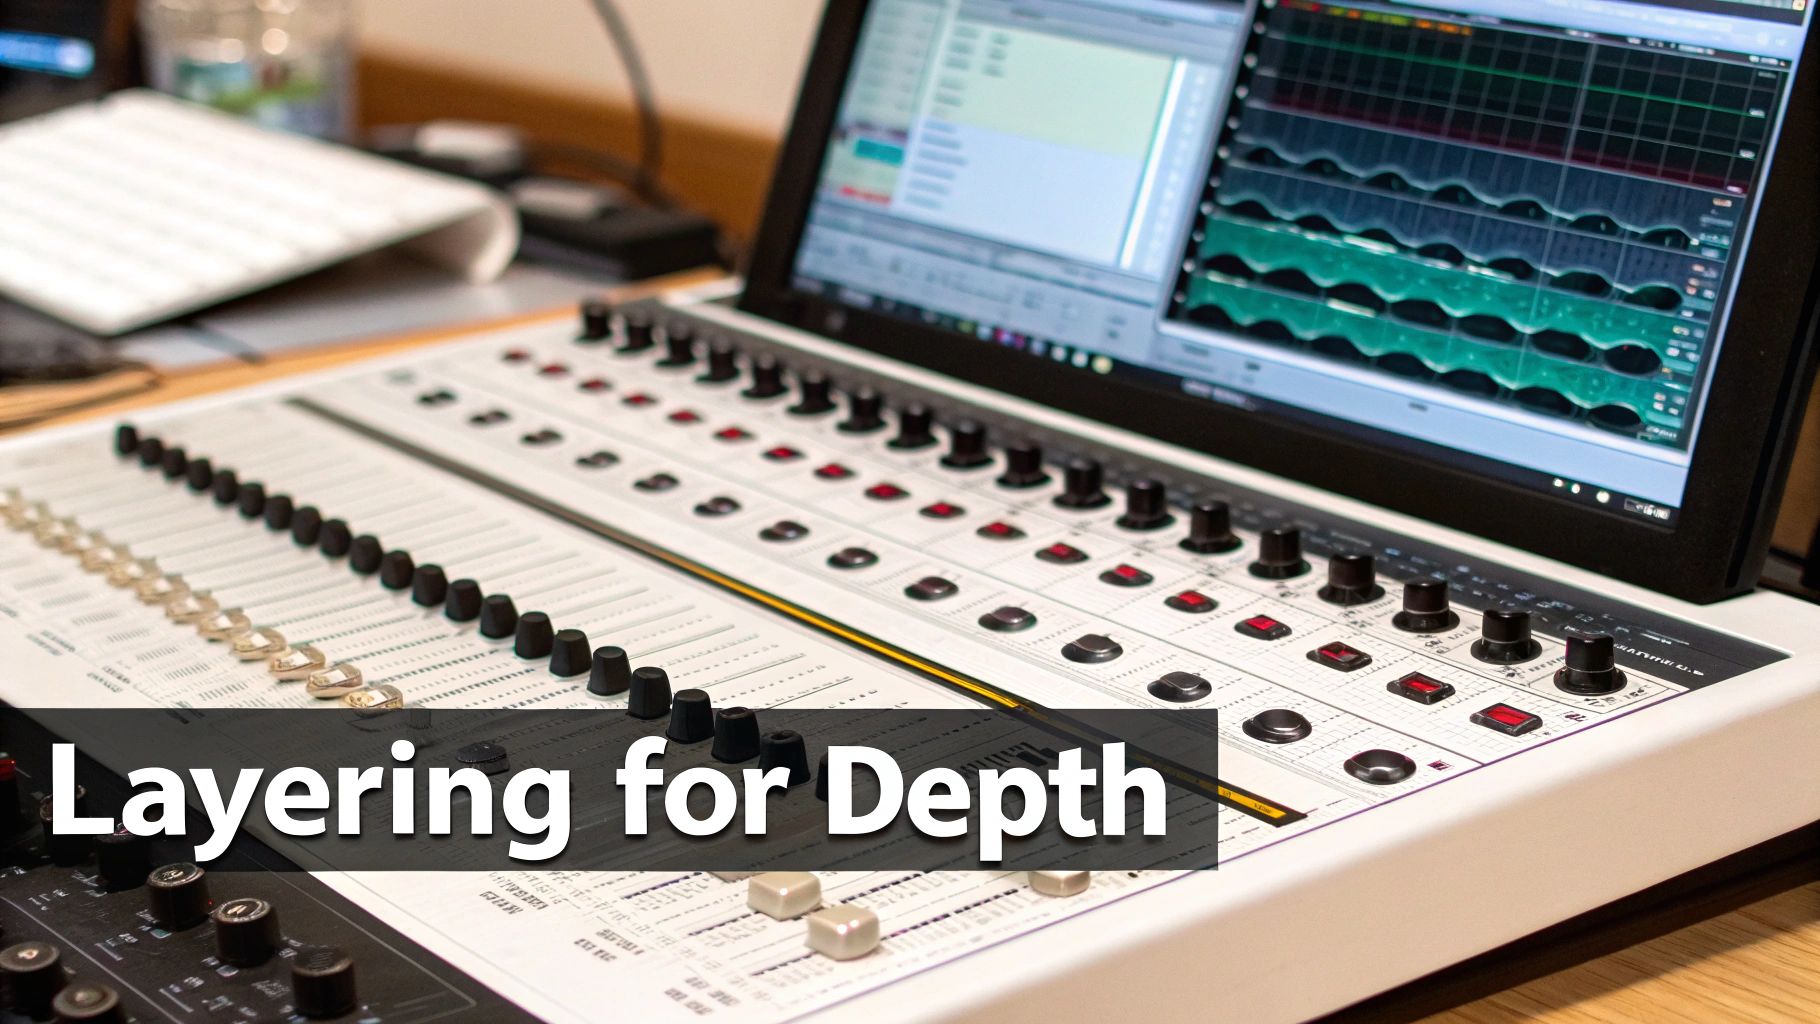
When you hear a splash in the real world, you're not just hearing one isolated sound. A truly convincing water splash sound effect is actually a tapestry of multiple sounds woven together, happening in a split second. This is where layering comes into play, and it's what separates a basic "plop" from a rich, immersive audio event.
The main splash gives you that initial impact, sure, but it’s the smaller sounds that follow which really sell the scene. What happens after the big splash? You might hear the gentle lapping of ripples, a few stray drips, or the fizz of bubbles. These secondary sounds add vital context, telling the listener about the environment and the action itself.
I find it helpful to think of the sound in three parts: the approach, the main impact, and the decay. When you generate and mix these elements separately, you gain incredible control over the final result.
Here's a straightforward way to start layering:
My personal workflow involves thinking about the "before" and "after" sounds. A faint whoosh before the splash can suggest speed, while a lingering gurgle afterward implies depth.
By layering these distinct elements in your audio editor, you’re not just making a sound effect anymore. You’re designing a complete moment in time, adding a professional polish that a single stock sound could never achieve.
You’ve tweaked and polished your sound effect until it's just right. Now, let’s get it out of SFX Engine and into your actual project. This last part is all about preserving the quality you've so carefully crafted.
When you hit that export button, you'll see a few options, but the big decision is usually between WAV and MP3. Here's my take: always export your master file as a WAV.
Why? Because WAV files are uncompressed. They contain 100% of the original audio information, giving you the richest, most detailed version of your sound. MP3s, on the other hand, are compressed—they shed some of that data to create a smaller file size, which can subtly but noticeably flatten the sound. You can always create an MP3 from a WAV later, but you can't get that lost quality back.
Before you drag that shiny new file into your video editor or game engine, there's one last quality check I always do: check the volume.
You want your new water splash sound effect to blend seamlessly into your project's audio mix, not stick out like a sore thumb. A quick normalization pass ensures its volume is consistent and sits well with other sounds. It's a small step that makes a huge difference in the final product.
With that done, you're ready to import the file and hear it in action. The rise of AI-powered tools has really opened up what's possible for creators, and the demand for high-quality, custom audio is only going to grow. For a deeper dive into this trend, check out this great read on how AI is shaping the future of nature audio on reelmind.ai.
As you start crafting your own water splash sound effects, a few questions almost always pop up. Let's tackle them head-on so you can avoid common pitfalls and get straight to creating professional-sounding audio.
It’s a small detail, but getting the format right from the start is a game-changer.
My advice is always the same: go with WAV. For any serious work—whether it's for film, a game, or a podcast—WAV is the only way to go. It’s an uncompressed, lossless format, which means it keeps all the rich detail and nuance you just spent time creating.
Sure, MP3s are smaller and easier to send around, but that small file size comes at a cost. MP3s are compressed, meaning they literally throw away audio data to shrink the file. You'll lose the crispness of the splash and the subtlety of the ripples.
My workflow is simple: I design, edit, and archive everything as a WAV file. I only ever convert to something like an MP3 if the final delivery platform gives me no other choice.
In most cases, yes, you absolutely can. This is one of the biggest advantages of using a professional tool. A service like SFX Engine typically includes a commercial license with its subscription. This gives you the right to use the sounds you generate in projects you intend to monetize.
That said, it's always smart to spend five minutes reading the terms of service for any tool you use. It’s a quick check that gives you total peace of mind, confirming your specific use is covered and flagging any weird restrictions you might not expect.
If your splash just isn't convincing, it's probably because it sounds too isolated. A splash never happens in a sonic vacuum in the real world. The secret to realism is adding context.
First, think about the environment. A little bit of reverb can instantly place your splash in a specific space. Are you in a reverberant cave or a "dry" open field? Adjust the reverb accordingly.
Second, layer in the little details. What happens right after the splash? You might hear the faint trickle of drips or the gentle sound of ripples spreading out. Adding these subtle, secondary sounds is what truly sells the effect and makes the listener believe it's real.
Tired of sifting through generic sound libraries? It's time to create your own. Give SFX Engine a try and start generating unique, high-quality audio that fits your project perfectly. Explore SFX Engine for free.