February 14, 2026 · Kuba Rogut
Excellent YouTube video sound design isn't just about having clean audio. It’s the art of strategically layering everything—dialogue, music, sound effects—to pull your viewers in and make them feel something. It’s what turns a good video into a truly great one.
Ever notice how some YouTube channels just feel more polished and professional? It’s not always the fancy camera or slick editing. More often than not, the secret ingredient is the sound.
Great audio is a powerful tool. It works on a subconscious level to shape how viewers perceive your content and, ultimately, your entire brand.
Think of it like this: your visuals tell the story, but sound makes your audience feel it. When your audio is crisp, balanced, and intentional, it sends a clear signal that you’re a creator who cares about quality. That builds trust and authority without you ever saying a word.
There’s a direct link between audio quality and how long people stick around. Bad sound—hissy dialogue, distracting background noise, jarring volume jumps—is one of the fastest ways to get someone to click away. And you can bet the YouTube algorithm is watching.
If viewers are bailing in the first 30 seconds because your audio is grating, YouTube notices. Your audience retention and watch time metrics take a hit.
On the flip side, great sound design keeps people glued to the screen.
Good sound design is invisible. It guides the viewer's experience without ever drawing attention to itself. When you nail it, the audience doesn't notice the individual sounds; they just feel more connected to your video.
So many creators fall into a "visuals-first" trap, treating audio as an afterthought. This is a huge missed opportunity. Honestly, putting a little effort into your YouTube video sound design is one of the quickest ways to level up your channel. It’s how you stand out in a ridiculously crowded space.
For example, a travel vlogger can layer in the ambient sounds of a bustling market to make viewers feel like they're right there. A tech reviewer can use crisp, satisfying clicks and whooshes to make a product unboxing feel incredibly premium.
Even a simple how-to video becomes more engaging with subtle audio cues that confirm on-screen actions. To get a better handle on the basics, you can learn more about what sound design is and how it shapes what we see and feel.
At the end of the day, sound isn't just about fixing problems. It’s about making creative choices that tell a richer, more compelling story—the kind of story that keeps your audience coming back for more.
Look, all the fancy YouTube video sound design in the world can't save a terrible recording. A great soundscape is built on a clean, solid foundation. This doesn’t mean you need a pro studio—it just means making smarter choices with the gear and space you already have.
The single most important piece of gear you own is your microphone. Forget the one built into your camera; its job is to pick up everything, which is the exact opposite of what you want. An external mic lets you focus on what actually matters: your voice.
This is non-negotiable for formats like video podcasts. In 2024, YouTube officially became the #1 preferred podcast platform, a massive leap from third place just a few years ago in 2021. Yet, only 17% of podcasters actually record video, leaving a huge opportunity on the table. With 84% of Gen Z finding new podcasts on YouTube, bad audio is a surefire way to alienate a massive audience.
Not all mics are built the same. You'll mostly run into two types—condenser and dynamic—and they're designed for very different jobs.
Understanding this difference is everything. If you use a sensitive condenser mic in a room with a buzzing fridge and traffic outside, you're creating an editing nightmare for yourself. A dynamic mic would be a much better fit. For a deeper dive, check out our guide on the best microphones for video recording.
Your room is just as critical as your mic. Hard, flat surfaces—walls, ceilings, hardwood floors, empty desks—are your enemy. They bounce sound waves all over the place, creating echo and reverb that makes your audio sound muddy and unprofessional.
You don't need to spend a fortune on acoustic panels to fix this. The goal is simple: absorb the sound with soft stuff.
For creators on a tight budget, especially in the gaming world, budget gaming headsets can be a decent starting point, handling both your microphone input and audio monitoring in one package.
As this chart shows, getting the recording right is the first domino to fall for channel growth.
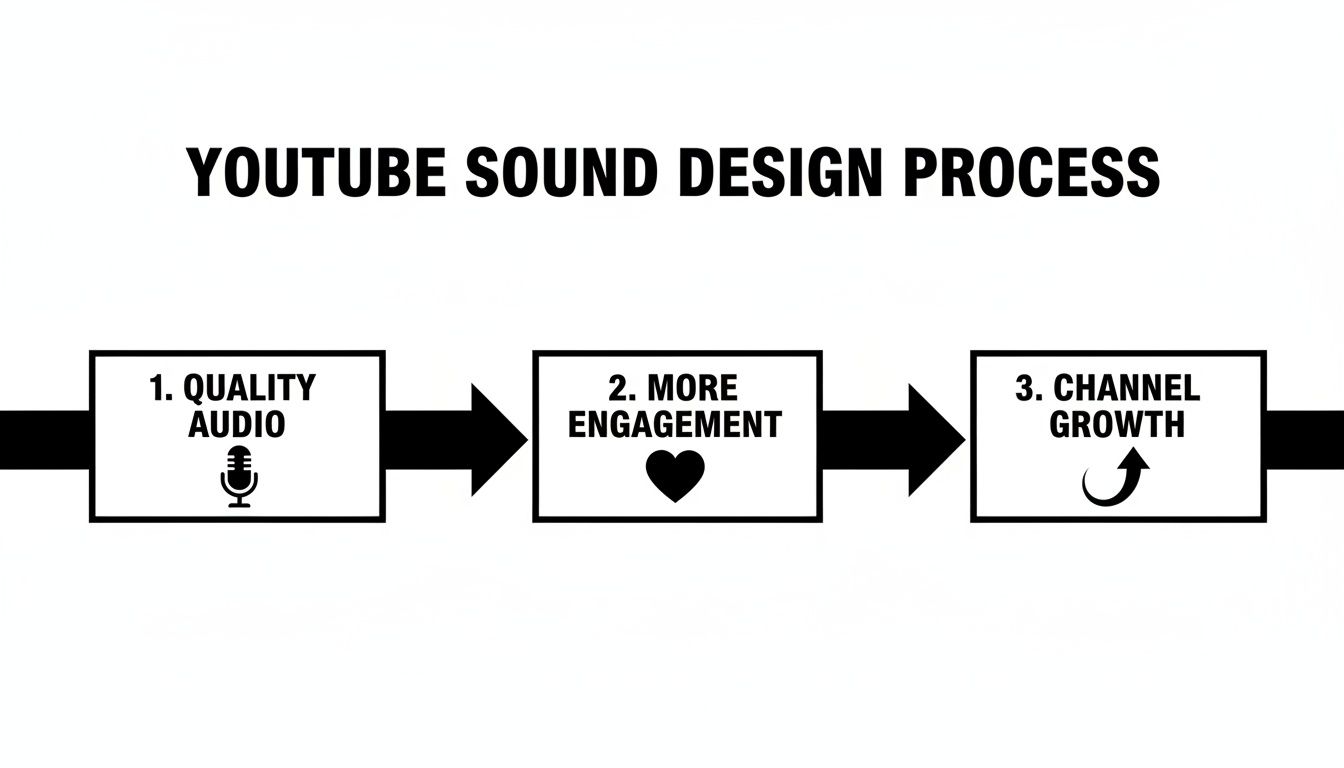
It’s a simple but powerful flow: better sound leads to a better viewer experience, which is what fuels your channel's success.
Two rookie mistakes can absolutely ruin a recording before you even hit the edit: clipping and forgetting to capture room tone.
Clipping is that awful, crunchy distortion you hear when the audio signal is too loud for your gear to handle. It's permanent and sounds terrible. To avoid it, set your recording level (or gain) so that your voice peaks somewhere between -12dB and -6dB. This gives you plenty of "headroom" and keeps the signal clean.
Before you say a word, hit record and capture at least 30 seconds of your empty, "silent" room. This room tone is your secret weapon in post-production. It lets you fill gaps in your dialogue seamlessly, making your edits sound completely invisible.
Without it, every cut and pause in your edit will be dead silent, which is incredibly jarring next to the natural background ambience of your voice track. It’s a tiny step that makes a huge difference.
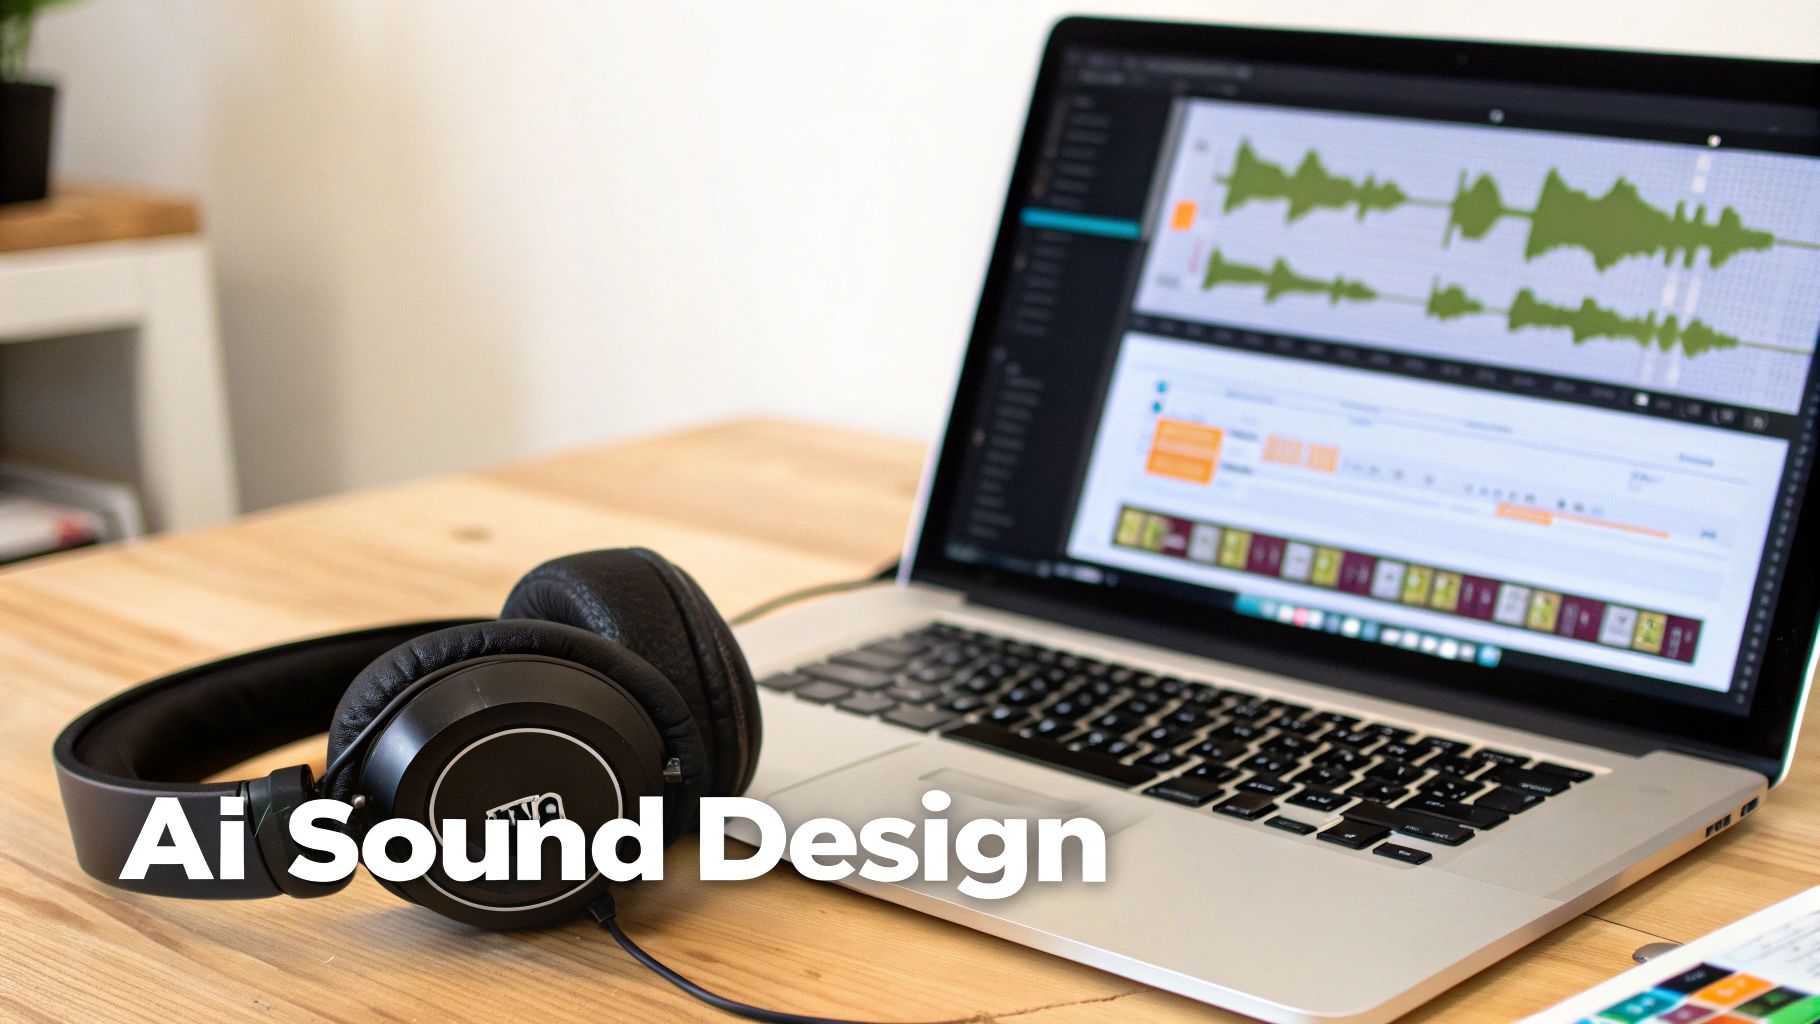
Once you have that clean audio recording, the real fun begins. This is where you graduate from simply capturing sound to actually designing it. The mission is to build a complete sonic world that elevates your visuals, and honestly, AI tools have completely changed how we do this.
Forget spending ages scrolling through stock audio libraries for a sound effect that’s just okay. Modern YouTube video sound design is all about crafting custom, pitch-perfect audio whenever you need it.
Using an AI sound generator like SFX Engine, you can dream up the exact sound you need and generate it in seconds just by describing it. This isn't just a time-saver; it unlocks a level of creative control that used to be the exclusive domain of pro sound designers with gigantic, expensive libraries. You're no longer stuck with what someone else decided to record.
The first big mindset shift is to stop thinking of your video's audio as one single track. A truly professional soundscape is built with multiple, distinct layers that all work in harmony.
Think about building your audio with these core elements:
Layering these is what creates that immersive depth you feel in professional videos. A simple shot of someone typing isn't just the sound of keystrokes. It's the clicks and clacks of the keyboard (Foley), the low whir of a computer fan (ambience), and maybe the faint sound of rain against a window (background).
The magic of an AI SFX generator is all in the prompt. The more descriptive and specific you get, the better your results will be. The trick is to use vivid adjectives that describe the action, the materials involved, and the environment.
Let’s say you’re editing a cinematic travel vlog about a forest hike.
Instead of a vague prompt like "wind sound," you could write: "Gentle wind blowing through pine tree needles, rustling leaves, distant birds chirping, peaceful and serene."
Just like that, you've generated a rich, layered ambient track that instantly transports the viewer. The same goes for Foley. If you need a specific sound for an on-screen action, just spell it out.
A well-crafted soundscape does more than just fill silence; it directs the viewer's attention and amplifies emotion. An AI tool gives you the power to generate these emotional cues instantly, creating a sonic identity that is uniquely yours.
Beyond sound, you can also explore various AI content creation tools to help streamline other parts of your workflow, like scripting or generating titles. But for now, let’s stick to building that custom sound library.
One of the best things about using AI for sound is its sheer versatility. You can generate audio for any kind of video you can imagine. To give you a better idea, here's a table showing how you can write effective prompts for different types of YouTube content.
This table offers a practical guide on crafting text prompts in an AI SFX generator to create specific, high-quality sounds for common YouTube video styles.
| Video Type | Sound Needed | Example AI Prompt |
|---|---|---|
| Tech Review | Satisfying Keyboard Click | "Mechanical keyboard with clicky blue switches, crisp satisfying sound, typing quickly, recorded in a quiet office, medium reverb." |
| Cooking Video | Sizzling Food | "Vegetables sizzling in a hot cast-iron pan with olive oil, loud and crisp crackling, occasional pop, appetizing sound." |
| Cinematic B-Roll | Slow-Motion Whoosh | "Deep, slow-motion whoosh transition, bassy undertone with airy texture, clean and cinematic, for a dramatic reveal." |
| Lifestyle Vlog | Cozy Coffee Shop | "Ambient sound of a bustling but cozy coffee shop, distant chatter, clinking mugs, espresso machine hiss, soft background music." |
As you can see, adding details about materials ("cast-iron pan"), the environment ("quiet office"), and texture ("airy texture") makes a world of difference. It gives you a sound that's far more specific and useful right out of the gate. For an even deeper dive, check out our guide on how to create sounds with AI.
The impact of great audio is clear when you look at YouTube's biggest trends. A 2023 report highlighted the rise of "silent vlogs," which tell stories entirely through strong visuals and incredibly detailed sound design. The same report found that over 14 million videos were created monthly using features like remixing, where unique audio is often what makes a clip go viral. A distinct sonic identity helps your content stand out, and AI is the fastest way to build one.
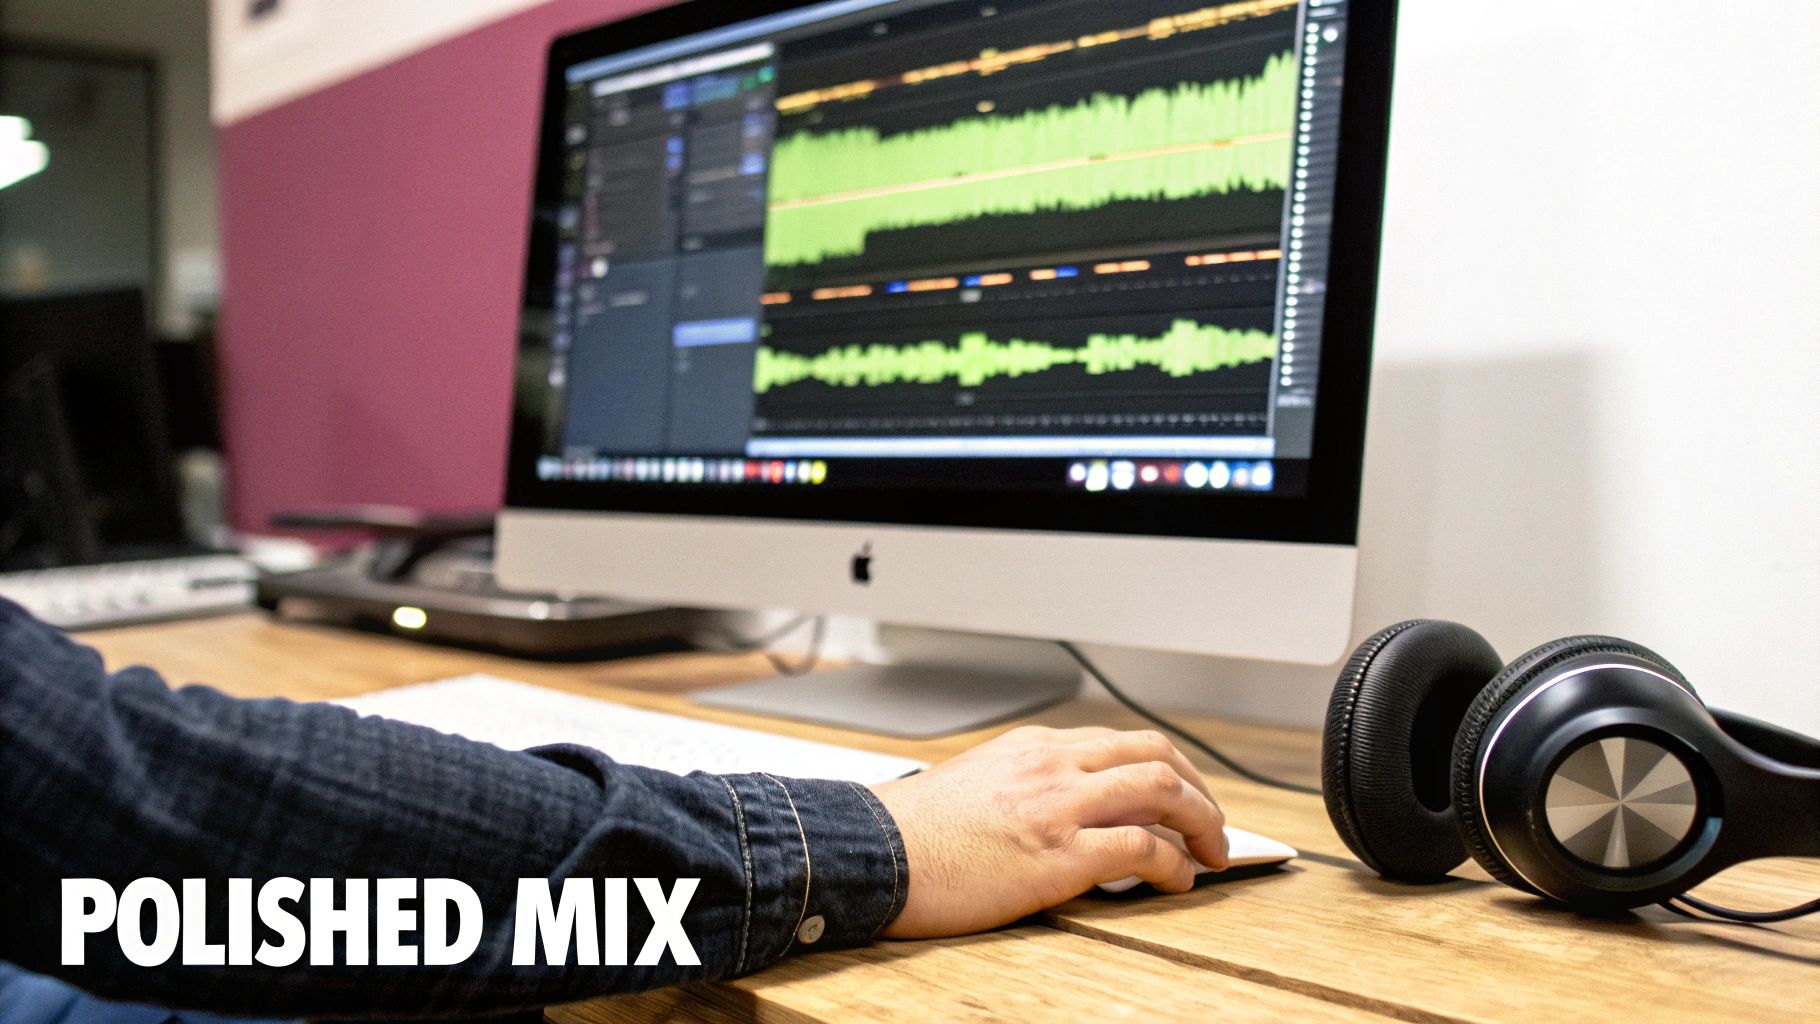
So, you’ve captured clean dialogue and generated some fantastic, custom sound effects. Now for the fun part: bringing it all together. This is the mixing stage, and it’s where the real magic of YouTube video sound design truly comes alive. It's all about carefully balancing every audio element to create one clear, cohesive, and professional-sounding track.
Think of it like being a chef. You have incredible ingredients, but they only become a great meal when you combine them in the right proportions. If you just toss everything into a pot at once, you get a chaotic mess. A careful, thoughtful mix, on the other hand, creates a masterpiece.
And here’s some good news: you don't need a dedicated, complex Digital Audio Workstation (DAW) to get this done. Modern video editors like Adobe Premiere Pro, Final Cut Pro, and DaVinci Resolve have incredibly powerful audio tools built right in. You’ve already got everything you need.
Before you even think about music or SFX, your dialogue needs to be front and center. It’s the star of the show. Your first job is to make sure this primary voice track is clean, consistent, and easy to understand.
Honestly, two simple tools will get you 90% of the way there: an Equalizer (EQ) and a Compressor.
An EQ is what you use to shape the tonal character of your audio, boosting or cutting specific frequencies to improve clarity. For voice, it’s all about precision.
Next up is the compressor. This tool smooths out the volume of your dialogue by reducing the dynamic range—making the quiet parts a bit louder and the loud parts a bit quieter. This creates a consistent level that’s much more pleasant for your audience to listen to. You're just looking for a gentle setting to even things out.
With your dialogue sounding crisp and clear, it's time to layer in the other elements. The golden rule here is to create space and give each sound a purpose. Music and SFX are there to support the dialogue, not to compete with it.
Volume automation is your absolute best friend for this. Instead of locking your music track at one static volume for the whole video, you use automation to dynamically "duck" the volume down whenever someone is speaking. This is a foundational technique in professional YouTube video sound design.
When your narrator starts speaking, the background music should subtly dip in volume. When they pause, the music can gently swell back up to fill the silence. This creates a dynamic, engaging experience that naturally guides the viewer's ear without them even noticing.
This is sometimes called "sidechaining" in dedicated audio software, but you can do it just as effectively by manually setting volume keyframes in your video editor. The goal is to make the adjustments feel completely invisible.
Let's walk through a real-world example. Imagine you’re mixing a cooking tutorial. You've got four main audio tracks to juggle:
Your first step is always the narration. You'd apply EQ and compression until it sounds perfect. Next, you bring in the background music, setting its baseline volume so it’s present but not overwhelming.
Then, using volume automation, you make sure the music gets quieter every single time the narration kicks in. The on-screen cooking sounds (your Foley) should be just loud enough to make the scene feel authentic, but never so loud they distract from the instructions. The sizzle of the pan is great for atmosphere, but it’s not as important as hearing the instruction to "add the garlic."
Finally, those little SFX for your graphics should be mixed to pop just enough to be noticed, but not so loud that they become jarring.
By treating each sound as a distinct layer with a specific job, you create a mix where everything has its own space. This intentional balance is what separates amateur audio from a polished, professional video that keeps viewers hooked from start to finish.
You've done all the creative heavy lifting—recording, editing, designing, and mixing. This last step is the final technical checkpoint, and it's a crucial one. Mastering is what ensures your video sounds as good on a viewer's phone or laptop as it does in your editing suite.
The real goal here is to deliver a final mix that plays nicely with YouTube's own audio processing. If you don't, its algorithm can alter your sound in ways you won't like, potentially undoing all your hard work. This final polish is what separates amateur audio from a truly professional YouTube video sound design.
Ever notice how you can jump from a movie trailer to a quiet vlog on YouTube without having to slam your volume buttons? That's loudness normalization at work. YouTube automatically adjusts every video's volume to a consistent target level.
YouTube's magic number is -14 LUFS (Loudness Units Full Scale).
Hitting this target isn't about cranking the volume. It's about maintaining control. By aiming for -14 LUFS yourself, you dictate how your mix sounds, preserving the delicate balance you created between your dialogue, music, and sound effects.
Think of LUFS as a measure of perceived loudness over the entire length of your video, not just the loudest peak. It's a far more accurate gauge of how your audience will actually hear your sound.
Thankfully, you don't need to guess. Most modern video editors have tools to measure this for you. In Adobe Premiere Pro, it's the "Loudness Radar" effect. In DaVinci Resolve, you'll find it built into the Fairlight audio page.
The process is pretty straightforward:
With your levels locked in, the final piece of the puzzle is exporting your audio with the right settings to keep it sounding crisp and clean. YouTube is pretty good at handling various formats, but these specs will give you the most reliable results.
| Setting | Recommendation | Why It Matters |
|---|---|---|
| Format | AAC (Advanced Audio Codec) | This is the industry standard for streaming. It delivers fantastic quality without creating a massive file. |
| Bitrate | 384 kbps (for stereo) | A high-quality bitrate that ensures your audio survives YouTube's compression process with its detail intact. |
| Sample Rate | 48 kHz | The standard for all video work. Sticking to this prevents any potential sync or quality issues down the line. |
Getting these technical details right is a game-changer, especially for content where audio is front and center. Think about music videos—they dominate YouTube by pairing stunning visuals with powerful, clear sound that translates to any device. It's a major reason why 62% of businesses are now using YouTube for their video content. To dive deeper into what's popular, you can explore some great insights on YouTube's most-watched genres from Pictory. Following these final steps ensures all your hard work truly shines.
Diving into sound design for your YouTube videos always brings up a few head-scratchers. It's one thing to get a clean recording, but it's another thing entirely to craft a full audio experience. You're bound to hit a few roadblocks along the way.
Let's cut through the noise and tackle some of the most common questions I hear from creators. These aren't just abstract theories; they're practical fixes for real-world problems that can make or break your video's quality.
Ah, the dreaded room echo. It's probably the number one audio issue that plagues new creators. That distracting, hollow sound is caused by your voice bouncing off hard surfaces like bare walls, ceilings, and wood floors.
The best solution is always prevention—treating your room before you record is a game-changer. But sometimes, you're stuck with what you've got and need to salvage the take. Don't worry, you don't have to throw it out.
Most modern editing software has tools designed for this exact problem.
A word of caution: when you're fixing audio in post, less is almost always more. The goal is clarity, not sterility. If you push these tools too hard, you'll end up with a processed, robotic sound that's just as distracting as the echo you were trying to fix.
My advice? Start with a very gentle setting. Nudge it up slowly until the echo is less noticeable but your voice still sounds full and natural. It’s all about finding that sweet spot.
This is more of an art than a science, but I live by one simple rule for background music: it should be felt, not heard. The music is there to add emotion and energy, not to fight your dialogue for the spotlight.
If you need a number to start with, try mixing your music to sit somewhere between -18dB and -24dB below your main voice track. So, if your voice is hitting peaks around -6dB, your music should be down in the -24dB to -30dB range.
But the real pro move here is volume automation. This means you're actively adjusting the music's level throughout the video. Let it swell and take center stage during a montage or a quiet B-roll sequence, then have it automatically "duck" back down the second you start talking again. It's a simple technique that makes a video feel incredibly dynamic and polished.
For the best possible quality? One hundred percent, yes.
Recording your audio on a dedicated device—like a Zoom H4n or a Tascam recorder—is what we call "dual-system sound." It physically separates your microphone from the camera's internal electronics, which are notorious for introducing a low-level electronic hum or hiss.
This method gives you a few huge wins:
And don't worry about syncing them up later. The old-school clap at the start of a take still works perfectly. It creates a massive, sharp spike on both your camera's audio and your external recorder's waveform. Just drag them in your editor, line up those two peaks, and boom—perfect sync.
Ready to stop hunting for the perfect sound and start creating it yourself? SFX Engine lets you generate completely custom, royalty-free sound effects from a simple text description. Take control of your YouTube video's sound and bring your vision to life. Try SFX Engine for free today.