January 12, 2026 · Kuba Rogut

Mastering an After Effects sound effects tutorial is about so much more than just dropping audio files onto your timeline. It’s about truly weaving sound into the fabric of your motion design. The whole process—from creating custom sounds and syncing them perfectly with keyframes, to layering audio for a rich, immersive experience—can happen right inside After Effects.
Let's be real: for a long time, audio was the last thing on a motion designer's mind. The standard workflow was to nail the visuals, export a silent render, and pass it off to a sound person. That old-school approach just doesn't cut it anymore. Thinking about sound from the very beginning is a skill that can seriously elevate the impact and polish of your work.
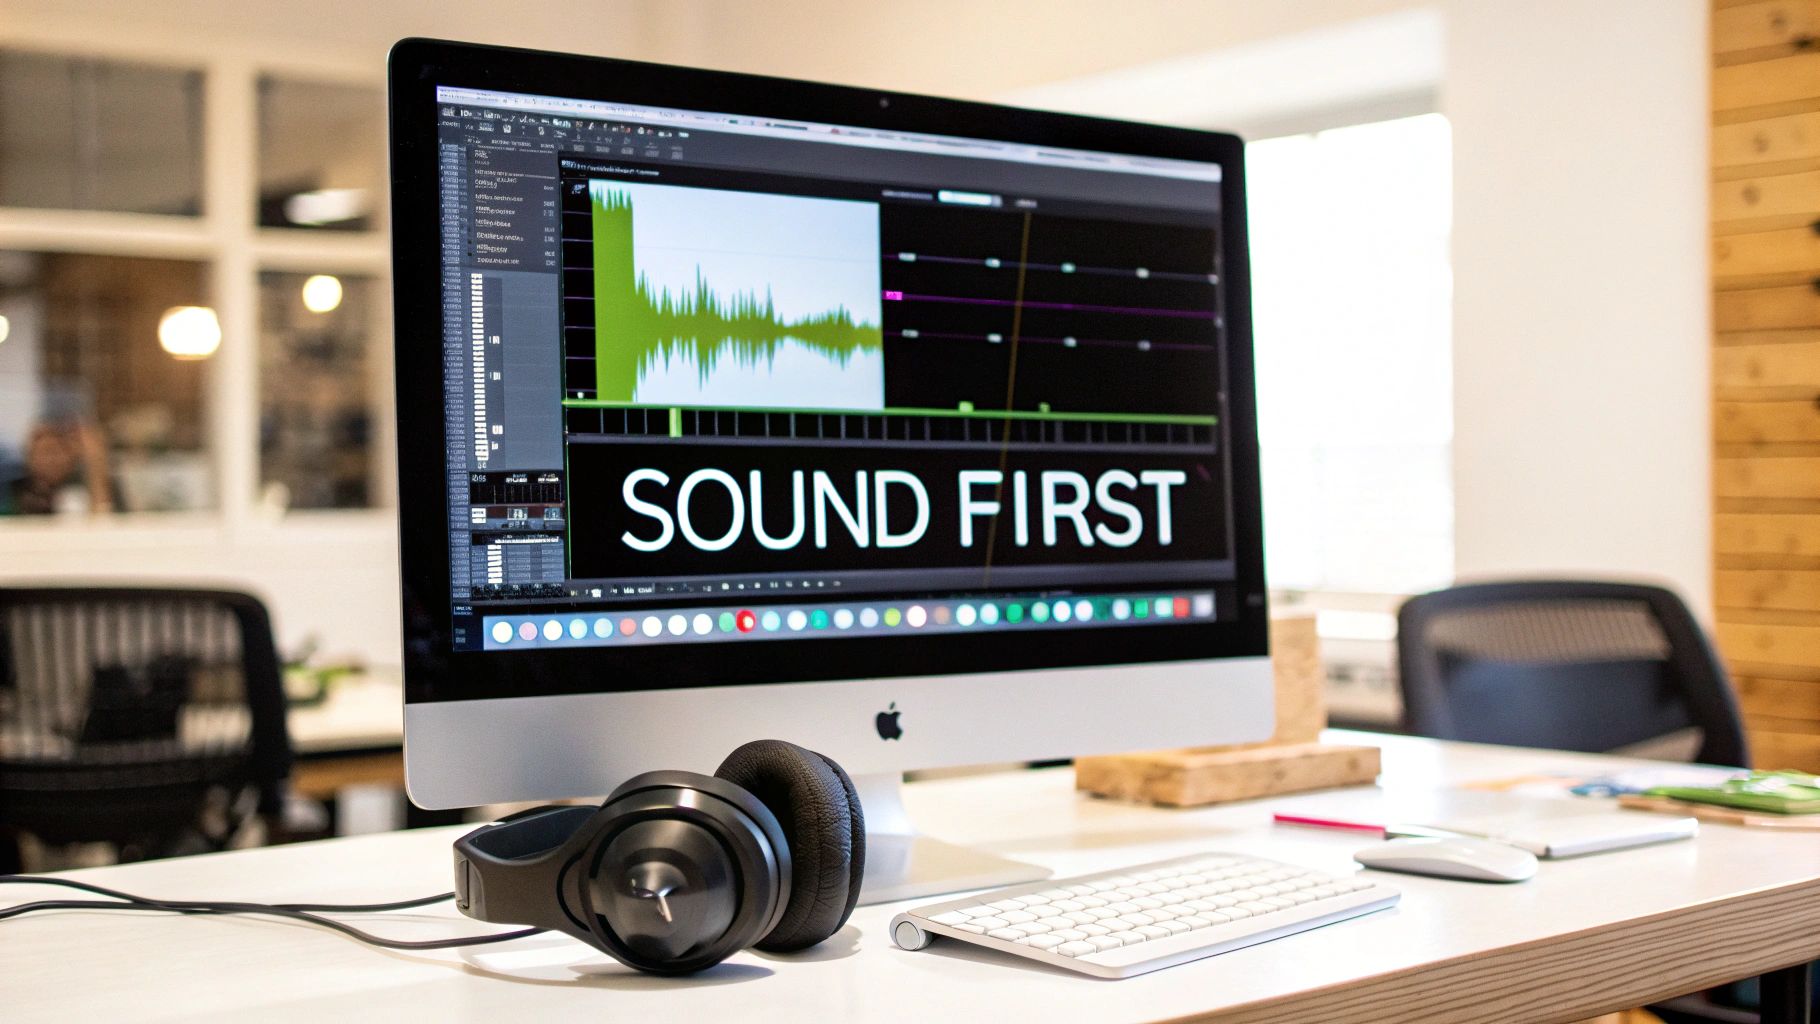
After Effects has really grown up. It's no longer just a visual powerhouse; it’s become a surprisingly capable environment for audio work. You can sync, layer, and mix sound with a level of control that’s perfect for projects where the timing between motion and audio is everything.
I find this is especially true for things like:
This evolution isn't happening in a vacuum; it’s a direct response to how we create content now. In the mid-2020s, After Effects is the go-to for adding sound-driven motion to online video. Adobe even reported that over 80% of video coming out of Creative Cloud is destined for social media, where punchy, attention-grabbing sound is absolutely critical.
While After Effects isn't a dedicated Digital Audio Workstation (DAW) like Audition or Logic Pro, it has a solid set of tools for the essentials. This table gives you a quick overview of what you can handle directly in your composition.
| Task | After Effects Capability | Best For |
|---|---|---|
| Basic Editing | Trimming, splitting, and slipping audio layers. | Quick cuts and aligning sound start/end points. |
| Level Control | Keyframing audio levels and using the Audio panel. | Creating fades, adjusting volume, and simple mixing. |
| Synchronization | Aligning audio to markers, keyframes, and layer in/out points. | Precise timing for whooshes, impacts, and UI sounds. |
| Simple Effects | Applying built-in effects like Reverb, Delay, and EQ. | Adding ambiance, creating echoes, and basic tonal shaping. |
| Layering | Stacking multiple audio files on the timeline. | Building complex soundscapes from simple elements. |
This built-in functionality is why so many of us can now handle temp tracks and core sound effects without ever leaving the app.
My Takeaway: Bringing sound design into your After Effects workflow from the get-go doesn't just save you a trip to another app. It fundamentally changes the creative process, making audio an intentional, powerful part of the final product.
To get the most out of this, it helps to understand the core principles. For a much deeper look into how sound enhances visual storytelling, I'd recommend exploring our guide on what sound design is and why it's so vital.
This guide will walk you through the entire workflow, step-by-step, to help you transform your silent animations into unforgettable audiovisual experiences.
Great sound design isn’t about finding the same tired stock files everyone else uses. It’s about creating unique audio that brings your animation to life. The best way to make your work stand out is with custom, royalty-free sounds that are perfectly sculpted for your visuals. This is exactly where a tool like SFX Engine changes the game.
Instead of scrolling through endless libraries for something that’s close enough, you can generate precisely what you need from a simple text prompt. Think about that for a second. A generic search for a "whoosh" can become a specific request like a "sharp, futuristic whoosh with a slight metallic echo." A vague "click" can be dialed into a "subtle, digital click for a button press with a soft release."
This method of generating audio on the fly is quickly becoming a core part of modern motion design workflows. It's a huge shift from the old days of just importing static files. This move towards on-demand, tailored audio for video and interactive media is a big deal, and it’s only getting bigger.
The secret to getting killer results is all in the language you use. The more descriptive your prompt, the closer the generated sound will be to what’s in your head. It’s a bit of an art and a science—your first try might not be perfect, but you can tweak your prompt and iterate quickly to nail the exact texture and timing you need.
For a much deeper dive into crafting really effective prompts, check out our complete guide on how to create sound effects using this exact method.
Once you’ve got the perfect sound, it's time to prep it for After Effects.
Trust me, proper organization will save you from major headaches on complex projects. Before you even touch the import button, get a solid folder structure in place for your sound effects.
Here’s my go-to process:
sfx_final_01.wav. Give your files clear names that tell you what they are, like Futuristic_Whoosh_Metallic_Echo_01.wav. This makes finding what you need in a crowded project panel a breeze.A well-organized sound library is just as crucial as your visual asset folder. It stops you from wasting time on frustrating searches and helps you stay in the creative zone.
With your custom sounds generated and neatly filed away, you can finally bring them into After Effects. Just go to File > Import > File… (or hit Cmd/Ctrl + I) and select your WAV files. They’ll pop right into your Project panel, ready to be dragged into your composition. By doing the prep work upfront, you ensure your After Effects project stays clean and manageable from the get-go.
And remember, as you're creating and importing, knowing how to improve audio quality is a key skill for getting truly professional results.
This is where the real fun begins. It's one thing to have a library of great sound effects, but it's another thing entirely to make a swoosh land on the exact frame a logo flies in, or a click happen the very instant a button animates. That perfect timing is what separates decent motion graphics from truly professional work. It just feels right.
Let's get into the nitty-gritty of how to nail that synchronization every single time. It's not magic, just a few key After Effects tools and a bit of practice.
Before you even touch the timeline, having your audio files ready to go makes a world of difference. I always follow a simple workflow to keep things clean and efficient.
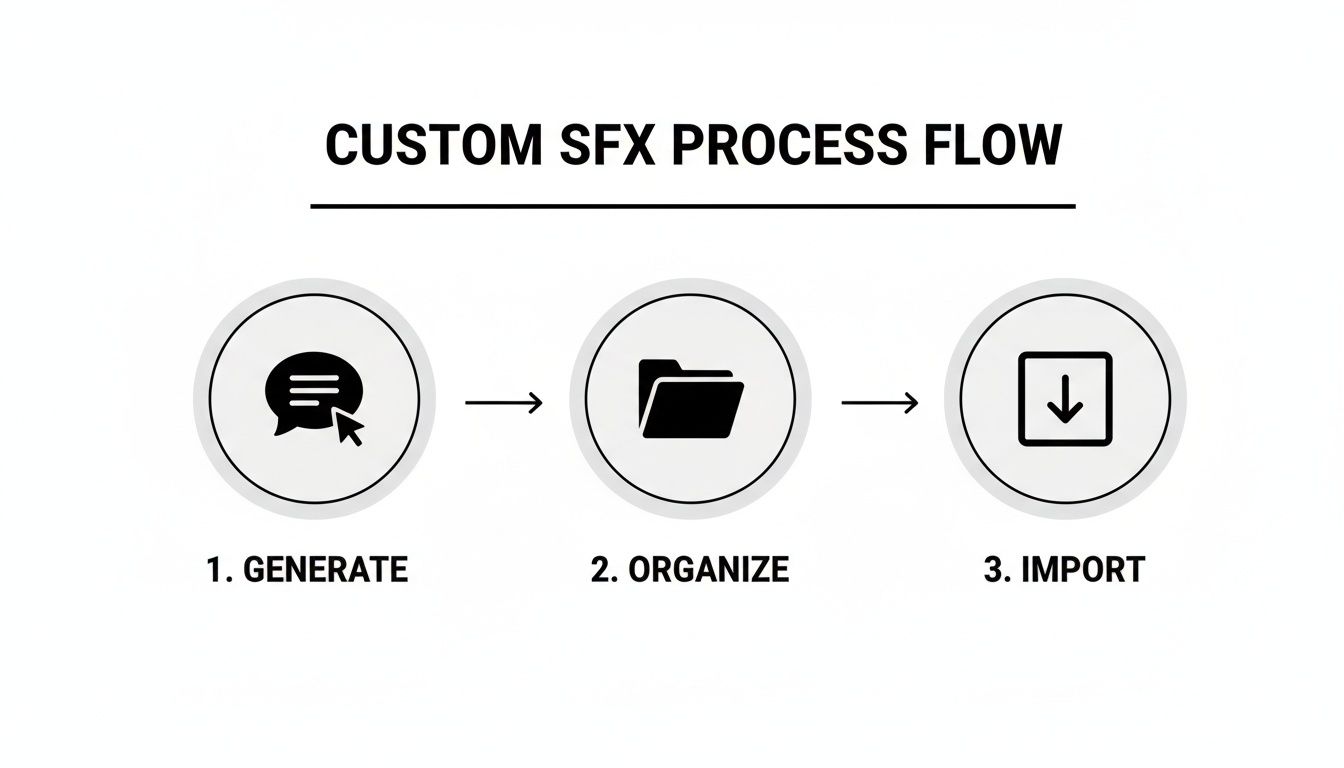
Starting with this simple Generate, Organize, and Import process means you’re not scrambling for files mid-project. Trust me, it makes the actual syncing part much less of a headache.
Markers are an absolute lifesaver for precision timing. Instead of just sliding an audio clip around and hoping for the best, you can create explicit sync points that lock your sound and visuals together. This is my go-to method for hitting those critical beats.
Here's how I approach it:
* key on your number pad. Boom, a layer marker appears. I like to double-click it and add a quick note like "Impact" or "Logo Reveal."* key again. Now your audio has a marker, too.This technique completely removes the guesswork. You're creating a direct link between the visual action and the audio cue, guaranteeing frame-perfect timing that makes your animation feel tight and impactful.
One of the most underrated features for syncing audio is simple scrubbing. Many people don't realize you can actually hear the audio as you drag the playhead, which is incredibly useful for finding the perfect spot for more subtle sounds.
Just hold down Cmd/Ctrl while you drag the playhead, and you'll hear the audio play back in real-time. This is perfect for placing little UI clicks or gentle whooshes where a full-blown marker might feel like overkill. You can just "feel" where it should go.
For a deeper dive, our guide on how to sync audio with video covers some more advanced ways to build on this fundamental skill.
What happens when you find a sound effect that has the perfect tone but is just a little too long or too short for your animation? Maybe you need a whoosh to cover a 20-frame transition, but the audio file is 30 frames long. This is a classic case for time remapping.
To get started, right-click your audio layer and navigate to Time > Enable Time Remapping. This adds a new property to your layer with keyframes at the beginning and end.
Now, you can simply drag the end keyframe to stretch or shrink the audio's duration to match your animation perfectly. The best part? After Effects is smart enough to do this without altering the pitch. Your sound won't suddenly turn into a high-pitched squeak or a low-frequency growl. It’s an invaluable tool for making an almost-perfect sound effect fit flawlessly.
A single sound effect can punctuate an action, sure. But what truly creates an immersive experience is a carefully constructed soundscape. This is where the real art of sound design begins, and it all comes down to layering. By combining multiple audio files, you can build a level of depth, texture, and emotional weight that one sound could never achieve on its own.
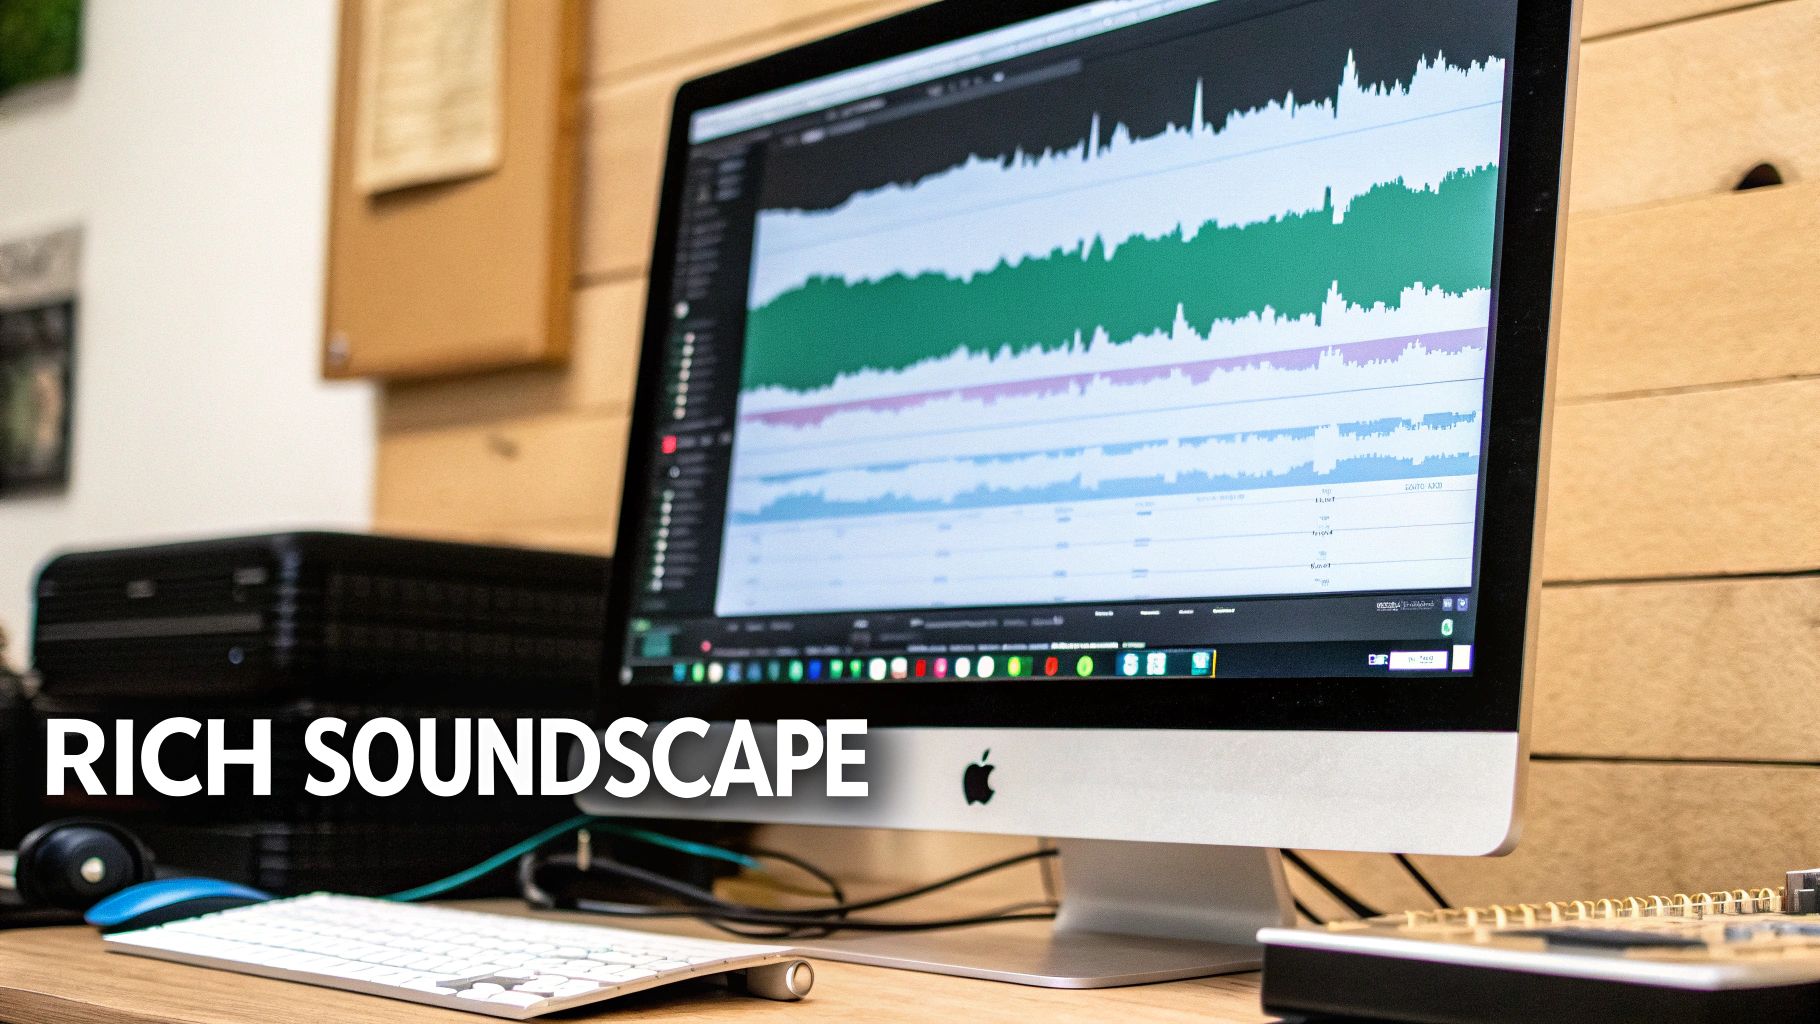
Think of it like painting. You don’t just use one color. You start with broad strokes and then add finer details. A single deep "whoosh" might work for a basic transition, but it lacks character. But what happens when you layer that whoosh with a crisp, high-frequency "swish" and a subtle "sparkle" effect? Suddenly, you have something that feels magical and unique.
The key is to give each sound its own space in the mix so they complement each other instead of clashing. That means paying close attention to both frequency and volume.
The moment you start stacking audio layers, you'll notice one thing immediately: everything gets louder. That's why the most critical part of layering is managing the volume of each element to create a clean, balanced mix. Your goal isn't just to make things loud; it's to make them clear.
I always start by identifying the primary sound. In that magical transition example, it's the deep "whoosh." This is the foundation—my loudest, most prominent layer.
The other sounds, like the "swish" and "sparkle," are secondary layers. Their entire job is to add texture and detail. I’ll pull their audio levels way down so they sit comfortably underneath the primary whoosh, adding flavor without turning the whole thing into a muddy mess.
My personal rule of thumb is to solo each secondary layer with the primary sound to hear how they interact. If a layer isn't adding something meaningful or just feels distracting, I get rid of it. Less is almost always more.
Get comfortable using audio level keyframes (just hit the L key) to adjust each layer's volume over time. Maybe that sparkle sound only fades in at the very peak of the transition for a little extra emphasis. This kind of subtle, dynamic mixing is what elevates sound design from amateur to professional.
Once your layers are balanced, you can add another level of polish using the built-in audio effects in Adobe After Effects. Now, these aren't going to replace a dedicated digital audio workstation, but they're surprisingly capable for most motion design needs. You can find them right under Effect > Audio.
Here are a few I find myself reaching for all the time:
Don't be afraid to experiment. Playing with these simple effects can completely change the character of your sounds. By combining thoughtful layering with subtle effects, you can build a rich, believable soundscape without ever leaving your After Effects timeline.
When you're ready to move past the basics of sound in After Effects, the real magic happens in your workflow. It's not about working harder; it's about working smarter. A few key adjustments to your process can save you from the headache of endless manual keyframing and a cluttered timeline. This is how you build a professional system that keeps your projects clean, efficient, and consistent.
Think of it this way: a streamlined workflow doesn't just make you faster. It frees up your mental energy to focus on what really matters—the creative side of sound design. Instead of wrestling with disorganized layers, you can pour that effort into crafting a truly compelling audio-visual experience.
One of the most powerful tools in your arsenal for a better workflow is expressions. These little bits of code are incredible for creating dynamic links between properties, letting you automate complex animations that react directly to your audio.
For instance, you can easily tie the scale of a shape layer to the amplitude of a music track. This is how you get those slick-looking visualizers that pulse perfectly in time with the beat, all without setting a single manual keyframe. It feels like cheating, but it's not.
Here are a few practical ways I use them all the time:
Why start from scratch every single time? If you find yourself repeatedly creating similar pieces—like logo stings, lower thirds, or call-to-action animations—building a sound-ready template is an absolute game-changer. Just set up a master After Effects project with your placeholder visuals and drop in audio markers at key moments.
By prepping templates with built-in sync points, you essentially create a “snap-to-grid” system for your sound effects. The next time a client needs a new logo animation, you just swap in their assets, and the entire sound design structure is already there waiting for you.
This isn't just a niche trick; it's quickly becoming an industry standard. If you look at major stock marketplaces, you'll see that sound-ready templates for openers and logo stings are some of the most sought-after After Effects assets. Search interest for terms like “logo animation” has spiked by over 1,000%. People want templates where they can easily snap sounds to existing keyframes, which just goes to show how much demand there is for this sound-conscious workflow.
And when you're working with a team, knowing how to annotate video effectively is a lifesaver. Clear communication about both visual and auditory cues is fundamental to an efficient process. Getting into these habits will make every part of your After Effects sound effects tutorial journey feel a whole lot smoother.
As you start getting your hands dirty with sound in After Effects, a few common questions and frustrations inevitably pop up. Let's get ahead of them so you can keep your creative momentum going.
This is a big one. Let's be clear: After Effects is not a dedicated digital audio workstation (DAW) like Adobe Audition. You aren't going to be mixing a feature film score in it.
However, for the vast majority of motion design work, it's more than capable. You can easily trim clips, keyframe volume, sync actions with markers, and even apply some pretty useful basic effects.
Think about the day-to-day stuff: adding crisp UI sounds, timing whooshes to perfection, or building a simple atmospheric bed for a scene. For those tasks, jumping over to another app is often overkill. AE gets the job done quickly and efficiently.
Ah, the dreaded stutter. If your audio is choppy during playback, it's almost certainly a performance bottleneck. Your machine is working overtime to render complex visuals and process audio simultaneously, and it just can't keep up.
The go-to solution is a RAM Preview.
By hitting '0' on your numeric keypad, you're telling After Effects to pre-render the work area into memory. Once that little green bar fills the timeline, your playback will be silky smooth, giving you a true representation of your timing.
If you're in a hurry and just need a quick check, you can also drop the preview resolution in your Composition panel. Another trick is to solo the audio layer you're working on; this lets you hear it clearly without the heavy lifting of rendering the visuals.
I can't stress this enough: always work with uncompressed audio formats. Your best bets are WAV or AIFF files.
Why? These formats contain 100% of the original audio data. This is crucial when you start stacking effects, tweaking levels, or time-stretching a sound. You need all that information to maintain quality.
Sure, an MP3 will import, but it’s a "lossy" format. To save space, it permanently throws away bits of audio information. That quality degradation might not be obvious at first, but it will become painfully apparent once you start editing. Always export and import the WAV version of your sounds to give yourself the most creative flexibility.
Tired of endlessly scrolling through sound libraries for that one perfect effect? With SFX Engine, you can generate custom, royalty-free sound effects from a simple text prompt. Stop searching and start creating. Give it a try for free and hear the difference in your next project.