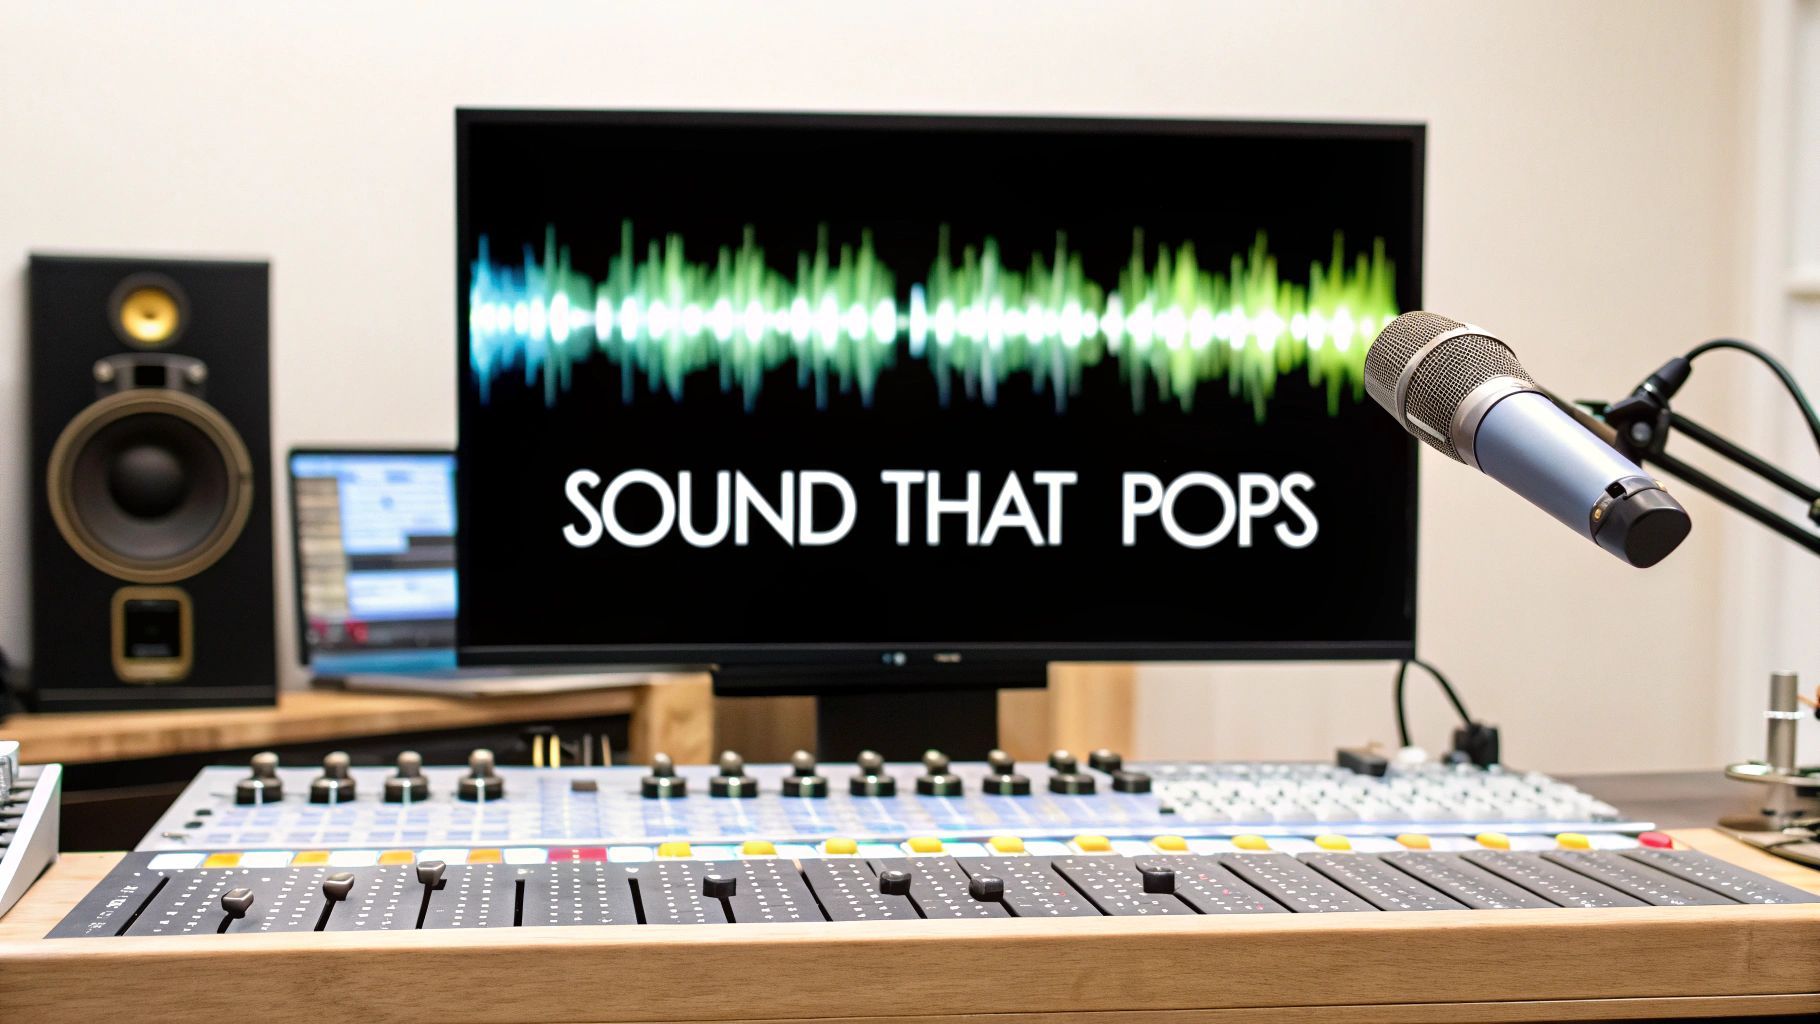
October 17, 2025 · Kuba Rogut
Animated sound effects are the secret sauce of any great cartoon. They're the specific audio cues timed perfectly with on-screen actions that inject emotion, personality, and impact. Think of them as the difference between a silent, lifeless animation and a vibrant, immersive world. These sounds are what turn simple movements into truly memorable moments.
Sound is an invisible yet incredibly potent storytelling tool. In animation, every single visual element is deliberately crafted, and the audio deserves that same level of care. Stock sound effects often feel generic and out of place, but custom-designed audio can transform a simple sequence of images into a compelling experience.
Take a character's walk, for example. A heavy, clumsy character might be paired with plodding, heavy thuds. A sneaky one? Maybe a light, barely audible patter. These distinct sounds help define personality without a single word of dialogue ever being spoken.
Good sound design makes a space feel real. It's not just about the loud, obvious effects but also the subtle ambient noises that build a believable world.
Here’s what I mean:
The key takeaway is that sound should never be an afterthought. It's a fundamental creative layer that works in harmony with the visuals to guide the audience’s emotional journey.
This tight link between action and audio isn't some new idea. The industry standard was set way back in 1928 with Walt Disney’s "Steamboat Willie," the first cartoon to successfully integrate a synchronized soundtrack with its animation. This breakthrough, often called "mickey mousing," made audio essential to the humor and storytelling of early cartoons. You can find more on the history of animation sound over at Boomboxpost.com.
When you start to understand the core principles of sound design, you can make smarter creative choices. Instead of just grabbing a sound that "fits," you start thinking about how audio can elevate the entire story. For a deeper dive, check out our guide on what sound design is and why it's so critical. That mental shift is the first step toward creating truly unforgettable animated content.
Diving into sound generation can feel like stepping into a recording studio for the first time, but it’s more intuitive than you might think. The real trick isn't just naming an object; it's about describing the texture, the feeling, and the movement you want the audience to hear. This is the moment you stop being just a creator and start thinking like a sound designer, painting with audio instead of pixels.
Let's take a classic animation scenario: a wizard unleashes a powerful magic spell that explodes on screen. Typing "magic spell" into the generator is a good start, but the result will likely be generic. It'll work, but it won't have the unique personality your animation deserves. We can do better.
Instead of just thinking about what the sound is, focus on how it sounds. What’s the spell made of? How does it feel to be near it? Is it smooth, sharp, or gritty?
Let's look at how a simple idea can evolve:
See the difference? That last prompt gives the AI so much more to chew on. It has texture ("crackle," "hiss"), an emotional vibe ("ethereal"), and clear action ("burst"). By layering in these details, you’re steering the generator towards creating truly custom animated sound effects that fit your world like a glove.
This simple infographic breaks down that back-and-forth process of turning a basic concept into a polished final sound.
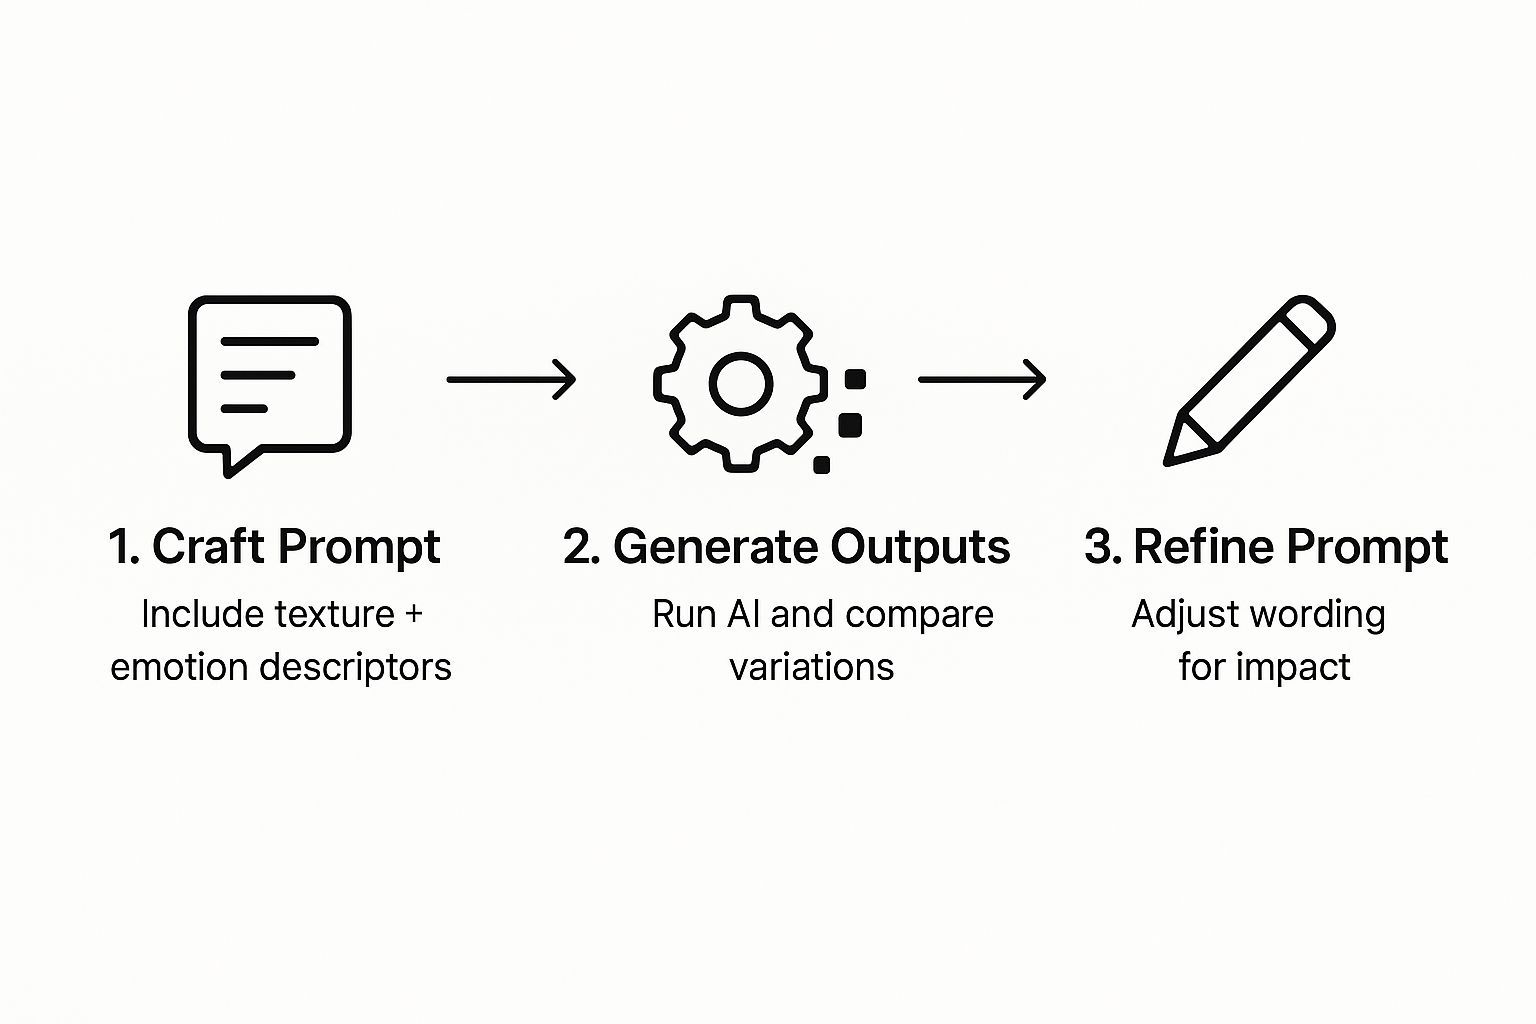
The big takeaway is that sound generation is a loop, not a one-and-done task. The real magic is in the refinement.
Once you have a few options, put on your headphones and listen closely. You might find one version has a fantastic low-end boom but misses that high-end sizzle. Another might have a perfect crackle but feel a bit thin overall. Don't see these as failures—think of them as ingredients.
Now, you can take the pieces you liked and combine them into a new, more specific prompt. Something like: "Powerful burst of crackling energy with a bright, ethereal shimmer and a sharp pop." This iterative approach is the key to creating a sound that perfectly marries up with your visuals. For a deeper dive into this workflow, check out our guide on how to create sounds for more advanced strategies.
The goal isn’t just to find a sound that works. It’s to craft your sound—the one that feels like it could only exist in your specific animated universe. This attention to detail is what elevates your project from having placeholder audio to professional-grade sound design.
If you’re curious about how this creative process fits into the bigger picture, learning more about AI-generated content can give your team some great context. This method of feeding AI rich, descriptive language is a powerful technique that applies to more than just audio. When you start treating the AI less like a machine and more like a creative collaborator, you unlock its ability to produce something genuinely unique for your project.
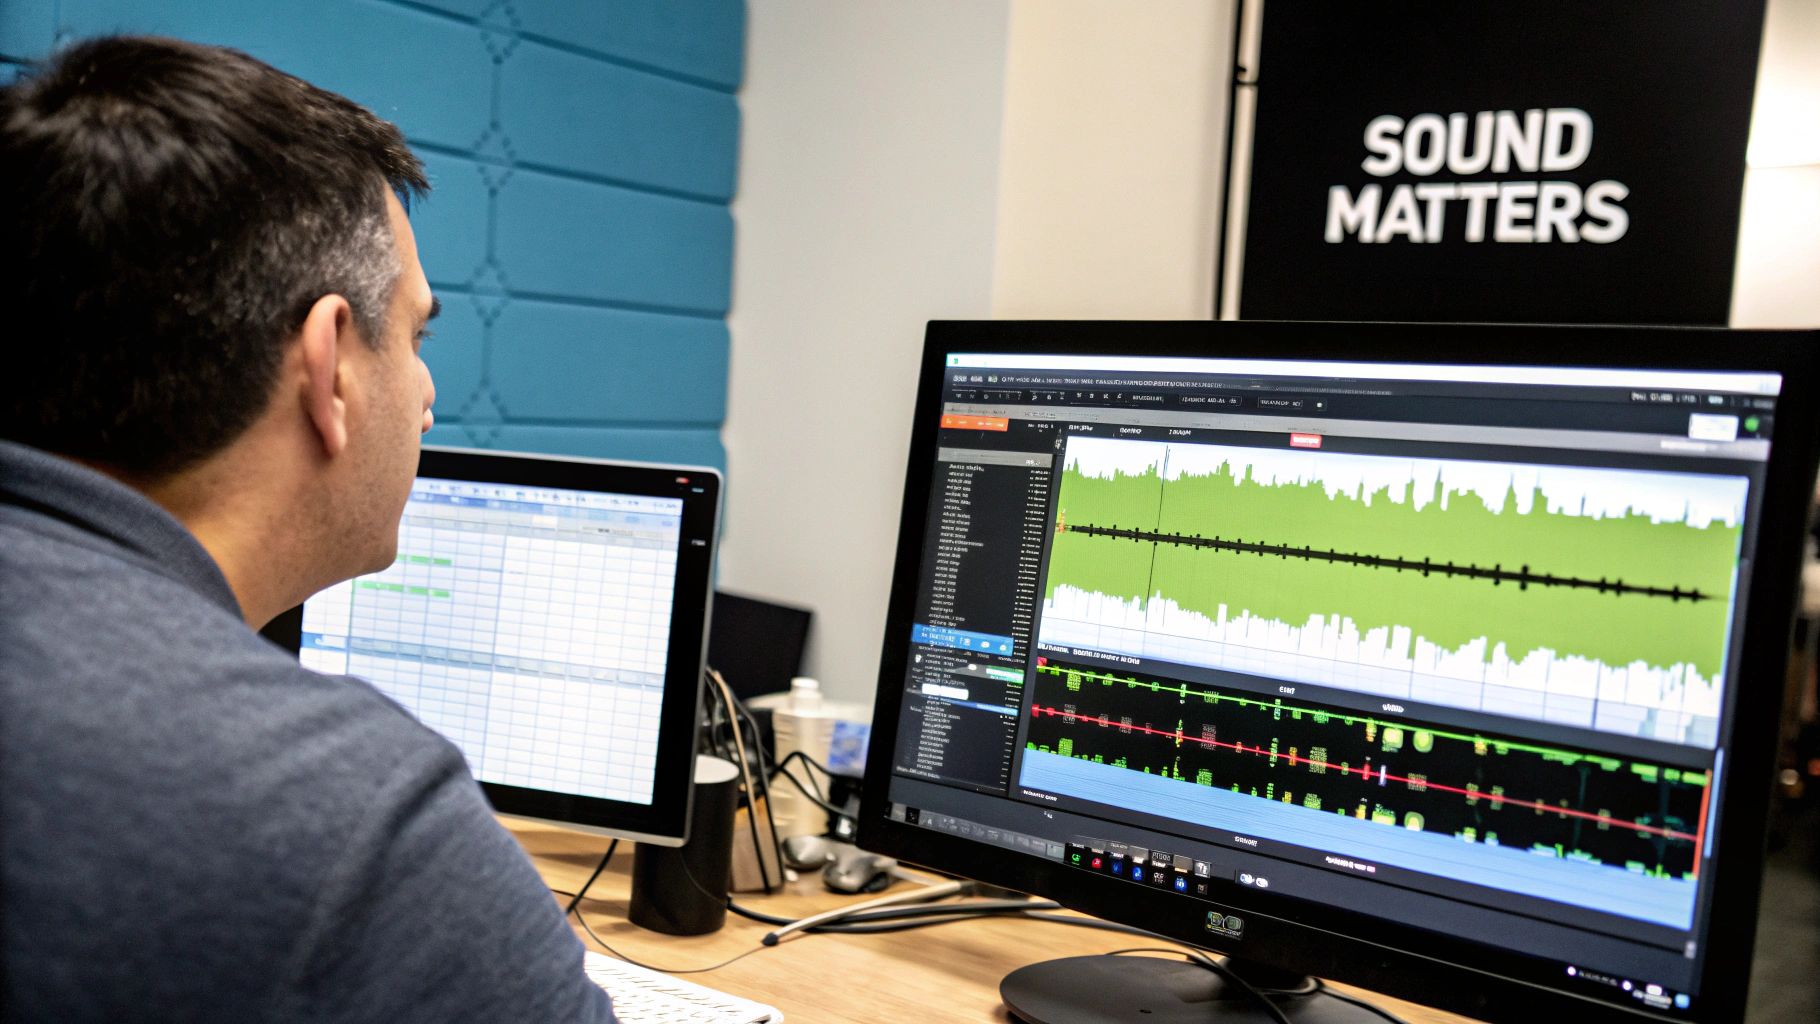
Getting a raw sound effect from the engine is a great first step, but the real magic happens in the editing timeline. This is where you roll up your sleeves and mold a decent sound into a perfectly timed, polished moment that makes your animation breathe. Honestly, without this stage, even the best animated sound effects can feel totally disconnected from the action.
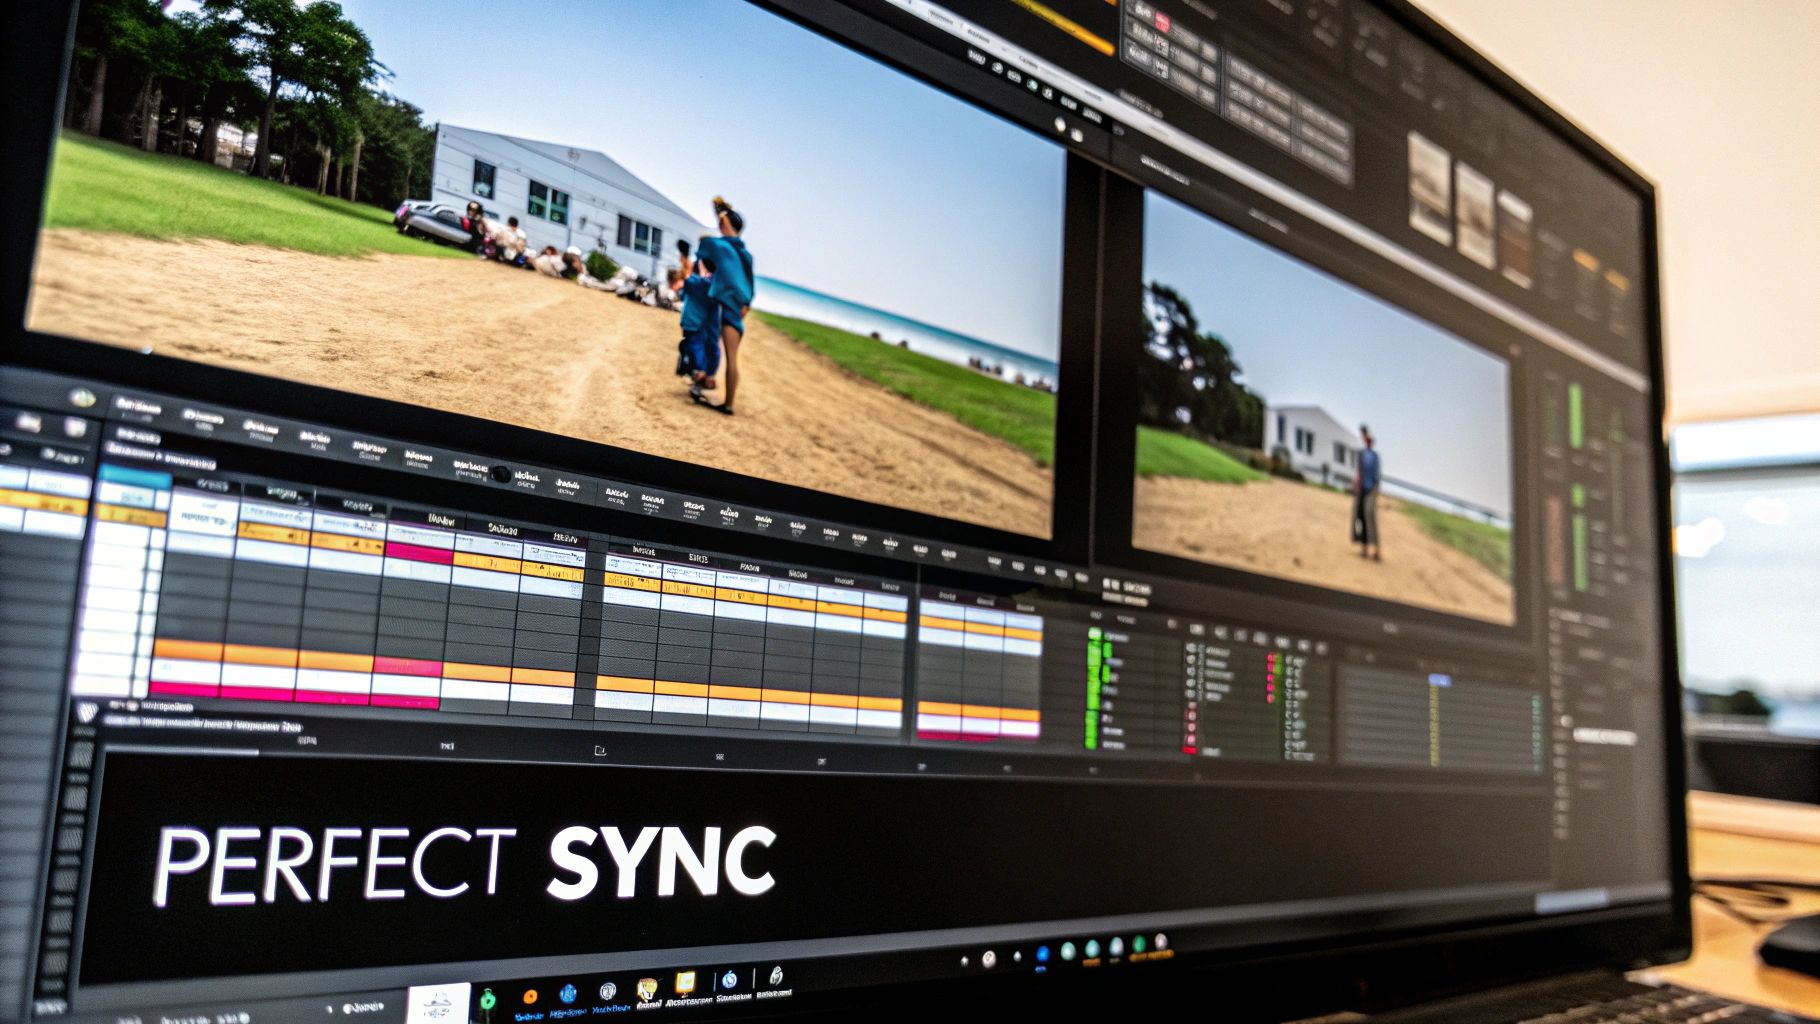
The whole point is to nail the synchronization. When a sound hits even a few frames too early or too late, the illusion is shattered. You're aiming for that seamless connection where audio and video feel like a single, unified event. That's what gives the action a satisfying, believable punch.
Rarely does a single sound capture everything that's happening on screen. The secret sauce for creating rich, immersive audio is almost always layering. Stacking multiple sounds lets you build a completely custom effect that has the exact energy and texture your animation needs.
Let’s go back to that wizard’s spell. Instead of just grabbing one generic "explosion" sound, think about the different parts of the action. You can construct a much more dynamic moment by layering individual sounds:
By combining these simple elements, you've created a mini-story. You’re not just hearing a bang; you're experiencing the energy gather, strike, and then fade away into nothing.
Once your layers are in place, it's time to start tweaking them to fit the scene's mood and environment. This is where your basic audio effects come into play, letting you shape the sound without having to go back and generate something new.
Fine-tuning isn't just about lining things up on a timeline. It's about making the sound feel like it genuinely belongs in the world you've created. This is what separates amateur work from truly professional sound design.
Here’s a quick look at some of the most common techniques I use to get sounds to sit perfectly in the mix.
| Technique | Primary Purpose in Animation | Example Scenario |
|---|---|---|
| Layering | Adds depth and complexity | Combining a whoosh, a crack, and a rumble for a magic spell impact. |
| Pitch Shifting | Alters the perceived size or speed | Increasing the pitch of a rock smash to make it sound like a small pebble. |
| Reverb | Creates a sense of space/environment | Adding a slight echo to a footstep to show it's happening in a large cavern. |
| EQ (Equalization) | Shapes the tonal character | Muffling a sound with EQ to make it seem like it's coming from another room. |
| Trimming | Perfects the timing | Cutting the start of a sound so the impact aligns perfectly with a visual hit. |
These tools are your bread and butter. For example, if that spell is cast in a huge, empty cave, adding a bit of reverb to your sound layers will make them echo and bounce off the walls realistically. That one small adjustment instantly sells the sense of scale.
Pitch shifting is another workhorse. Let's say you generated an awesome rock-crashing sound, but it's for a tiny pebble hitting the ground. Don't start over! Just increase the pitch a little. The sound becomes higher and lighter, perfectly matching the visual without you losing that great texture you started with.
If you want to dig deeper into the fundamentals of timing, our guide on how to sync audio with video is a great resource.
By getting hands-on with trimming, layering, and basic effects, you gain total control over your animated sound effects. This detailed work is what elevates a project, ensuring every sound doesn’t just match the action—it amplifies it.
Once you've gotten the hang of creating individual sounds, it's time to think bigger. We're moving beyond simply dropping in audio cues and into the art of designing an entire sonic world—a cohesive audio experience that makes your animation feel truly alive. This is where you graduate from a sound placer to a genuine sound designer.
The real goal here is to build a complete soundscape that tells a story all on its own. A thoughtfully designed world uses audio to communicate place, time, and emotion, often in ways the audience doesn't even consciously register. The sounds just become part of the world itself.
Every great animation has a sonic palette—a hand-picked collection of signature sounds that define a character, a location, or even the whole series. Think of it as an audio fingerprint. Does your hero's futuristic gear hum with a clean, electronic whir, or does it clank and hiss with a more rugged, steampunk vibe?
Establishing this palette early on creates consistency and helps build viewer recognition. When the audience hears that one specific sound, they instantly connect it to the character, reinforcing who they are and what they're about.
Here’s what I consider when building a palette:
Using synchronized sound to build a world isn't a new concept, of course. This very idea was a huge driver in the animation industry's growth. By the early 1930s, big steps in sound technology helped Disney transition into color productions. "Flowers and Trees" (1932) became the first Technicolor animated short to win an Academy Award, and it was a game-changer. Features like "Snow White and the Seven Dwarfs" (1937) really cemented how vital sound was to creating cinematic art. You can get a great overview of this evolution in animation's technological history on TimeToast.
To create a believable sense of space, you need to layer ambient background noise with specific, foreground action effects. Ambiance sets the stage and provides the foundational texture of a scene. The action effects are what punctuate the moments that really matter.
Let's say you have a scene in a bustling sci-fi marketplace. Your ambient layer would be a mix of distant crowd chatter, the whir of flying vehicles, and the low hum of neon signs. Then, on top of that, you'd layer your specific action sounds: the clink of credits changing hands, the sizzle from a street food vendor, and the distinct footsteps of your main character walking through it all.
Without that ambient layer, your action effects would feel sterile and disconnected, almost like they're happening in a vacuum. The background noise is the glue that holds the entire sonic world together, making it a rich and immersive experience.
For an even more organic and grounded feel, I love blending AI-generated animated sound effects with simple, recorded Foley sounds. If you're not familiar, Foley is the art of recording real-world sounds—like the rustle of clothing or a footstep on gravel—in sync with what’s happening on screen.
SFX Engine is brilliant for creating sounds that are impossible to record in real life, like magical blasts or alien creature calls. But pairing those sounds with real-world textures can add a surprising and welcome level of realism.
Try layering the generated whoosh of a sword swing with a recorded sound of your own jacket sleeve moving quickly through the air. The result is a uniquely textured and believable effect. This hybrid approach gives you all the creative freedom of AI with the grounded, tactile quality of real life.
You’ve got the perfect sounds cooked up in SFX Engine. Now for the fun part: dropping them into your animation and making the magic happen. This is where your audio and visuals finally meet, but a little bit of prep work here goes a long, long way. A messy workflow at this stage can turn a creative high into a real headache.
Believe it or not, success here starts with your files. Before you even think about importing anything, you need to be deliberate about your audio format. It's a choice that directly impacts quality and how smoothly your project runs.
You’ll mainly be dealing with two formats: WAV and MP3. They might seem similar, but in a professional workflow, they have completely different jobs. Knowing when to use each is crucial for keeping your audio crisp and clean.
It’s just like working with photos. You do all your editing on the huge, high-resolution RAW file (your WAV), and only save it as a smaller JPEG (your MP3) once everything is perfect.
A well-organized sound library is your best friend. Seriously. When you're deep in a creative flow, the last thing you want is to spend 20 minutes digging through a messy folder for the right footstep sound. You need a system.
I’ve found that organizing by category is the simplest and most effective method. Create a clear folder structure from day one.
Footsteps/Impacts_Hits/UI_Clicks/Magic_Spells/Inside those folders, get specific with your file names. A consistent naming convention like Character_Action_Descriptor_V01.wav (e.g., Goblin_Footstep_Grass_V02.wav) makes any sound easy to find with a quick search. This seems tedious at first, but it will save you an incredible amount of time down the road.
Your goal is an intuitive library. If you can find any sound you need in less than 10 seconds, you're doing it right. This isn't just about being tidy; it's about building a professional workflow that lets you stay creative.
Once your files are in order, getting them into your software—whether it’s Adobe After Effects, Premiere Pro, or something else—is pretty simple. The real craft comes from understanding the role of a video editor and how sound fits into the bigger picture.
After importing, just drag your animated sound effects onto the timeline. Your main job is to sync them perfectly with the action on screen. A sound that’s a few frames off can feel clumsy and unprofessional, so zoom in and get it right.
Next, focus on levels. Use keyframes to adjust the volume so the sound effect supports the scene instead of distracting from it. You can also use panning to create a sense of space. If a car drives past from left to right, pan the audio to follow its movement. It’s a small touch that makes the whole experience feel more real.
Getting into animated sound effects always brings up a few practical questions. It doesn't matter if you've been animating for years or are just starting out; having clear answers helps you work faster and be more creative. Let's dig into some of the things animators ask most often.
This one trips people up all the time. People often use Foley and SFX (sound effects) interchangeably, but in the sound design world, they mean very different things.
Honestly, the real magic happens when you blend them. You could take a big, punchy whoosh generated by AI and layer it with a simple Foley recording of a shirt sleeve swishing through the air. The result? A completely custom punch sound that has weight and character.
So, can an AI tool replace your entire sound design process? Not quite. While AI is an incredible tool for brainstorming and creating unique sounds that would be a nightmare to record in real life, the best work comes from a hybrid approach.
I've found it's best to use AI to generate the core creative sounds—the ones that define a magical spell or a futuristic gadget. But don't stop there. Take those AI-generated files and use them as a foundation. Fine-tune them, layer them with a few sounds from a traditional library, and maybe mix in a touch of subtle Foley to give them a physical presence. This workflow gives you the raw creativity of AI with the fine-tuned control of a professional sound designer.
The quickest way to make your sound effects feel custom and not generic is layering. A single sound can feel thin. But when you combine three or more small elements—like a little click, a soft beep, and a tiny whoosh for a simple button press—you suddenly have something that feels rich and intentional.
When you’re pulling sounds for a project, what format should you be looking for? The answer is simple: WAV.
Always, always work with uncompressed formats like WAV for your source files. This is your master audio, and it contains all the original data. That means you can stretch it, edit it, and layer it with other effects without degrading the quality. Once you’re finished and ready to export your animation for a platform like YouTube, it will get compressed anyway (usually to something like AAC). By starting with high-quality WAV files, you ensure that the final, compressed audio still sounds crisp and clean.
Ready to start making your own unforgettable animated sound effects? With SFX Engine, you can generate custom, royalty-free audio in seconds just by typing.