January 16, 2026 · Kuba Rogut
The best export settings for YouTube really boil down to a few key choices: you'll want to use the H.264 codec inside an MP4 container, paired with a high bitrate and AAC audio. This specific recipe is your best bet for making sure your video survives YouTube's notoriously aggressive compression algorithm without turning into a pixelated mess.
For those who need the answer now, here's a quick summary of the ideal settings. The rest of the guide will explain the 'why' behind each choice.
| Setting | Recommendation (SDR) | Why It Matters |
|---|---|---|
| Container | MP4 | The universal standard. Compatible everywhere. |
| Codec | H.264 (or HEVC/H.265) | Best balance of quality and file size. The gold standard for web video. |
| Resolution | 1080p (1920x1080) or 4K (3840x2160) | Uploading in 4K gives you the high-quality VP9 codec, even for 1080p viewers. |
| Bitrate | 15-20 Mbps (1080p) / 45-65 Mbps (4K) | The single most important factor for visual quality. Higher is better. |
| Frame Rate | Match your source (e.g., 24, 30, 60 fps) | Keeps motion looking smooth and natural, just as you filmed it. |
| Audio Codec | AAC-LC | The standard for YouTube audio, offering great quality. |
| Audio Bitrate | 320 kbps (or 384 kbps) | Preserves audio fidelity and prevents a "muffled" sound. |
This table gives you the specs, but understanding the reasoning is what will truly level up your content.
Ever spent days, or even weeks, getting a video just right, only to upload it and watch in horror as it becomes blurry, blocky, and washed out? I've been there, and it's incredibly frustrating. That quality drop isn't your camera's fault—it’s what happens when your export settings lose a fight with YouTube’s compression.
When you hand your video over to YouTube, it doesn't just put the file on a server. It re-encodes it, creating a whole new set of files for different internet speeds and devices.

If the file you upload is already thin on data, that compression process will amplify every single flaw. Think of it like making a photocopy of a photocopy—the quality degrades with each generation. The goal here is to give YouTube a "master copy" that’s so data-rich and pristine that even after it gets crunched down, the version your audience sees still looks sharp and professional.
The real enemy we're fighting is a low bitrate. The bitrate is simply the amount of data used to encode each second of your video, and when it’s too low, you start seeing those all-too-common visual problems.
By intentionally exporting at a higher quality than YouTube's minimums, you're feeding its algorithm more information to work with. This is your single best defense against visible compression, ensuring the final video stays as true to your original edit as possible.
This principle is a cornerstone of professional work. For a deeper dive into creating high-quality visuals from start to finish, our guide on https://sfxengine.com/blog/video-production-best-practices offers a solid foundation. The underlying principles for high-quality content, whether for YouTube or other platforms, are essential for anyone learning how to make marketing videos that drive conversions.
Ultimately, nailing your export workflow isn't just about ticking boxes in a settings panel; it's about respecting the time and creativity you've poured into your project. You did the hard work of shooting and editing. This is the final, critical step to make sure your audience sees that work in the best possible light.
To get the best possible quality on YouTube, you first have to understand what the platform is actually looking for. Think of it less as a black box and more as a set of preferences. When you export your video, you’re basically packaging it up in a way that YouTube’s system can easily unpack and process without butchering your quality. This isn't about memorizing a bunch of technical jargon; it's about making a few smart choices in your export settings.
At its core, your final video file has two main parts: the container and the codec.

The container is simply the file type you see—the .mp4 or .mov at the end of your filename. It holds everything together: the video stream, the audio stream, and other metadata. For YouTube, MP4 is the undisputed king. It’s efficient, universally supported, and exactly what the platform is built to handle. While you can upload other types like .mov, sticking with MP4 is the simplest way to guarantee a smooth upload.
Tucked inside that MP4 container is the codec (short for coder-decoder). This is the real engine doing the heavy lifting—it’s the technology that compresses your massive video project into a file size that’s actually manageable for the internet. For years, the gold standard for YouTube has been H.264 (also known as AVC), and for good reason. It hits the sweet spot between video quality and file size, which is precisely why YouTube recommends it.
But here’s a pro tip that can make a noticeable difference. Some in-depth testing has shown that uploading a higher-quality "intermediate" codec, like Apple ProRes HQ, can sometimes yield a better-looking final video on YouTube. Even if YouTube compresses both down to the same bitrate, giving its algorithm a cleaner, data-rich source file to start with can result in fewer compression artifacts. You can dive deeper into these codec comparisons and export myths in this detailed analysis.
So, when should you use what?
The bottom line for most creators is simple: stick with H.264. It's reliable, efficient, and delivers fantastic results without the headaches of professional codecs.
Ever uploaded a video that looked perfect in your editor, only to see it look flat and washed out on YouTube? That’s almost always a color space problem. Your video file needs to be properly tagged with color information so browsers and devices know how to display it correctly.
For standard dynamic range (SDR) video—which is what most people create—the industry standard is Rec. 709. Your editing software probably defaults to this, but it’s something you absolutely need to double-check in your export settings.
If you’re working in High Dynamic Range (HDR), you need to use a wider color space like Rec. 2020 or PQ (HLG) and explicitly tell your software to export it that way. Getting this wrong is like sending your video to YouTube with bad directions; the colors will get lost along the way.
Beyond the big two (codec and container), a few other technical settings put the finishing touches on your export file. Getting these right is the difference between a good upload and a great one.
| Setting | Our Recommendation | Why It Matters |
|---|---|---|
| Profile | High | This setting unlocks features needed for high-definition video and is the standard for web. Think of it as the "HD-ready" switch. |
| Level | 5.1 or 5.2 | This tells the decoder how much processing power is needed. Use 5.1 for 4K up to 30fps. For high-frame-rate 4K (60fps), bump it up to 5.2. |
| Render at Maximum Depth | Enabled | Always check this box. It processes colors at a higher 32-bit depth, which is a lifesaver for reducing ugly color banding in gradients, like a sunset or a dark, shadowy wall. |
These might seem like minor details, but they work together to create a robust file that can withstand YouTube's compression algorithm. A little attention here saves you a lot of frustration later.
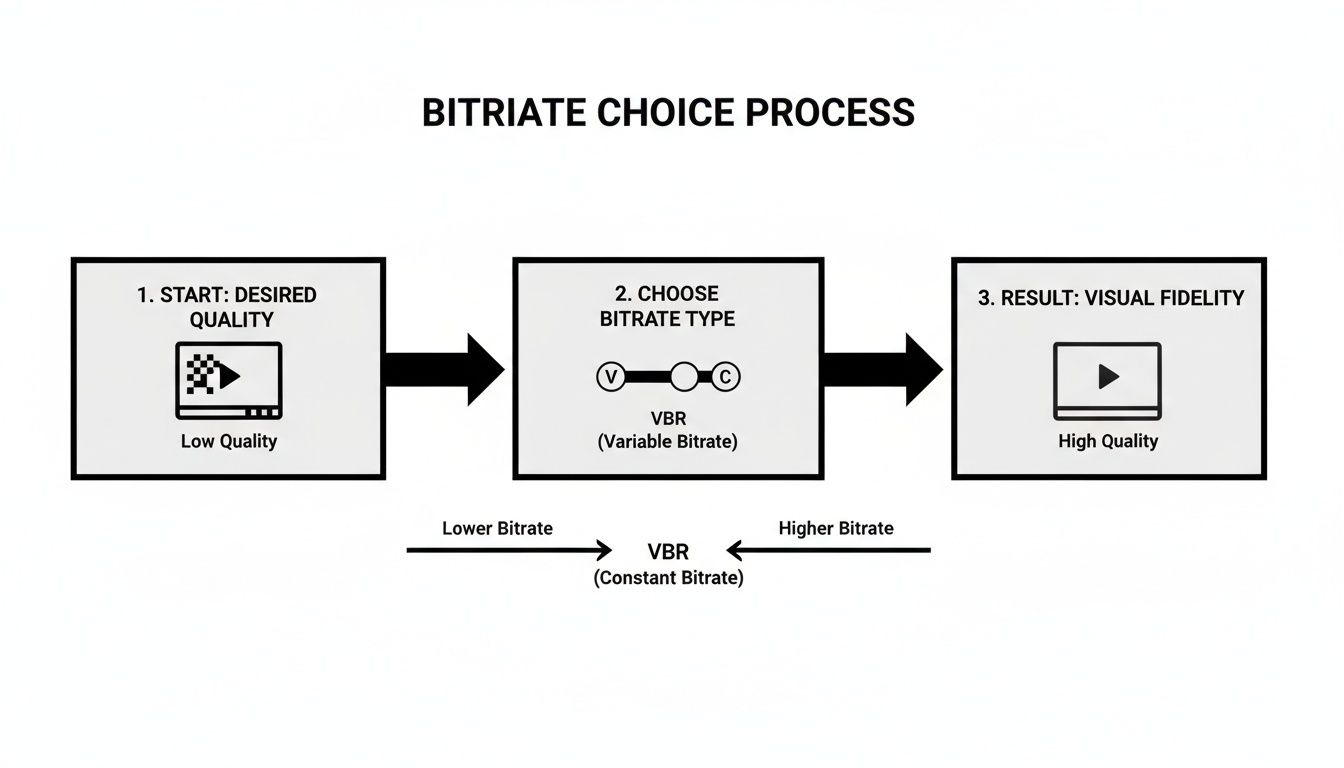
If there’s one setting that can make or break your video quality, it’s bitrate. This is the big one. It directly controls how much data is packed into your final video file, and getting it wrong is the #1 reason pristine footage turns into a blocky, pixelated mess on YouTube.
Think of bitrate as the “data resolution” of your video. Too little, and the entire picture just crumbles.
Your main decision here comes down to Constant Bitrate (CBR) versus Variable Bitrate (VBR). CBR is a blunt instrument—it forces the same amount of data into every single second of your video, regardless of whether it’s a static shot or a chaotic action scene. It's incredibly inefficient.
VBR is the smarter choice. It analyzes your video and intelligently allocates more data to complex, fast-moving scenes while dialing it back for simpler, static moments. For just about anything you upload to YouTube, VBR is the way to go.
Let's imagine you're cutting between a calm talking-head interview and a high-speed drone shot flying over a forest.
If you used CBR here, the talking-head part would get far more data than it needs (bloating your file size), while the drone shot would be starved for data, leading to ugly compression artifacts. VBR gives you higher quality exactly where it matters most, all while keeping your file size efficient.
The professional consensus is clear: variable bitrate is the superior technique for web video. For a rock-solid workflow, most experts recommend a VBR, 1-Pass setting with a target bitrate around 30 Mbps for 1080p footage. This approach consistently produces better-looking results with smaller file sizes and faster exports. For more in-depth discussions, check out these conversations on professional editing forums.
When you choose VBR, you’ll usually see two options: "1-Pass" and "2-Pass" encoding.
While 2-Pass can technically eke out slightly better quality, it can easily double your export time. Honestly, for the vast majority of online content, VBR 1-Pass is the perfect balance of quality and speed. Save 2-Pass for those mission-critical projects where you need to squeeze out every last drop of quality and render time is no object.
YouTube publishes a list of "recommended" bitrates, but take those with a grain of salt. Think of them as the absolute minimum. To truly bulletproof your video against YouTube’s aggressive compression, you need to aim higher.
Feeding YouTube a data-rich file is the best insurance policy for a clean final result. Here are the target bitrates I and many other professionals use—they provide a healthy quality buffer.
| Resolution & Frame Rate | Our Recommended Target Bitrate (SDR) | Why This Range Works |
|---|---|---|
| 1080p @ 24/30 FPS | 15 - 20 Mbps | This is the sweet spot for standard HD. It gives you plenty of data for crisp detail without creating massive files. |
| 1080p @ 60 FPS | 25 - 30 Mbps | The higher frame rate needs more data to keep motion smooth and clear. This range prevents blockiness in fast action. |
| 4K (2160p) @ 24/30 FPS | 45 - 65 Mbps | A robust target for sharp 4K uploads, ensuring fine textures and details survive YouTube's re-compression. |
| 4K (2160p) @ 60 FPS | 65 - 85 Mbps | This is the gold standard for high-octane 4K60 content, like gaming or sports, where maximum data is essential to keep the image from falling apart. |
When you set these as your target bitrate in a VBR 1-Pass export, you’re essentially handing YouTube a file that’s too good for its algorithm to ruin. It has all the information it needs to create a high-quality stream, ensuring your hard work looks just as good on your viewer's screen as it did in your editor.
All the theory in the world doesn't mean much until you're staring at that "Export" button. So, let's turn those ideal settings we've talked about into concrete steps inside the most popular video editors. The goal here is to move past the default "YouTube" presets—which are often just okay—and craft a custom preset that gives you a sharp, reliable export every single time.
Of course, before you can even think about exporting, you need a solid editing platform. If you're still exploring your options, checking out the best video editing software for beginners can help you find a good fit. But for those of you already set up, let's get your settings dialed in.
Premiere Pro’s export window is packed with options, which is great for control but can feel a bit overwhelming. The simplest way I've found to tackle it is to start with a built-in YouTube preset and then tweak it to perfection.
First things first, head to File > Export > Media to open the Export Settings dialog box.
Now for the important part: customizing the settings under the Video tab.
My Go-To Tip: Once you have these settings just right, click the "Save Preset" icon (it looks like a little floppy disk) next to the Preset dropdown menu. Name it something you'll remember, like "YouTube 4K Master." This saves you from having to fiddle with these settings on every single project.
The logic behind choosing your bitrate is what separates a muddy video from a crisp one. It's all about giving the encoder enough data to work with, especially when using a Variable Bitrate.
As you can see, locking in a high-quality Variable Bitrate is the key to avoiding that pixelated mess after YouTube gets its hands on your video.
DaVinci Resolve keeps its export process clean and simple on the Deliver page. While it has a direct-to-YouTube upload function, I always recommend using the Custom Export for maximum control.
Once you’re on the Deliver page, select Custom Export from the top left.
From there, it's all about the quality settings.
When you’re all set, click Add to Render Queue and then Render All. If you're curious how Resolve stacks up against other editors, there are some great https://sfxengine.com/blog/video-production-software-comparison guides that break down the strengths of each.
Final Cut Pro tends to hide some of the more granular settings, but you can still get a fantastic result by creating a custom "Destination."
Go to File > Share > Add Destination.... In the window that pops up, double-click the Export File option to start creating your custom preset.
After you've created this destination, it will appear in your share menu. Just go to File > Share > [Your New Preset Name] for future exports. Final Cut handles the bitrate calculation for you based on the "Better Quality" setting, but in my experience, it does a great job of assigning a high bitrate that holds up well against YouTube's compression. It's a really solid workflow that blends simplicity with high-quality output.
You can have the most stunning 4K footage in the world, but if your audio is tinny, distorted, or too quiet, viewers are gone. It’s a harsh truth: people will forgive a slightly soft focus, but bad sound is an instant click-away. Let’s make sure your audio is as clean and impactful as your visuals.

The good news? Unlike the rabbit hole of video settings, getting audio right for YouTube is pretty straightforward. The platform has largely standardized its processing, which takes a lot of the guesswork out of the equation for us creators.
Just as H.264 is the undisputed king of video codecs online, AAC (Advanced Audio Coding) is the standard for audio. It’s the format YouTube is built to handle, offering fantastic quality without bloating your file size. When you get to your export screen, this is the only option you need to worry about.
Once you’ve selected the codec, the next dial to turn is the bitrate. This works exactly like video bitrate—it’s the amount of data used to create the sound.
Think of 320 kbps as your gold standard for stereo audio. It provides plenty of data to preserve the crispness of your highs and the richness of your lows, ensuring your mix doesn't turn into a compressed, muddy mess after YouTube processes it. You might see lower options like 192 kbps or 128 kbps, but resist the temptation. Stick with 320 kbps every time.
Another setting you'll see is the sample rate. For any kind of video work, 48 kHz is the industry standard. While music CDs famously used 44.1 kHz, the professional video world runs on 48 kHz. If you're curious about the technical reasons, we've covered it in our deep dive on the best sample rate for audio, but for YouTube exports, just lock it in and you're good to go.
This is the one thing that separates amateur audio from a professional, broadcast-quality sound on YouTube. Ever wonder why most videos on the platform have a remarkably consistent volume level, no matter who made them? This is the result of loudness normalization.
YouTube’s system automatically measures the perceived loudness of every single video and adjusts it to meet a target of -14 LUFS (Loudness Units Full Scale). LUFS is a much smarter way to measure loudness than just looking at the peaks on your meter.
Here's the catch: If you upload a video that's way louder than -14 LUFS, YouTube will crush it down, potentially destroying your mix's dynamics. If your video is too quiet, YouTube cranks it up, which also amplifies any hiss or background noise you might have.
The pro move is to master your audio so its integrated loudness is right around that -14 LUFS target. All the major editing programs—Premiere Pro, DaVinci Resolve, Final Cut Pro—have built-in loudness meters that make this easy to check.
By aiming for this target yourself, you take control away from YouTube’s algorithm. Your audio will sound exactly as you mixed it: dynamic, clear, and perfectly balanced. It's a small final check that makes a massive professional difference.
Even after you've nailed down a solid workflow, some questions always seem to pop up. Let's tackle some of the most common hurdles I see creators run into when exporting their videos for YouTube.
Getting these right isn't just about ticking boxes; it's about making sure all your hard work in the edit bay actually shows up on screen for your audience.
Yes. Do it. This is probably the single best trick in the book for getting better quality on YouTube.
When you upload a 4K file, YouTube gives it the VIP treatment by processing it with its better, more efficient VP9 codec. By simply upscaling your 1080p timeline to 4K (3840x2160) on export, you're essentially forcing your video into this higher-quality pipeline.
The result is a 1080p stream that looks noticeably sharper and cleaner than if you'd just uploaded a standard 1080p file. No, it doesn't magically create new pixels, but it does an incredible job of preserving the detail you already have. The only real downsides are bigger files and longer uploads, but the visual payoff is almost always worth it.
Nope, and this is a big one. You can absolutely hit a point of diminishing returns with bitrate. Sending YouTube a 1080p video with a massive 200 Mbps bitrate won't look any different than one sent at a reasonable 20 Mbps once their servers re-compress it.
Think of it like this: your video needs enough data to survive YouTube's compression gauntlet. Once you provide that, anything extra is just wasted.
The goal isn't to upload the biggest file possible. It's to upload a file that's high-quality enough to look great after YouTube is done with it. Stick to the recommended targets—something like 15-20 Mbps for 1080p or 45-65 Mbps for 4K—and you'll give the algorithm plenty to work with without wasting hours on an unnecessarily huge upload.
For Shorts, the fundamental export settings are the same, but the frame is different. You're working vertically, and that's non-negotiable if you want it to be recognized as a Short.
Here's your go-to checklist for perfect Shorts:
Ah, the classic color space problem. This is one of the most frustrating things to see: your perfectly graded, vibrant video suddenly looks flat, gray, and lifeless on YouTube.
Nine times out of ten, this is because of a mismatch between the color information in your file and how YouTube is reading it. For standard (SDR) video, the industry standard and what YouTube expects is Rec. 709.
The fix is to be explicit. Dive into your project settings and your export settings and make sure both are locked to Rec. 709. This "tags" your file with the correct color information, telling YouTube exactly how to display the colors you intended. Making this a final check before you export will save you a world of frustration.
Crafting the perfect sound is just as important as perfecting the visuals. For creators who need custom, high-quality audio on demand, SFX Engine provides an AI-powered sound effect generator to bring your projects to life. Find the exact sound you need, from subtle Foley to impactful cinematic effects, all royalty-free and ready for your next video.