February 27, 2026 · Kuba Rogut
A truly convincing car driving by sound effect isn't just one recording. It's a complex tapestry woven from distinct audio layers. The real magic happens when you blend the engine's tonal shift, the specific texture of the tire noise, the rush of air, and the way sound bounces off the environment. Getting a handle on these individual components is the secret to creating something that sounds truly immersive.

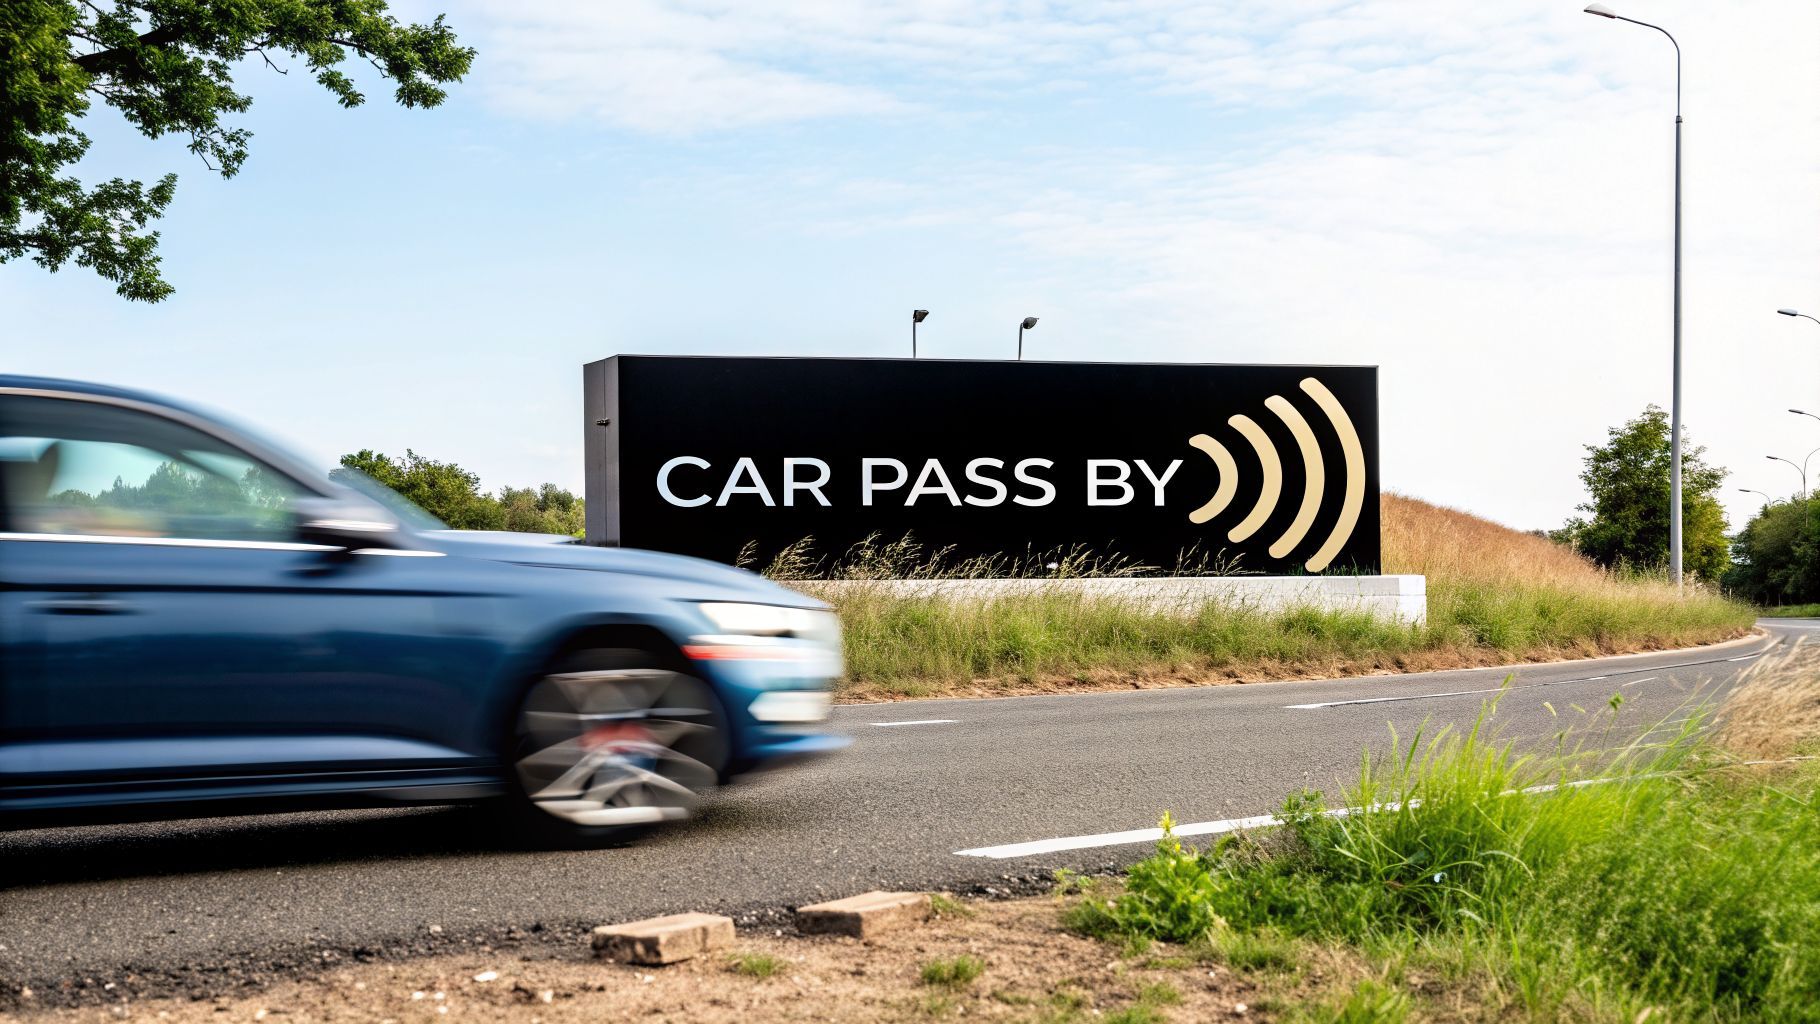
Think of crafting a car pass-by like building a character from scratch. Each element tells a piece of the story—what kind of vehicle it is, how fast it's going, and the space it’s moving through. Just dropping in a generic "whoosh" file will almost always feel flat and disconnected from the scene. The real artistry is in breaking the event down into its core sonic parts.
To get this right, you have to stop thinking about a single sound file and start thinking in layers. Each layer has a specific job to do, bringing its own unique texture and energy to the final mix.
The Engine Core: This is the heart and soul of the sound. Is it the high-pitched whine of a sports car, the deep rumble of a truck, or the almost-silent hum of an EV? This layer is what gives the vehicle its personality.
Tire and Road Texture: This layer grounds the sound in reality and provides crucial context. The gritty scrape of tires on a gravel road sounds worlds apart from their smooth sizzle on wet asphalt. It’s a subtle detail, but one that makes a massive difference.
Air Displacement (The Whoosh): As a car slices through the air, it pushes it out of the way. This is your classic "whoosh," but it should always support the engine and tires, not overpower them. Its intensity is a direct clue to the vehicle's speed and size.
Environmental Reflections: This is what puts the car into a physical space. A car whipping through a narrow alley will create sharp, quick echoes, while one on an open highway will have a much broader, more diffused sound.
To give you a clearer picture of how these elements work together, here’s a quick breakdown of what each layer contributes to the final sound.
| Sound Layer | Its Role in Realism | What to Listen For |
|---|---|---|
| Engine | Defines the vehicle's character, power, and speed. It's the primary tonal element. | The pitch change (Doppler shift), the engine's RPM, and unique characteristics like a turbo whine or exhaust growl. |
| Tires | Provides physical grounding and surface context. Connects the car to the world. | The difference between smooth asphalt, rough pavement, or a wet surface. Listen for the "sizzle" or "rumble." |
| Air (Whoosh) | Communicates speed and size by representing air displacement. | The intensity and sharpness of the whoosh. A larger vehicle displaces more air, creating a deeper, more powerful rush. |
| Environment | Places the car in a believable space through echoes and reverberation. | Quick, sharp reflections in a tunnel versus the open, diffused sound of a field. This adds depth and context. |
By separating these components, you can build a more convincing and dynamic sound effect that truly fits the scene.
The most common mistake in sound design is treating a pass-by as one event. Breaking it down into engine, tires, and environment allows you to build a dynamic and realistic moment that feels authentic to the listener.
Working with separate layers gives you total creative control. You can fine-tune the timing, making sure the engine's approach lines up perfectly with the tire noise for a seamless, natural-sounding event. This level of detail is essential for creating immersive experiences in film, video games, or even high-end driving simulators where audio accuracy is critical.
This layered approach is a fundamental principle in professional sound design, drawing from the same techniques used in Foley. By learning to separate and then skillfully blend these sounds, you can create a car driving by sound effect that doesn't just work—it elevates the entire audio experience. If you want to dive deeper into this world, you can learn more about Foley in our detailed guide at https://sfxengine.com/blog/what-is-foley-sound.

Every killer car driving by sound effect starts with top-notch source material. You’ve really got two ways to get it: record it yourself out in the field or pull it from a professional sound library. Neither one is "better"—it all comes down to what your project needs and what resources you have.
Heading out to record it yourself gives you total creative control. You can capture a one-of-a-kind sound that perfectly matches the car, the speed, and the environment you're trying to create. If you go this route, a little prep work will save you a world of headaches later.
The microphone you choose has a huge impact on the final sound. There’s no single "best" mic for this job; different types are just different tools for different tasks.
My Two Cents: Never, ever record outside without a windscreen. Even a slight breeze can create a low-end rumble that will completely ruin your recording. A foam cover is a start, but a proper "dead cat" or blimp is what you really need to get clean, usable audio.
Don't have the gear or the time to record? No problem. Professional sound libraries are a fantastic resource, as long as you know what you’re listening for.
Your mission is to find clean, isolated recordings. Look for engine startups, steady RPMs at different speeds, and tire sounds on surfaces like asphalt or gravel. The cleaner the source—meaning no baked-in reverb or background noise—the more freedom you'll have to shape it yourself.
Some libraries are treasure troves of variety. The BBC's archive, for example, has everything from a 1911 Rolls-Royce Silver Ghost door slam to the engine of a 1900 Benz. Digging into collections like that can unearth some truly unique textures for your projects.
Remember that the type of vehicle is key. The aggressive roar of a muscle car is worlds apart from the superb quietness of electric vehicles. Sourcing a good range of sounds will make your toolkit that much more powerful. Whether you're recording or downloading, the goal is the same: get clean, high-quality building blocks to work with.
The raw audio you’ve sourced is just the starting point. The real magic happens inside your Digital Audio Workstation (DAW), where we transform those individual clips into a single, believable car driving by sound effect.
Rarely does a single recording capture everything. Think of it like a painter adding different colors to a canvas; we’re going to build a rich sonic picture by layering different audio elements. Giving each sound its own track gives you total control, letting you tweak and blend until it sounds just right.
Before you even start editing, get organized. A clean session saves headaches later. I always start by creating a few dedicated tracks for the core components of the pass-by.
Once your tracks are set up, drag in your audio files. You might have a clean engine recording on one track, a tire noise loop on another, and a whoosh from your sound library ready to go. Now, the fun begins: arranging them on the timeline to tell the story of a car approaching, passing by, and driving off.
This is where the illusion really comes together. Simply stacking the sounds won't work. You have to stagger and shape them to mimic how your ears would perceive them in real life.
For instance, you'd likely hear the low-end rumble of the engine a split second before the high-frequency sizzle of the tires cuts through. The peak of the "whoosh" needs to hit at the exact moment the car is visually closest to the listener. Get in there and nudge the clips around on your timeline until their timing feels completely natural.
With the timing locked in, it's time to smooth everything out with fades.
Any abrupt start or stop will instantly shatter the realism. Fades and crossfades are your best friends here. A slow fade-in on the engine track makes it feel like the car is approaching from way down the road, while a long, gentle fade-out sells it disappearing over the horizon.
We actually have a whole guide on this technique, so for a deeper look into the power of layering, check out our article on how to layer sound effects in video.
Use crossfades when you need to seamlessly join two different clips on the same track. Let's say you recorded a car approaching but used a different take for it driving away. A well-placed crossfade right at the peak of the pass-by can stitch them together into one flawless performance, hiding any awkward edits. This initial editing pass is all about building the skeleton of your sound, setting the stage for the detailed processing and automation that will truly bring it to life.
Now that your layers are timed and faded, it's time to make them move. This is the fun part, where we create that classic "whoosh" of a car driving by sound effect. The key to nailing this is understanding the Doppler effect—that signature drop in pitch you hear as something fast zips past you.
Getting this right is what sells the car's speed and direction. You could use a specialized Doppler plugin to handle it, but I find that manually automating the effect gives you way more creative control and a much more organic result.
Manually drawing in automation lets you sculpt the exact motion you hear in your head right onto your audio tracks. The two big players here are pitch and volume. Creating a believable pitch shift is an art form—it's all about subtlety and smooth curves.
Pitch Automation: This is the heart of the Doppler effect. As the car gets closer, you'll want to draw in a slight, gradual rise in pitch. Then, at the precise moment it passes the "mic," you'll create a steep, smooth drop. This is followed by a much longer, gentler decay as the car drives off into the distance.
Volume Automation: This works hand-in-hand with your pitch curve. The volume should swell as the car approaches, hit its peak right at the pass-by, and then fade away as it gets further down the road.
Pro Tip: The shape of your automation curve is everything. Don't use sharp, straight lines; that's a dead giveaway of a digital effect. A natural pass-by has a smooth, almost S-shaped curve for both pitch and volume. This keeps the whole thing from sounding robotic.
This timeline gives you a good visual for how the editing process—separating, timing, and blending—all leads up to this crucial automation stage.

Think of it this way: getting your layers separated and timed properly is the foundation. Without that solid groundwork, your automation will just feel slapped on top.
To really make the car feel like it’s moving through a real space, you have to place it in the stereo field. This is where pan automation comes in. It's what controls whether the sound is coming from your left speaker, your right speaker, or somewhere in between.
Put yourself in the listener's shoes. If the car is coming from the left, you'll start with the pan knob turned all the way to the left. As it drives toward the center of the frame, you'll automate the pan to move smoothly with it toward the middle.
Right when the car is dead center in the shot, your pan should also be centered. As it continues past and moves off to the right, you'll keep that automation curve moving smoothly over to the right speaker.
When you combine this panning with your pitch and volume automation, you transform a static recording into a dynamic, living event. That's what breathes life into your car driving by sound effect.

Okay, so you've layered your sounds and automated the Doppler shift. The car driving by sound effect now has some real character and movement. But right now, it's just floating in a void. To make it truly believable, we need to place it in the scene.
A sound effect never exists on its own; it has to feel like it belongs in the environment. This is where a few final processing tricks—EQ, reverb, and a touch of compression—can take a good sound and make it feel completely immersive. This stage is all about convincing the listener's brain that the car is actually there.
Equalization is my go-to tool for faking how sound travels through the air. Think about it: when a car is far away, you don't hear the crisp, high-end hiss of the tires. The air itself absorbs those high frequencies.
We can mimic this perfectly by automating a low-pass filter. As your car moves away from the listener in the mix, just slowly start rolling off the high end. It's a subtle move, but it makes the car's departure feel so much more natural because it’s exactly what our ears expect.
EQ is also fantastic for adding personality. Want the car to sound meaner? Try a little boost somewhere in the 2-4 kHz range to bring out that aggressive engine whine. If you need it to feel big and heavy, a gentle lift around 100-200 Hz can really emphasize its low-end weight.
Reverb is your magic wand for defining the physical world the car exists in. A car whipping through a tight city alley sounds completely different from one cruising down an open desert highway. That difference is all about reverb.
Here are a few common scenarios I run into:
The power of these environmental cues is no joke. A study in Frontiers in Psychology even showed that certain soundscapes can directly affect a driver's stress and alertness. It just goes to show how deeply sound can influence our emotions. You can read more about how sound effects impact audience immersion if you want to dive deeper.
To wrap things up, a little bit of light compression can work wonders. It helps smooth out any harsh volume spikes as the car zips by, making sure it sits nicely in the overall mix. These final touches are what separate a raw recording from a professional, polished sound that truly tells a story.
Let’s be honest, sometimes you just need a specific car driving by sound effect right now. You don't always have the time to go through the whole process of recording, layering, and painstakingly automating every detail. This is where new AI audio tools are making a real difference.
Platforms like SFX Engine let you jump straight from a creative idea to a finished, ready-to-use sound. Instead of building from scratch, you simply describe what you hear in your head.
Think about it. You could type “a vintage muscle car speeds by on a rainy highway” and get a unique, high-quality result in seconds. It’s an incredibly fast and flexible way to work, letting you churn through ideas without getting bogged down in the technical details.
The magic isn't just in the initial generation; it's in the ability to quickly refine and iterate. Once you have a base sound, you can easily tweak it.
This is what the interface looks like inside SFX Engine. You just type what you need. It’s a simple concept, but it's powerful how a few descriptive words can generate such a detailed and layered sound effect instantly.
This kind of immediate, context-aware sound design is becoming more and more important. A 2024 study from Fraunhofer IDMT highlighted how much driving noises affect in-car audio preferences, with people constantly adjusting volume and bass to compensate. It's a great example of how sound needs to adapt to its environment—something AI excels at.
The biggest win with AI generation is getting speed without giving up on quality. You can audition a dozen unique, royalty-free pass-by effects in the time it would take to manually build and edit a single one. That frees you up to focus on the overall creative vision.
By using these modern tools, you can create a custom car driving by sound effect that is perfectly tailored to your project, whether it's for a film, a game, or a podcast. To see this in action, check out our complete guide on how to create sounds from text.
Ready to make your own custom sound effects in a fraction of the time? Try SFX Engine and start generating unique, royalty-free audio with simple text prompts. You can get started for free at https://sfxengine.com.