February 4, 2026 · Kuba Rogut
In film, television, and video games, sound is more than just background noise; it's a critical narrative tool. Great cinematic sound design builds worlds, shapes emotions, and guides the audience's focus, often on a subconscious level. From the earth-shattering roar of a monster to the subtle rustle of leaves in a tense forest, every audio element is meticulously crafted to serve the story. But how do professional sound designers achieve this level of immersion and impact? It's not about having the most extensive sound library, it's about mastering specific techniques that transform raw audio into powerful storytelling.
This comprehensive guide moves beyond the basics, offering a collection of actionable cinematic sound design tips for producers, filmmakers, and creators. We will explore practical, in-depth techniques that you can apply immediately to elevate your audio work. You'll learn how to build complex textures, manipulate acoustic spaces, and use dynamics to create powerful emotional responses.
We'll cover a wide range of essential topics, including:
Each tip provides a clear workflow recipe to help you achieve professional-grade results. We will also touch on how modern tools like SFX Engine can accelerate your workflow, allowing you to generate custom, high-quality base sounds that you can then sculpt and refine using these very techniques. This list is your blueprint for creating sound that doesn't just fill the silence but tells a compelling story.
Layering is a foundational technique in cinematic sound design where multiple audio elements are combined to create a single, complex sound effect. Instead of relying on one isolated recording, this method involves stacking complementary sounds, each occupying a specific frequency range and role. The result is a richer, more detailed, and emotionally resonant sound that feels larger than life.
This approach is essential for creating everything from subtle atmospheres to powerful impacts. Think of the iconic BRAAAM sound from Inception, famously crafted by Hans Zimmer. It wasn't just one brass note; it was a carefully constructed stack of synthesized sub-bass, real brass recordings, and distorted high-frequency textures that gave it its immense scale and intimidating presence. Layering transforms a simple concept into a signature sonic moment.

To effectively use layering, think of building your sound in components: the low-end, the mid-range body, and the high-frequency detail.
This method is one of the most powerful cinematic sound design tips for adding professional polish to your projects. For a deeper dive into specific layering workflows, explore these advanced audio layering techniques for video. By combining different sources, you can build truly unique and memorable sonic experiences.
Room tone is the subtle, ambient sound of a specific physical location, often called the “silence” of a room. This includes its unique reverb, air movement, and faint background noises. Manipulating this acoustic space involves using effects like reverb and delay to make sounds feel like they truly belong in the scene’s environment, a crucial step for creating a cohesive and believable sonic world.
This technique is fundamental for grounding dialogue, Foley, and sound effects within the visual context. For example, the sound design in Dune uses vast, otherworldly room tones to define its alien architecture, making grand halls feel immense and isolating. Similarly, in Dunkirk, the precise acoustic character of military ships and cramped cockpits adds a layer of claustrophobic realism. Properly managing room tone prevents sound from feeling sterile or disconnected from the on-screen action.
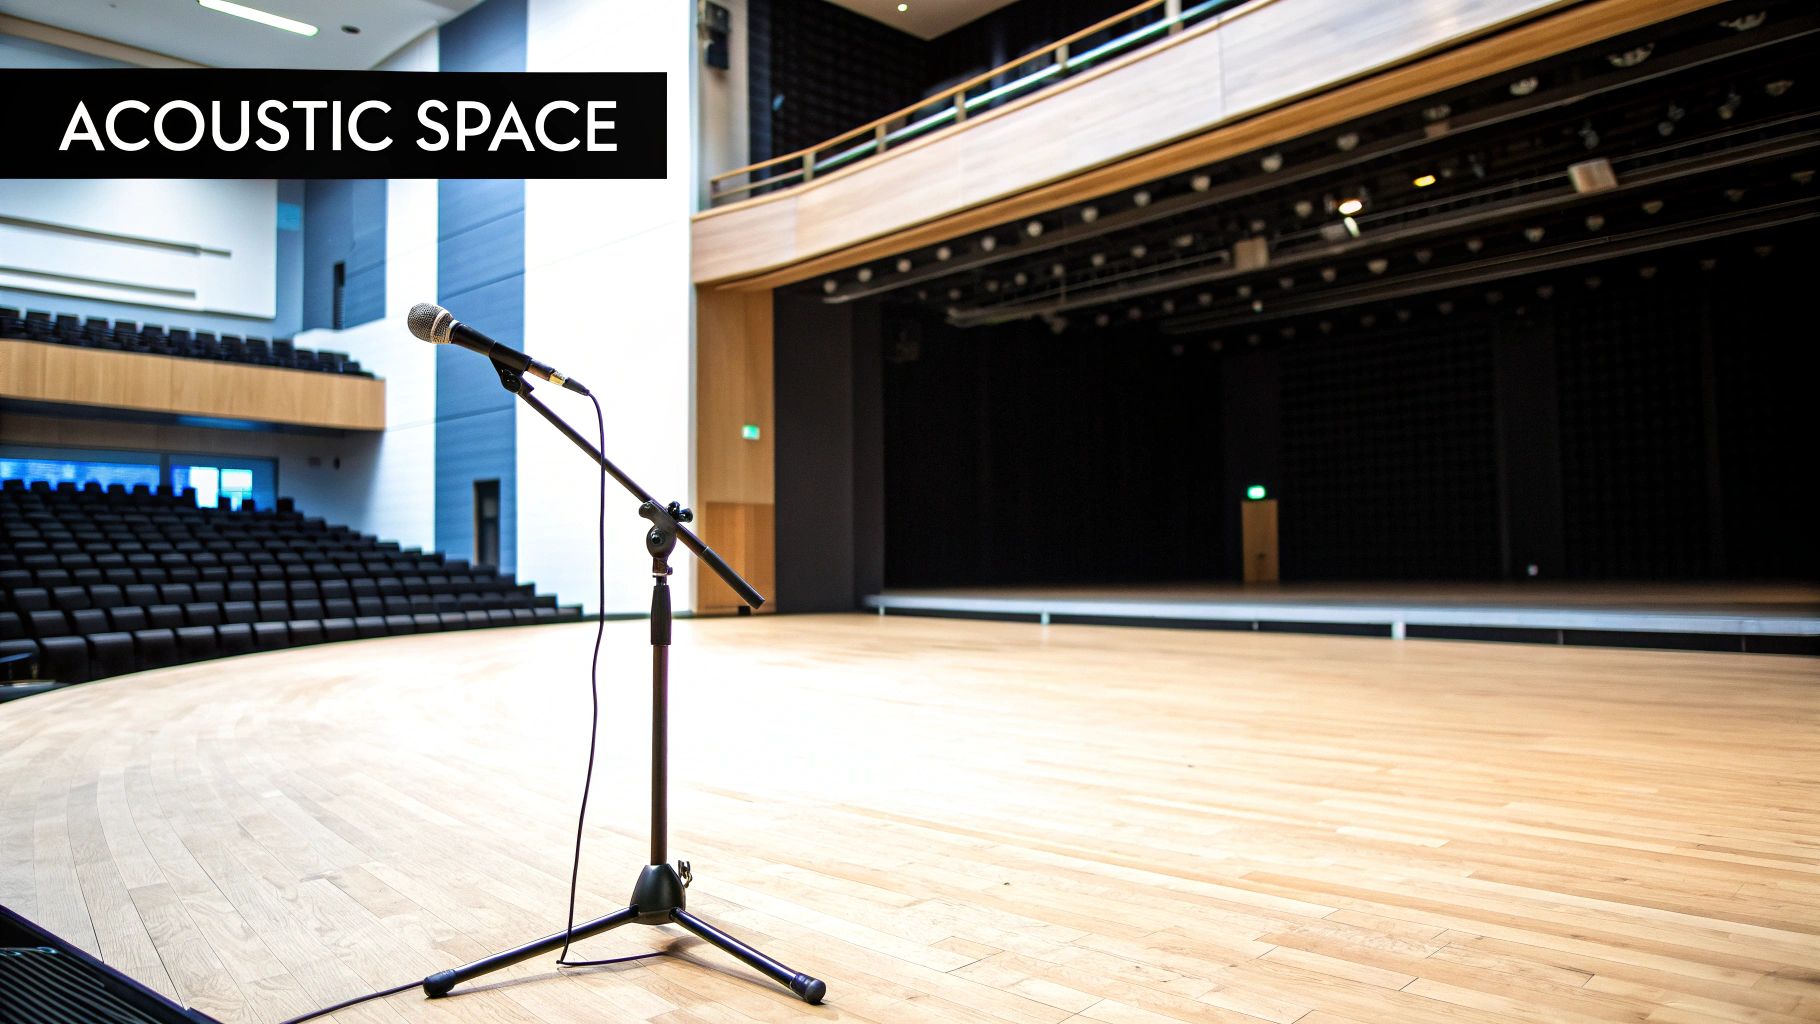
To effectively place sounds within an environment, think about how real-world acoustics shape what we hear. The goal is to match the audio to the visual space.
Mastering acoustic space is one of the most effective cinematic sound design tips for achieving immersion. By carefully shaping the environment around your key sounds, you can transport the audience directly into the world of your film.
Dynamic processing and automation are the tools that allow sound designers to breathe life and emotion into an audio mix. While techniques like layering build the body of a sound, dynamics control its behavior and intensity over time, directly influencing the audience's emotional response. This involves using tools like compression, expansion, and gating to shape a sound's volume envelope, while automation allows for frame-by-frame control over any parameter, from volume and panning to reverb and distortion.
This level of control is fundamental to storytelling. In A Quiet Place, extreme dynamic range is the core of the film's tension; silence is suddenly shattered by intensely loud, gated creature sounds, maximizing their terrifying impact. Similarly, the relentless aggression in Mad Max: Fury Road is amplified by heavy compression on engine roars and explosions, creating a dense, overwhelming sonic wall that mirrors the on-screen chaos. These cinematic sound design tips are about sculpting sound to follow the emotional arc of the narrative.
To use these tools effectively, think of yourself as a conductor, guiding the performance of each sound to serve the story's emotional beats.
Frequency analysis is the practice of visually identifying the specific frequency ranges within a sound and using an equalizer (EQ) to surgically boost or cut them. This technical approach is crucial for creating clarity in a dense cinematic mix. It ensures that every sound, from the quietest footstep to the loudest explosion, has its own dedicated space in the audio spectrum, preventing it from masking dialogue or other critical sonic information.
This technique is fundamental to modern, complex soundscapes. In films like Oppenheimer, Ludwig Göransson’s team used precise high-pass filtering to separate the deep sub-bass of the Trinity test explosion from the crucial preceding dialogue, allowing both to coexist with maximum impact. Similarly, the sparse yet detailed audio in Gravity relies on frequency-specific processing to maintain crystal clarity, ensuring every sound element is perfectly intelligible and serves the narrative without sonic clutter.
Effective EQ sculpting is about making intentional, precise adjustments rather than broad, sweeping changes. The goal is to create space and enhance clarity.
This level of precision is one of the most vital cinematic sound design tips for achieving a professional, clean, and powerful final mix. By carefully managing the frequency spectrum, you ensure every sonic element can be heard exactly as intended.
Foley is the art of recording custom sound effects performed in synchronization with picture to enhance the audio track. Named after sound effects pioneer Jack Foley, this technique involves a foley artist using a variety of props and surfaces to recreate the subtle, everyday sounds of a scene, from footsteps on gravel to the rustle of clothing. Practical sound capture grounds a film in reality, adding a layer of authenticity that pre-recorded sound effects often lack.
This meticulous process brings a scene to life by ensuring every physical interaction has a corresponding, believable sound. In No Country for Old Men, the sound design team led by Skip Lievsay relied heavily on foley to build tension. The crunch of boots on dirt, the subtle clink of a weapon, and the strained creak of a door aren't just background noise; they are critical narrative elements that amplify the film's gritty, minimalist atmosphere and place the audience directly into its high-stakes world.
Effectively integrating foley requires a combination of creativity, precision, and technical skill. The goal is to capture clean, detailed recordings that perfectly match the on-screen action.
By mastering practical sound capture, you can add an incredible layer of immersive realism to your projects. For a comprehensive guide to getting started, check out this foley sound effects tutorial. This is one of the most effective cinematic sound design tips for making your visuals feel tangible.
Spectral editing is an advanced sound design technique that moves beyond the traditional waveform view. It represents audio visually as a spectrogram, displaying frequency against time with amplitude shown as color intensity. This allows sound designers to surgically "paint out" or isolate specific sonic elements, offering a level of control that is impossible with standard EQs or noise gates.
This granular approach is crucial for both repair and creative design. In Westworld, composer Ramin Djawadi likely used spectral manipulation to create the eerie, metallic, and robotic vocal tones of the hosts, isolating and processing specific frequency bands to achieve that signature inhuman quality. Similarly, sound teams on projects like The Mandalorian can use it to cleanly lift dialogue from noisy production audio or deconstruct a sound effect into its core components for creative reuse.
Software like iZotope RX has made this powerful tool accessible. Instead of just seeing volume over time, you can see every component of a sound and edit it with precision.
Mastering spectral editing is one of the more advanced cinematic sound design tips that separates amateur work from professional, polished audio. It transforms sound from a monolithic block into a malleable sonic clay.
Spatial audio design is the art of positioning sounds within a three-dimensional space to create a truly immersive environment. Rather than just placing sounds left or right, this technique uses panning, distance cues, reverb, and surround channels to place audio anywhere around the listener: in front, behind, above, or below. Modern cinematic sound design leverages technologies like Dolby Atmos, allowing for object-based audio that dramatically enhances immersion and directs viewer engagement.
This approach is crucial for building believable worlds and heightening the physical and emotional impact of a scene. The visceral aerial combat in Top Gun: Maverick uses dynamic Dolby Atmos panning to make jets scream past the audience, while the score for Dune utilizes height channels to create a sense of immense planetary scale. By moving sound off the screen and into the theater, spatial audio transforms passive viewing into an active sensory experience.
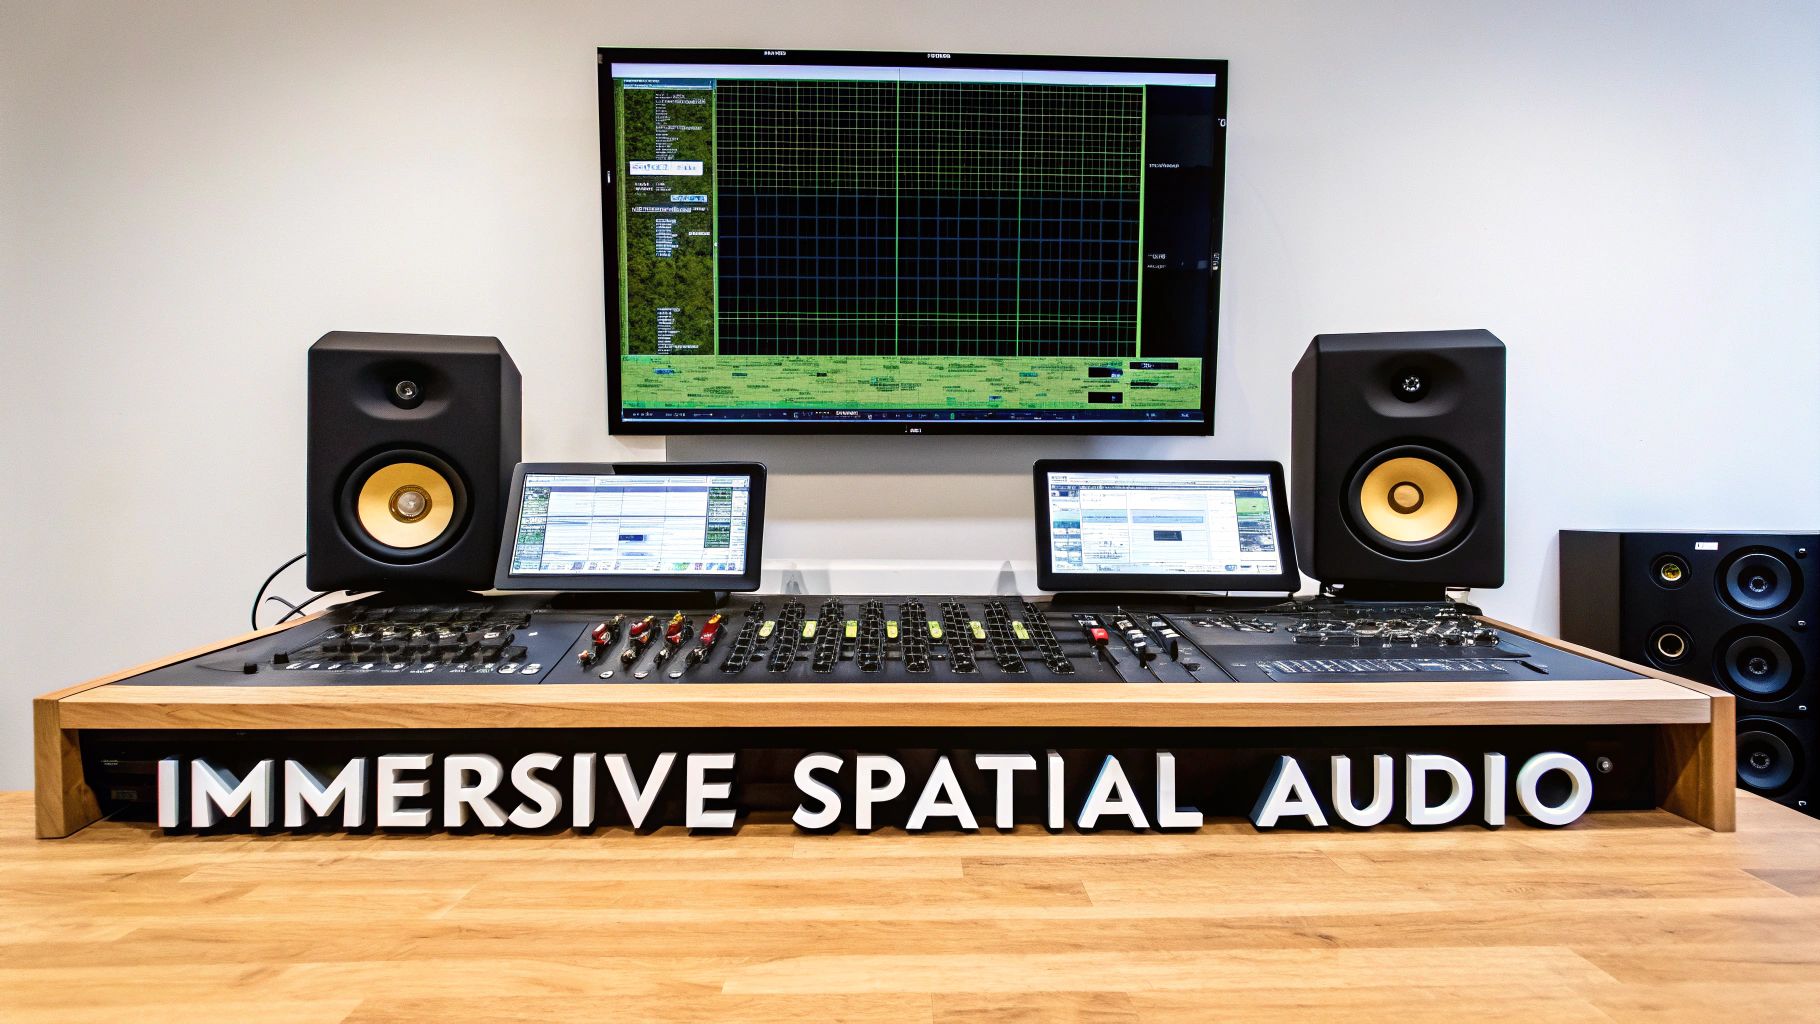
To effectively harness spatial audio, think beyond the stereo field and consider the entire 360-degree listening environment.
Implementing these cinematic sound design tips will make your projects more engaging and professional. For a deeper understanding of the technology and its applications, you can explore the fundamentals of what is spatial audio and how it's shaping modern media.
Synthesis is the art of creating sounds from the ground up using basic electronic waveforms like sine, square, sawtooth, and noise. Instead of manipulating pre-existing recordings, this technique uses oscillators, filters, and envelopes to build entirely new sounds. It is the ultimate tool for generating original, otherworldly effects that have no real-world counterpart, making it indispensable for science fiction, fantasy, and abstract cinematic sequences.
This approach grants sound designers complete control over every sonic parameter, from pitch and timbre to evolution over time. Think of the iconic TARDIS materialization sound from Doctor Who or the futuristic digital landscapes in Tron: Legacy. These sounds weren't found in a library; they were meticulously crafted through synthesis to transport the audience to an impossible reality. Building from first principles is one of the most creative cinematic sound design tips for inventing a unique sonic identity for a project.
Effective synthesis involves shaping simple waveforms into complex, expressive sounds. Start with a basic synthesizer and explore its core components.
Dialogue processing is a specialized set of techniques used to clarify, enhance, or creatively transform vocal performances in a cinematic context. Beyond simply making voices audible, it involves shaping their emotional impact and ensuring they fit perfectly within the sonic landscape. This can range from subtle clean-up and compression to dramatic, character-defining effects that turn a human voice into a key element of the sound design itself.
This approach is critical for maintaining narrative clarity and emotional resonance. Consider the iconic, menacing voice of Bane in The Dark Knight, a product of heavy processing and distortion that became central to his character. Similarly, creative filtering in shows like Mr. Robot places the viewer inside the protagonist's headspace, using dialogue effects as a powerful storytelling tool. Effective dialogue processing ensures the most important narrative element, the human voice, is both intelligible and impactful.
To effectively process dialogue, focus on both technical clarity and creative intent. The goal is to make every word count while serving the story's emotional needs.
Temporal manipulation involves using time-based effects like reverb, delay, and stretching to shape the spatial and emotional character of a sound. Instead of just presenting an audio clip as is, these tools alter how it decays, repeats, and exists within a scene's timeline. This processing is fundamental for creating a sense of environment, building tension, and establishing a film's unique sonic atmosphere.
This technique is essential for placing sounds in a physical space and for creating stylized, non-literal effects. In Blade Runner 2049, vast, cavernous reverbs and echoing delays create the desolate, futuristic landscapes. Conversely, the synchronized, rhythmic delays and reverse effects in Dunkirk build a relentless sense of urgency and impending doom. These cinematic sound design tips show how time itself can be used as a creative tool to guide the audience's perception.
To use temporal effects effectively, think about the emotion and space you want to convey, from natural realism to abstract tension.
By manipulating time, you can transform ordinary sounds into powerful storytelling devices that define a film's world and control its emotional rhythm.
| Technique | 🔄 Implementation Complexity | ⚡ Resource Requirements & Efficiency | ⭐ Expected Outcomes / Quality | 📊 Ideal Use Cases | 💡 Key Advantages / Tips |
|---|---|---|---|---|---|
| Layering Multiple Sound Sources for Depth and Richness | Medium–High — requires mixing and frequency management | Moderate–High — many tracks/CPU, sample libraries, DAW | ⭐⭐⭐⭐ — full, cinematic depth and richness | Cinematic impacts, creature design, dense ambiences | Creates rich texture and control; 💡 start with a primary sound, EQ each layer, automate volumes |
| Room Tone and Acoustic Space Manipulation | Medium — needs acoustic understanding and IR matching | High — convolution reverbs, IR libraries, CPU | ⭐⭐⭐⭐⭐ — strong environmental believability | Location matching, scene grounding, ambient beds | Grounds sounds in space; 💡 use appropriate IRs and subtle tails to avoid over-processing |
| Dynamic Processing and Automation for Emotional Impact | High — precise automation and trained ear required | Medium — compressors/automation lanes, plugin CPU | ⭐⭐⭐⭐ — powerful emotional shaping and presence | Tension builds, action peaks, emphasis on key moments | Controls intensity and focus; 💡 automate sparingly and use sidechain for rhythmic punch |
| Frequency Analysis and EQ Sculpting for Clarity | Medium–High — technical ear and spectral analysis | Low–Medium — EQs and analyzers, minimal CPU | ⭐⭐⭐⭐⭐ — clarity, separation, mix cleanliness | Dense mixes, dialogue separation, tonal shaping | Prevents masking and reveals character; 💡 prefer narrow cuts and use spectrum analyzers |
| Foley Recording and Practical Sound Capture Techniques | High — performance skill and synchronization required | High — studio space, mics, talent, time | ⭐⭐⭐⭐⭐ — highly authentic, organic results | Close-ups, character actions, signature sound moments | Produces unique, real textures; 💡 record multiple takes and hybridize with generated SFX |
| Spectral Editing and Advanced Sound Manipulation | Very High — steep learning curve and precision work | High — specialized software (iZotope RX/CEDAR), time-consuming | ⭐⭐⭐⭐ — surgical fixes and creative transformations | Noise removal, surgical edits, creative deconstruction | Enables precision editing; 💡 preserve natural character and avoid overuse |
| Spatial Audio and Surround Sound Panning Techniques | High — object-based mixing & spatial logic required | High — Atmos-capable room/monitoring, authoring tools | ⭐⭐⭐⭐⭐ — immersive, directional engagement (with proper playback) | Theatrical mixes, VR/gaming, immersive sequences | Creates 3D immersion and focus; 💡 test in stereo/surround/Atmos for translation |
| Synthesis and Sound Design from First Principles | High — synthesis theory and patching skills needed | Medium–High — synth plugins/hardware, CPU, expertise | ⭐⭐⭐⭐ — highly original, project-defining sounds | Sci‑fi/fantasy, abstract textures, original creatures | Enables unique sounds impossible to record; 💡 start simple, add modulation and layer with recorded elements |
| Dialogue Processing and Vocal Sound Design Enhancement | Medium — nuanced balancing and tonal control | Low–Medium — de-essers, compressors, EQ, automation | ⭐⭐⭐⭐ — clearer, emotionally enhanced vocals | Dialogue-heavy scenes, character effects, feature post | Improves intelligibility and character; 💡 use gentle de-essing and test at multiple playback levels |
| Temporal Manipulation and Time-Based Effects Processing | Medium — creative timing and parameter automation | Low–Medium — delay/reverb plugins, CPU; tempo sync helpful | ⭐⭐⭐⭐ — adds space, movement, and rhythmic interest | Atmosphere, rhythmic design, dreamlike/time-warp scenes | Shapes timing and mood; 💡 sync delays to tempo and automate decay/feedback for dynamics |
We have journeyed through a comprehensive toolkit of cinematic sound design tips, from the foundational art of layering and the essential practice of Foley to the technical precision of EQ sculpting and the expansive possibilities of spatial audio. Each technique, whether it's manipulating room tone to create a sense of place or using dynamic automation to mirror a character's heartbeat, is a powerful instrument in its own right. However, the true artistry of cinematic sound design emerges not from mastering these tools in isolation, but from understanding how they interconnect to serve a single, unified purpose: the story.
A truly immersive sonic landscape is more than just a collection of technically perfect sounds. It is a cohesive, believable world that enhances the visual narrative, deepens emotional engagement, and guides the audience's perception without ever drawing unnecessary attention to itself. The goal is to move beyond simply applying effects and start thinking like a sonic architect, building an experience from the ground up.
The real challenge, and the most rewarding part of the process, is synthesis. It's about combining the raw, organic texture of a practical Foley recording with a synthesized element to create something entirely new. It's about carving out specific frequency bands in your ambient track to make sure the dialogue, meticulously processed for clarity, cuts through with pristine intelligibility.
Consider these key takeaways as you move forward:
Mastering these cinematic sound design tips is an ongoing journey of listening, experimenting, and refining your instincts. The next step is to put them into practice. Take a short, silent film clip and challenge yourself to build its entire world from scratch.
Start by establishing the environment with authentic room tone. Record custom Foley for the character's movements. Use synthesis or advanced tools to design a unique sound for a key story element. As you build these layers, don't forget the crucial role of music in completing the sonic tapestry. A well-crafted score can elevate your design from great to unforgettable, and modern tools like AI music generators for cinematic scores can provide a powerful starting point for creating a cohesive and compelling musical backdrop that perfectly complements your sound effects.
Ultimately, your ear is your most important tool. Constantly analyze the sound in the films, games, and media you love. Deconstruct what you hear. Why did the designer make that choice? How did they achieve that effect? By combining this critical listening with hands-on application of the techniques we've covered, you will develop the intuition needed to not just add sound to a picture, but to tell a story with it.
Ready to accelerate your creative process and generate unique, high-quality sounds in seconds? SFX Engine empowers you to instantly create the exact effects your project needs, from realistic Foley to otherworldly sci-fi textures. Stop searching through libraries and start designing with the power of AI at SFX Engine.