January 18, 2026 · Kuba Rogut
In the world of video editing, stunning visuals often take center stage, leaving audio as an afterthought. This is a critical error. Poor sound design can instantly diminish the impact of even the most beautifully shot footage, making a project feel unprofessional and disconnected. The audience might not consciously know why a video feels off, but they will feel it-and likely click away.
This guide dives deep into the most common sound design mistakes in video editing that creators make. We won't just list the problems; we'll provide actionable, step-by-step solutions, before-and-after scenarios, and professional workflows to transform your audio from a liability into your most powerful storytelling tool. Mastering these concepts ensures your audio not only supports your visuals but elevates them, creating a truly immersive and emotionally resonant experience.
You will learn to identify and fix critical errors related to:
By addressing these frequent sound design mistakes, you will equip yourself with the skills to produce polished, professional-grade video content where every sonic element serves a clear purpose. Let's begin.
One of the most foundational yet frequently overlooked aspects of sound design is managing audio levels and dynamic range. This mistake occurs when audio elements like dialogue, music, and sound effects have drastically different volumes, forcing the viewer to constantly adjust their playback device. It creates a jarring, unprofessional experience where whispers are inaudible and explosions are deafeningly loud.
This issue stems from a failure to monitor and control the audio signal's peaks and valleys. When unmanaged, the loudest parts can cause digital clipping (a harsh distortion), while the quietest parts get lost in the noise floor. Proper level management is a cornerstone of professional audio post-production and a clear indicator of a polished final product.
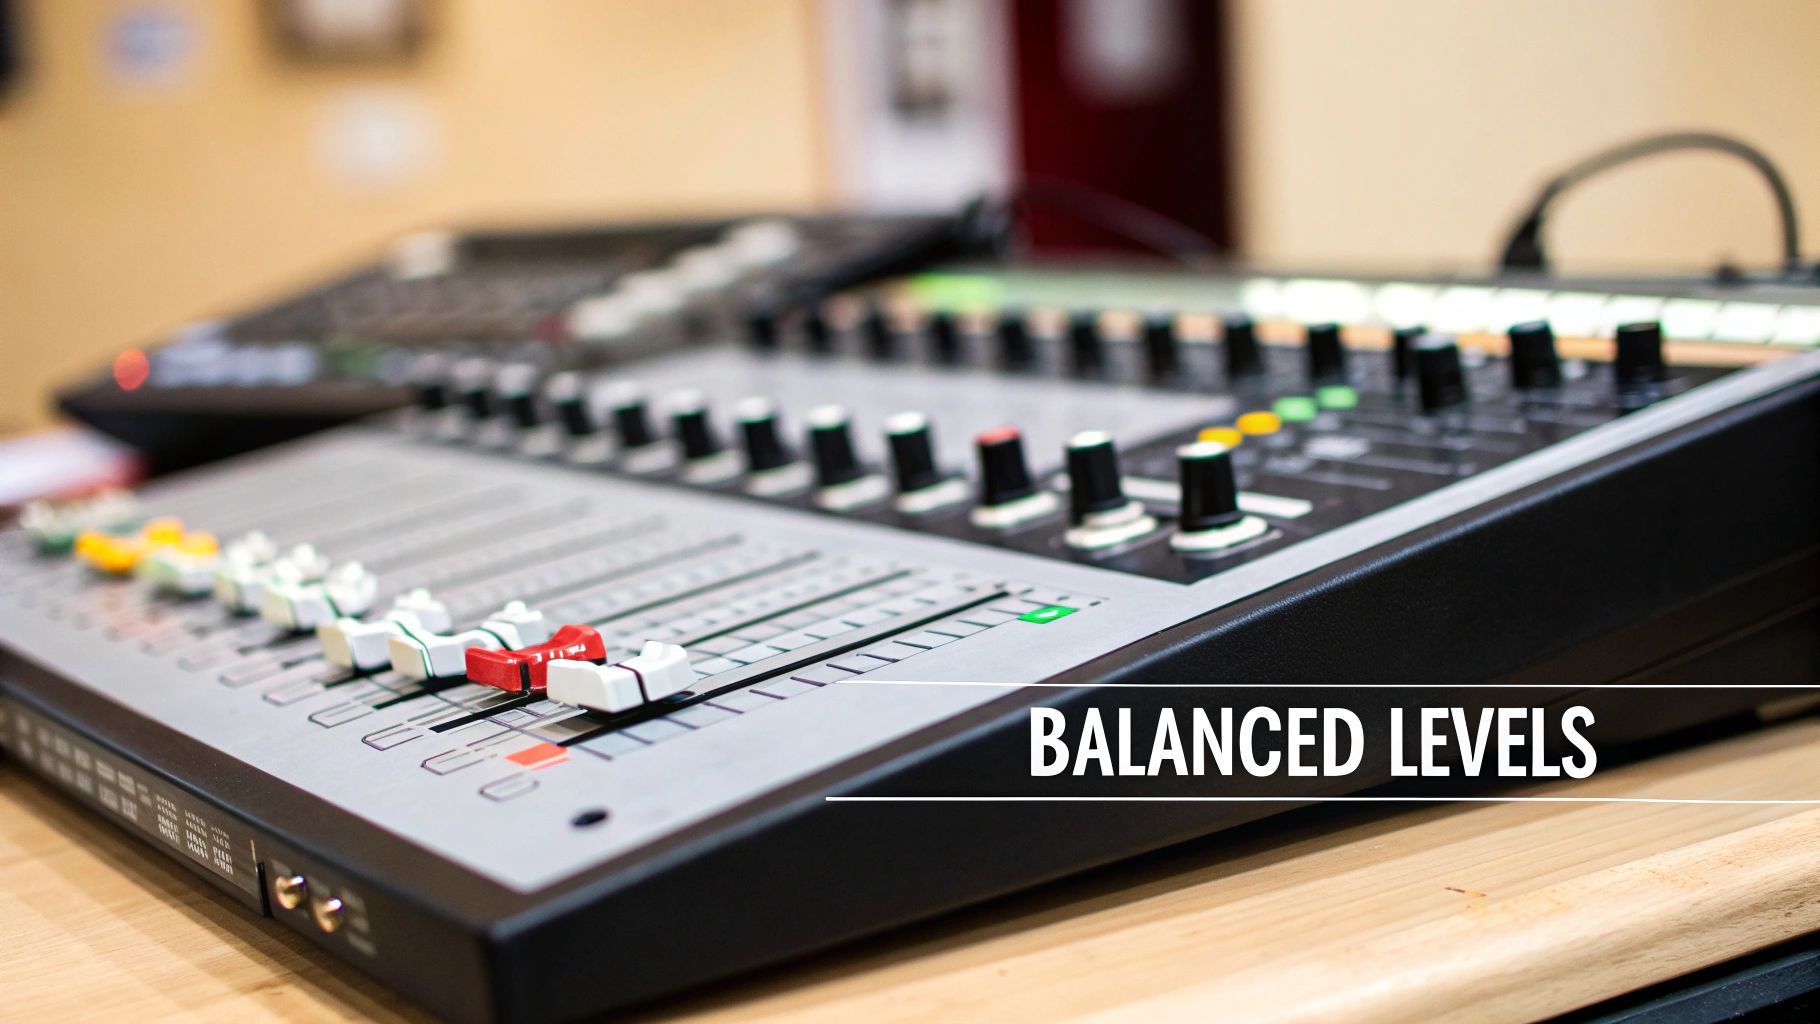
Inconsistent levels directly impact the viewer's immersion and comprehension. If dialogue is drowned out by a sudden, loud sound effect, the narrative is lost. This is a common sound design mistake in video editing that signals an amateur production and violates established broadcast and streaming platform standards (like EBU R128 or Netflix's loudness requirements), which are designed to ensure a consistent listening experience for all viewers.
Achieving balanced audio requires a systematic approach to gain staging, normalization, and compression.
Step-by-Step Fix:
Pro-Tip: Test your final mix on multiple systems. What sounds balanced on high-end studio monitors might be completely different on laptop speakers or earbuds. This step reveals potential issues that a single playback system can hide.
A common pitfall in video editing is relying on unmodified stock sound effects. This mistake occurs when editors pull generic sounds, like the infamous "Wilhelm scream" or a standard whoosh, directly from a library and drop them into a timeline without any alteration. The result is an audio landscape that feels cheap, recycled, and instantly recognizable, which can pull the audience out of the experience.
This issue often arises from tight deadlines or a lack of knowledge about sound manipulation techniques. While stock libraries are invaluable resources, their power lies in their potential as raw material, not as finished products. Failing to customize these assets is a significant misstep in professional sound design, making a project sound indistinguishable from countless other pieces of content.
Using generic sound effects without customization undermines a project's originality and emotional impact. When a viewer recognizes a sound from another movie, game, or commercial, it breaks immersion and diminishes the perceived production value. This particular sound design mistake in video editing signals a lack of creativity and attention to detail, preventing the audio from effectively serving the unique narrative and visual context of the scene.
Transforming stock sounds into unique audio assets requires a combination of layering, processing, and creative experimentation. This process ensures that every sound feels bespoke and perfectly matched to the on-screen action.
Step-by-Step Fix:
Pro-Tip: Generate foundational sounds using an AI tool like SFX Engine to create a unique starting point that no one else has. You can then layer these custom-generated effects with traditional library sounds and process them together for a truly original final product.
A fundamental mistake that instantly breaks immersion is the misalignment of audio and video. This issue occurs when sound effects, dialogue, or musical cues do not precisely synchronize with their corresponding visual events on screen. The result is a jarring and amateurish experience, such as footsteps heard after a character has already taken a step, or the sound of a punch landing noticeably before or after the visual impact.
This lack of precision is often caused by editors underestimating the importance of frame-accurate audio placement. Even a delay of a few frames can be perceived by the viewer, creating a disconnect that undermines the credibility of the entire production. Achieving perfect synchronization is a hallmark of professional post-production and is critical for maintaining the audience's belief in the world being presented.
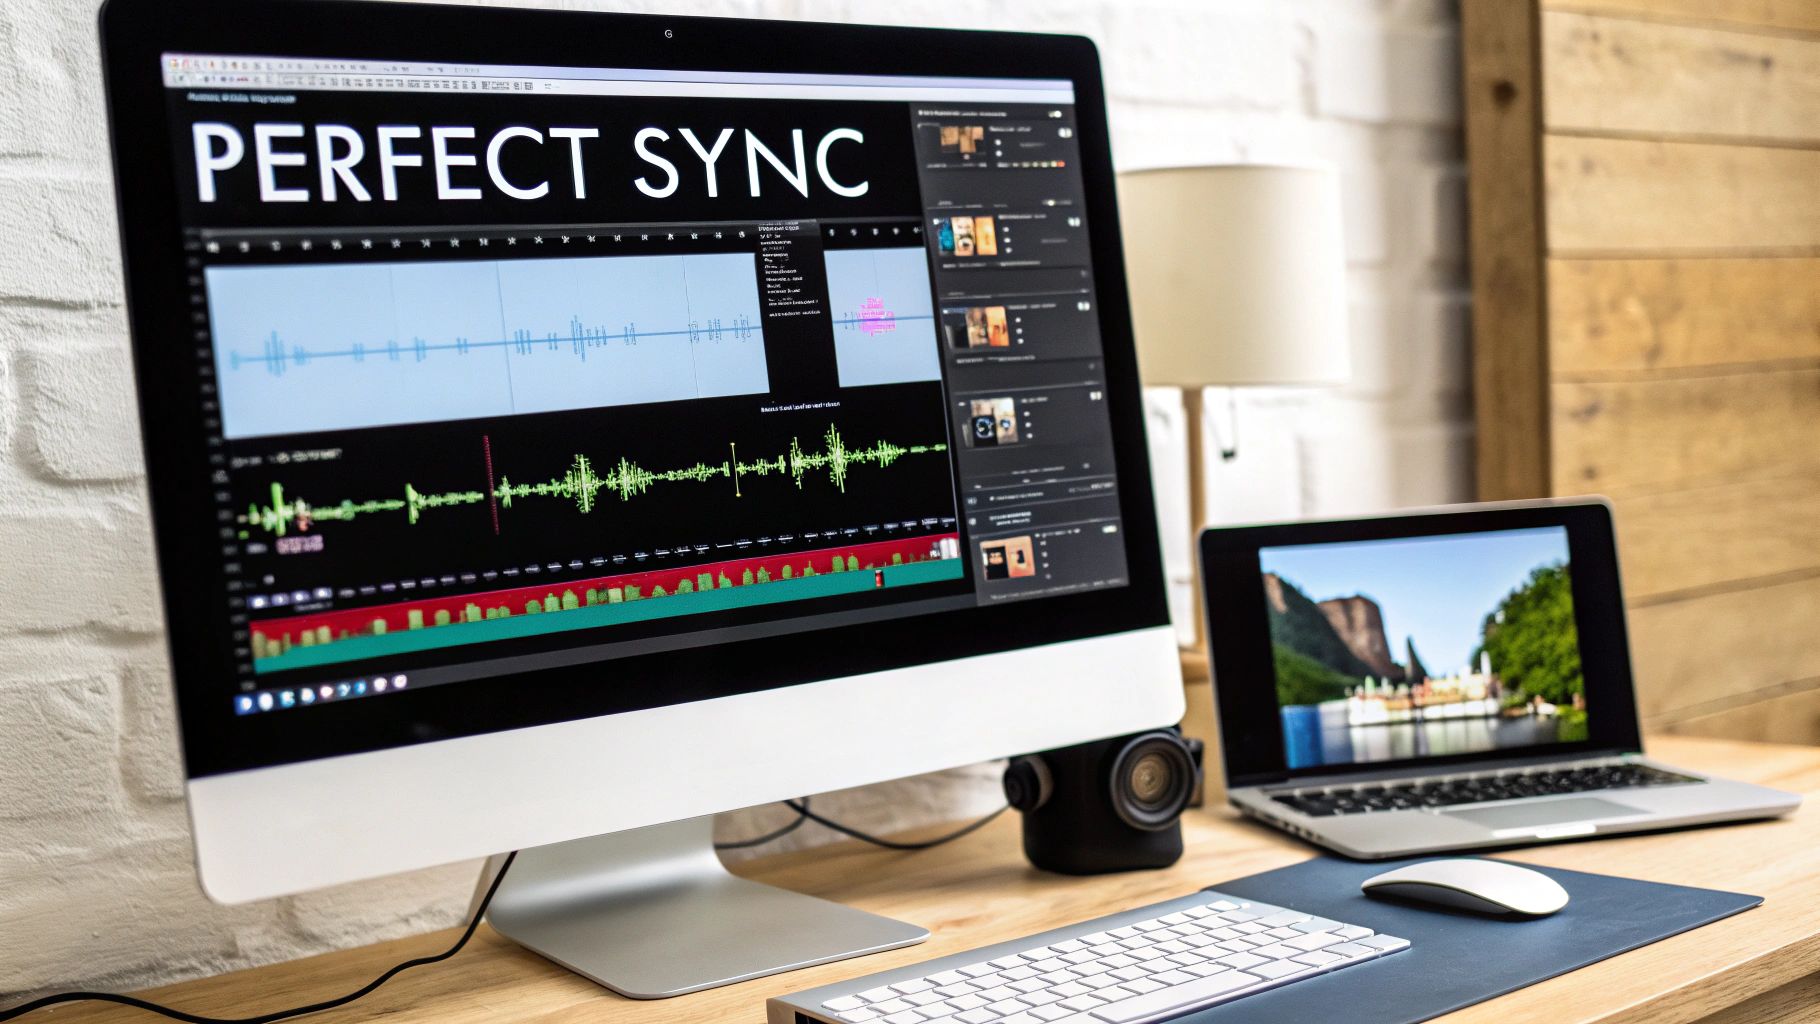
Poor timing directly affects the subconscious connection a viewer makes with the content. When a door slam is delayed or dialogue is out of sync with lip movements, it pulls the audience out of the story. This common sound design mistake in video editing signals a lack of attention to detail and can make even high-budget visuals feel cheap and unconvincing. In action sequences or rhythm-based edits, precise timing is not just a technical requirement; it's a core part of the storytelling.
Achieving perfect sync requires a meticulous, frame-by-frame approach to audio placement. This involves using your editing software's tools to their full potential and developing a keen ear for timing. For a deeper dive, you can learn more about how to sync audio with video on sfxengine.com.
Step-by-Step Fix:
Pro-Tip: For dialogue, focus on syncing consonants like 'P', 'B', and 'M'. These create distinct lip shapes (plosives) that are easy visual cues to align with the corresponding audio waveforms, making lip-sync much more accurate.
While sound design benefits from thoughtful layering, one of the most common sound design mistakes in video editing is adding too many competing audio elements. This creates a chaotic, muddy soundscape that confuses rather than enhances the viewer's experience. This mistake involves piling on overlapping sounds without considering their place in the mix, resulting in an overwhelming wall of noise where important elements like dialogue get lost.
This problem often arises when editors, especially those new to sound design, adopt a "more is better" philosophy. Without a clear hierarchy or purpose for each sound, the audio becomes indecipherable and cluttered. The goal is to build a rich, immersive world, not an incomprehensible cacophony.
Excessive audio clutter directly undermines the narrative and emotional intent of a scene. When the brain is forced to process too many auditory signals at once, it leads to listening fatigue and disengagement. Key sound effects lose their impact, and dialogue intelligibility plummets. A cluttered mix sounds unprofessional and prevents the audience from focusing on what truly matters in the story.
Preventing audio clutter requires a strategic and subtractive approach. Every sound should have a reason to exist. For a deeper dive, our guide on how to layer sound effects in video offers more advanced techniques.
Step-by-Step Fix:
Pro-Tip: Test your mix in mono. Collapsing the stereo image to a single channel immediately reveals frequency masking issues where sounds are canceling each other out. If your mix is clear and balanced in mono, it will sound even better in stereo.
A common pitfall for editors is an intense focus on dialogue, music, and primary sound effects, while completely ignoring the subtle but powerful role of ambient sound and silence. This oversight creates an audio environment that feels sterile, artificial, and disconnected from the visuals. The soundtrack feels hollow, as if the scene is taking place in a vacuum.
This mistake stems from not understanding that what we don't consciously "hear" is often just as important as what we do. Ambient sound, or room tone, grounds the viewer in a specific location, while the deliberate use of silence can create immense dramatic tension. Neglecting these elements is a classic sound design mistake in video editing that robs a scene of its immersive potential and emotional depth.
The absence of ambient sound makes audio cuts jarring and unnatural. Every edit becomes obvious because the underlying sonic texture disappears, pulling the viewer out of the experience. Furthermore, a lack of carefully placed silence diminishes emotional impact. Moments that should feel tense or poignant fall flat because they aren't given the space to breathe, resulting in a monotonous and emotionally unengaging soundtrack.
Building a rich and believable audio world involves layering subtle ambient tracks and strategically carving out moments of quiet.
Step-by-Step Fix:
Pro-Tip: Use ambient sound to signal changes in location or time. A transition from an indoor to an outdoor scene should be accompanied by a crossfade from room tone to exterior ambience. The sound of crickets can instantly establish that a scene is taking place at night.
One of the most technical yet common sound design mistakes in video editing is failing to properly manage the audio frequency spectrum. This error occurs when multiple sounds, like a deep musical bassline, a rumbling explosion, and a male voice, all compete for the same low-mid frequency range. The result is a "muddy" or cluttered mix where individual elements are indistinct, dialogue is difficult to understand, and the entire soundscape lacks clarity and impact.
This problem arises from a lack of attention to how different sounds occupy space within the 20Hz to 20kHz range of human hearing. Without strategic equalization (EQ), sounds mask each other, much like overlapping, non-transparent images in a visual composition. Proper EQ management is essential for creating a clean, professional, and intelligible audio experience.
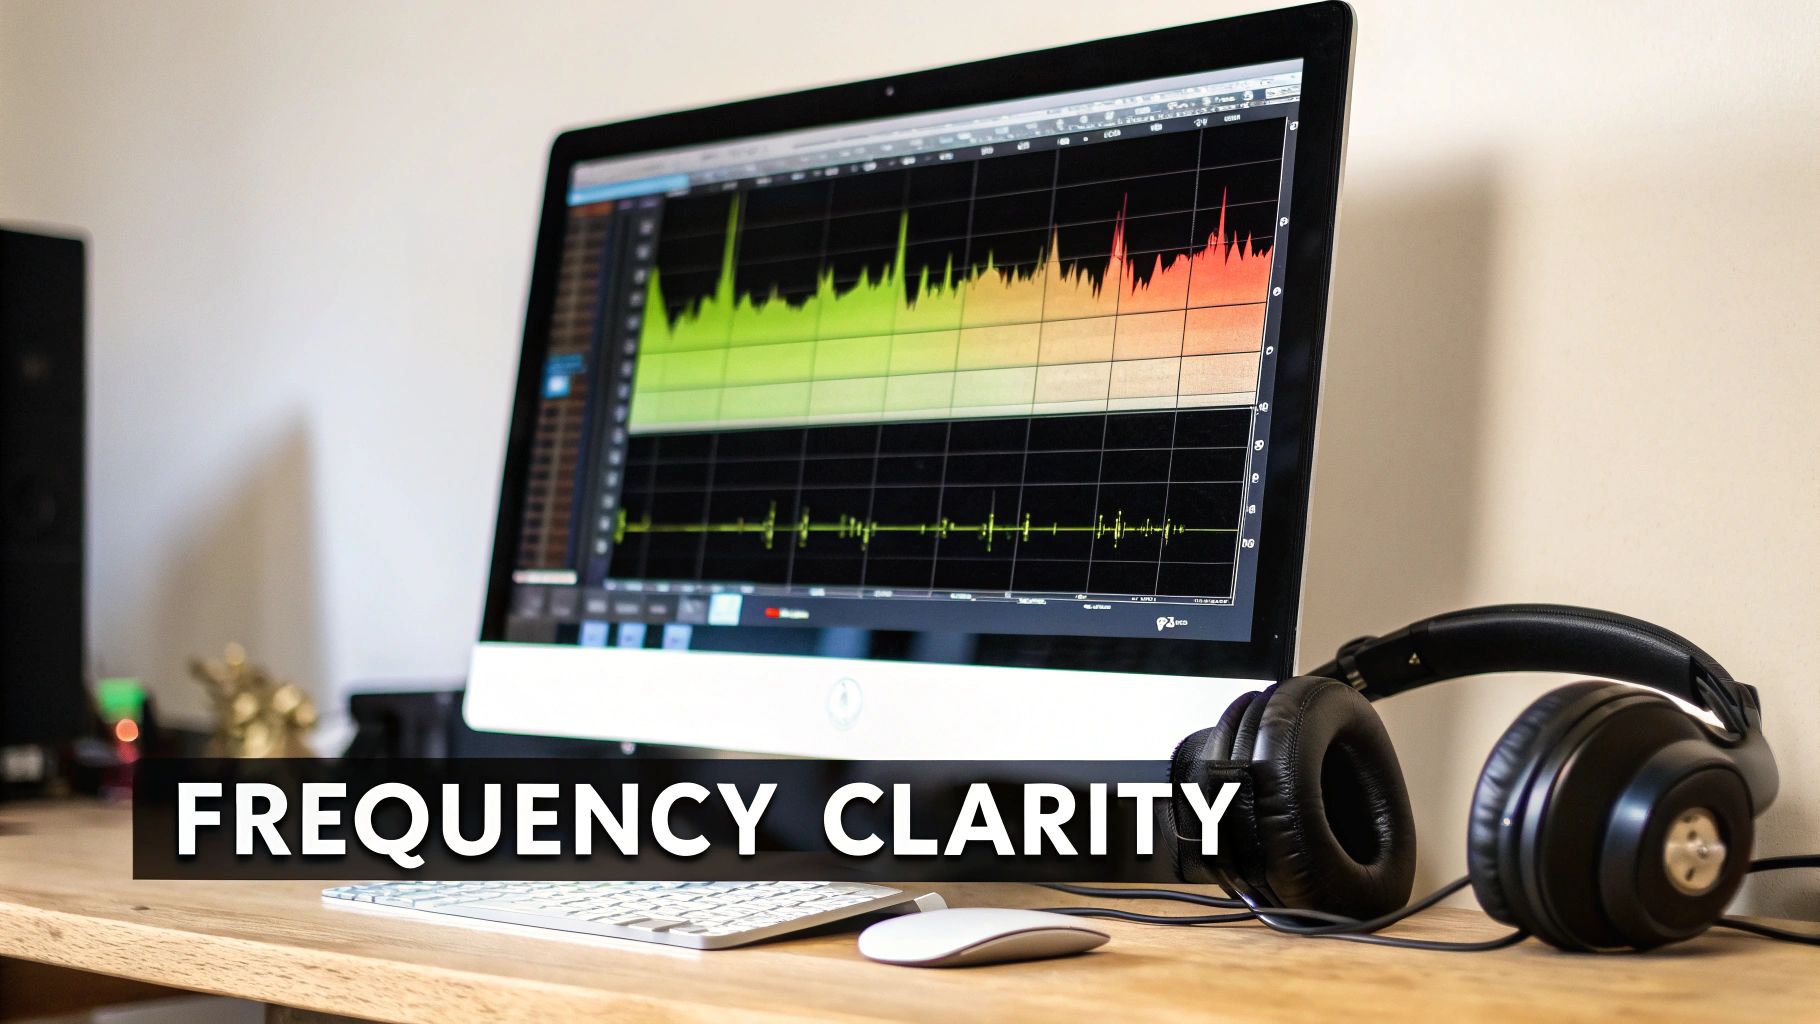
Poor frequency management directly sabotages audio clarity and professional polish. When key elements like dialogue are masked by music or sound effects, the narrative and emotional intent are lost. This issue can make a high-budget production sound amateurish, as the audio feels crowded and fatiguing to the listener. A well-separated mix ensures that every sound has its own defined space, contributing to the overall composition rather than fighting for attention.
Solving frequency clashes involves a surgical approach using equalization and frequency analysis tools to carve out space for each audio element.
Step-by-Step Fix:
Pro-Tip: Always check your mix in mono. If certain sounds disappear or weaken significantly, it indicates phase cancellation issues, often caused by overlapping low frequencies. Fixing these problems in mono ensures your mix will translate well across all playback systems.
One of the most revealing sound design mistakes in video editing is creating a mix that only sounds good on a single, high-quality system. This oversight happens when an editor meticulously crafts their audio on studio monitors or premium headphones but fails to consider how it translates to the vast array of devices their audience will actually use. The result is a mix that sounds powerful in the studio but becomes a distorted, unintelligible mess on a smartphone or tinny and lifeless on laptop speakers.
This problem stems from ignoring the physical limitations and frequency responses of different playback devices. A smartphone speaker cannot reproduce the deep sub-bass that a studio monitor can, while cheap earbuds often have an exaggerated mid-range. A mix that isn't tested for these variations will fail to deliver a consistent, professional-grade experience, alienating a significant portion of the audience and undermining the project's credibility.
Your audience consumes content everywhere, from a home theater system to a noisy bus using their phone. If the dialogue is inaudible on a laptop or the bass distorts on a Bluetooth speaker, the narrative impact is lost. Neglecting to test for different systems is a critical failure because it prioritizes the creator's experience over the viewer's. This common sound design mistake in video editing guarantees that your hard work will not be heard as intended by the majority of your audience.
The key to a universally translatable mix is regular and varied testing throughout the post-production process. This ensures your audio maintains its clarity and impact regardless of the playback system.
Step-by-Step Fix:
Pro-Tip: Don't just listen on other systems, listen in different environments. Take your phone into a noisy room or play the mix in your car. This real-world testing quickly exposes issues with dialogue clarity and overall balance that are impossible to spot in a quiet studio.
Perhaps the most fundamental mistake is treating audio as a functional afterthought rather than as a primary driver of emotional storytelling. Editors often pour immense effort into visual composition, color grading, and pacing, yet approach sound design simply to fill silence. This mindset fails to harness audio's unique power to evoke feelings, build tension, and create deep psychological connections with the audience.
This issue stems from a production workflow that relegates sound to the final step, undervaluing its capacity to shape the narrative from the very beginning. When sound is not planned during pre-production, it becomes a corrective tool instead of a creative one, a classic example of a common sound design mistake in video editing that separates amateur work from professional filmmaking.
Sound often communicates emotion more directly and subconsciously than visuals. A subtle, low-frequency drone can create a sense of unease, while a carefully placed, delicate chime can signify hope. Ignoring this emotional layer leaves a video feeling flat, sterile, and forgettable. Films like Parasite and Joker masterfully use sound to build worlds and reflect characters' internal states, proving that audio is responsible for at least 50% of the viewer's emotional journey.
To leverage sound for emotional impact, you must integrate it into the creative process from the start. This involves planning and designing audio with the same intentionality as cinematography.
Step-by-Step Fix:
Pro-Tip: Allocate at least 30-40% of your post-production schedule specifically to sound design and mixing. This dedicated time allows for the experimentation and refinement needed to create a truly immersive and emotionally resonant soundtrack.
| Item | 🔄 Implementation Complexity | ⚡ Resource Requirements | 📊 Expected Outcomes | 💡 Ideal Use Cases | ⭐ Key Advantages |
|---|---|---|---|---|---|
| Ignoring Audio Levels and Dynamic Range | Moderate — requires metering, gain staging, compression | Low–Medium — DAW, meters, compressors, listening time | Prevents clipping; ensures consistent loudness and professional polish | All projects; essential for dialogue-driven and broadcast content | ⭐ Consistent playback, reduced distortion, improved accessibility |
| Using Overly Generic or Stock SFX Without Customization | Low to Medium — simple to use stock; customizing requires layering/processing | Medium — stock libraries are cheap; customization needs DAW, plugins,/or AI tools | Generic sounds reduce uniqueness; customized SFX improve immersion and originality | Games, films, ads, and projects seeking distinctive audio | ⭐ Unique, context-matched sounds that raise production value |
| Poor Timing and Sync Issues Between Audio and Video | Medium–High — needs frame-accurate placement and careful editing | Medium — NLE/DAW tools, time for nudging, possible foley recording | Mis-sync breaks immersion; precise sync increases professionalism and emotional impact | Dialogue-heavy scenes, action sequences, animation, games | ⭐ Tight sync enhances believability and viewer engagement |
| Excessive Sound Layering and Audio Clutter | Medium — requires clear hierarchy, EQ, panning and automation | Medium — many tracks, EQ/plugins, critical listening time | Overlayering causes muddiness; intentional layering adds depth without clutter | Complex scenes where depth is needed but clarity is critical | ⭐ Focused layering improves clarity, depth, and listener comfort |
| Neglecting Ambient Sound and Silence | Low–Medium — simple to add but needs planning and subtlety | Low — room tone recordings or ambient libraries and light editing | Adds realism and spatial context; silence can heighten tension and focus | Narrative films, documentaries, suspense and atmospheric scenes | ⭐ Enhances realism, pacing, and emotional nuance |
| Ignoring Frequency Separation and EQ Management | High — requires technical EQ skills and spectral analysis | Medium — EQ plugins, spectrum analyzers, calibrated monitoring | Proper EQ yields clarity and definition; neglect produces muddy mixes | Dialogue-heavy mixes, dense SFX scenes, broadcast deliverables | ⭐ Clearer dialogue, better element separation, improved translation |
| Failing to Account for Different Playback Systems and Devices | Medium — requires multiple reference mixes and testing | Medium — various devices, meters, time for A/B testing | Ensures consistent experience across devices; failure yields varied outcomes | Streaming, social media, broadcast, mobile-first content | ⭐ Broad compatibility and reliable listener experience |
| Underestimating the Importance of Sound Design for Emotional Impact | Medium–High — needs creative planning integrated into production | High — time, skilled designers, custom assets, possible foley/music | Strong sound design multiplies emotional impact and retention | Narrative films, ads, branded content, emotionally-driven storytelling | ⭐ Significantly increases emotional resonance and memorability |
Navigating the complex world of audio can feel daunting, but as we've explored, mastering it is a process of conscious, incremental improvement. Moving beyond the most common sound design mistakes in video editing isn't about achieving flawless audio overnight. It’s about shifting your mindset from viewing sound as an afterthought to treating it as a foundational pillar of your storytelling. The journey from amateur to professional is paved with deliberate choices, not expensive gear.
We've deconstructed eight critical missteps, from the technical necessity of managing levels and EQ to the artistic imperative of using silence and ambient sound to build a world. Each mistake represents an opportunity for growth. By understanding why cluttered audio mixes fail, or why generic sound effects can shatter immersion, you've already acquired the most powerful tool: awareness. This knowledge transforms your editing process from a series of reactive fixes into a proactive, creative workflow.
To truly internalize these lessons, don't try to fix everything at once. Instead, adopt a focused approach for your next project.
The ultimate goal is to make your audio invisible yet deeply felt. When sound design is executed well, the audience doesn't just watch a video; they experience a world. They feel the tension in the silence, the energy in a perfectly timed impact, and the emotion in a subtle musical cue. This mastery over the sonic landscape is what separates memorable content from forgettable media.
For those looking to build a comprehensive skill set that covers the full spectrum of video production, from cinematography to post-production audio, formal education can provide an invaluable structured path. To truly master video production, including its crucial sound design aspects, consider enrolling in a comprehensive program like the APS Certificate in Videography. Such programs can accelerate your learning curve and solidify the foundational principles discussed here.
Ultimately, every sound you choose, every level you adjust, and every moment of silence you create contributes to the final narrative. By avoiding these common pitfalls, you are not just fixing errors; you are unlocking a more profound, engaging, and professional dimension of your creative voice. Keep listening, keep experimenting, and let your sound tell the story.
Ready to banish generic sounds and elevate your projects? Stop searching for the perfect sound effect and start creating it with SFX Engine. Generate infinite, high-quality, and completely unique sound effects in seconds to avoid the pitfalls of stock audio and make your sound design truly your own.