January 14, 2026 · Kuba Rogut
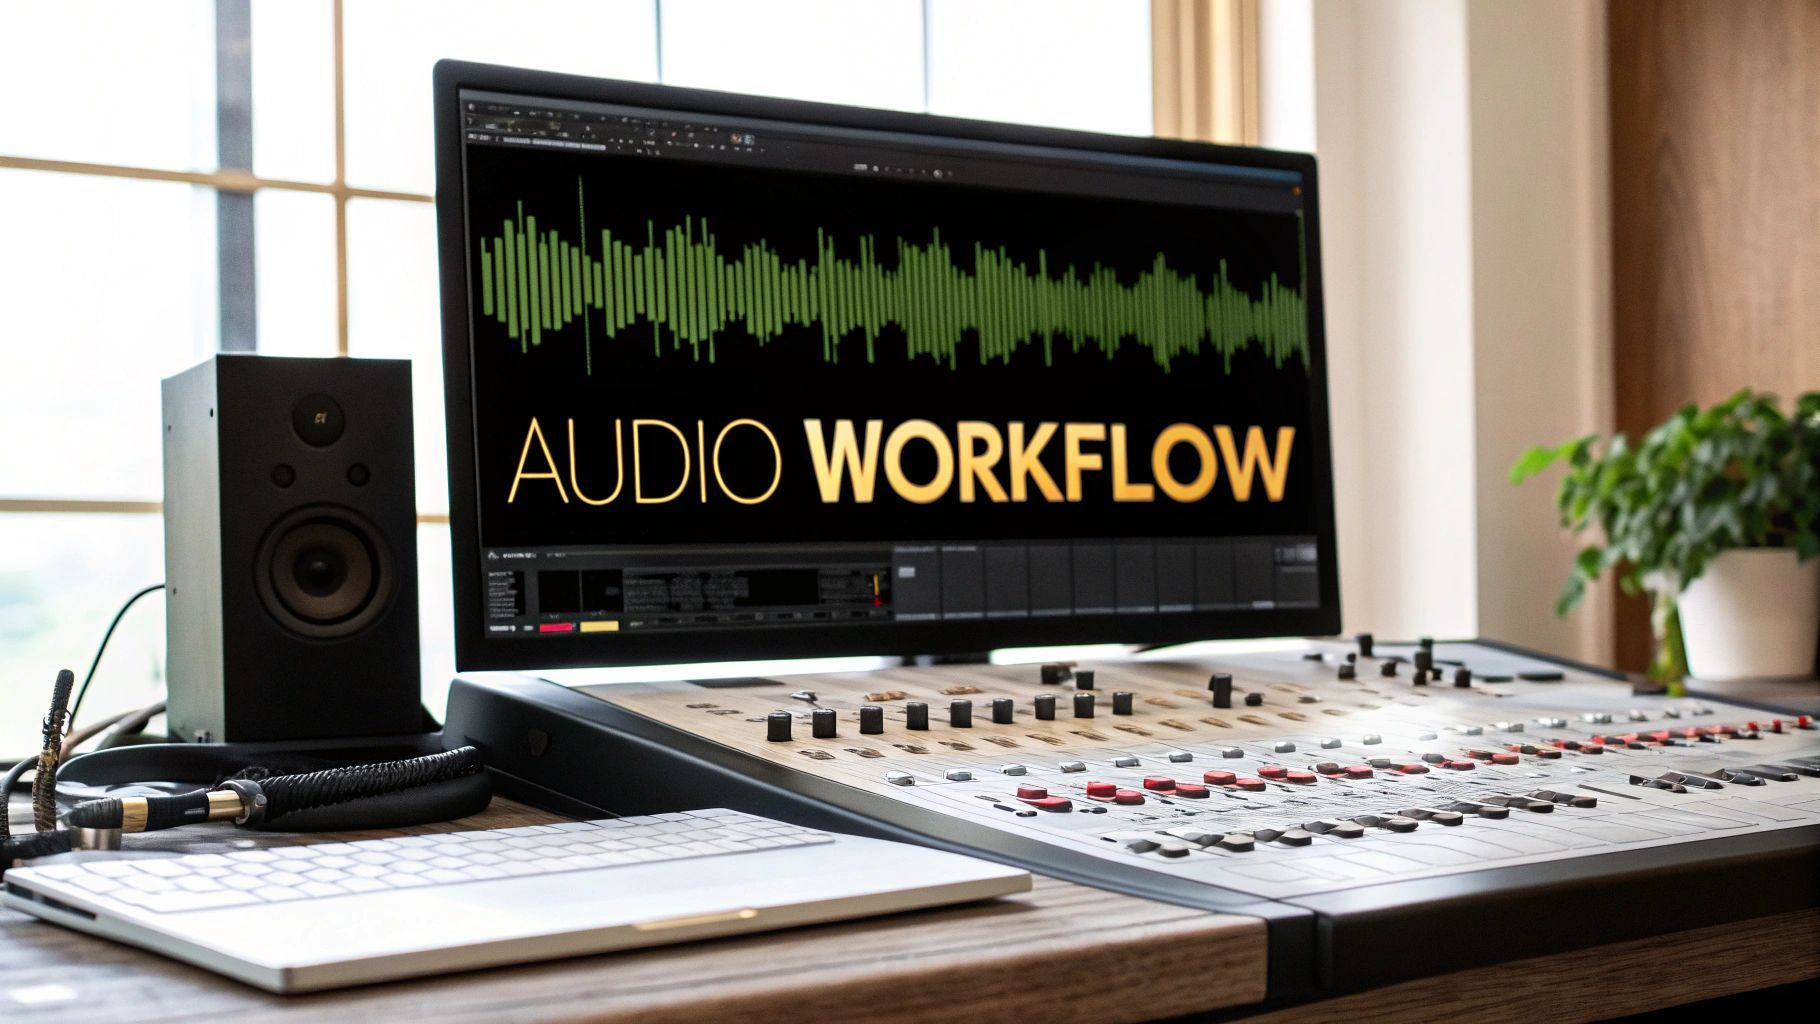
A solid audio workflow in DaVinci Resolve doesn't start with dragging clips onto the timeline. It begins before you import a single file, by laying a proper foundation. Taking a few minutes to nail your project's audio settings from the get-go will save you a world of hurt later on.
So many editors just jump right in, leaving the project settings on default. This is a classic mistake. Think of it like building a house: you wouldn't start framing walls on a crooked foundation. In Resolve, your audio settings are that foundation. Getting them right ensures your audio has the technical integrity needed for professional delivery, preventing weird sync drifts and quality loss down the line.
There are two settings you absolutely have to get right before you do anything else: sample rate and bit depth. You’ll find these by clicking the gear icon in the bottom-right corner to open Project Settings, then heading over to the Fairlight tab.
Setting these two parameters correctly is non-negotiable. It's the first step toward clean, professional sound. If you want to get into the nitty-gritty of why this matters so much, our guide on choosing the best sample rate for audio breaks it all down.
Here’s a quick-glance table to help you lock in the right settings for your specific project.
This table serves as a quick reference guide to help you choose the best audio settings in DaVinci Resolve for different types of productions.
| Setting | Recommendation for Video/Broadcast | Recommendation for Sound Design/Film | Why It Matters |
|---|---|---|---|
| Sample Rate | 48 kHz | 48 kHz or 96 kHz for intense SFX work | 48 kHz is the video standard, ensuring sync. 96 kHz captures more detail for sound design processing. |
| Bit Depth | 24-bit | 24-bit (or 32-bit float if available) | 24-bit provides essential headroom and dynamic range, preventing clipping and preserving quality. |
| Timeline Resolution | Match your video timeline frame rate | Match your video timeline frame rate | Audio and video must share the same timebase to avoid drifting out of sync over time. |
Choosing the right settings from this table at the start of your project is one of the easiest ways to guarantee a smoother, more professional workflow from import to final delivery.
If you've spent most of your time on the Edit page, jumping into Fairlight can feel like stepping into a cockpit for the first time. Don't be intimidated. It's a full-blown digital audio workstation (DAW) built right into Resolve, designed for the kind of precision that the Edit page just can't offer.
The layout gives you a proper mixer with dedicated EQ, dynamics, and automation controls for every single track. It's built for speed and control.
Here's a pro tip: In Fairlight, your audio clips aren't shackled to your video clips by default. This is a huge advantage. It lets you nudge, slip, and fade your audio with sample-level accuracy without messing up your picture edit.
The last piece of the setup puzzle is organization. A messy Media Pool is a slow and painful edit waiting to happen. Before you even import your first file, create a few dedicated bins.
My go-to structure is simple but incredibly effective:
This takes ten seconds to set up but saves you from endless searching, especially when your project balloons to hundreds of audio files. By locking in these settings and organizational habits, you're not just starting a project; you're building a professional and scalable DaVinci Resolve audio workflow that will hold up under pressure.
Let's be honest: a clean timeline is a fast timeline. After you've dialed in your project settings, the Fairlight page is where the real work begins—transforming a chaotic jumble of audio clips into a structured, manageable session. Getting this organizational stage right is the secret to an efficient DaVinci Resolve audio workflow, especially when you're staring down the barrel of a complex project.
Your first critical decision happens right at the start: choosing the right track type. It's tempting to just leave everything as the default stereo, but a little strategic thinking here will pay off big time down the road.
Getting this right from the jump just makes your mix cleaner and prevents you from fighting with unnecessary processing later. It’s a small detail that signals a professional approach.
Once you have more than a handful of tracks, endlessly scrolling through the timeline is a massive time-waster. This is precisely why the Track Index is your best friend. Tucked away on the left side of the Fairlight page, it gives you a simple list view of every audio track in your project.
But the Track Index isn't just for looking at—it's your control panel. You can quickly reorder tracks by just dragging them up or down, which is absolutely essential for grouping similar sounds together. A classic, pro-level layout puts dialogue at the top, followed by sound effects, then ambiance, with music anchoring everything at the bottom.
This diagram shows how those foundational project settings—like sample rate and bit depth—are the bedrock upon which your organized timeline is built.
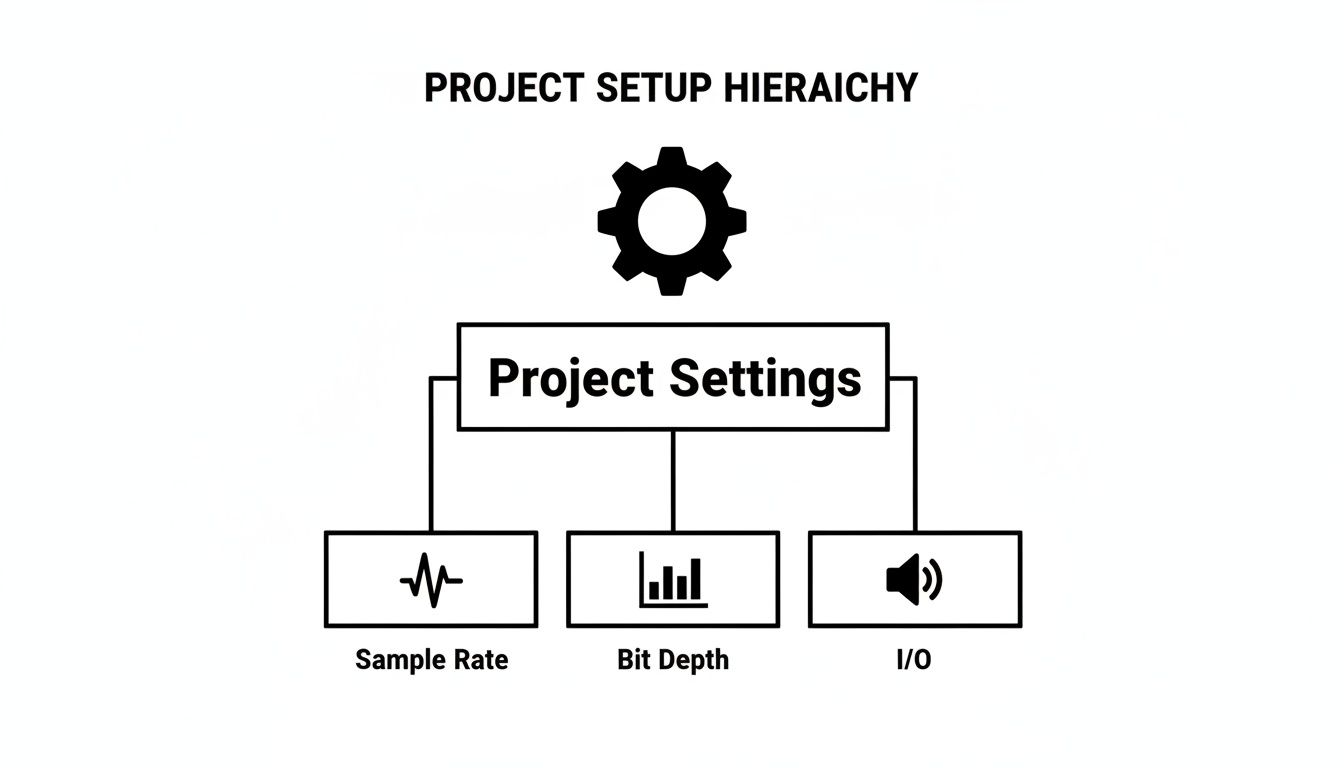
Getting these technical details right in the Project Settings first ensures everything you do in Fairlight later on will be stable and sound correct.
Another game-changer hiding in the Track Index is color-coding. Just right-click a track, assign it a color, and you're set. My personal system is often blue for dialogue, green for SFX, and purple for music. This simple visual shorthand lets you identify what you're looking at in a split second, making navigation so much faster.
With your tracks neatly arranged, it's time to get into the clips themselves. One of the most common problems you'll find in raw audio is those little pops and clicks at the start or end of a clip. The fix is incredibly simple: fades.
You can add a fade in a second by just dragging the little white handle at the top corner of any audio clip. Seriously, even a fade of just a few milliseconds can be enough to smooth out a harsh transition and kill an ugly pop. For more control, you can even change the fade curve from linear to exponential to get a more natural-sounding ramp.
Here's a pro tip: for really surgical edits, the Range Selection tool (shortcut: R) is your go-to. Instead of slicing up entire clips, you can select a tiny piece of a waveform—like a single cough or a mouth click—and just delete it or lower its volume without touching the audio around it.
Of course, none of this matters if your audio isn't perfectly aligned with your video in the first place. For a deep dive, our guide on how to sync audio with video covers all the techniques you'll need to lock everything together from the start.
Want to know a technique that really separates the amateurs from the pros? Bussing. A bus is essentially a sub-mixer inside your project. Instead of wrestling with the volume faders on ten different dialogue tracks, you can route them all to a single "Dialogue Bus." Now, one fader controls all your dialogue at once.
This approach is incredibly powerful, especially when you start adding effects. Need to add a little EQ or compression to all of your sound effects? Just drop the effect onto the "SFX Bus" one time, and it instantly processes every single track routed to it.
In fact, this is how modern post-production gets done. It's not uncommon for pros to be juggling 50-60 audio tracks, and bussing is what makes it manageable. Instead of trying to automate dozens of individual tracks, they'll automate just 4-6 master buses, controlling entire food groups like dialogue or SFX. This approach can slash mixing time by as much as 70%—a workflow that really became the standard after the massive audio upgrades in DaVinci Resolve 17.
Setting up buses is really straightforward. Just go to the Fairlight menu, choose Bus Format, and create a new bus for each of your main audio groups (e.g., Dialogue, SFX, Music). Then, in the mixer panel, just change each track's output from the main bus to your new sub-bus. This simple routing strategy is the backbone of an organized, scalable, and professional-sounding mix.
Stock sound libraries have their place, but let's be honest—they can feel generic. That "whoosh" you found might be functional, but does it really fit the unique feel of your project? This is where AI sound tools like SFX Engine completely change the game for your DaVinci Resolve workflow. It gives you the power to craft the exact sound you hear in your head without needing a foley stage or a massive budget.
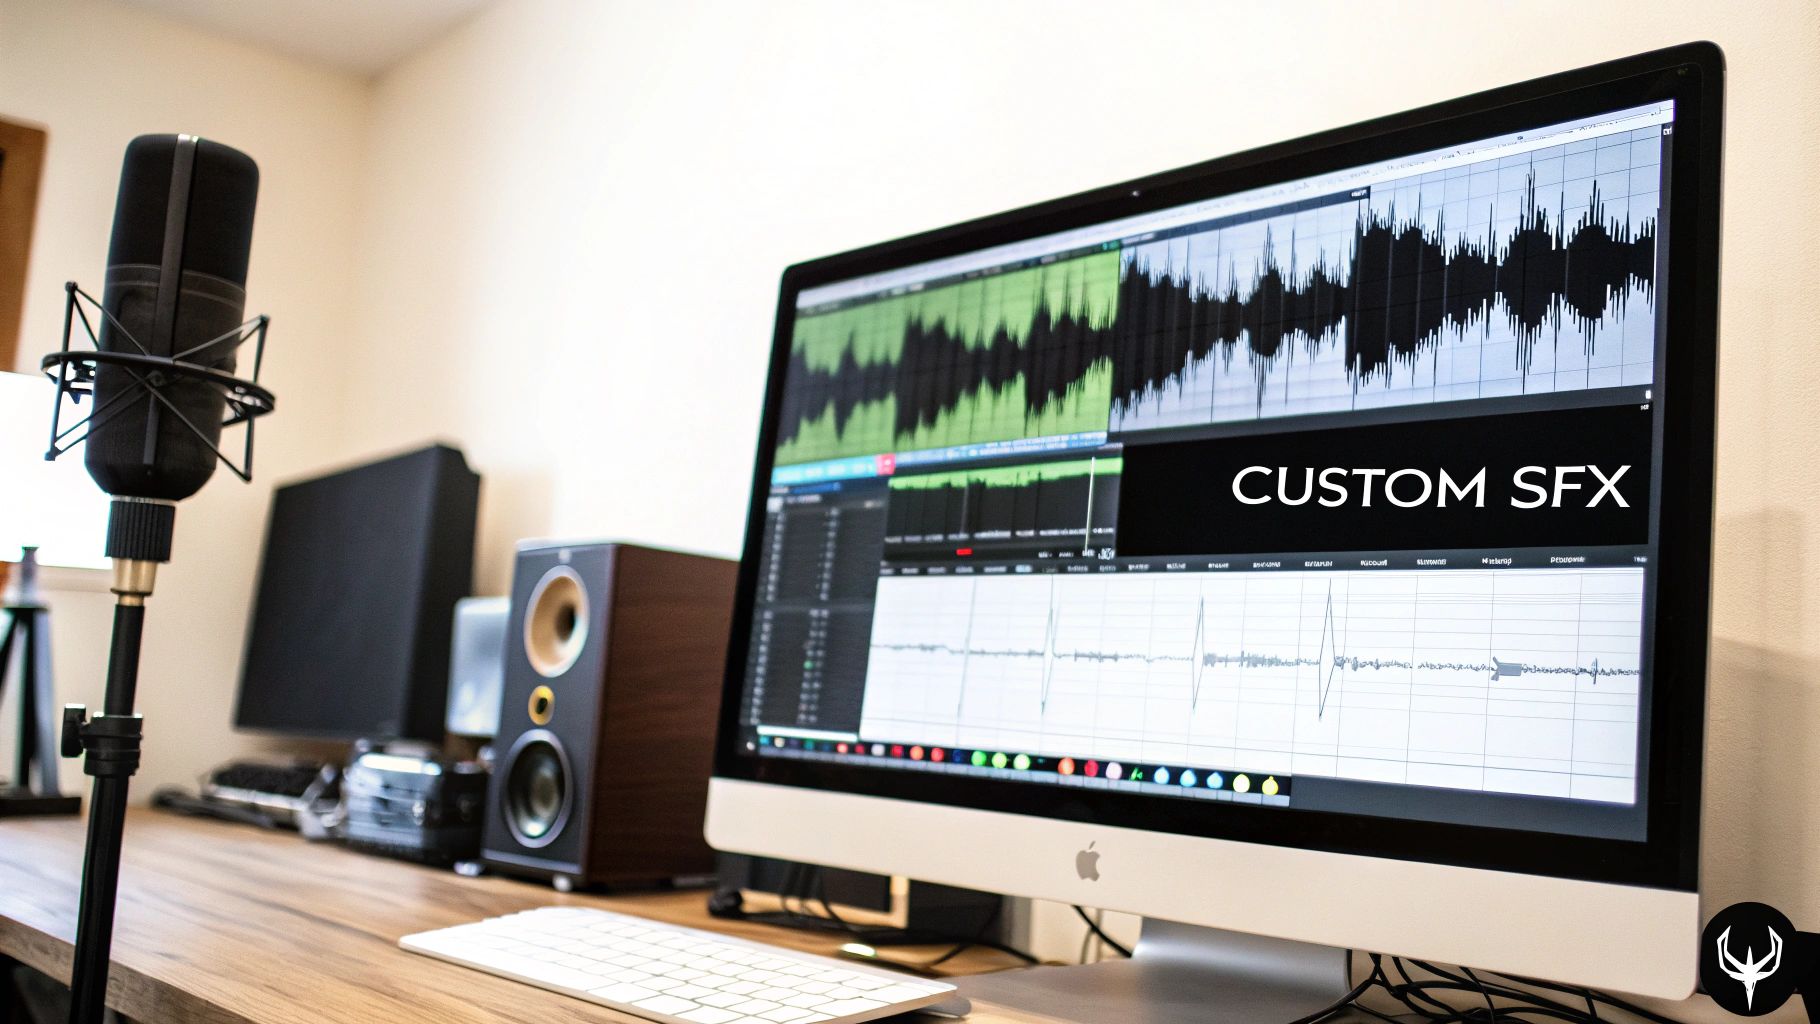
Instead of spending hours scrolling through libraries for a sound that's "close enough," you can just describe what you need and generate it instantly. The trick is to think like a sound designer. You need to get specific about the textures, materials, and actions you want to hear.
The magic is all in the prompt. A vague prompt will give you a vague sound. But a detailed, descriptive prompt? That’s how you get something truly special.
Here’s a practical way to think about it:
gentle rain on a car roof works perfectly for building a specific ambiance. It’s clear and gets the job done.sci-fi drone with a deep, pulsating hum and subtle high-frequency static crackles gives the AI so much more to work with. The result is a far more textured and unique effect.One of the biggest amateur mistakes is using the same sound effect over and over. A character’s footsteps will never sound exactly the same twice in a row. This is where AI really shines. Generate your first sound with a prompt like footsteps on dry leaves, then create a few variations by tweaking it—single footstep on crunchy autumn leaves, slow footstep on damp leaves. This subtle difference adds an incredible layer of realism.
Building a unique sonic identity for your project is no longer a luxury. With tools like SFX Engine, you can move beyond generic libraries and generate sounds that are perfectly matched to your creative vision, royalty-free.
Once you've generated the perfect sound, getting it into your project is a breeze. SFX Engine lets you download your files in high-quality WAV format. This is exactly what you want for post-production, as it’s uncompressed and preserves every bit of audio detail.
Here’s my go-to workflow for bringing these assets into DaVinci Resolve:
gentle rain track with a distant thunder rumble and your custom sci-fi drone to instantly set a moody, atmospheric scene.This creator-driven approach is a massive step forward. If you want to dive deeper into the art of prompting, our guide on how to create sounds has more strategies and examples. By integrating custom-generated assets, you're not just finding sounds—you're building a sonic world that is entirely your own.
Alright, you've organized your timeline and even crafted some custom sounds with SFX Engine. Now it's time to roll up your sleeves and transition from editor to mix artist. This is where the real magic happens—balancing levels, shaping frequencies, and adding depth to create a soundscape that feels completely immersive and professional. The Fairlight page in DaVinci Resolve is an absolute powerhouse, packed with built-in effects that can tackle pretty much any mixing challenge you throw at it.
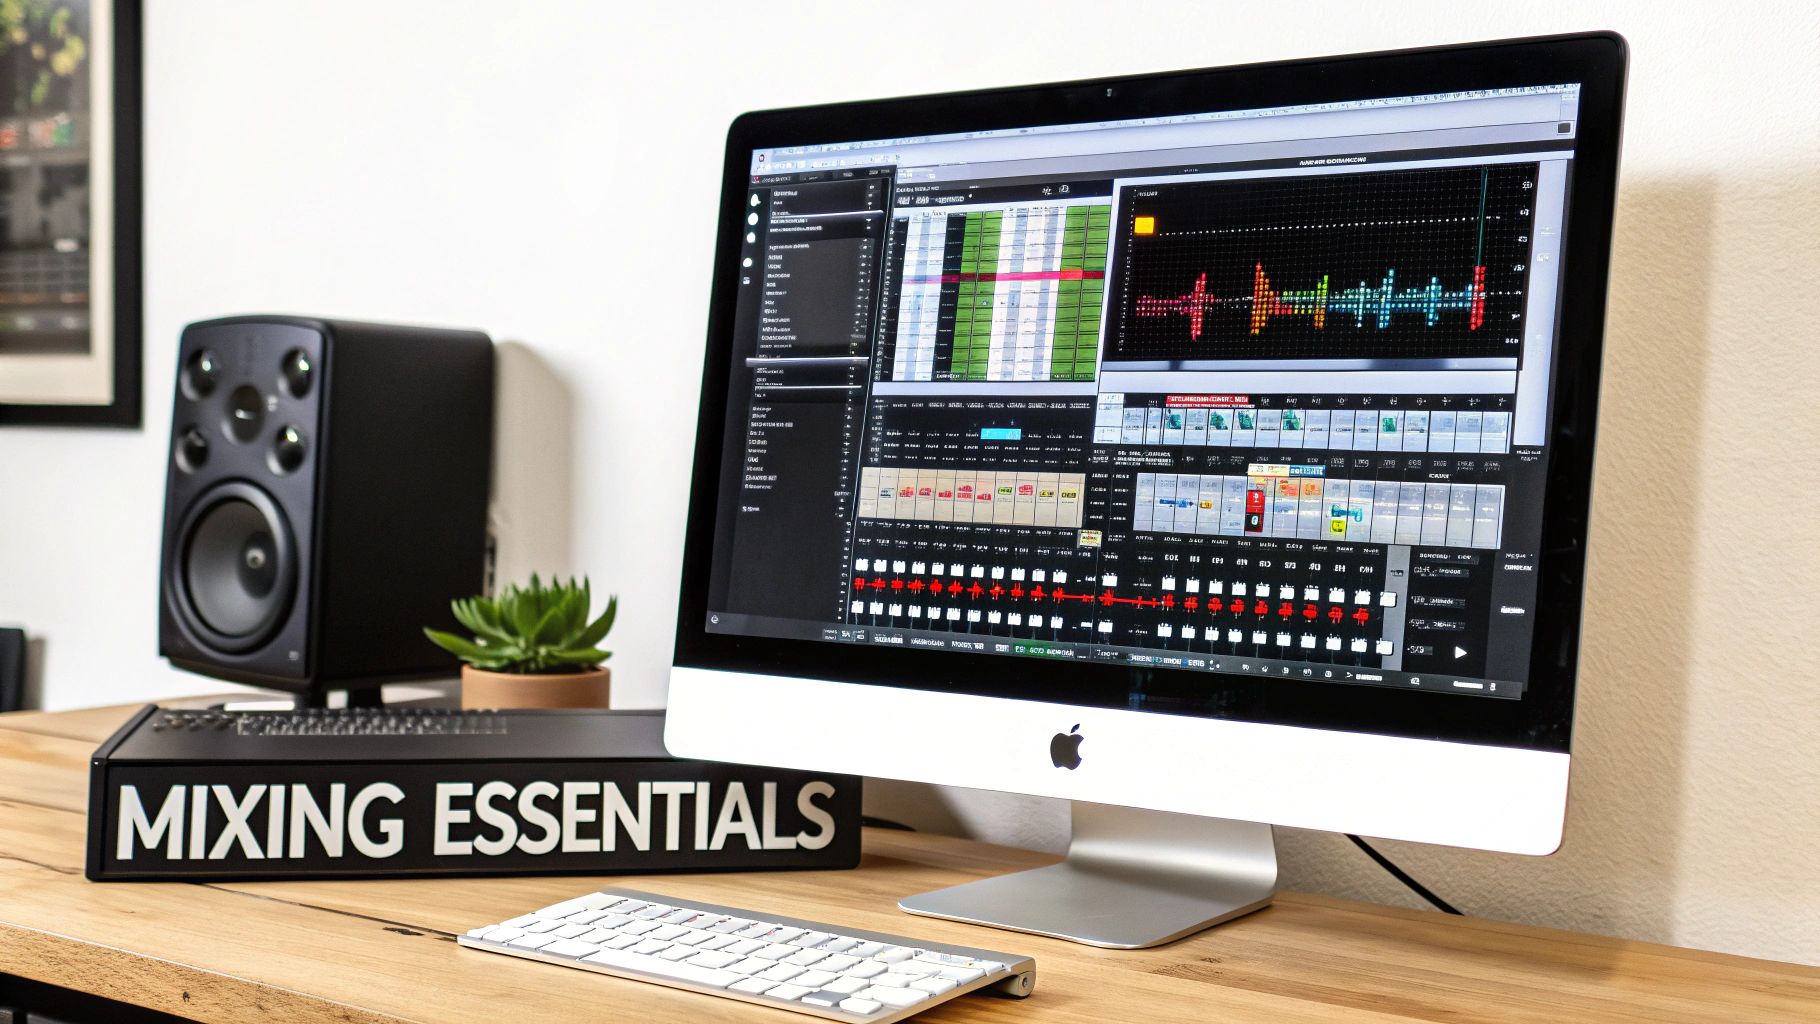
We’re going to zero in on the three pillars of any great mix: Equalization (EQ), Compression, and Reverb. Getting a handle on these isn't just about knowing what the knobs do, but developing an instinct for why and when to use them.
Think of Equalization, or EQ, as a sculptor's chisel for sound. It's your number one tool for shaping the tonal balance of any audio clip. Resolve's built-in FairlightFX Equalizer is a fantastic parametric EQ, which just means you get incredibly precise control over the frequencies you want to boost or, more often, cut.
One of the most common issues I run into with dialogue is "muddiness." It's a buildup of low-mid frequencies, usually somewhere between 200-400Hz, that makes voices sound boomy and hard to understand. Your first instinct might be to boost the high frequencies to add clarity, but a much cleaner approach is to use subtractive EQ.
Here's how I tackle this in practice:
This subtractive technique is a cornerstone of a clean DaVinci Resolve audio workflow. You're carving away the problem frequencies instead of just layering more sound on top, which almost always yields a more natural result.
Ever watched a video where you're constantly reaching for the volume knob? One line of dialogue is a whisper, and the next is a shout. That's a dynamic range problem, and the tool to fix it is a Compressor.
A compressor is like an automatic volume fader; it turns down the loudest parts of the audio, reducing the distance between the quietest and loudest moments. The result is a much more consistent and intelligible track.
A classic beginner mistake is over-compressing. It can completely squash the life out of your audio, making it sound flat and unnatural. The goal here is transparent control, not just making everything loud.
For dialogue, a good starting point with the FairlightFX Compressor is a Ratio of around 3:1 with a fast Attack time. The real art is in setting the Threshold. You'll want to lower it until you see the meter showing about 3-6dB of gain reduction just on the loudest peaks. After that, use the Make-up Gain to bring the overall level back up. Suddenly, every word is present and clear without sounding squashed.
Reverb (short for reverberation) simulates the sound of a physical space. It’s the collection of reflections that gives audio a sense of place and depth. When used thoughtfully, it's the glue that can make dialogue recorded in a sound booth and effects from a library sound like they actually exist in the same environment.
The FairlightFX Reverb is more than capable, but the trick is in how you use it. Instead of slapping a separate reverb on every single track, a much smarter and more efficient workflow is to use a bus send.
This approach doesn't just save a ton of CPU power; it guarantees that all your sound elements are sharing the same virtual acoustic space, which makes the entire mix feel cohesive and believable.
Beyond the big three, Fairlight has some specialized tools that are perfect for fixing common issues.
Alright, you've done the hard work. The mix is balanced, the effects are dialed in, and your soundscape is really starting to sing. This last leg of the journey—mastering and exporting—is where you put the final polish on your audio. It’s what makes your project sound professional and consistent, whether it’s playing in a theater or through a pair of tiny earbuds.
This isn't just about cranking up the volume. It's about control and meeting professional standards.
The first big idea to wrap your head around is loudness normalization. Have you ever noticed how you don't have to constantly ride the volume remote when jumping between videos on YouTube or shows on Netflix? That’s because these platforms automatically adjust everything to a target loudness. If your audio is too loud, they turn it down. Too quiet? They turn it up, which can unfortunately amplify any hiss or noise you left in the mix.
Your goal is to nail their target perfectly, so their algorithms don't have to mess with your carefully crafted mix at all.
We measure this perceived loudness using a metric called LUFS (Loudness Units Full Scale). It’s a much more accurate representation of how our ears perceive volume than old-school peak meters. Thankfully, Resolve has a fantastic Loudness Meter built right in. You’ll find it in the main meter section at the top right of the Fairlight page.
Here are the numbers you need to know for common platforms:
As you play through your final timeline, keep a close eye on the "Integrated" LUFS reading. This shows you the average loudness of your entire project up to that point. The game is to have that number land exactly on your target just as the timeline finishes.
So, what do you do if your mix is naturally sitting at, say, -20 LUFS, but you need to hit YouTube's -14 LUFS standard? You don’t want to just push up all your faders and risk clipping. The answer is a Limiter.
Think of a limiter as a super-fast, super-strong compressor that acts like an invisible brick wall. It prevents your audio from ever going past a set ceiling (a safe bet is -1.0 dBTP, or True Peak, to avoid digital distortion), while letting you cleanly boost the overall level of everything else.
Go to your main output bus (it’s probably called "Bus 1" or "Main") and add the FairlightFX Limiter to it. Now, play your mix from the beginning and slowly increase the "Input Gain" on the limiter. Watch as the integrated LUFS value on your meter starts to climb. Just nudge that gain up until your mix averages exactly the LUFS target you're aiming for. It's that simple.
A word of caution: don't get carried away. If you see the limiter's gain reduction meter constantly slammed, you're pushing it too hard and squashing all the life out of your mix. The goal is transparent loudness, not a flat, dynamic-free sausage.
The audio tools in recent versions of DaVinci Resolve have gotten seriously good, which is a big reason it's rapidly gaining on the old industry standards. A 2023 survey from Production Expert revealed that Resolve is now used by 32% of over 5,000 pros surveyed, putting it neck-and-neck with Pro Tools.
Many editors find they can normalize around 90% of their clips just by using the simple right-click "Normalize Audio Levels" feature to hit targets like -16 LUFS. This one move can sometimes reduce the need for manual EQ and compression by up to 50%, saving a ton of time. You can read more about how these updates are changing the game for pros over at No Film School.
With your master sounding perfect, it's time to head over to the Deliver page and create your final files. You've got a few key choices here based on where the project is going.
Final Video with Embedded Audio: This is the most common scenario for YouTube, Vimeo, or social media. Head to the Audio tab in your export settings and make sure "Output Track 1" is sourced from your main mix bus. For the format, AAC is great for web delivery, while Linear PCM gives you the highest possible quality.
Stereo Mixdown: If someone just needs the final audio file, choose an "Audio Only" preset. A 24-bit, 48kHz WAV file is the gold standard for a high-quality master audio file.
Stems for Collaboration: This is crucial if you're passing your project to a dedicated sound designer or mixer. You'll need to export "stems"—separate audio files for dialogue, music, SFX, etc. In the Deliver page's audio settings, switch the export from a single timeline to "Individual Clips." This lets you export each of your audio buses as its own WAV file, giving the next person in the chain total control and flexibility.
Even with the best workflow, you're bound to hit a few snags. Let's tackle some of the most common questions and frustrations that pop up when you're deep in an audio mix. These are the quick, field-tested answers you need to get back on track.
There’s nothing more maddening than out-of-sync audio. This gremlin usually has one of two causes: either your footage and timeline have different frame rates, or you're dealing with variable frame rate (VFR) footage. VFR is a common headache with files from smartphones or screen recordings, and it's absolute poison for professional editing software.
The best fix is prevention. Before you even import your footage, run any VFR clips through a tool like HandBrake to convert them to a constant frame rate (CFR). Seriously, this one step can save you hours of pulling your hair out later.
If the damage is already done and a clip is just slightly off in your timeline, you can slip it manually. Just hold Alt/Option, then click and drag the audio waveform. To get it perfect, zoom right into the Fairlight page until you can see the individual samples and line up the camera audio waveform with your separate, clean audio recording.
Getting this right is fundamental to a clean, manageable mix. Think of them as two different tools for two different jobs.
Clip Gain is what you use before the mix really begins. Its job is to normalize your raw clips. For example, if you have two interview clips on the same track but one person was recorded much quieter, you’d use Clip Gain to bring their levels up to match. It’s all about creating a consistent, level foundation to build upon.
Track Volume, on the other hand, is for the creative, dynamic part of the mix. This is where your faders and automation come into play. When you need to duck the music under a line of dialogue or create a dramatic swell, that’s a job for Track Volume automation.
Here’s the pro approach: always start with Clip Gain to get all your source material playing nicely together. Only then should you move to Track Volume faders and automation for the final, artistic mix. Keeping these tasks separate makes everything easier to manage and tweak.
Absolutely! While Resolve’s built-in FairlightFX are surprisingly capable, you can easily integrate your entire arsenal of third-party plugins. DaVinci Resolve works perfectly with VST plugins (on Windows and macOS) and AU plugins (macOS only).
Getting them set up is a breeze. Head over to 'Preferences' > 'System' > 'Audio Plugins'. From there, just add the folder paths where your plugins are installed and hit "Scan Plugins." Once Resolve finds them, they'll show up in your Effects Library, ready to be dragged onto clips or tracks just like the native effects. This means you can use powerhouse tools like the iZotope RX suite for heavy-duty repair or FabFilter Pro-Q for surgical EQ, all without ever leaving your timeline.
Dialogue cleanup is more art than science, and it’s rarely a one-click fix. You’ll usually get the best results by creating a chain of subtle effects.
Your first move should almost always be an Equalizer (EQ) with a high-pass filter. Setting it somewhere between 80-100Hz will instantly cut out low-end rumble from traffic, air conditioning, or mic handling noise without touching the human voice.
Next, add the built-in Noise Reduction effect, but be gentle. The biggest mistake people make is cranking it up too high, which introduces that robotic, watery sound that's often worse than the original noise. If you're fighting a specific electrical hum, the De-Hummer is brilliant for targeting those exact frequencies. A final touch is to use a De-Esser to soften any sharp "s" sounds (sibilance) that can be distracting.
It’s this kind of integrated power that has post-production professionals taking a serious look at Fairlight. A 2023 survey from Production Expert revealed that Fairlight adoption among pros has skyrocketed by 150% since 2021, now sitting at 28% worldwide. Some studios in the US and EU even reported project turnarounds up to 52% faster than with older, more traditional DAWs. You can dig into all the details and see how the changing DAW landscape is evolving.
Ready to create a soundscape as unique as your vision? With SFX Engine, you can generate custom, royalty-free sound effects instantly from a simple text prompt. Stop searching through generic libraries and start creating the perfect audio for your project. Try SFX Engine for free and bring your sonic ideas to life.