December 23, 2025 · Kuba Rogut
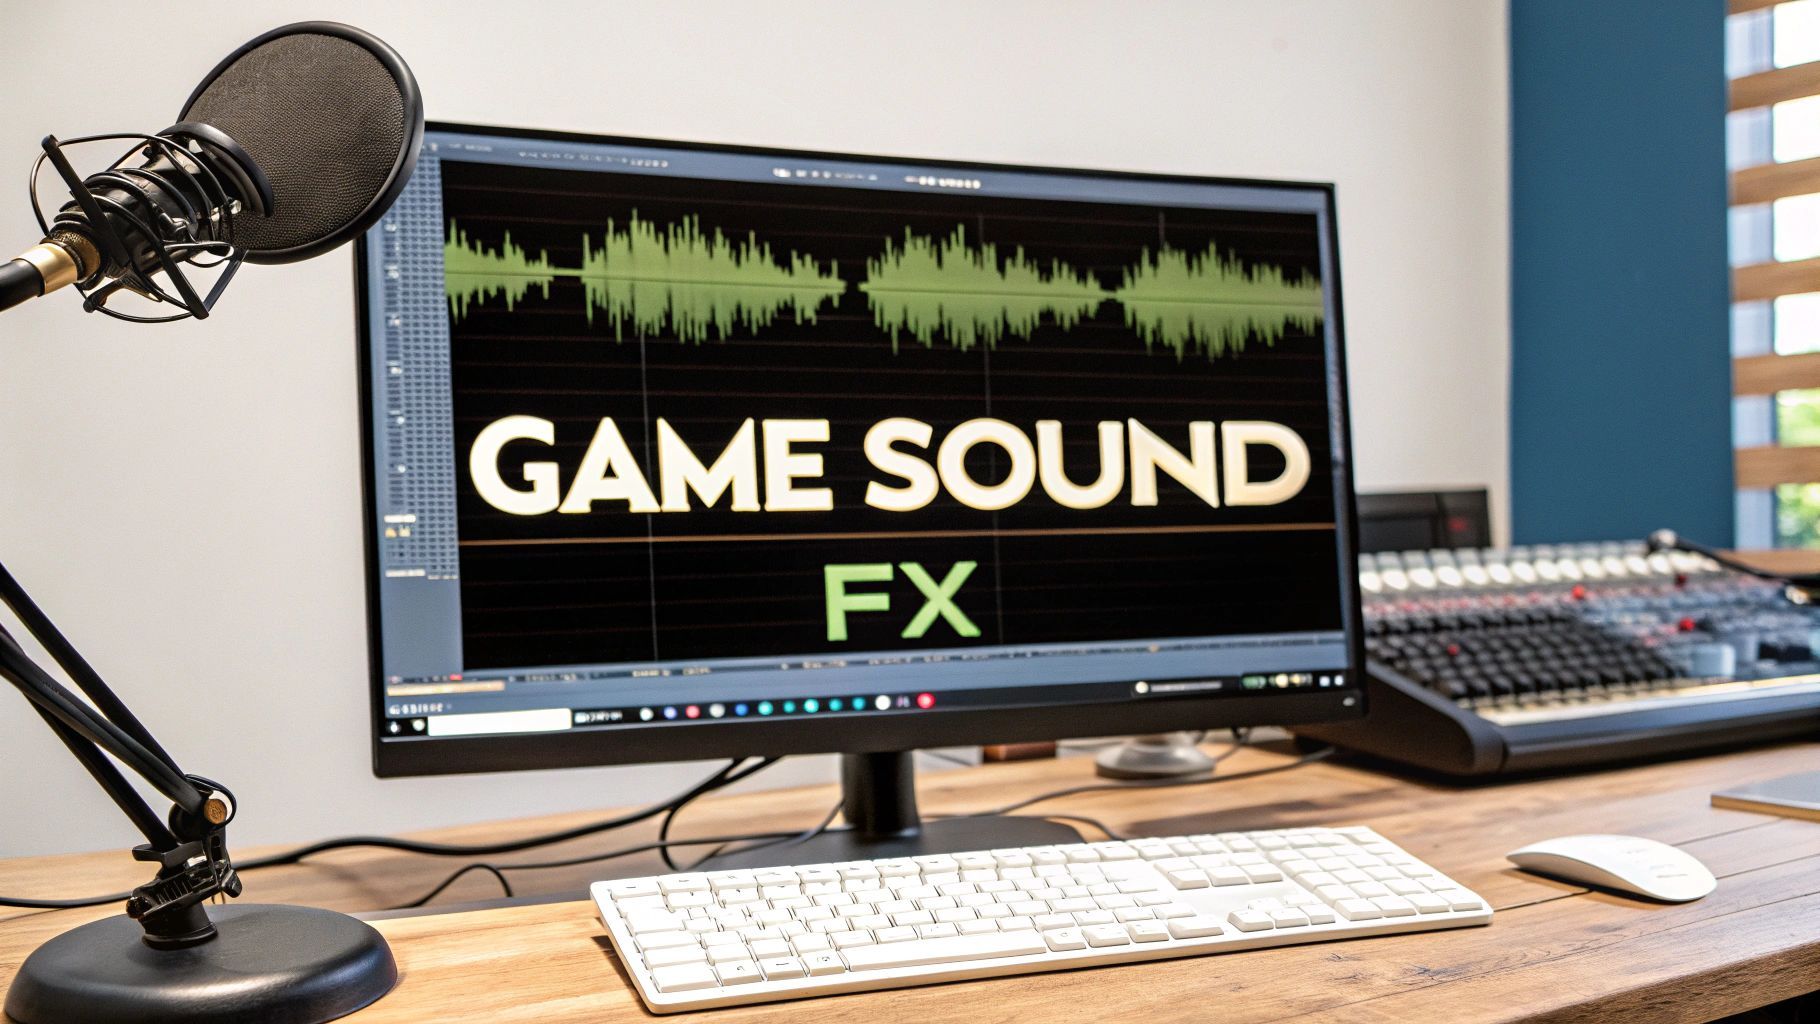
Adding sound effects to a game is more than just dropping files into a folder. It’s a process of weaving audio into the very fabric of your world, connecting sounds to specific actions—like a character's jump or a creaking door—to pull the player in. This is done inside a game engine like Unity or Unreal Engine by linking audio clips to in-game events, either through code or visual scripting.
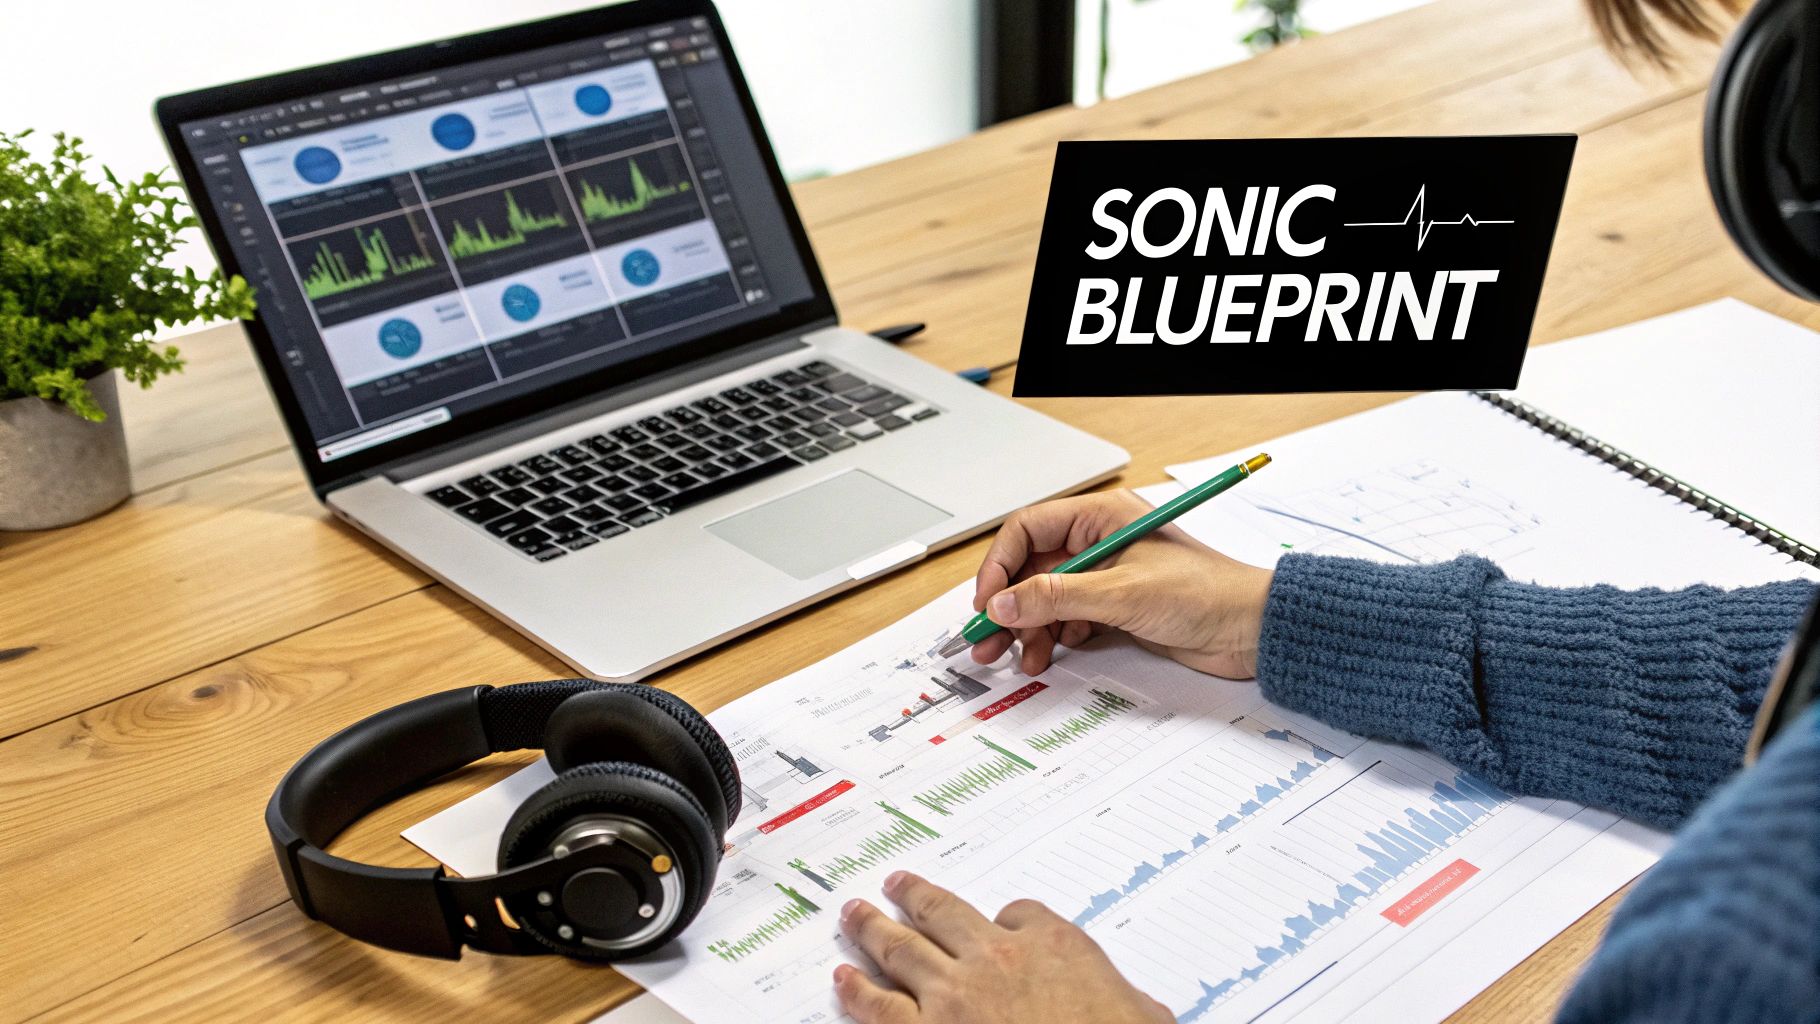
Before you even think about importing a single sound file, you need a plan. Great game audio is never an afterthought; it’s a core pillar of the experience, just as important as the art style. This plan, your sonic blueprint, is what ensures every sound feels intentional and cohesive, creating a unified world for the player.
This is where you graduate from simply adding sounds to truly designing a soundscape. It’s the difference between a generic stock explosion and one that perfectly captures the zany, over-the-top feel of your game.
Think of your audio style guide as a mission statement for your sound. It’s a document—even a simple one—that defines the rules of your game's audio universe and connects it directly to the narrative, art direction, and overall mood.
A solid guide will force you to answer the tough questions early on, preventing a messy, inconsistent soundscape later:
This guide becomes your North Star, ensuring every footstep, menu click, and magical spell reinforces the world you're trying to build. If you want to dig deeper into the core concepts, our guide on the general principles of sound for games is a great place to start.
Once the vision is clear, it's time to get practical. Making a few smart technical decisions now will save you from monumental headaches down the road. The first big choice is picking the right audio file formats.
You'll mainly be working with two formats: WAV and OGG.
A pro tip from the trenches: Always work with WAV files during the creation and editing phase to preserve maximum quality. Then, export to OGG only for the specific in-game assets where file size is a major concern.
Organization is your best friend here. Before you import anything into your engine, create a clean, logical folder structure for your audio assets. Something like this will make your life infinitely easier:
SFX/Player/Footsteps/SFX/Weapons/Guns/SFX/UI/Clicks/This kind of methodical approach isn't just about being tidy; it has a real impact on your workflow as your sound library grows. The industry gets it, too. The game sound design market is exploding, projected to jump from USD 2.1 billion in 2023 to USD 4.3 billion by 2032. Why? Because studios know that immersive, high-quality audio is a key ingredient for keeping players engaged.
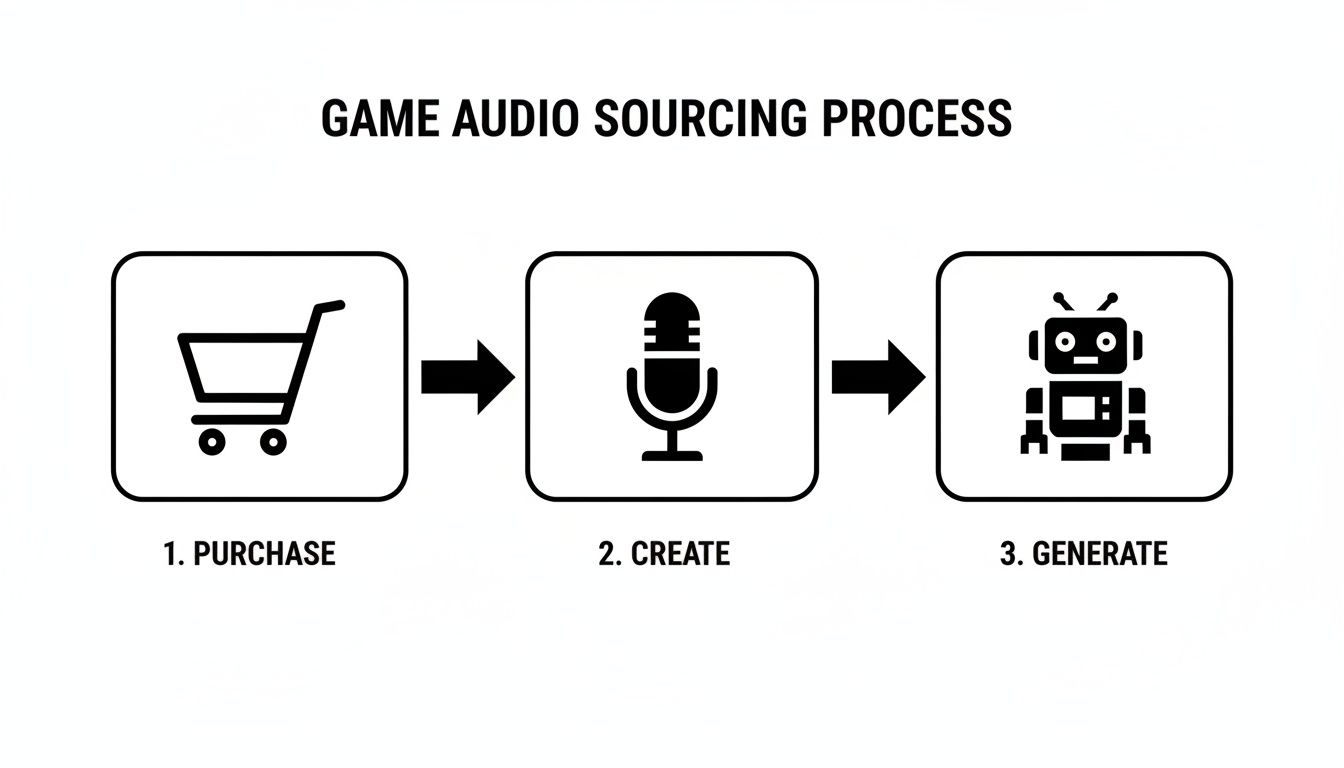
Okay, you’ve got your sonic blueprint. Now for the fun part: gathering the actual sounds that will give your game its voice. This is where you get to hunt for, record, or even generate the audio that brings your world to life.
How you tackle this really comes down to your project's budget, timeline, and creative vision. An indie dev on a shoestring budget might be recording sounds in their garage, while a big studio is licensing massive professional libraries. There’s no single "right" way—it’s all about what works for you.
The quickest way to get high-quality audio is to grab it from existing libraries. This path generally splits into two options: paid professional collections and free community-driven sites.
Professional Libraries: Marketplaces like Sonniss or A Sound Effect are treasure troves of meticulously recorded, game-ready audio. The big win here is quality and consistency. You’re paying for a pro’s time and gear, and the sounds often drop right into your project with little to no cleanup.
Royalty-Free Sites: For those of us watching our wallets, sites like Freesound are an absolute godsend. You’ll find millions of user-submitted sounds for just about anything. The catch? Quality can be all over the place, and you have to be vigilant about checking the license for each file. Many require attribution, so keep a list.
Think about the trade-off. Spending a few hundred dollars on a pro library might save you dozens of hours of sifting through free sites and editing files, which can be a huge win for your schedule.
If you want a truly unique audio signature for your game, nothing beats making the sounds yourself. It guarantees your game sounds like nothing else out there. This usually involves two classic techniques: Foley and field recording.
Foley is the art of performing sounds in a controlled setting. That gruesome monster dismemberment? It might just be someone smashing a watermelon next to a microphone. A crackling fire? Try crinkling some cellophane. It’s surprisingly accessible—all you really need is a decent mic and a bit of creativity.
Field recording is about capturing the sound of the real world. Think of the authentic ambience of a quiet forest, the unique clatter of a specific metal gate, or the buzz of a city street. These textures add a layer of realism that’s nearly impossible to fake.
A quick tip from my own experience: Don't underestimate the microphone in your smartphone. The quality is often good enough for capturing unique textures you can layer and process later. I once recorded the hum of a dying refrigerator and, with some pitching and filtering, turned it into the engine sound for a hovering sci-fi drone.
There's a fantastic middle ground between buying and DIY: AI sound generation. Tools like SFX Engine let you simply type what you need—like "a heavy wooden door creaking open in a large, empty stone hall"—and get a custom, royalty-free sound effect in seconds.
This is a game-changer for rapid prototyping when you just need a placeholder now. It's also brilliant for creating a bunch of subtle variations of an effect, so your player doesn't hear the exact same footstep or gunshot over and over. For a deeper dive, check out our guide on building a powerful game sound effects library with these modern tools.
It’s also interesting to see how this trend mirrors what’s happening in other areas of development. The principles of rapid, iterative creation are just as relevant when you look at modern AI tools for game visual assets.
Finally, you can always hire a professional sound designer to create custom audio for you. This gives you the creative control of the DIY approach combined with the polish of a professional library. It's a strategy that’s becoming more and more common for teams of all sizes.
The industry is definitely moving in this direction. The share of audio professionals working at outsourcing firms is projected to jump from just 5% in 2016 to an estimated 14.7% by 2025. This shift means even small studios can contract world-class talent, a flexible setup that has become more common as recent industry layoffs have impacted 16% of mid-career audio staff. You can find more of these insights from the game audio industry from the 2025 survey. It lets you focus on building the game while an expert handles the sound.
Alright, you've got your audio files prepped and ready to go. Now comes the exciting part: actually getting them into your game and making them play. This is where a static sound file becomes a living, breathing part of the experience, reacting to every player action and in-game event. We're going to dive into how this works in a few of the most popular engines.
Think of it this way: a .wav file of a gunshot is just a noise. But when you wire it up in an engine, it becomes the satisfying thump that happens the moment a player clicks the mouse. A simple footstep clip transforms into a dynamic system that sells your character's movement.
Whether you've bought, created, or generated your sounds, the end goal is always the same: a library of high-quality audio assets ready to be implemented.
Unity's component system makes adding audio pretty straightforward. Your two main tools will be the Audio Source and the Audio Listener.
Let's walk through a common scenario: making a treasure chest play a sound when it opens. First, you'd select the treasure chest GameObject in your scene and add an Audio Source component to it. Then, you simply drag your chest_open.wav file into the AudioClip slot on that component.
To make it play, you’d write a small C# script. When the player's interaction code runs, it finds the Audio Source on the chest and calls the Play() method. It’s a clean and direct way to connect an action to a sound.
Pro Tip for Non-Coders: Unity's built-in event systems, like the one on UI buttons, let you skip the code for simple sounds. You can drag an object with an Audio Source into an event slot and choose the
Play()function right from a dropdown menu. It's perfect for quick UI feedback.
Unreal Engine leans heavily on its visual scripting system, Blueprints. The star of the show for audio here is the Sound Cue, a special asset that is way more than just a single audio file.
A Sound Cue is a powerful container where you build complex audio behaviors in a visual, node-based editor. Instead of just playing one .wav, you can use nodes to randomize the pitch, add delays, or chain multiple sounds together. This is your best weapon against audio repetition.
Here’s a practical example for footsteps:
SC_Footstep_Grass.With that set up, you can go into your character's Animation Blueprint and add a "Play Sound" node at the exact frame their foot connects with the ground. By calling your new Sound Cue, you'll get a slightly different and much more believable footstep every single time.
The Godot Engine uses a wonderfully simple and effective node system for audio. Your go-to node is the AudioStreamPlayer (or AudioStreamPlayer3D for positional sound in 3D space).
You simply add one of these nodes as a child to whatever object needs to make a noise. In the Inspector panel, you'll assign your imported sound file to its AudioStream property. From there, a quick line of code can get a reference to the node and call play().
Where Godot really shines, though, is its audio bus system. Think of buses as channels on a mixing board. While the "Master" bus controls the game's final output, you can create new ones for different categories of sound.
| Bus Name | Purpose | Example Sounds |
|---|---|---|
| SFX | For all in-game sound effects | Footsteps, gunshots, explosions |
| Music | For background music tracks | Main theme, ambient level music |
| UI | For user interface feedback | Button clicks, menu navigation |
| VO | For character voice-over and dialogue | Narrator lines, character barks |
By routing each of your AudioStreamPlayer nodes to the correct bus, you gain incredible control. It makes building an audio settings menu—where the player can adjust volumes for SFX, music, and voice-over independently—an absolute breeze. This isn't just a nice feature; it's a core part of delivering a polished user experience.
Just having a sound play when something happens is only scratching the surface. If you want to pull players deep into your world and create a truly memorable experience, you need to think about how sounds actually live and breathe inside the game's space. This is where you move from just adding noises to crafting a cohesive, immersive soundscape.
These are the methods that distinguish good audio from truly great audio. It's how you make a player feel the tension in a quiet room, the chaos of a battlefield, or the unnerving presence of an enemy they can’t yet see.
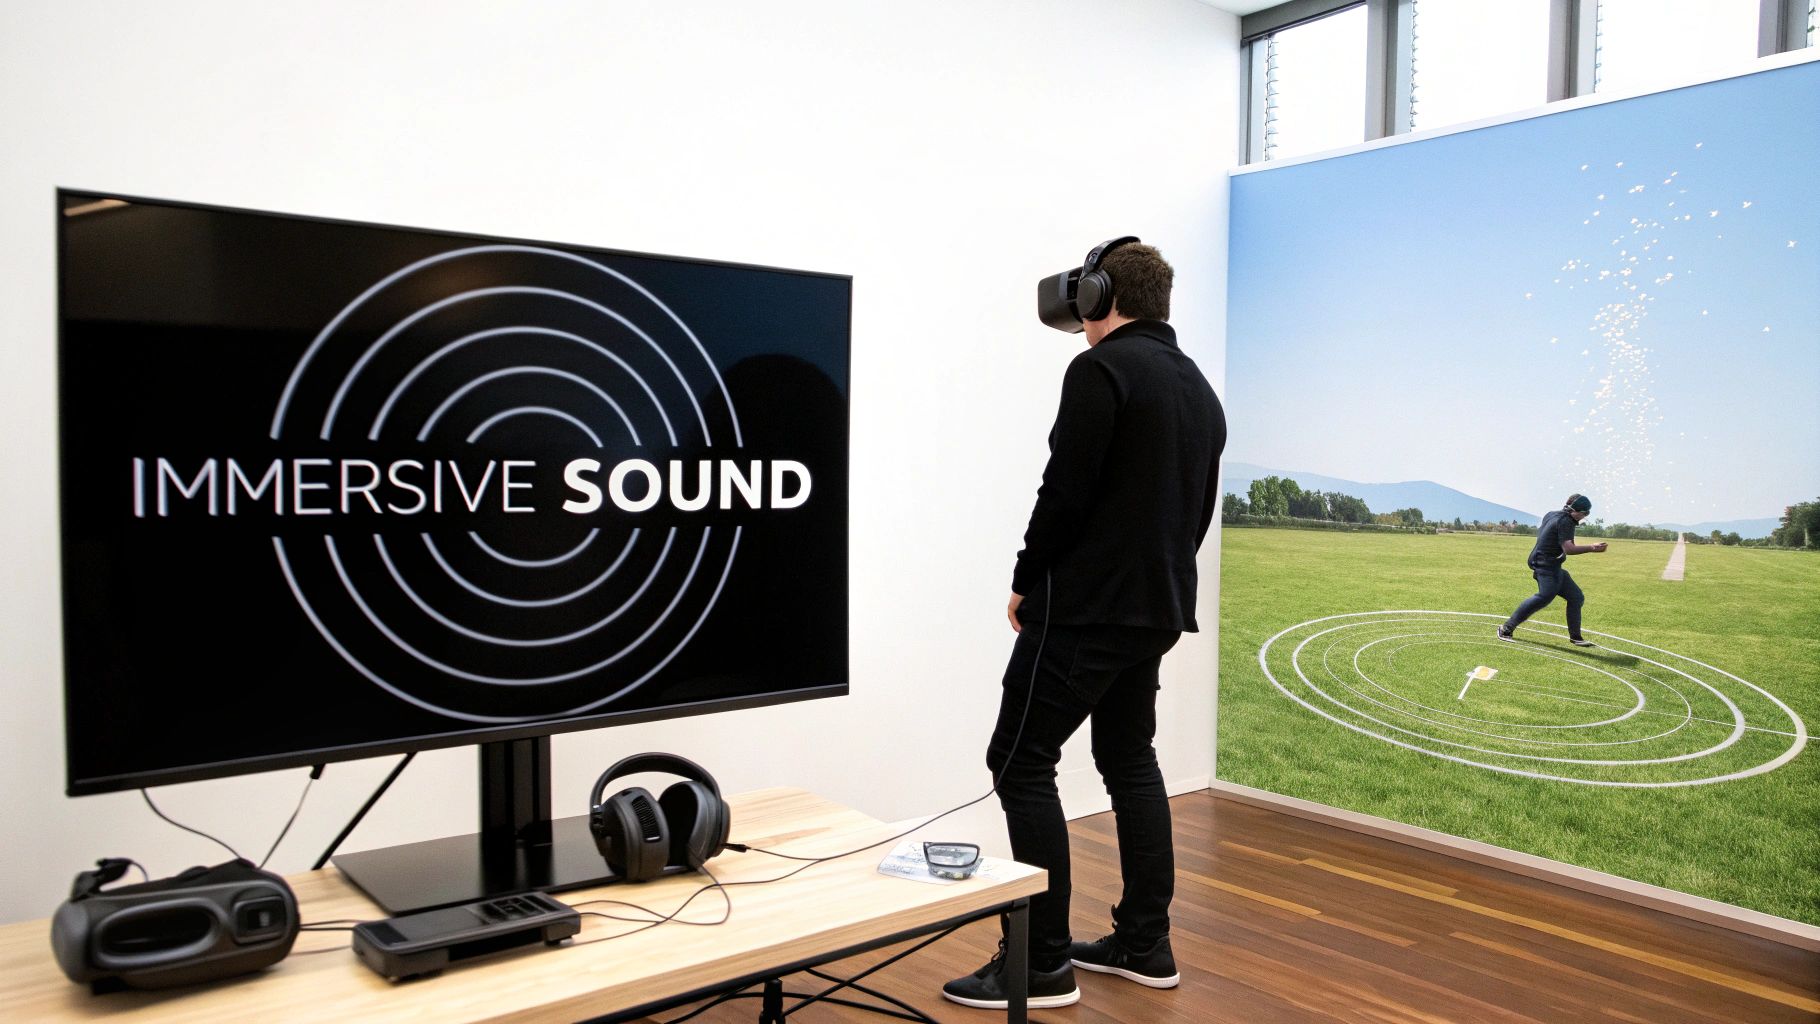
Spatial audio, what many people call 3D sound, is all about making a sound feel like it's coming from a specific point in the world. Instead of just playing a gunshot sound in the player’s headphones, spatialization makes it sound like it came from 20 meters to their left, from behind a thick wall.
This is absolutely fundamental for immersion, especially in first-person games and VR. When a player hears a monster growl somewhere behind them and instinctively whips around to face the source, you know you've nailed it. That's audio directly influencing gameplay.
Modern engines like Unity and Unreal Engine handle the basics of this with their 3D sound settings on an Audio Source or similar component. The key parameters you'll want to tweak are:
If you want to get a better handle on how sounds are placed within a stereo field, our article on what stereo imaging is is a fantastic starting point. Getting this right is a huge part of why the game sound design market is growing so rapidly.
When you have music, dialogue, footsteps, and explosions all firing off at once, it can quickly devolve into a chaotic, muddy mess. This is where you need to start thinking like a mixing engineer, but right inside the game engine. Your goal is to make sure the most important audio cues always cut through the noise.
One of the most powerful tools for this is audio ducking, also known as sidechaining. It’s a simple concept: you automatically lower the volume of one sound when another, more important one plays.
Think about it this way: you can set up your audio mixer so that whenever a character speaks, the background music and ambient sounds automatically dip by a few decibels. As soon as they finish their line, the music smoothly swells back to its original level. This simple trick ensures players never miss crucial dialogue or story beats.
This kind of clarity is vital. The game sound design market is expected to jump from USD 0.28 billion in 2024 to USD 0.68 billion by 2033, and it's these immersive techniques that are fueling that growth. It's especially true in the mobile space, which makes up over 50% of the gaming market. Clear, satisfying audio synced to player actions is a massive factor in keeping them engaged, as highlighted in these game sound design market insights.
This is where things get really exciting. Adaptive audio means your soundscape is constantly changing in real-time based on what’s happening in the game. It’s not about playing fixed, one-shot sounds; it’s about building a dynamic system that reacts to gameplay, context, and the player's own status.
This goes way beyond simple triggers. It’s about using sound to tell a story and guide the player's emotions.
For example, in a stealth game, the ambient music might be calm and minimalist. But as a guard gets suspicious, a tense layer of strings quietly fades in. The moment the player is spotted, the music erupts into a high-energy chase theme with pounding percussion. The sound is adapting to the game state.
Here are a few practical ways you could set up adaptive systems:
Implementing these advanced techniques is how you truly elevate the player experience from a simple interactive pastime to a deeply immersive and emotional journey.
So, you've sourced, created, and implemented your sounds. It’s a great feeling. But before you call it a day, there's one last crucial phase: making sure your game’s audio is both technically efficient and legally sound.
This isn’t just about ticking boxes. Poor audio performance can lead to frustrating frame drops, and a licensing oversight can get you into serious legal trouble. Getting this right is that final layer of professional polish that separates a hobby project from a truly shippable game.
Every sound effect you trigger costs something. It takes up memory and uses CPU cycles. A single footstep? Trivial. But imagine a massive firefight with dozens of simultaneous gunshots, explosions, and ricochets—that can grind even a powerful PC to a halt, let alone a mobile device.
The key is to manage your audio resources intelligently. Audio compression is your first and most powerful tool. Learning how to compress WAV files is a core skill; you can dramatically shrink file sizes, which means less memory usage and faster load times, often with little to no perceptible loss in quality.
Beyond just compressing files, you'll want to dig into your engine's settings.
Selecting the right file format is a balancing act between quality, file size, and performance. There's no single "best" format; it all depends on the sound's role in your game.
Here's a quick rundown of the most common formats you'll be working with.
| Format | Compression | Best Use Case | Key Consideration |
|---|---|---|---|
| WAV | Uncompressed | Short, high-fidelity SFX that are looped or played frequently (footsteps, gunshots). | Highest quality, but large file sizes. Ideal for sounds you'll manipulate in real-time. |
| OGG | Compressed (Lossy) | Music, long ambient tracks, and voice-over dialogue. | Excellent compression ratio. Great balance of quality and size for non-looping, long audio. |
| MP3 | Compressed (Lossy) | Similar to OGG, but sometimes required for specific platforms or web builds. | Very common and widely supported, but OGG generally offers better quality at similar bitrates. |
| FLAC | Compressed (Lossless) | Archiving source audio files or for high-end audio experiences where quality is paramount. | No quality loss, but files are much larger than OGG/MP3. Overkill for most in-game assets. |
Ultimately, a common strategy is to use WAV for your short, punchy SFX and OGG for all your longer music and ambient tracks. This gives you a great starting point for balancing quality and performance.
Now, let's talk about the legal stuff. Just because you can download a sound from the internet doesn’t mean you can use it in your commercial game. This part is non-negotiable—understanding licenses protects you and your project from some serious headaches.
Never, ever assume a sound is "free to use" without finding and reading its license. Misunderstanding the terms can lead to your game being pulled from storefronts or even legal action. It’s a risk that is never worth taking.
Most of the sounds you find will fall into one of these buckets:
Royalty-Free: This is the gold standard for most game developers. You pay a one-time fee (or get it via subscription) and can use the sound in your projects forever without paying any additional royalties. Professional libraries and AI tools like SFX Engine almost always use this model.
Creative Commons (CC): This is a whole family of licenses. Some, like CC0 (public domain dedication) or CC-BY (attribution required), are fine for commercial use. Others, like those with an NC (Non-Commercial) tag, are off-limits for a game you plan to sell. Always check the specific CC license!
Public Domain: These sounds have no copyright protection and can be used by anyone for any purpose. The challenge is being 100% certain a sound is truly in the public domain, which can be surprisingly complex.
Rights-Managed: You'll rarely see this for SFX, as it's more common for blockbuster movie soundtracks. It means you're licensing the asset for a very specific use, time period, and region. It's expensive and complicated.
When in doubt, stick with reputable sources that provide clear, unambiguous royalty-free licenses. It lets you build your game's soundscape on a solid legal foundation, so you can focus on creating a great experience.
As you get your hands dirty adding sound to your game, a few practical questions almost always pop up. I’ve seen these trip up everyone from solo devs to small teams, so let's walk through some of the most common hurdles you'll face.
Nothing shatters a player's immersion faster than hearing the exact same footstep or sword clank over and over again. The trick isn't to create hundreds of unique sounds, but to introduce subtle, randomized variations that fool the ear.
Instead of playing a single audio file, create a small pool of similar-sounding clips—say, three to five slightly different versions of a rock scrape. Then, have your game engine randomly pick one from the pool each time the sound is triggered.
You can take it a step further by adding a real-time randomization layer. A tiny shift in pitch and volume each time the sound plays works wonders. A pitch variation between 0.95 and 1.05 and a volume tweak of just a few decibels is often all you need to make the audio feel organic and alive.
Think of audio middleware like FMOD or Wwise as a dedicated, high-powered sound engine that sits between your audio assets and the game engine. They offer a far more robust and flexible toolset for implementing complex audio behaviors than what comes standard in Unity or Unreal.
So, do you need it? For smaller projects, probably not. The built-in audio tools are perfectly fine for handling basic triggers and mixing.
But when your game demands a more sophisticated audio experience—like dynamic music that seamlessly morphs with gameplay, or intricate environmental soundscapes—middleware is the professional standard. It lets audio designers build complex logic without ever touching a line of code, which is a massive workflow booster.
This is the big one for indie developers. You need great audio, but your budget is tight. Thankfully, the community has you covered if you know where to look.
The golden rule is to always double-check the license terms. Make sure they allow for commercial use if you have any plans to sell your game.
A good mix is all about clarity and balance, ensuring the audio serves the gameplay instead of becoming a chaotic mess. The first and most important step is to organize your sounds into separate audio buses or groups in your engine’s mixer. Think in categories: SFX, Music, Dialogue, and UI.
From there, use dialogue as your anchor; it should almost always be the clearest element. Music sets the mood but shouldn't overpower everything else. Within the SFX bus, prioritize critical gameplay cues, like an enemy alert or a low-health warning, so they cut through the noise.
Finally, don't just mix on your fancy headphones. Test your mix on everything you can get your hands on—laptop speakers, a TV, even cheap earbuds. What sounds great in one environment might be a disaster in another.
Ready to create completely unique, custom sounds for your game in seconds? With SFX Engine, you can generate endless variations of any sound effect you can imagine, all royalty-free and ready for commercial use. Stop searching and start creating at https://sfxengine.com.