January 19, 2026 · Kuba Rogut
Adding sound effects to your video is more than just a technical step; it’s an art form. The basic process involves bringing your audio files into a video editor, carefully placing them on the timeline to match the on-screen action, and then mixing everything together. From there, it's all about refining—adjusting levels, adding a touch of EQ or reverb, and finally exporting the project with its brand-new, immersive soundscape.
Before we jump into the how, let's talk about the why. Too often, sound is treated as an afterthought, but that's a huge mistake. Professional-level audio design is one of the most powerful tools in a creator's toolkit, capable of completely transforming how an audience experiences your work. It's what separates a memorable video from a forgettable one.
Think about a tense scene in a thriller. What really sells the suspense? It's not just the visuals. It's the subtle creak of a floorboard, the low hum of a distant machine, or the sharp intake of a character's breath. In comedy, a perfectly timed cartoon boing can elevate a simple physical gag into a laugh-out-loud moment. This is where the real magic happens—sound guides emotion and adds layers of meaning the visuals alone can't touch.
Sound effects are your best tool for world-building. They create a tangible sense of place, making the on-screen environment feel real, textured, and lived-in. Without them, even the most beautifully shot scenes can feel strangely hollow and unconvincing.
A thoughtfully crafted soundscape does much more than just fill the quiet moments. It serves several crucial functions:
Sound doesn't just support the picture; it gives it weight, depth, and emotional impact. It’s the invisible element that makes a fictional world believable and a simple story unforgettable.
This idea isn't new. The power of sound to create immersion has been understood since the dawn of "talkies." When The Jazz Singer was released in 1927, it was the synchronized sound effects that truly captivated audiences and brought the film to life.
Today, that same drive for compelling audio experiences has pushed the Sound Effects Software Market to a valuation of USD 2.4 billion in 2024, as creators everywhere recognize the non-negotiable value of great sound.
Your journey to a killer soundscape all starts with the raw ingredients—your audio files. Before you can even think about adding sound effects to a video, you need to find or create sounds that are clean, high-quality, and a perfect match for your project's vibe. This first choice makes all the difference in the final polish.
For years, we really only had two options. You could spend hours digging through massive stock audio libraries, hoping to strike gold with a sound that kinda fits. Or, you could go the field recording route—grabbing your own gear and capturing real-world audio. That gives you authenticity, for sure, but it also costs a lot of time and money.
Both methods still have their place, but thankfully, AI has given us a more direct and flexible path.
Tools like SFX Engine have completely changed the game. Now, you can generate totally unique, royalty-free sound effects just by typing a description. Instead of settling for a generic "futuristic spaceship whoosh," you can describe exactly what you hear in your head and create it from scratch. It’s a massive time-saver and a huge creative unlock.
You can see here just how simple it is to turn a text prompt into a ready-to-use sound effect.
The real magic is in the details. You can input your description and then fine-tune different parameters until the sound is a perfect match for your vision.
This isn’t just happening in a vacuum; it’s part of a bigger shift. Look at the video game industry, which invested USD 184 billion globally in 2023. Audio design consistently eats up 10-15% of post-production budgets. AI tools are helping indie creators and smaller studios keep up without breaking the bank, sidestepping compatibility issues that frustrate 25% of traditional software users, and providing commercially licensed assets without the headache of royalty fees.
When you're grabbing sounds, the technical specs are just as crucial as the creative fit. Getting a handle on a few key concepts will save you a world of pain later in the editing and mixing process.
File Format (WAV vs. MP3): This one is non-negotiable. Always go for WAV or AIFF files. These are uncompressed, meaning they contain all the original audio data. MP3s are smaller, but they're compressed, and that loss in quality becomes glaringly obvious once you start applying effects.
Sample Rate: This is the number of times per second the audio is captured. The professional standard for video is 48 kHz. It provides plenty of detail and syncs perfectly with standard video frame rates, which is exactly what you want.
Bit Depth: This determines the dynamic range—the difference between the quietest and loudest parts of your sound. You should aim for 24-bit files. They give you much more headroom for mixing compared to 16-bit audio, which dramatically reduces the risk of clipping and distortion.
Here's a good way to think about it: a WAV file is like a RAW photograph, and an MP3 is like a JPEG. You can edit the RAW photo to your heart's content without it falling apart. Try that with a JPEG, and it degrades fast. The same exact principle applies to your sound effects.
Starting with high-quality source files gives you the freedom to shape and sculpt them—EQ, compress, add reverb—without introducing nasty artifacts or noise. It's the foundation of a professional workflow.
Of course, sound effects are just one part of the audio puzzle. Mastering dialogue and narrative audio is just as important; you can learn more about how to add voiceover to video to round out your skills. And if you're building out your personal library, our guide to sourcing free sound effects for video is packed with great resources to get you started.
You’ve got your sound effects library sorted, and now it's time for the fun part: dropping them into your project and bringing your visuals to life. This is where the magic really happens, as you start to marry the on-screen action with a soundscape that feels completely intentional and immersive.
The specific steps will vary a little between NLEs like Adobe Premiere Pro, Final Cut Pro, or DaVinci Resolve, but the fundamental workflow is the same. You'll import your SFX files into the project bin, then drag them onto the timeline. I always recommend dedicating multiple audio tracks for this. For a complex scene, you might have one track for ambient background noise, another for hard effects like punches or doors, and yet another for subtle Foley work. Keeping things organized from the start is a lifesaver.
The difference between amateur and professional sound design often comes down to timing. A footstep that’s even a few frames off just feels wrong. The thud of a book hitting a table has to land on the exact frame of impact.
To get this right, you need to get comfortable working at a micro-level in your timeline. Zoom way in and get ready to nudge clips frame by frame.
Here are a few tricks of the trade I use constantly:
This entire process starts long before you even open your NLE, with a solid approach to sourcing your sounds.
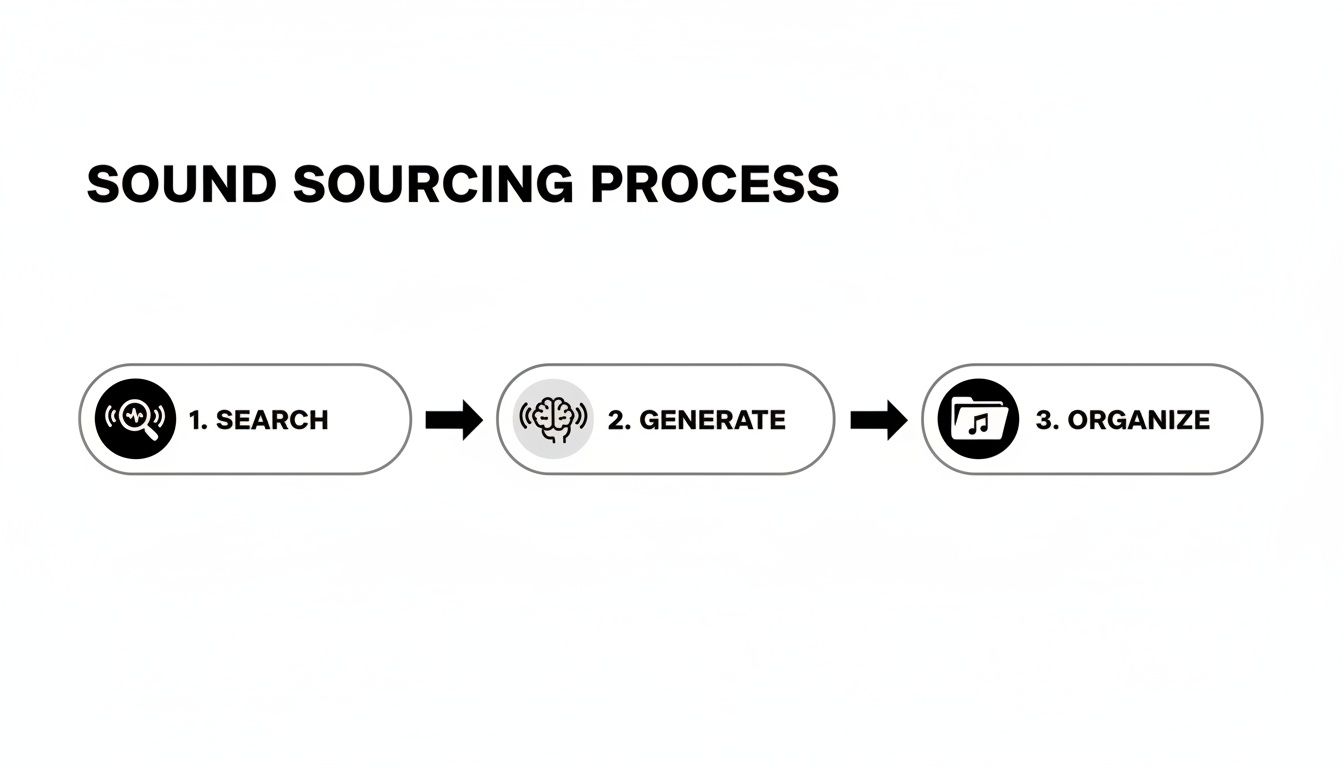
As you can see, a streamlined workflow of searching, generating, and organizing your files is what sets you up for a smooth and creative editing session down the line.
Of course, things can and do go wrong. One of the most frustrating problems you might encounter is audio drift, where a clip starts in sync but slowly wanders off-time over its duration. This almost always points to a sample rate mismatch.
Pro Tip: Video projects have a standard audio sample rate of 48 kHz. Make sure your project settings reflect this, and check that your imported audio files also match. If you drop a 44.1 kHz file (common for music CDs) into a 48 kHz timeline without it being properly converted, the software might play it back at a slightly different speed, causing that dreaded drift.
Thankfully, many modern tools can help ease this process. The rise of AI video editing software has introduced features that can automatically help align clips and even clean up audio.
If you really want to get into the weeds on the technical side of things, our complete guide on https://sfxengine.com/blog/how-to-sync-audio-with-video is packed with advanced techniques. Getting this right is a fundamental skill that separates good videos from great ones.
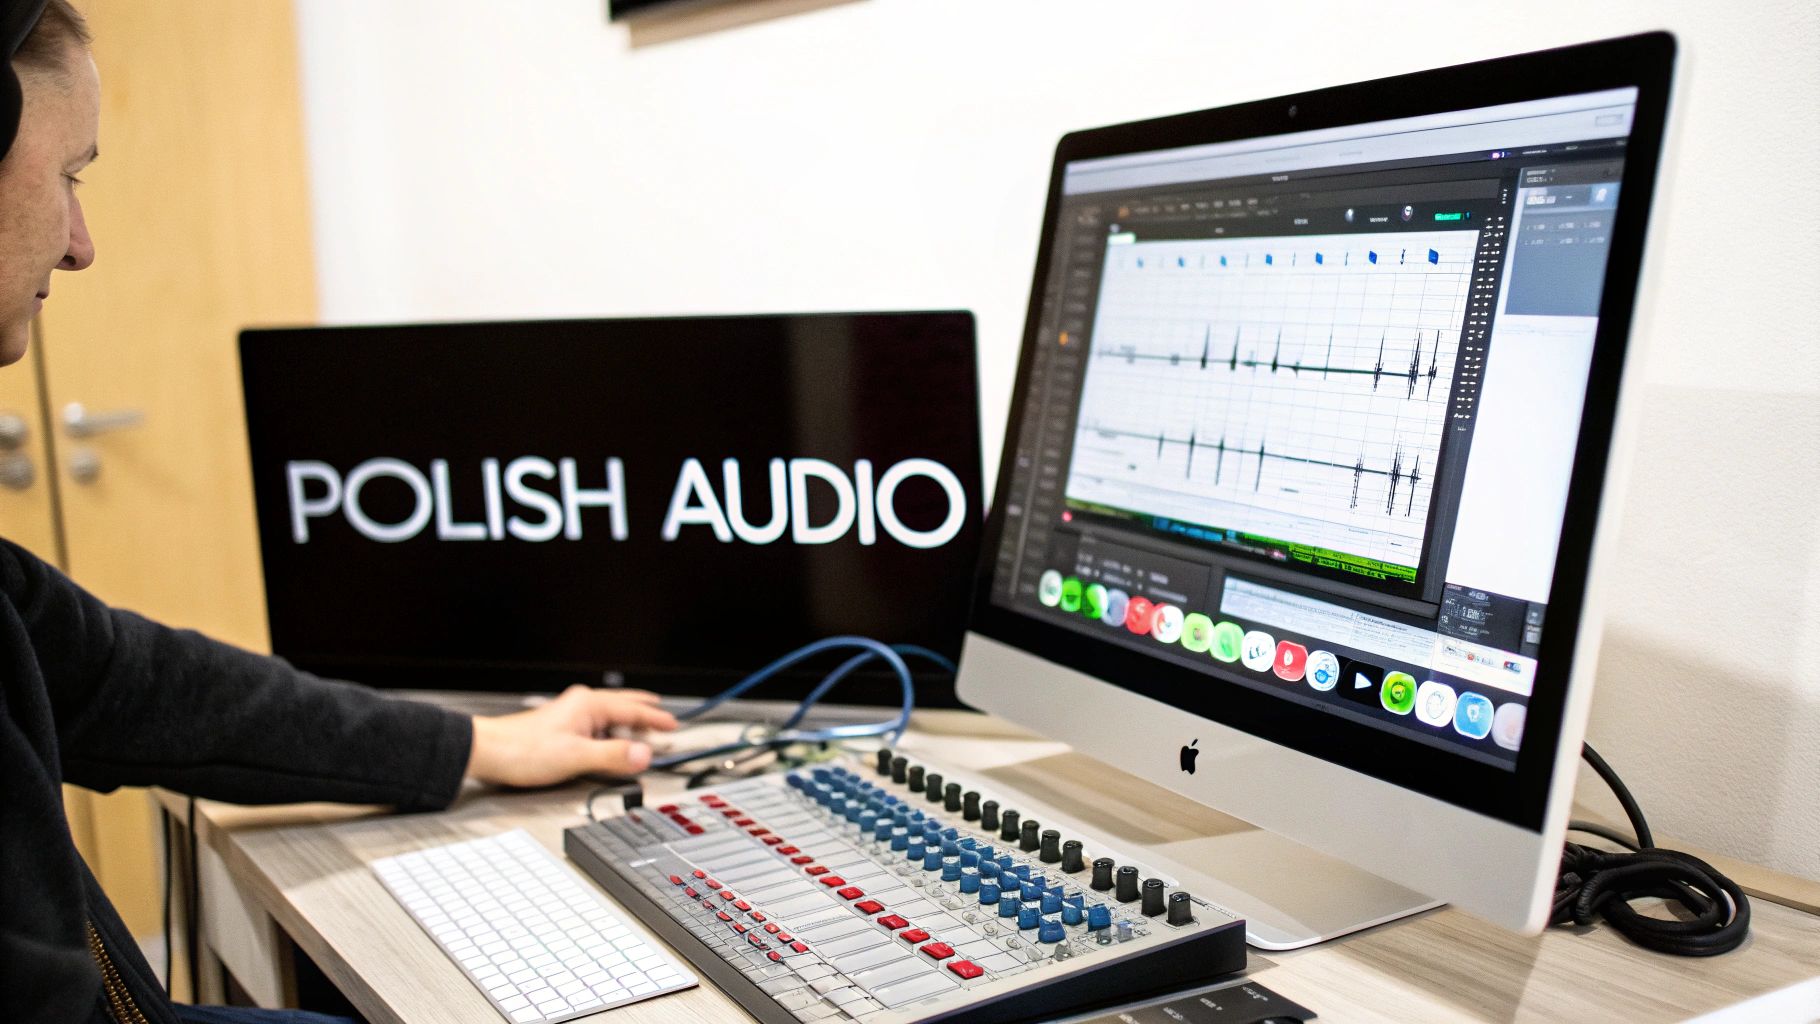
Just dropping sound effects onto your timeline is a start, but the real magic happens in the mix. This is where you go from having a collection of separate audio clips to a unified, professional soundscape. It’s less about complex technical rules and more about giving every sound the space it needs to be heard clearly without stepping on the dialogue or music.
Think of it like conducting an orchestra. The dialogue is your lead vocalist, the music is the string section setting the mood, and the sound effects are the percussion and brass, adding punch and texture. If everyone plays at full volume all the time, you get noise. Mixing is how you bring each element in and out, making sure the entire piece is dynamic and clear.
And getting this right has never been more important. We're living in a world where 85% of viewers will click away from a video if the audio is bad. The demand for high-quality, immersive sound is fueling a Professional Audio Market that's expected to reach USD 17.82 billion by 2031. Even pros are looking for an edge, with many reporting that new tools make their workflows 50% faster. You can dig deeper into the trends shaping the professional audio market to see where things are headed.
Two of the most essential tools you'll use are the Equalizer (EQ) and the Compressor. They might sound technical, but what they do is actually pretty intuitive.
An EQ is basically a high-tech tone knob. It lets you boost or cut very specific frequencies in any sound. Let’s say a car door slam SFX has a low-end "boom" that muddies up the bassline in your music. With an EQ, you can surgically reduce just those low frequencies on the sound effect only, carving out a little pocket for the music to sit in. Problem solved.
A Compressor, on the other hand, is all about controlling dynamics—the gap between the loudest and quietest parts of a sound. Take a footstep sound where the initial "thump" is way louder than the faint "scrape" that follows. A compressor automatically tames that loud peak and brings up the quieter tail, giving you a more balanced, even sound that sits perfectly in the mix instead of jumping out at the listener.
For editors new to these tools, here's a quick rundown of the gear you'll find in your software's virtual rack.
| Mixing Tool | Primary Function | Common Use Case |
|---|---|---|
| Equalizer (EQ) | Boosts or cuts specific audio frequencies. | Removing a muddy low-end rumble from a sound effect. |
| Compressor | Reduces the dynamic range of a sound. | Taming a loud, sharp gunshot so it doesn't clip. |
| Reverb | Simulates the sound of a physical space. | Making dialogue and SFX sound like they're in the same room. |
| Volume Automation | Programs changes to a track's volume over time. | Lowering background music slightly when a character speaks. |
| Pan Automation | Programs changes to a track's left/right placement. | Making a car sound like it's driving from one side to the other. |
These are the foundational tools you'll rely on to shape and place every element in your audio landscape, creating a clean and immersive experience for your audience.
With your individual sounds now cleaned up, it's time to put them all in the same room using Reverb. This effect simulates the way sound reflects off surfaces in a given environment. A footstep in a giant empty warehouse will have a long, echoing reverb, while the same footstep in a small, carpeted bedroom will be dry and intimate.
Here's a pro tip: adding a little bit of the same reverb preset to your sound effects, and even your dialogue, is a classic technique to "glue" the mix together. It tricks our ears into believing everything is happening in the same physical space, which instantly makes your scene feel more real.
Finally, the ultimate tool for a dynamic mix is Automation. This powerful feature allows you to record changes to almost any parameter—like volume, panning, or effects—over time.
Instead of setting one static volume for your ambient city noise track, use automation. Program the volume to dip down by a few decibels the moment a character starts talking, then have it gently rise back up when they finish. This small move keeps the world alive while ensuring your dialogue is always front and center.
Learning how to add sound effects to video the right way is about mastering these finishing touches. By carefully managing your levels, shaping the tone of each sound, and building a believable acoustic space, you ensure your video’s audio is as compelling as its visuals.
You've done the creative work—your soundscape is mixed, balanced, and perfectly synced. Now for the crucial final steps that make sure your video can actually be seen and heard by the world, legally and with the best possible quality.
This part is all about two things: getting your licensing in order and dialing in the right export settings. Skipping either can lead to major headaches, from copyright strikes to audio that sounds crushed and lifeless online.
Let's be honest, legal terms can be a bit dry, but understanding sound effect licenses is one of the most important parts of being a responsible creator. You've poured hours into your video; the last thing you need is a legal notice or a platform taking it down.
Thankfully, most sounds you'll find fall into a few common categories:
Royalty-Free: This is the go-to for most of us. You pay a one-time fee—or nothing if it's a free sound—and get to use it in your projects forever, even commercially. No recurring fees, no complicated contracts.
Creative Commons (CC): This isn't a single license but a family of them. Some are very permissive, only asking that you give credit to the creator. Others might forbid commercial use or require you to license your own video under the same terms. Always double-check the specific CC license before you hit download.
Rights-Managed: You'll see this more in big-budget film and advertising. These licenses are very specific, limiting use to a certain project, region, or time frame. The cost is scaled to the size of the audience, making them less practical for most online creators.
For the overwhelming majority of video creators, sticking with a royalty-free license is the simplest and most secure option. That’s why platforms like SFX Engine are so useful—every sound you generate comes with a clear commercial license, so you can publish your work without a second thought.
If you want to dive deeper, you can learn more about the specifics of royalty-free sound effects and why they're the best bet for protecting your content.
With licensing handled, you’re at the finish line. All that's left is exporting your masterpiece. Don't let a simple settings mistake ruin all your meticulous audio work.
For most online video hosts like YouTube or Instagram, a stereo audio track is all you need. While a 5.1 surround mix sounds cool, it’s overkill for platforms where people are watching on phones and laptops.
The audio codec is another key piece of the puzzle. The universal standard here is AAC (Advanced Audio Coding). It delivers fantastic audio quality without creating ridiculously large file sizes—the perfect balance for the web.
Finally, check your audio bitrate. For most social media and video platforms, a bitrate of 192 kbps is the sweet spot. It's high enough to preserve the clarity and detail of your mix but efficient enough to keep your final file manageable. Nailing these settings ensures your audience hears your video exactly as you intended.
Even with the best guide, you’re bound to hit a few snags when you're deep in an edit. It happens to all of us. Let's tackle some of the most common questions that pop up when you're trying to nail your sound design.
Ah, the siren song of the YouTube "sound effect library" video. It’s tempting, I get it, but the answer is a hard no. Grabbing audio from other YouTube videos is one of the fastest ways to get a copyright claim.
Most of that audio is copyrighted, and using it without a proper license can get your video demonetized or even taken down. Seriously, it's not worth the risk. Stick to legit libraries or generate your own sounds so you can publish your work without constantly looking over your shoulder.
You finish your mix, it sounds great in your editor, but the exported file is a muffled, distorted mess. This is a classic problem, and it usually points to one of two culprits: clipping in your mix or funky export settings.
Clipping is what happens when your audio signal is too hot, causing the waveform to get literally chopped off at the top. This creates that nasty, crunchy distortion. Dive back into your project and look at your meters. If any track, or especially your main output, is slamming into the red, you've found the problem.
As a rule of thumb, I always aim for my final mix to peak around -6dB. This gives you plenty of headroom and prevents distortion when platforms like YouTube or Instagram re-compress your video.
For your export settings, you can't go wrong with the AAC codec at a bitrate of at least 192 kbps. It’s the gold standard for clean audio on the web.
This is less about a specific number and more about purpose and clarity. A massive action scene might have a hundred layered sounds, while a quiet dialogue scene might just need a touch of room tone. There's no magic number.
Instead of counting your tracks, ask yourself these questions:
Sometimes, the most powerful move you can make in a mix is to mute a few tracks. If a sound isn't adding value, it’s just noise.
People often use these terms interchangeably, but there's a key distinction that pros understand.
Sound effects (SFX) are generally pre-recorded or digitally created sounds. Think bigger, more impactful things: explosions, sci-fi whooshes, creature roars, or even a simple door creak from a library.
Foley, on the other hand, is all about performance. It’s the art of recording custom sounds in sync with the picture to bring a scene to life. We're talking about the subtle, everyday noises that make the world feel real—the rustle of a character's jacket, their footsteps on gravel, or the clink of a coffee cup being set down. Foley is what makes an actor’s physical presence feel grounded and believable.
Tired of endlessly searching for the right sound? Why not create it yourself? With SFX Engine, you can generate unique, high-quality, and completely royalty-free sound effects just by typing a description. Give your videos the custom audio they deserve. Get started for free at https://sfxengine.com.