October 16, 2025 · Kuba Rogut
Before you can solve a problem, you have to know what you're up against. When it comes to audio, unwanted sounds usually fall into two main categories: ambient noise and electrical noise. Figuring out which one is plaguing your recordings is the first real step to getting that clean, professional sound.
Ever hit record, pour your heart out, and then hear a distracting buzz, a faint hiss, or the sound of your own room during playback? It's a common frustration, and it happens when your microphone does its job a little too well, capturing a lot more than just your voice.
To really tackle this, you need to play detective and find the source. The culprits almost always fit into one of two buckets: the sounds happening around you or the interference happening within your gear.
First up is ambient noise, which is simply the sound of your recording space. This is the big one for most people recording at home. Think about your office or bedroom—it’s full of sounds you probably tune out, but your mic won't.
This includes things like:
Then you have electrical noise, which is interference generated by your actual hardware. This usually shows up as a constant, low-frequency hum or a persistent, static-like hiss that just won't go away.
This is all about your setup. It could be a poorly grounded outlet, a cheap cable that isn't properly shielded, or even just having your audio cables running right next to power cords. That tangle of wires behind your desk is a prime suspect for introducing electrical hum.
Pinpointing the source is everything. You can’t fix a hum from a bad cable by hanging blankets on the wall, and you can’t fix a room’s echo by swapping out your USB cord. Getting this right is the most important diagnostic step you'll take.
It’s also worth remembering that some mics are just more sensitive than others by design. Condenser microphones, like the super-popular Blue Yeti, are built to capture incredible detail. That's fantastic in a treated studio, but in a typical bedroom, that same sensitivity means they grab every keyboard click, breath, and distant siren.
On the flip side, dynamic microphones are much less sensitive and are naturals at rejecting sound that isn't aimed directly at them. This makes them a far more forgiving option for less-than-perfect recording spaces. Knowing these fundamentals is the key to choosing the right gear and the right techniques to finally get that crystal-clear audio you’re after.
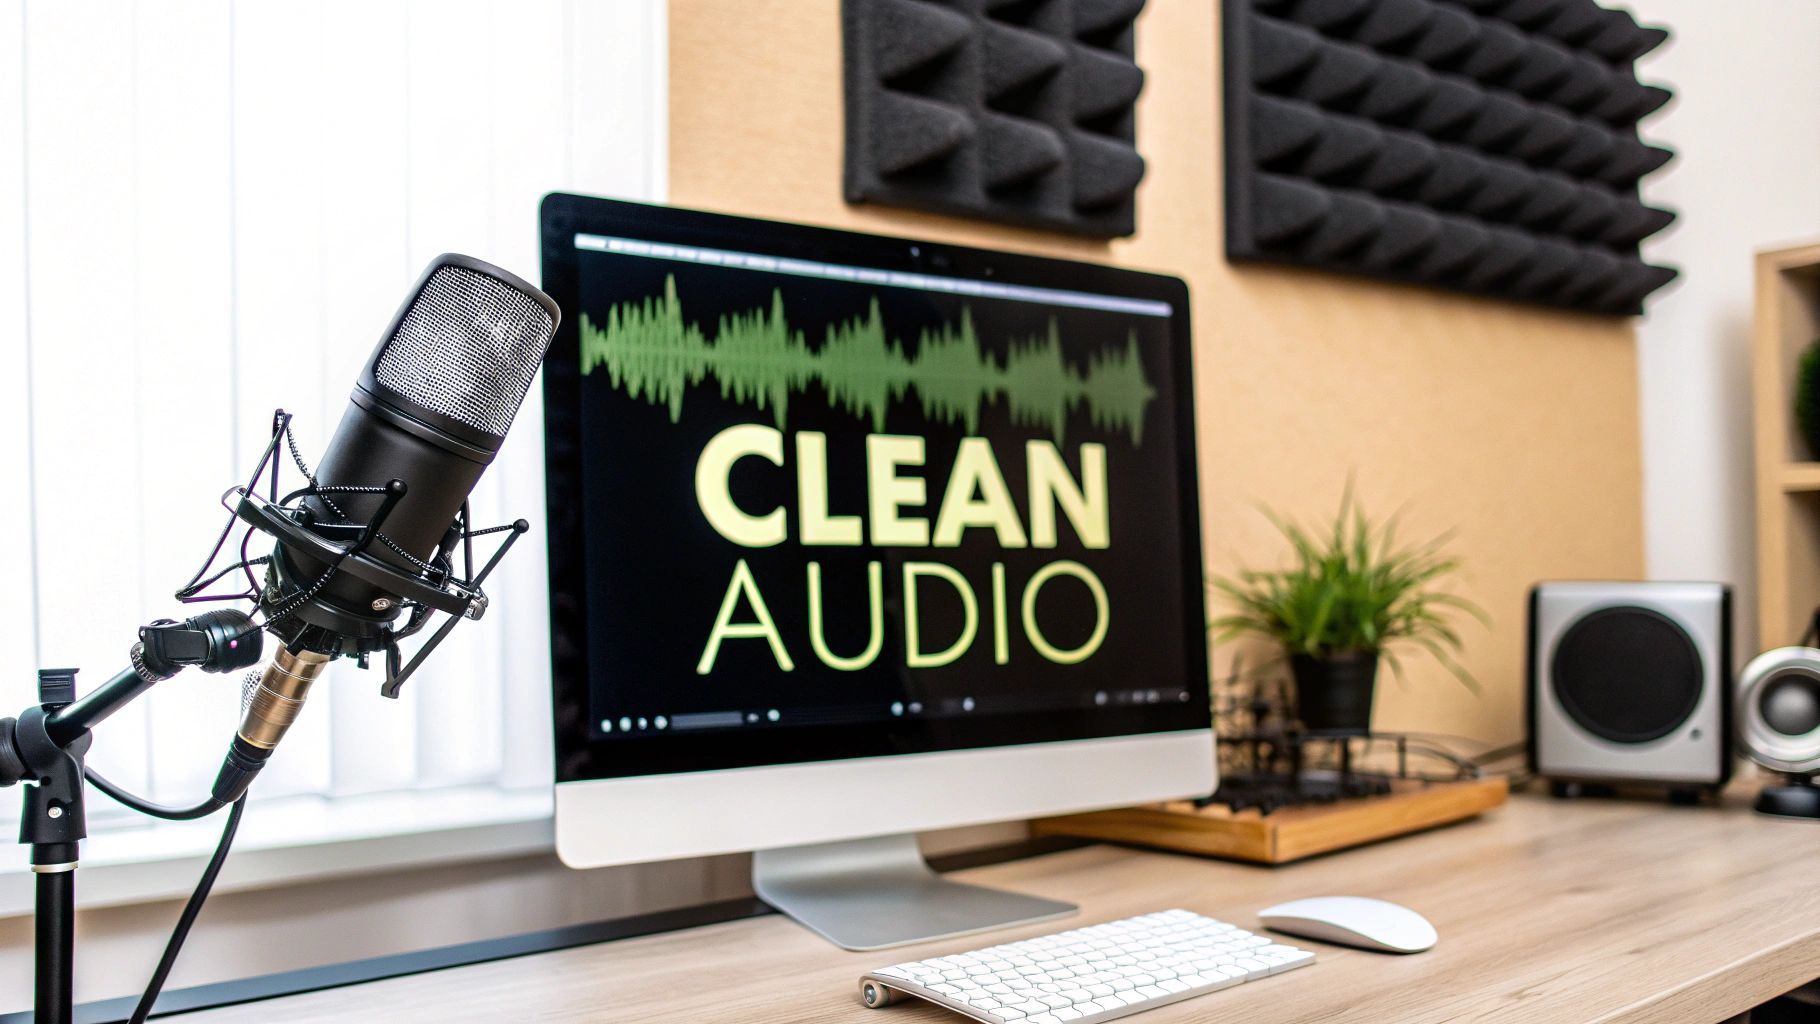
Before you even touch a noise reduction plugin or browse for a new microphone, let’s talk about the single biggest improvement you can make to your audio. The best part? It's completely free. It all comes down to your recording environment.
Think of your room as an instrument. If it’s full of hard, flat surfaces like bare walls and a wooden floor, it's going to create a symphony of echo and reverb that your mic will pick up with glee. That's the hollow, "bathroom" sound that instantly screams amateur. The trick is to deaden the room by adding soft, irregular objects that absorb sound waves instead of letting them bounce around.
You can get 80% of the way to a pro-sounding space without buying a single piece of acoustic foam. It’s all about being clever with what you already have.
Hard surfaces are the enemy of clean audio. Sound waves hit your desk, windows, and walls and scatter everywhere, creating a mess of reflections that muddy up your recording. The fix is surprisingly simple: cover them.
Here are a few things I've found work wonders:
The goal isn't to build a soundproof bunker; it's to achieve sound absorption. You just need to stop sound from bouncing around. A room filled with soft furniture, books, and fabrics will always sound better than an empty one.
For a deeper dive into turning a regular room into a more controlled space, our guide on https://sfxengine.com/blog/acoustic-treatment-for-home-studios has some more advanced, dedicated solutions.
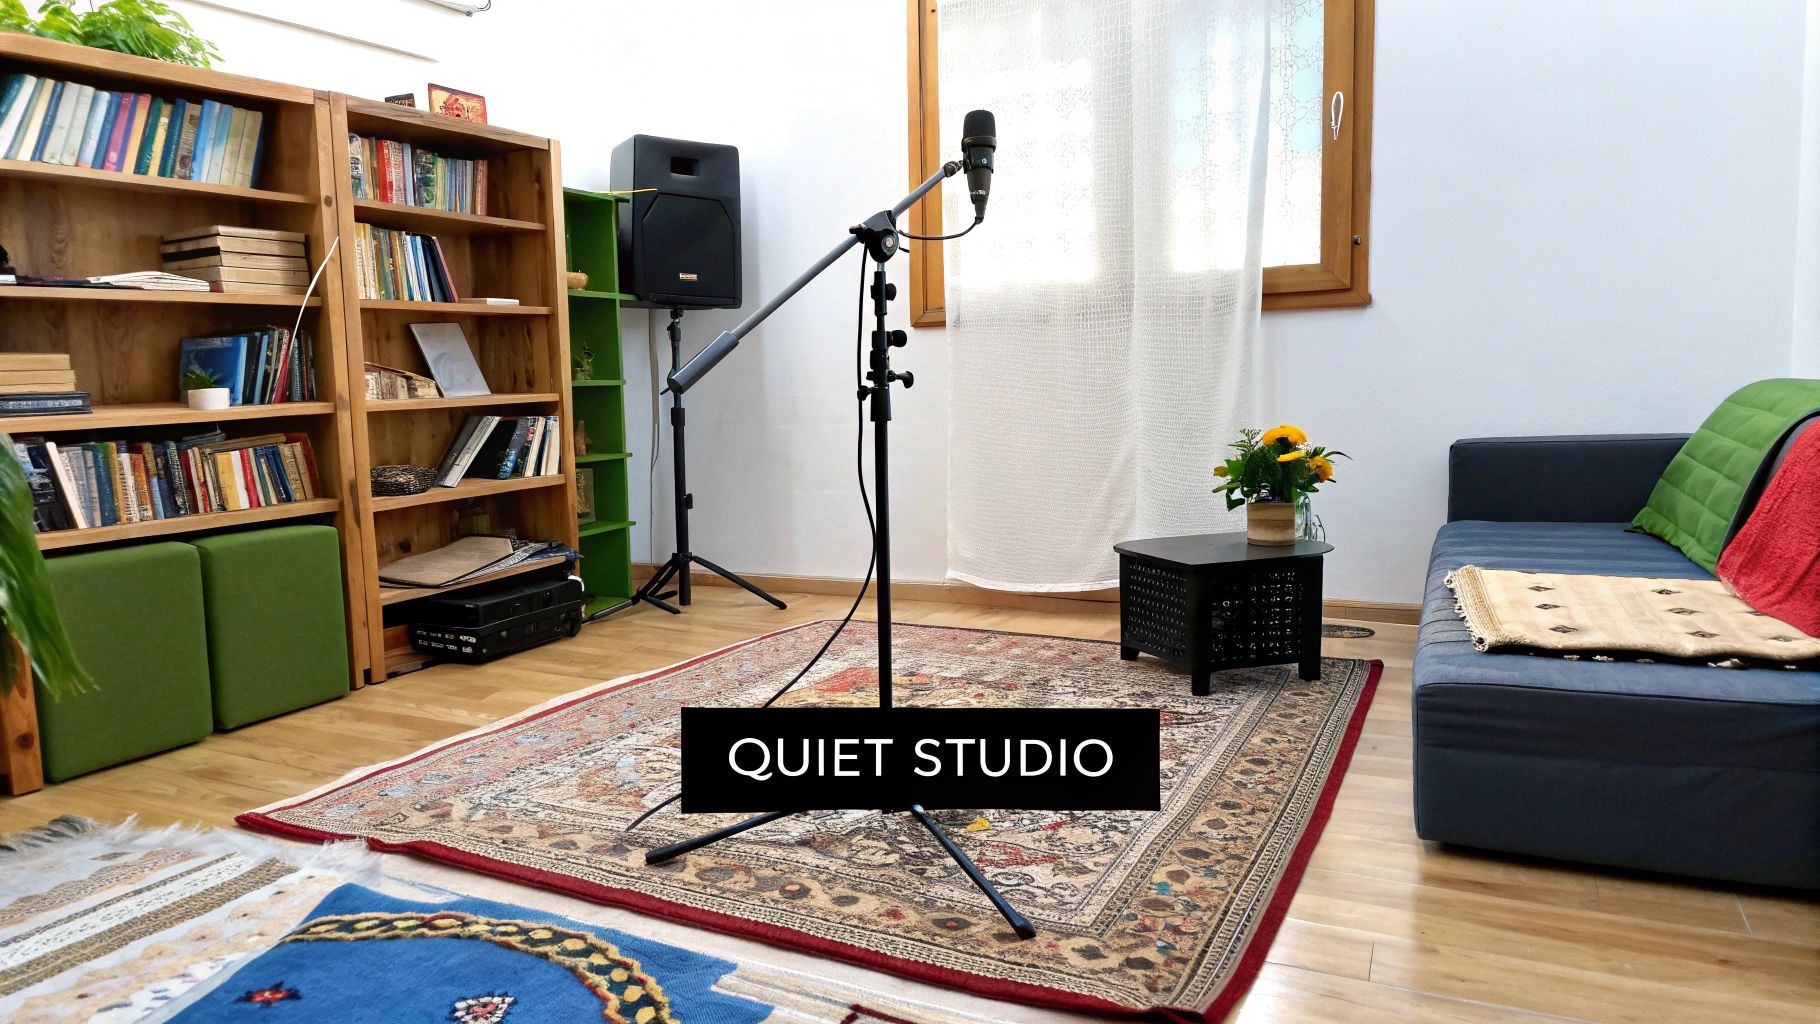
Now, where you actually put the microphone is just as critical as what’s in the room. A few inches can make a huge difference in the amount of background noise you capture.
First off, get out of the very center of the room. This spot is often a hotbed for weird frequency buildups called "standing waves." At the same time, don't shove your mic right up against a wall, as it will just pick up amplified reflections from that surface. Your sweet spot is usually somewhere in between.
Also, stay away from corners. Corners are natural bass traps, meaning they amplify low frequencies. This can make your voice sound boomy and muddy, and it'll also magnify low-end hums from your computer, A/C, or refrigerator.
Finally, think about what's behind the microphone. Most popular recording mics (cardioid mics) are designed to reject sound from the rear. So, make sure the quietest part of the room is behind the mic. Pointing it toward a noisy window or a busy hallway is just asking for trouble.
Once you’ve treated your room, your hardware becomes the first active line of defense against noise. The right gear can either welcome background sounds or shut them down at the source, saving you a ton of cleanup work later.
This brings us to the age-old debate: dynamic versus condenser microphones. Condenser microphones are known for their sensitivity; they're designed to capture every little detail. In a perfectly treated studio, this is exactly what you want for rich vocals. But in your home office? It'll pick up your keyboard, the PC fan, and the neighbor's dog with the same level of clarity.
On the other hand, a dynamic microphone is intentionally less sensitive and fantastic at rejecting sounds that aren't right in front of it. This is why it’s a podcaster’s best friend in less-than-perfect rooms. You have to get up close and personal with it, which means it naturally hears less of the space around you.
Beyond the type of mic, its polar pattern is your secret weapon. Think of a polar pattern as the microphone’s field of hearing—it shows you where the mic listens and where it's essentially deaf. For recording a single voice, a cardioid pattern is almost always the way to go.
Picture a heart shape wrapped around the microphone’s head. That’s a cardioid pattern. It’s most sensitive to sound coming from directly in front and does a great job of ignoring sounds from the sides and, crucially, from the rear.
Simply by picking a cardioid mic and aiming its dead zone (the back) at a noise source, you’re already making a huge difference. This positioning trick alone can drastically cut down on unwanted sound. For a deeper dive into finding the perfect mic, check out our guide on the best microphones for video recording.
This infographic breaks down what a solid, noise-rejecting setup looks like.
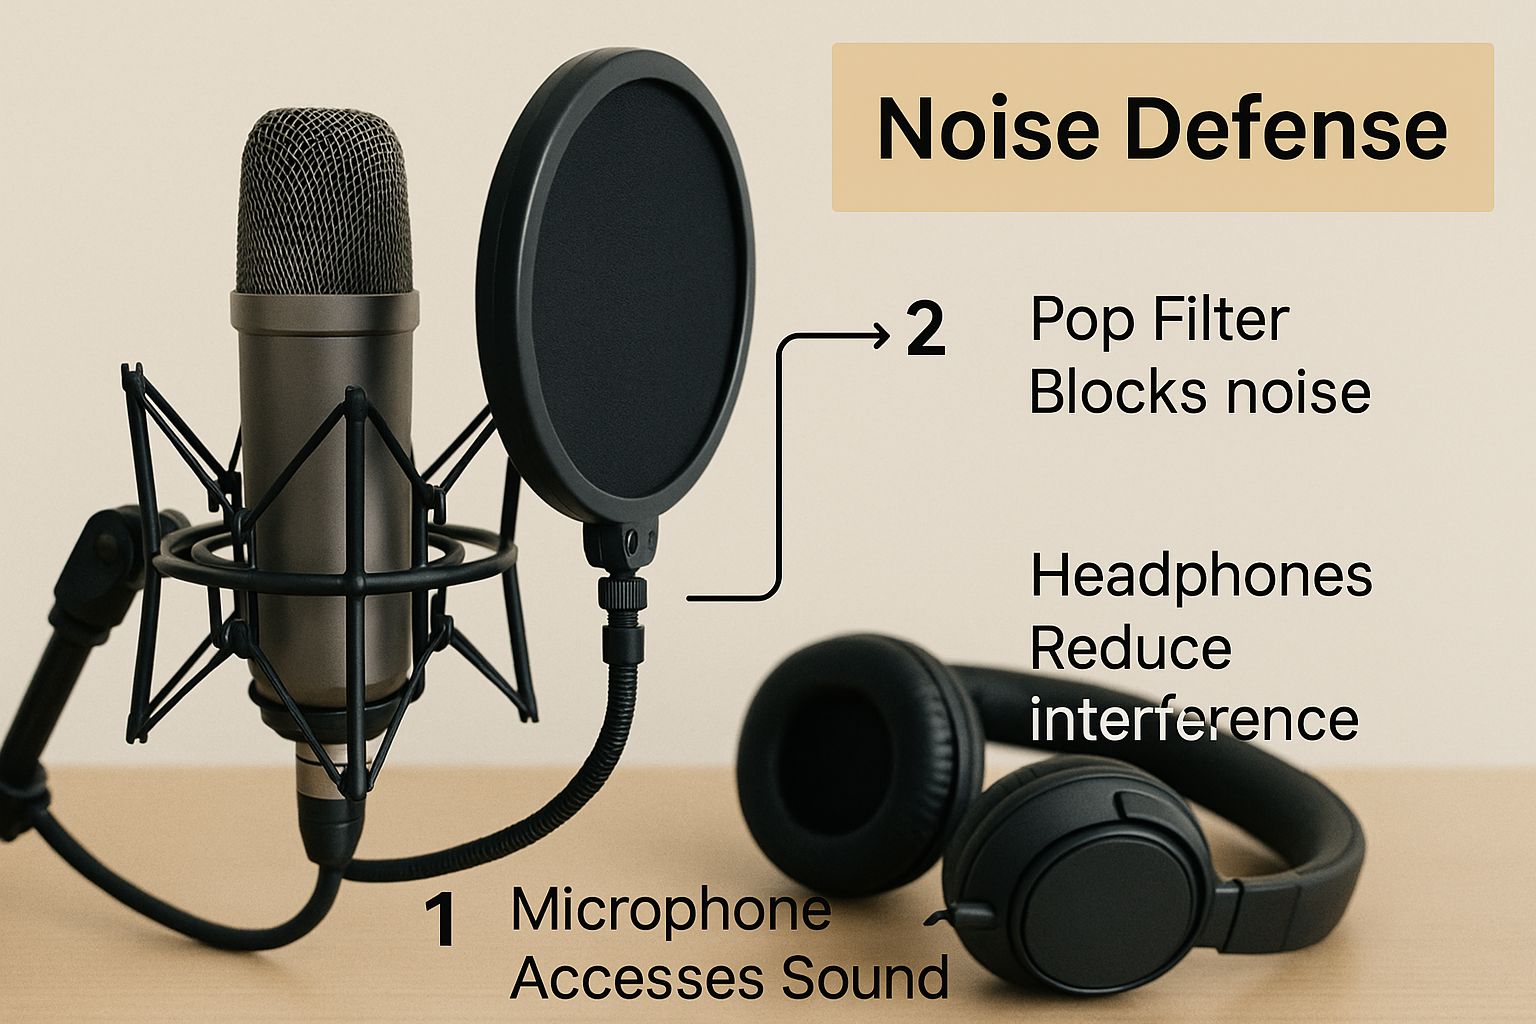
As you can see, it's not just about the mic itself. A few key accessories work together to deliver a clean signal right from the start.
A great mic is a fantastic start, but it's only one piece of the puzzle. A couple of small, inexpensive accessories are non-negotiable if you're serious about preventing certain kinds of noise from ruining your takes.
First up is a shock mount. This is a cradle that suspends your microphone, isolating it from any vibrations that travel up your mic stand. Without one, every little desk bump or heavy footstep gets recorded as a low, boomy rumble.
Next is a pop filter, the screen that sits between your mouth and the microphone. It’s designed to break up the harsh bursts of air from "p" and "b" sounds—known as plosives—that would otherwise create a distorted popping noise in your audio. The push for crystal-clear audio isn't just a niche concern anymore; the global market for noise suppression microphones is expected to reach $2.5 billion by 2025, growing at a rate of 15% annually as more and more people demand professional sound quality.
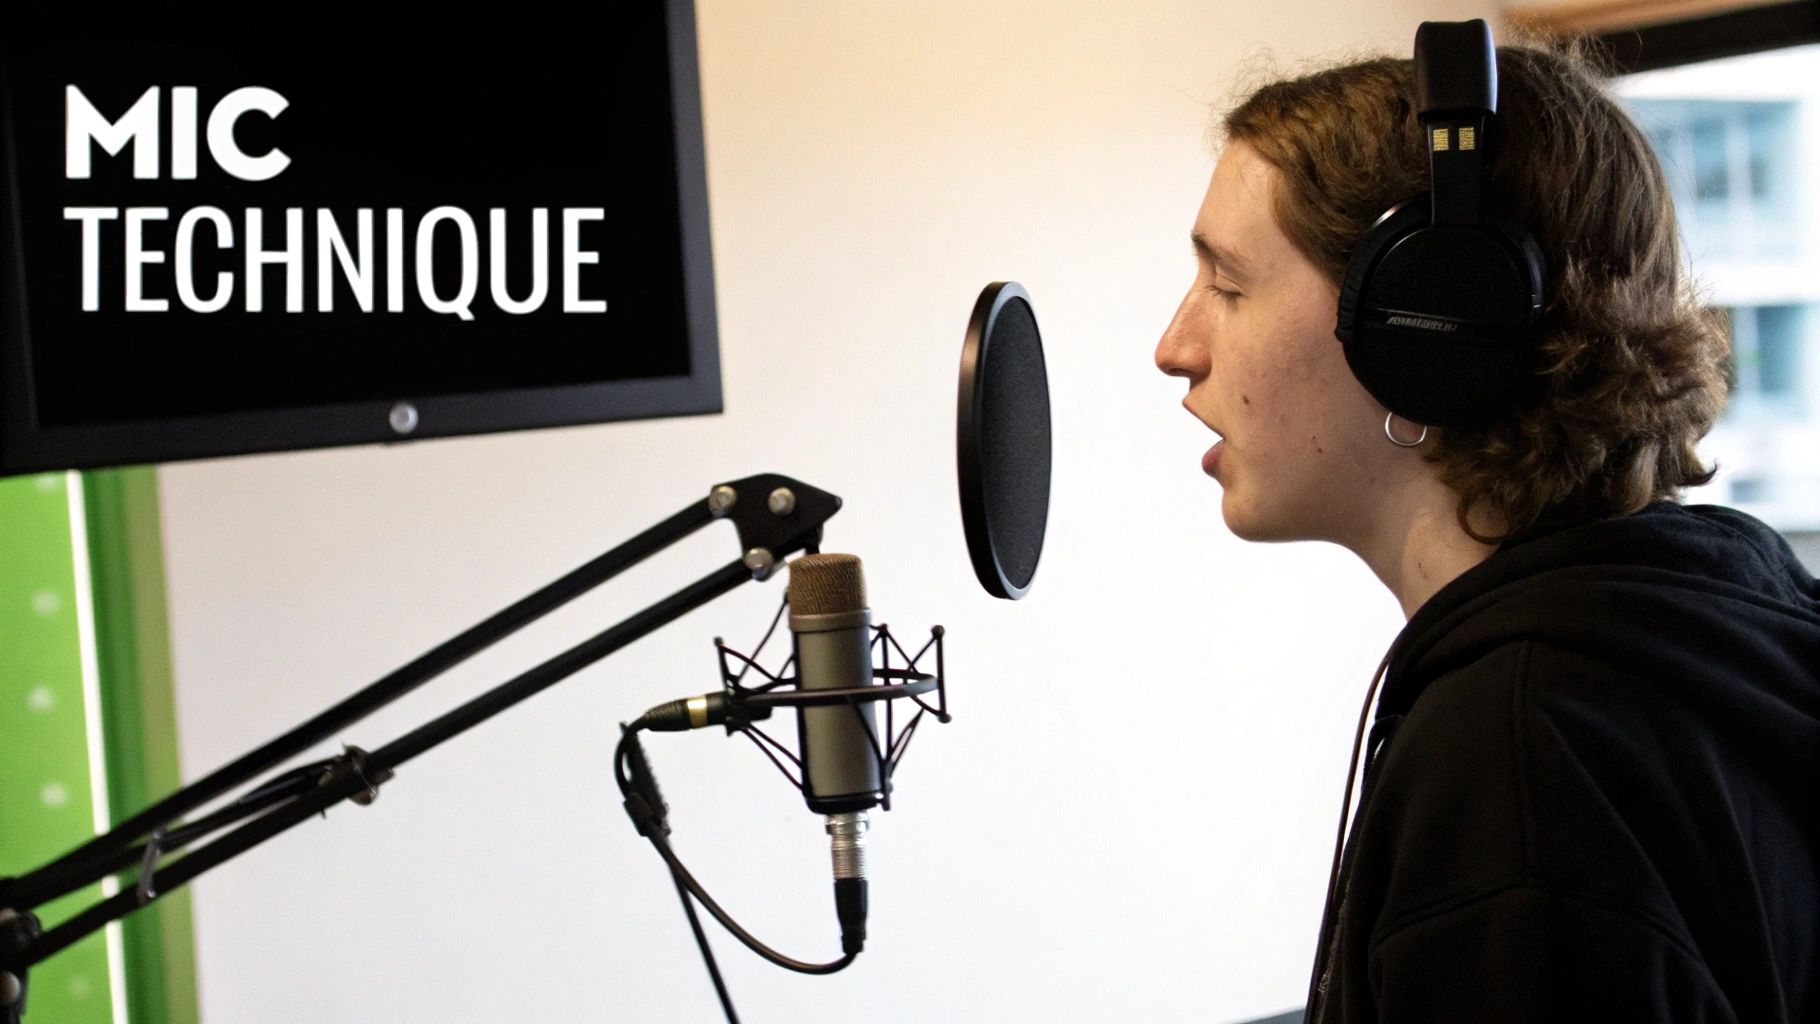
You can have the quietest room and the most expensive gear, but if you don't use your microphone correctly, you're leaving quality on the table. How you speak into your mic is where the real magic happens, and frankly, it's the biggest free upgrade you can make to your sound.
The relationship between your mouth and the mic—what we call mic proximity—is everything. The closer you are, the stronger your vocal signal is compared to any background noise. This simple concept is your first line of defense against hiss and hum.
As a rule of thumb, try to stay about a palm's width away from the microphone, which is usually four to six inches. This distance is the sweet spot; it gives you that warm, broadcast-style vocal presence without capturing every tiny mouth noise or breath.
It feels natural to speak directly into the front of a microphone, but that's often a mistake. Hitting it head-on can cause plosives—those harsh, distorted pops you hear on "p" and "b" sounds—to overload the mic capsule.
Here’s a trick I learned years ago: speak slightly across the top of the microphone, not directly into it. Try positioning the mic at a 45-degree angle to your mouth. This lets those aggressive bursts of air from plosives shoot right past the capsule, while your voice is still captured beautifully.
Next up is gain. It's crucial to understand that gain isn't volume; it's the microphone's sensitivity. If you set it too high, you're essentially telling the mic to pick up every creak and whisper in the room. Too low, and your voice will be too quiet, forcing you to crank it up in post-production and bring all that unwanted noise floor with it.
Your goal is to set your gain so that your voice consistently peaks between -12dB and -6dB on your audio meter. This process, known as gain staging, gives you a strong, clean signal with plenty of headroom, preventing distortion and hiss from the start.
This demand for pristine audio has led to massive growth in the market for environmental noise cancellation microphones. Industries like filmmaking and live streaming, where clear audio is absolutely essential, are driving this trend. You can discover more about this growing market and the technology behind it.
Finally, stay consistent. Once you find that perfect distance and angle, lock it in. Even small movements can cause your audio levels to dip and sway, creating an amateur-sounding recording. Good technique costs nothing, but it's the foundation of every professional recording.
Even with great technique, you can run into frustrating audio issues. Before you dive deep into software solutions, it’s worth running through a quick diagnostic. This table covers some of the most common culprits I see.
| Problem (Noise Type) | Potential Cause | Quick Solution |
|---|---|---|
| Hissing or Static | Gain is set too high; bad cable; poor USB power. | Lower the gain. Try a different USB port or a high-quality, shielded cable. |
| Popping Sounds (Plosives) | Speaking too close or directly into the mic. | Add a pop filter. Angle the mic 45 degrees away from your mouth. |
| Low-Frequency Hum | Electrical interference from nearby devices (ground loop). | Plug all audio gear into the same power strip. Move electronics away from the mic. |
| Echo or Reverb | Sound reflecting off hard, flat surfaces in your room. | Record in a room with soft furnishings (rugs, curtains). Use a reflection filter. |
| Muffled or "Distant" Audio | Speaking too far from the mic; speaking into the wrong side. | Move closer (4-6 inches). Ensure you're addressing the front of the mic (logo side). |
Running through these quick checks can often solve the problem in minutes, saving you hours of frustration trying to fix it in your editing software later.
Once you've done everything you can with your room and your mic placement, software becomes your secret weapon. This is where you can digitally scrub out any noise that slipped through the cracks, turning a solid recording into a flawless one. Whether you’re broadcasting live or polishing a pre-recorded track, the right software can be a complete game-changer.
And it’s a big deal. The global microphone market was valued at around $7.21 billion in 2024 and is projected to climb to $9.99 billion by 2030. That growth isn't just about better hardware; it's fueled by a massive demand from creators who need pristine audio, which in turn pushes for better noise-cancellation software. You can discover more insights about this expanding market and see how it all connects.
If you're streaming, gaming, or jumping on calls all day, you don't have the luxury of post-production. You need something that works instantly. This is where dedicated noise suppression apps are lifesavers. They sit between your mic and your output, using AI to filter out noise on the fly.
I'm talking about tools like NVIDIA Broadcast and Krisp. They're brilliant at separating your voice from the chaos of your environment. Think about it:
It all happens in real-time, so your listeners get a clean, professional-sounding feed without you having to stress over every little background sound.
For those who record content first—like podcasters, YouTubers, and voiceover artists—the real magic happens in the edit. Your Digital Audio Workstation (DAW) is packed with tools designed to surgically remove unwanted noise from a recording.
The go-to tool for this is a noise reduction plugin. You’ll find one in almost any serious audio editor, from the free Audacity to the industry-standard Adobe Audition. The process is beautifully simple: you highlight a small section of pure background noise (the hiss, hum, or buzz) to create a "noise print." Then, you tell the software to subtract that specific sound from your entire audio file, and poof—the constant background noise disappears, leaving your voice intact.
Another indispensable tool is a noise gate. Picture it as a smart, automatic mute switch. You set a volume level, and any time the audio dips below that threshold—like in the pauses between your words—the gate shuts, cutting out any faint room tone or breaths.
Finally, don't underestimate the power of a simple high-pass filter. This is an EQ move that slices off low-frequency rumble, the kind of muddy sound you get from desk vibrations or electronic hum. By cutting everything below 80-100 Hz, your audio instantly sounds cleaner and more focused. Getting comfortable with these tools is a huge part of learning how to edit podcast audio like a pro.
Getting clean audio can feel like a dark art, but you're not alone. Most creators run into the same handful of problems when they first start trying to eliminate background noise. Let's tackle some of the most common questions I hear all the time.
Yes, absolutely. I’ll say it a thousand times: a budget microphone in a great-sounding room will always beat an expensive mic in a bad room. It's not even close.
The biggest jumps in audio quality don't come from spending more money on gear. They come from controlling your recording space and mastering your mic technique—and both of those are completely free. An inexpensive dynamic mic surrounded by a few blankets and pillows can give you surprisingly crisp, usable audio. On the other hand, a top-of-the-line condenser mic in a kitchen full of tile and bare walls is going to sound like a distant, echoey mess.
Focus on your environment first. You'll be shocked at how incredible a basic microphone can sound when you get the room right.
This is a big point of confusion for a lot of people, but they do completely different jobs.
A Noise Gate is basically an on/off switch for your mic. When you're not talking and the sound level drops below a certain point, it just mutes the microphone. It's fantastic for killing that low-level room hiss in the pauses between your sentences, but it does absolutely nothing for noise that's happening while you're speaking.
Noise Reduction is way more sophisticated. It listens to a constant, steady background sound—like the hum of an air conditioner or a computer fan—and then digitally subtracts that specific sound from your entire recording. It can even pull that noise out from underneath your voice.
They actually work best when used together. Let the noise gate handle the silences, and let the noise reduction software clean up the audio when you're talking.
Key Takeaway: A noise gate mutes your mic during quiet parts. Noise reduction actively removes a specific background hum from the whole recording. They are not the same thing and solve very different problems.
It’s not a simple "yes" or "no," but they are prone to a different kind of noise. USB mics plug directly into your computer, which means they can sometimes pick up electrical interference from the motherboard or power supply. This usually shows up as a faint electronic hiss or weird digital-sounding artifacts in your audio.
XLR microphones have an advantage here. They connect to a separate audio interface, which keeps the sensitive audio signal path isolated from all that electrical chaos happening inside your PC.
For most streamers and podcasters, a good USB mic is perfectly fine. But an XLR setup provides a cleaner signal and more professional control, which is why it's the standard for studio recording. It really just comes down to your specific goals and budget.
Ready to create flawless audio without the hassle? SFX Engine offers a free AI-powered sound effect generator perfect for enhancing your projects. Generate custom, royalty-free audio for your videos, podcasts, and games with just a text prompt. Start creating at sfxengine.com.