February 3, 2026 · Kuba Rogut
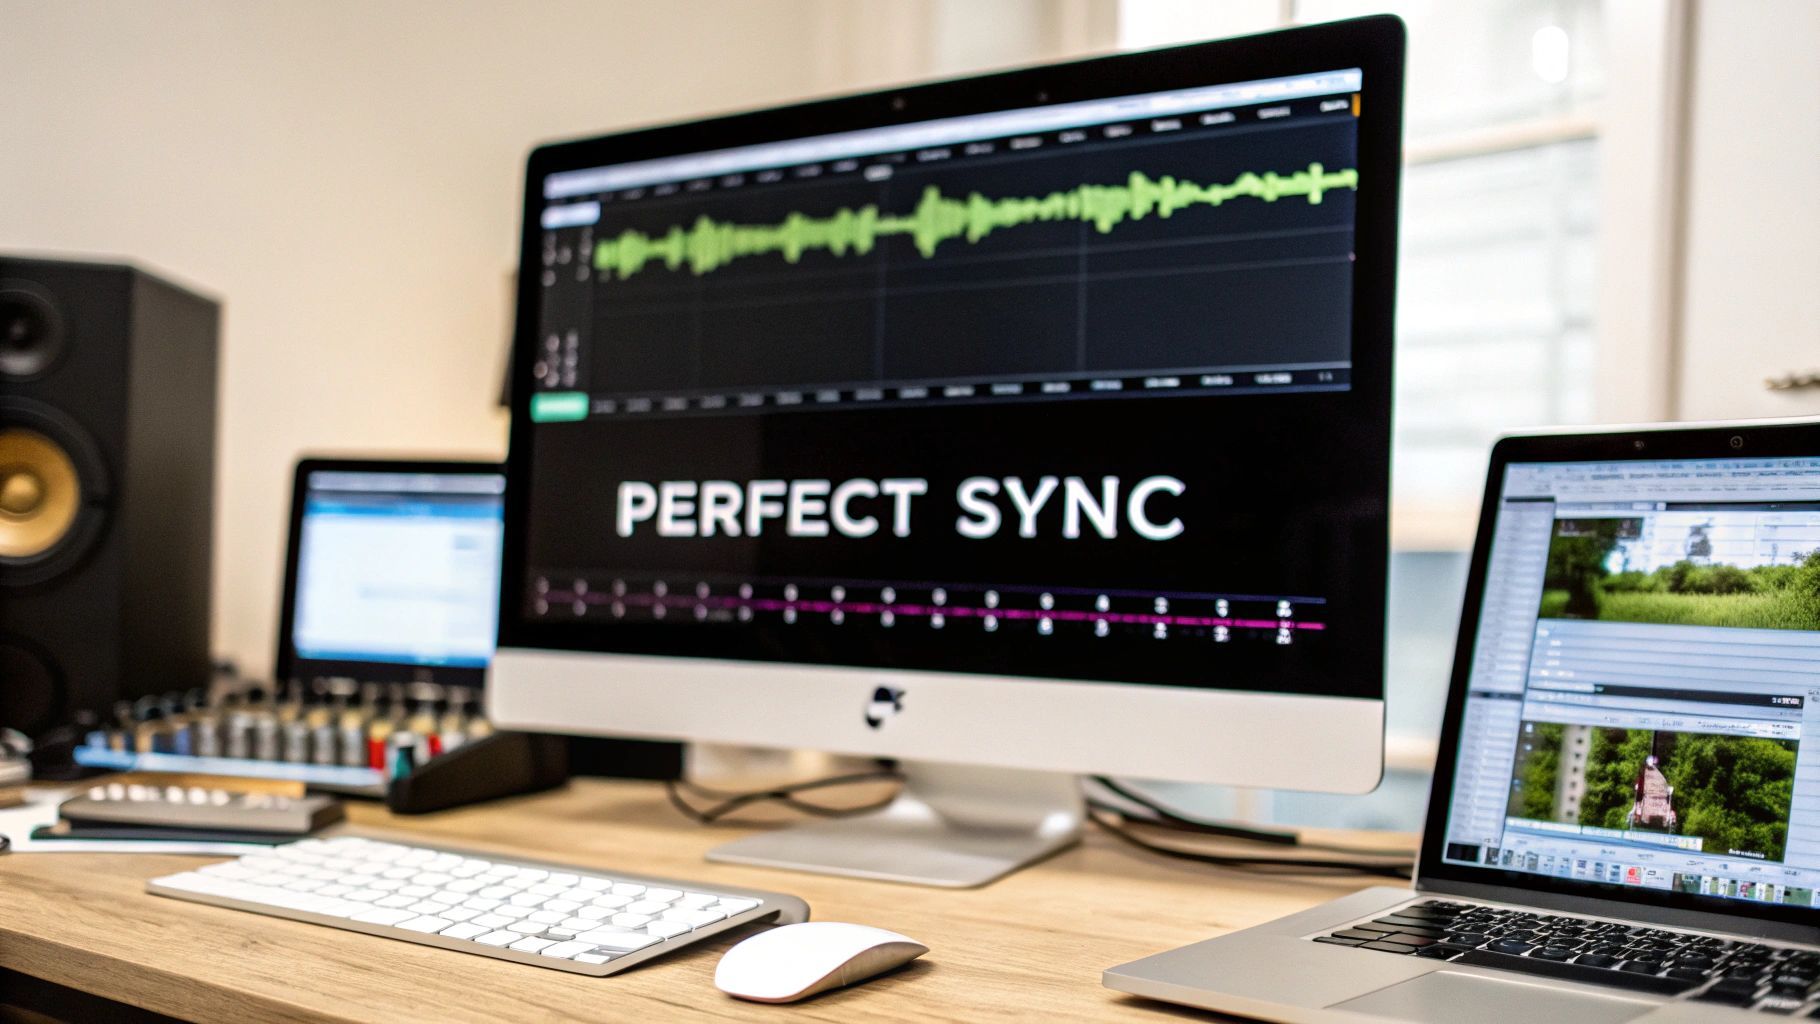
Syncing sound effects with video isn't just about dropping clips onto a timeline; it’s about marrying the two worlds of picture and sound. The whole process really breaks down into two main phases: first, you have to get all the technical settings—like frame rate and timecode—to play nice with each other. After that, it's all about the hands-on, creative work of using visual and audio cues to manually place each sound exactly where it belongs.
Before you even think about dragging an audio file into your project, a little prep work will save you from a world of headaches later on. Seriously. Think of it as laying the foundation before you build the house. Skipping these initial steps is probably the biggest reason editors pull their hair out over audio drift and weird timing errors down the road.
A solid understanding of basic video editing terminology is a huge advantage here. Knowing your way around timelines, clips, and tracks will make everything that follows feel much more intuitive.
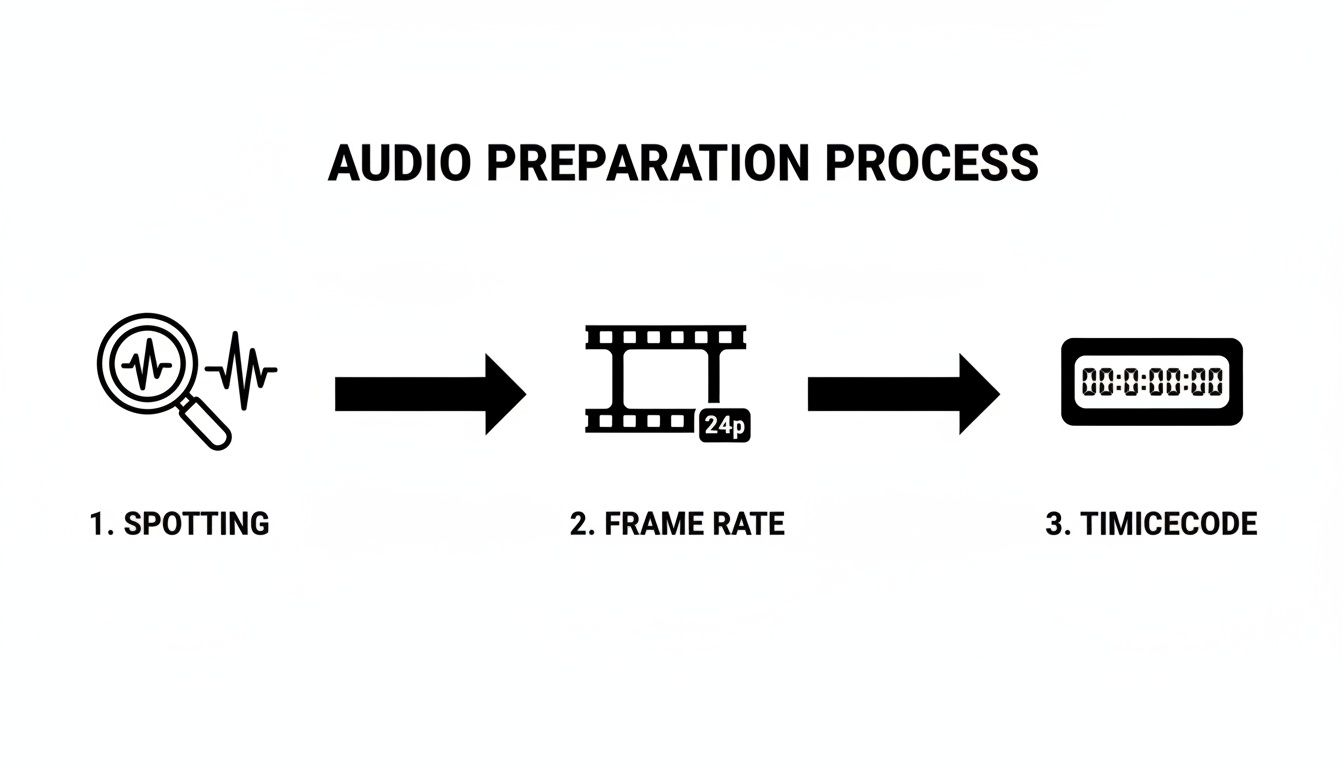
The first real step in the process is called spotting. This is where you sit down and watch your video from start to finish, taking meticulous notes on every single moment that needs a sound effect. And I don't just mean the obvious stuff like a door slam or a car crash.
Truly great sound design lives in the details. The subtle rustle of a character’s clothing, the clink of a spoon against a ceramic mug, the low hum of a refrigerator in the background—these are the sounds that build a believable world. I like to keep a simple spreadsheet or document, often called a "spotting sheet" or "cue sheet," and for every sound, I log:
This document becomes your road map. It keeps you organized and ensures you don't miss any opportunities to make the soundscape richer and more immersive. It’s a habit that separates the pros from the amateurs.
This is the most critical technical step, and it’s non-negotiable. You absolutely have to get your video and audio settings in perfect harmony. Any mismatch here is a guaranteed recipe for sync issues that only get worse as the project gets longer.
Remember, every video is just a series of still images, or frames, flashing by. The frame rate (measured in frames per second, or fps) is simply how many of those frames are displayed each second.
The history of audio sync is a story of technical evolution, from early film needing one-pulse-per-frame systems to the 1980s when pros wrestled with syncing 24fps film to 29.97fps video using SMPTE timecode. Today, digital audio workstations have removed track limits, allowing for incredibly complex sound designs.
Common frame rates you'll encounter are 24 fps for that classic cinematic feel, 29.97 fps for North American broadcast (NTSC), and 25 fps for European broadcast (PAL). Your video editing project must be set to the exact same frame rate as your source footage.
Then, you need to make sure your audio software (your DAW) is also configured to match that frame rate and its corresponding timecode. Timecode is the universal clock for your entire project, displayed as hours:minutes:seconds:frames. Consistency is everything. This ensures that one second in your video editor is precisely one second in your audio software, preventing any drift.
Alright, with the technical prep out of the way, we can dive into the fun part—actually placing the sounds and bringing your video to life. This is where your spotting sheet becomes your roadmap, guiding every creative decision you make on the timeline. Of course, having the right tools for the job is half the battle, which starts with picking the best video editing software that you feel comfortable and efficient in.
Think of your video editor's timeline as your canvas. The key to learning how to sync sound effects with video isn't some big secret; it's about getting intimately familiar with that timeline and using its visual cues to your advantage.
The whole process starts with a solid foundation. The preparation steps—spotting, setting frame rates, and confirming timecode—are what make the creative work possible.
As you can see, getting this methodical prep work done upfront is what allows for the precise, frame-perfect placement that makes a soundtrack feel truly connected to the visuals.
Your best friend for sync work is the marker. Pretty much any professional NLE lets you drop markers (sometimes called hit points) right onto your timeline. This is an absolute game-changer for tagging the exact frame where an action happens.
As you scrub through your footage, keep your eyes peeled for the peak of an action—the split second a glass shatters on the floor, a punch lands, or a car door slams shut. Drop a marker right there.
This simple act takes all the guesswork out of the equation. When you bring your sound effect into the project, you’re no longer just dragging it somewhere in the general vicinity; you’re lining it up with a specific, pre-defined target.
Getting a sound onto the timeline near its marker is just the first step. The real magic happens in the micro-adjustments, those tiny shifts that can make or break the illusion. Most of your time will be spent using a few core techniques.
Here’s a quick rundown of the main methods you'll be using to lock your audio to the picture.
| Technique | Primary Use Case | Software Tool | Pro Tip |
|---|---|---|---|
| Marker/Hit Point | Identifying the precise frame for a sound event. | NLEs (Premiere, Final Cut) / DAWs | Place markers on the peak visual action before you even import the sound effect. |
| Nudge | Making tiny, frame-by-frame adjustments. | NLEs / DAWs | Use keyboard shortcuts for rapid, precise movement without touching the mouse. |
| Slip | Changing the audible part of a clip without moving its position. | NLEs / DAWs | Perfect for when the "sweet spot" of a sound isn't right at the beginning of the file. |
| Stretch/Warp | Matching the duration of a sound to a visual action. | NLEs (Rate Stretch) / DAWs (Warp) | Use on sounds like creaks or whooshes that need to match a specific on-screen duration. |
These techniques form the foundation of your sync workflow. Mastering them will dramatically speed up your process and improve the quality of your final sound design.
Pro Tip: When you're syncing dialogue, don't just listen—look. Zoom way in on the audio waveform. You can often visually match the peaks of the spoken words to the actor’s mouth movements, which gets you about 90% of the way there before you even hit the play button.
This workflow really shines when you start bringing in custom sounds you've created yourself. Let's say your spotting sheet calls for something very specific, like a "heavy, rusted metal door creaking in a cavernous, abandoned warehouse."
Instead of digging through a library for something that's "close enough," you can generate that exact sound with a tool like SFX Engine.
Once you have the perfect royalty-free audio file, you just drop it into your project. You've already marked the frame where the door starts to move, so all that's left is to align your custom-made creak. The result is so much more impactful because the sound was literally born from the needs of the scene.
If you want to explore this idea further, our guide on how to add sound effects to video walks through more examples and practical tips.
Placing one sound effect perfectly on the timeline is a solid start. But if you want to create audio that truly pulls people in, you have to build texture and depth. A lone sound effect, no matter how good, almost always feels a bit thin and unconvincing. The real magic happens when you start layering multiple audio elements to build a single, believable moment.
Take something like a robot's footstep. You could just drop in a generic "clank," and it would technically work. But it wouldn't have any character. A much better approach is to build that single sound out of several distinct components.
To do this, you have to think like a foley artist and break down the action into its core parts. For that robot footstep, you might combine:
When you blend those tracks together, you get a cohesive, compelling sound that no single file could ever match. We actually dive much deeper into this technique in our guide on how to layer sound effects in video.
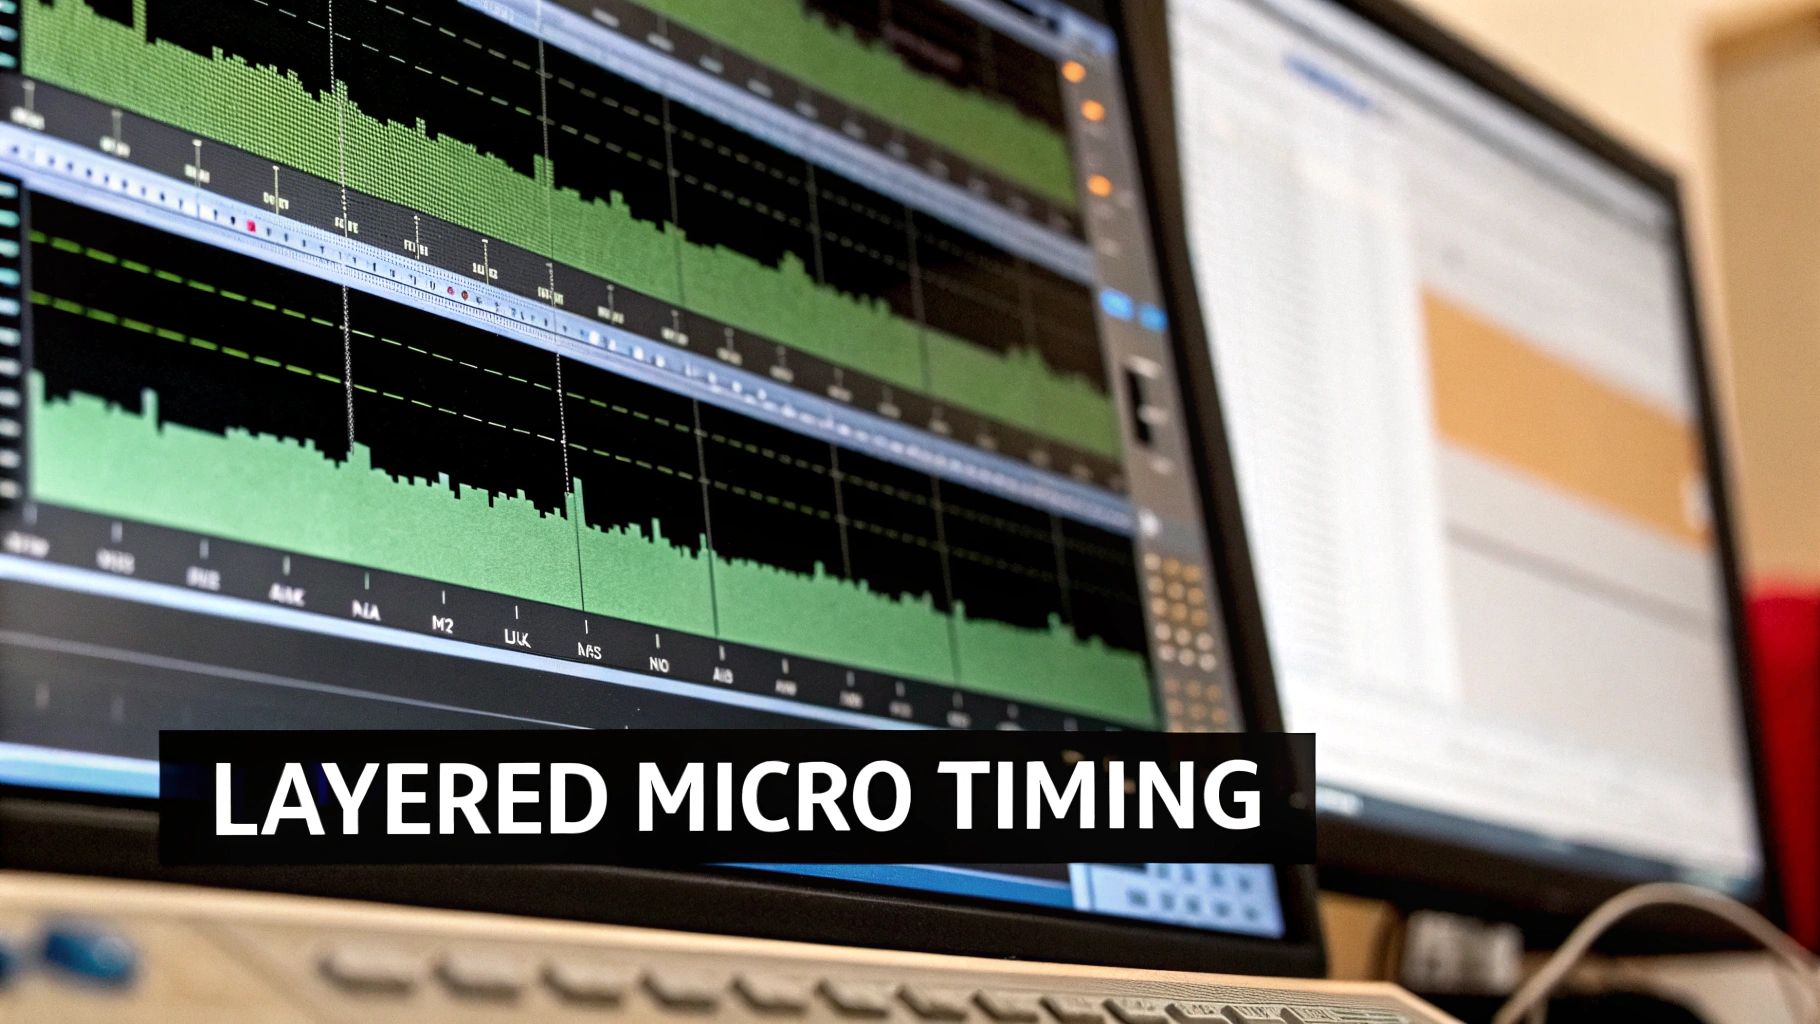
Now, just stacking those sounds directly on top of each other won't quite get you there. The real secret sauce is micro-timing—staggering each layer by just a few milliseconds. It’s a subtle shift, but it makes all the difference.
Try nudging that servo whir so it starts a fraction of a second before the main metal impact. Suddenly, you've created a sense of anticipation. Then, have the hydraulic hiss follow the impact, suggesting the leg is settling into place. These tiny adjustments not only prevent phasing issues but also make the final sound feel dynamic and organic, not flat and fake.
The human ear is incredibly sensitive. Research shows we can detect audiovisual delays as short as 20 milliseconds, which is why this level of precision matters so much for immersion. You can dig into the science behind this in this full research paper on audio-visual synchronization.
This layering workflow gets a serious upgrade when you can generate custom sounds on the fly. With an AI tool like SFX Engine, you’re not limited to the sounds in your library. You can create endless variations to fit your scene perfectly.
Instead of hunting for a generic robot footstep, you can generate specific prompts like "heavy robot footstep on concrete" or "light robot footstep on a metal grate."
This level of control lets you build a completely unique sonic identity for your project. You can tailor every single sound to its environment and action, then layer and micro-time it on your timeline for a truly professional result. It’s that obsessive attention to detail that takes sound design from just being functional to being completely unforgettable.
You've nailed the timing, and every sound effect hits its mark. Fantastic. But the work isn't over just yet. A perfectly synced sound effect that's too loud, too quiet, or just feels sonically out of place can pull an audience right out of the experience.
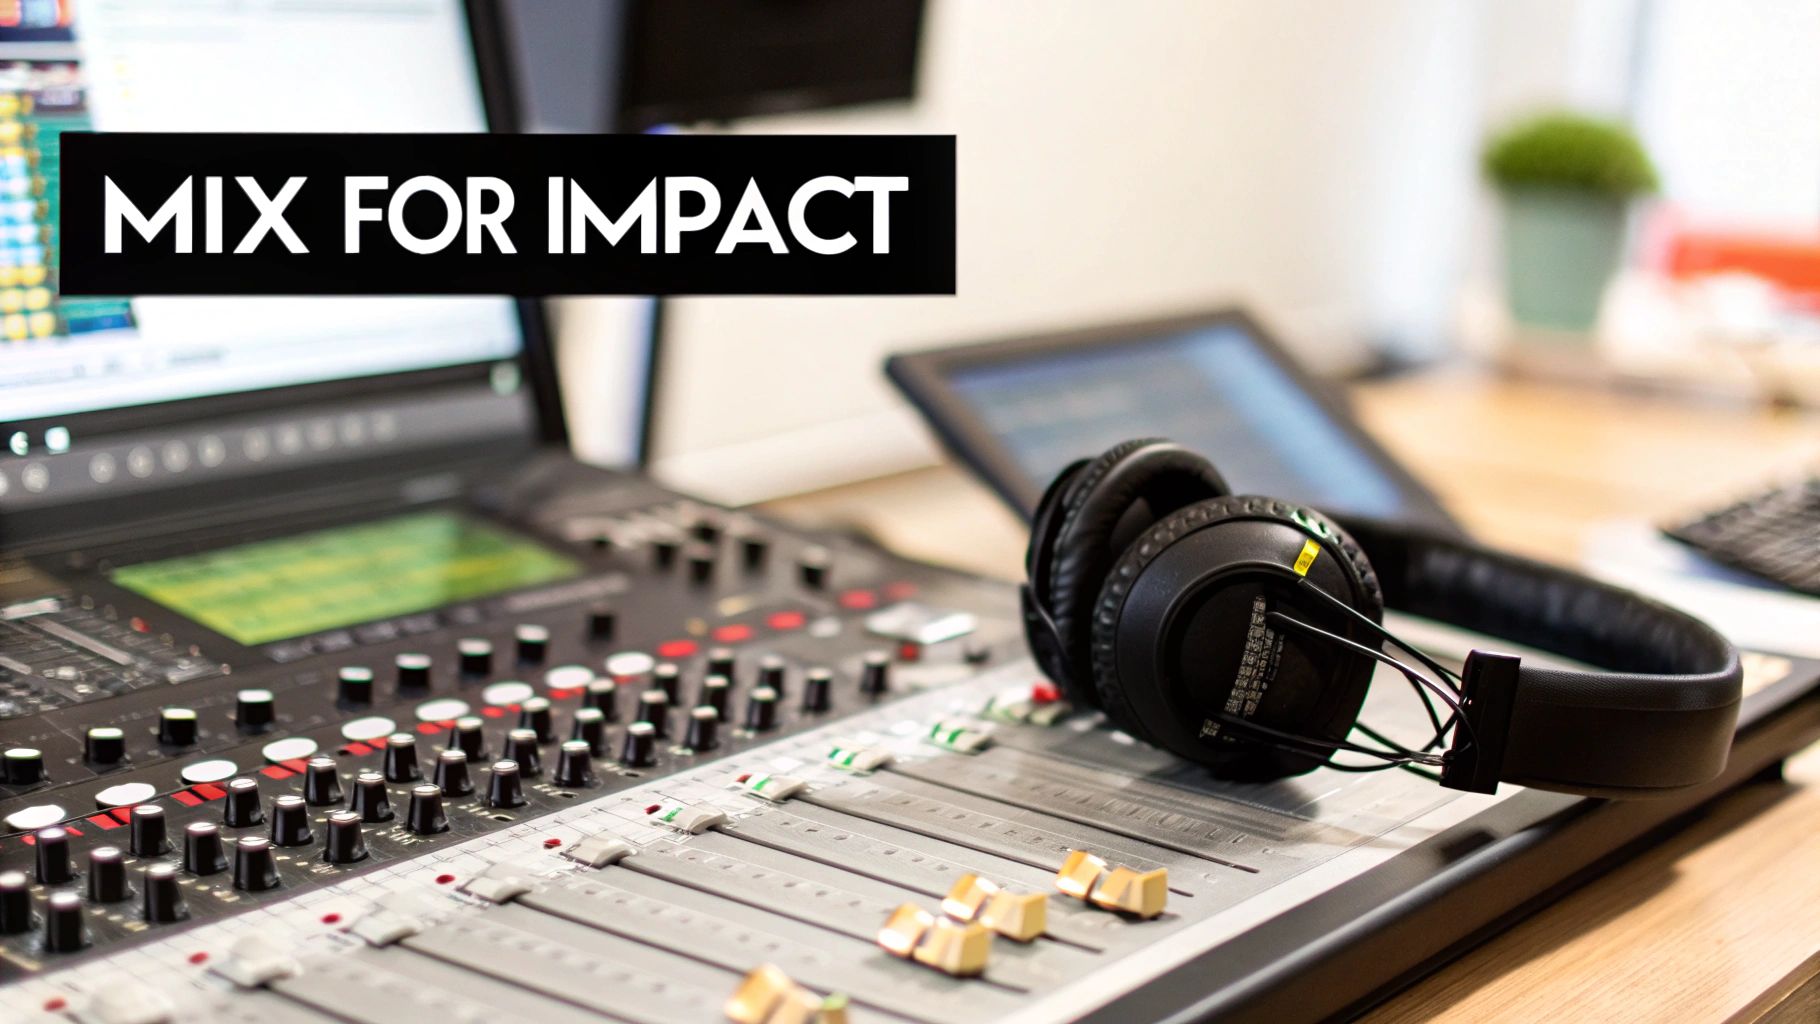
This next phase is all about the mix. It's the art of making every single audio element—dialogue, music, Foley, and your carefully placed SFX—feel like they belong in the same world. Think of it as audio glue. Without it, your soundscape will feel like a collage of disconnected parts instead of a cohesive environment.
Your most powerful tool here is simple: volume. But I'm not talking about setting a "one-and-done" level for a clip. The real magic is in volume automation, where you draw dynamic volume changes over the life of a sound.
This lets you crank up the thump of a punch for that split second of impact, then immediately pull it back so it doesn't overpower the subsequent groan or dialogue. It’s a crucial step in any professional audio post-production workflow for making sure your key sounds punch through exactly when needed.
When multiple sounds play at once, their frequencies can trip over each other, creating a muddy mess. Equalization (EQ) is your sonic scalpel, letting you surgically carve out space. Is a deep, rumbly explosion drowning out a character's line? Use an EQ to gently scoop out some of the low-end frequencies from the dialogue track, allowing both sounds to coexist clearly.
Reverb is what sells the physical space. If your characters are in a vast, cavernous hall, their dialogue will have a natural echo. Your sound effects need to match. By applying the same subtle reverb to both the dialogue and the SFX, you place them convincingly in the same acoustic environment. It’s a simple trick that instantly makes everything feel more unified.
The best mix is one you don't notice. The goal isn't for the audience to admire your reverb settings; it's for them to feel so immersed in the scene's environment that they never question it for a second.
Here’s a classic pro technique for ensuring dialogue always cuts through: sidechain compression, or "ducking." It’s a clever way to automatically lower the volume of one track (like music or background ambience) whenever another, more important track (like dialogue) is playing.
You hear this all the time in documentaries and trailers. The second the narrator starts speaking, the music automatically and smoothly "ducks" underneath, then rises back up when they finish. It’s a lifesaver that keeps your dialogue crystal clear without you having to painstakingly automate the music volume for every single line.
You're so close to the finish line. The sound effects are layered, the mix is feeling good, and everything seems to be in its right place. But don't rush to hit that final export button just yet. This is where a thorough quality check—a final QC pass—can make the difference between a project that’s good and one that’s truly great.
First things first, do a dedicated watch-down. I don't mean just playing it in the background while you check emails. I mean putting on your best headphones, turning off distractions, and actively listening. Try closing your eyes during a few key sequences. Does the audio alone tell the story? Are there any jarring volume jumps or awkward transitions that pull you out of the moment? This is your last chance to hunt down those subtle imperfections that can cheapen an otherwise polished project.
Here's a hard truth every sound designer learns: a mix that sounds incredible on your studio monitors can sound like a complete mess on a phone or through a cheap pair of earbuds. And guess where most people will actually hear your work? That's right—on those less-than-ideal systems.
This is why a multi-system check isn't optional; it's essential. Export a test version and run it through the gauntlet of common listening devices:
If your mix falls apart on any of these, it's time to head back to the DAW and make some adjustments.
Your export settings are what lock in all of your hard work. For the final delivery, you’ll typically bounce a stereo or surround mix. But a professional move, and one that will save you headaches down the line, is to also export stems. These are separate audio files for each major component—dialogue, music, and sound effects. Having stems gives you incredible flexibility for future revisions or remixes without ever needing to reopen the original, massive project file.
It's amazing to think how far we've come. The very first multi-track mixing experiments back in 1933 were revolutionary, and now we have virtually unlimited digital tracks at our fingertips. But the goal has always been the same: giving the creator total control. Diving into the history of animation sound offers a really cool perspective on this evolution.
When you’re ready to export the final audio files, stick to the industry standards to ensure no quality is lost.
Using these settings guarantees that every bit of detail from your meticulously crafted sound design is preserved and delivered at the highest possible quality for the final video render.
Even with a solid workflow, you're going to run into head-scratchers. Syncing sound is part technical puzzle, part creative feel, and hitting a snag is just part of the process. Let's break down some of the most common questions editors and sound designers wrestle with.
The number one culprit behind audio drift—that frustrating moment when your sound and picture slowly fall out of sync over a long timeline—is almost always a technical mismatch. We're talking about a conflict between frame rates or audio sample rates.
Think about it this way: if your video was shot at 23.976 fps but you accidentally set up your editing project at a true 24 fps, that tiny difference adds up, frame by frame. Over the course of a 90-minute film, that small discrepancy can become a jarring, unprofessional delay. The same thing happens if you drop a 44.1 kHz audio file into a project that’s set to the video standard of 48 kHz.
The fix is always about being proactive. Before you even think about importing a clip, make it a habit to confirm your project's frame rate and audio sample rate settings. They need to perfectly match your source footage. This one simple check can save you hours of headaches down the road.
You absolutely can. Mobile video editing apps have gotten seriously powerful. Tools like LumaFusion, CapCut, and KineMaster give you multiple audio and video tracks, which is all you really need to do some basic sound effect syncing right from your device.
You can import your video, drag your sound effects into place on the timeline, and trim them to match the action. Now, you won't get the pixel-perfect precision of nudging a clip one frame at a time or the advanced slip edits you find on a desktop, but for social media content, vlogs, or banging out a quick rough cut, these apps are more than capable.
This is where AI sound tools really shine. When you generate an effect, you often have a ton of control from the get-go. Many generators let you specify the length right in your prompt—something like, "whoosh sound effect lasting two seconds." This gives you a file that’s already in the ballpark.
Once you have the sound in your editor, you have two main moves:
This question comes up all the time. While they both add sound to a scene, they have very different jobs and origins.
Sound Effects (SFX) are your big-ticket items. These are usually pre-recorded or digitally created sounds added for impact—think explosions, laser blasts, or a dramatic whoosh. They’re often designed to be larger-than-life and punctuate a key moment.
Foley, on the other hand, is all about subtlety and realism. It's the art of performing and recording custom sounds in real-time while watching the picture. We're talking about the sound of a character's clothing rustling, their footsteps on a gravel path, or the clink of a glass being set on a table. The goal of Foley isn't to be noticed; it's to ground the scene in a believable, immersive sonic world.
Ready to stop scrolling through sound libraries for a "close enough" effect and start creating the perfect one? SFX Engine uses AI to generate custom, royalty-free sound effects from a simple text prompt. Get the exact sound your project needs, every single time. Generate your first sound for free at SFX Engine.