January 28, 2026 · Kuba Rogut
This guide is all about getting your podcast's sound right. We're going to walk through the entire process, from planning your show's sonic vibe and finding the perfect sound effects to getting the dialogue just right and mastering the final mix. These are the very techniques that make the difference between a garage-level recording and a truly professional production.
In a sea of podcasts, just having great content isn't enough anymore. You need something more to grab a listener and keep them hooked. That "something" is sound design. It's the invisible layer that turns a basic recording into a fully immersive experience. It’s what makes someone feel your show, not just hear it.
Think of it as the cinematography for your audio. A filmmaker uses light and camera angles to set a mood; a podcaster uses sound to build a world. The subtle hum of a distant city, a sharp stinger between segments, or a warm music bed under a heartfelt story—all these little details steer the listener's emotional journey.
If you want to lose listeners fast, neglect your sound quality. The data doesn't lie: studies show that a staggering 68% of listeners will bail on a podcast within the first 5 minutes because of poor audio. But here's the flip side—high-quality sound, with thoughtful effects and smooth transitions, can boost completion rates by as much as 40%.
This simple visual breaks down how better audio directly leads to a more dedicated audience.
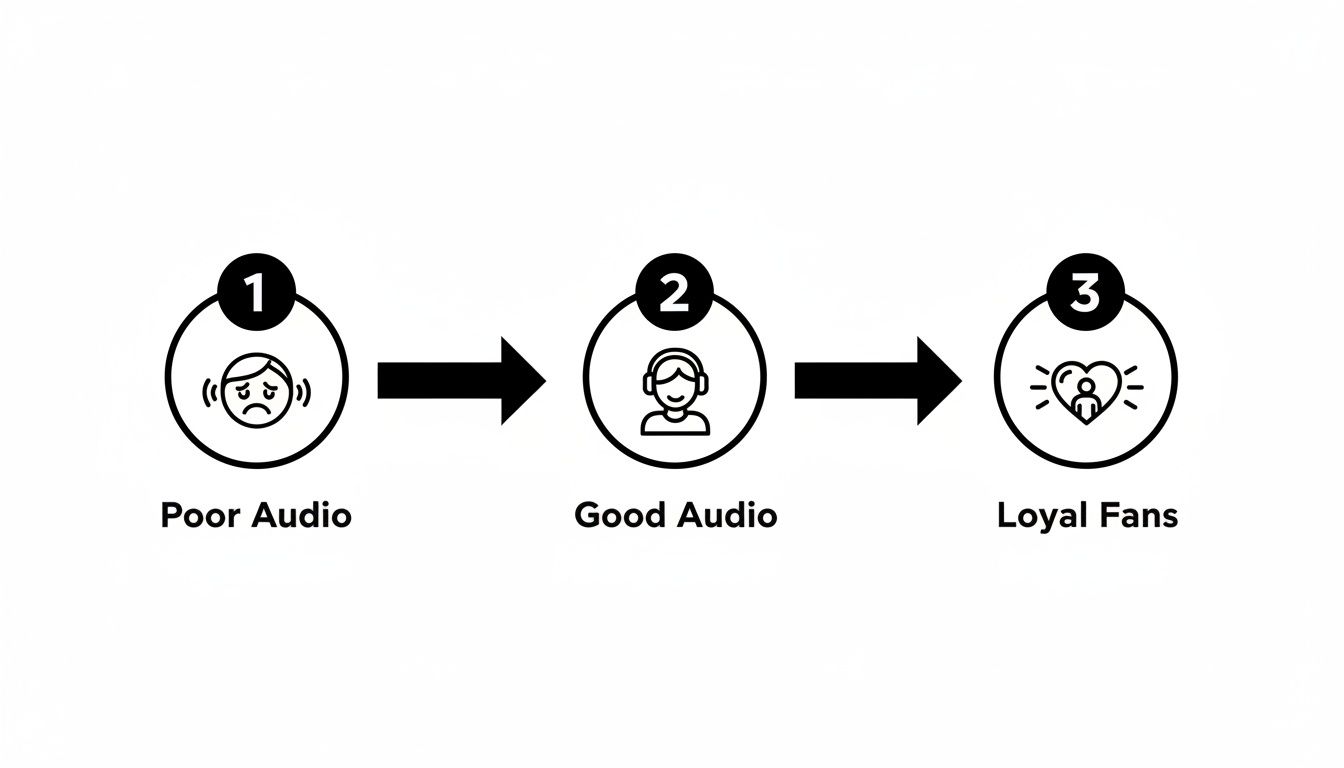
As you can see, that jump from "poor" to "good" is the critical moment where you turn a casual listener into a loyal fan who can't wait for your next episode.
Excellent sound design does more than just stop people from leaving—it actively builds your brand and creates loyalty. When your audio is clean, consistent, and professional, it sends a clear message: you respect your audience and their time.
A polished show is also far more likely to attract and keep listeners, which is absolutely essential if you’re looking into how to start a podcast and make money.
Let’s look at the concrete benefits of putting real effort into your sound:
Sound design is about more than just adding cool effects; it’s about strategically using audio to create a specific experience for your audience. Here's how different elements directly tie to the metrics that matter.
| Sound Design Element | Impact on Listener Experience | Resulting Metric Improvement |
|---|---|---|
| Intro/Outro Music | Creates brand recognition and sets the tone | Increases brand recall and listener loyalty |
| Voice Processing | Improves clarity and reduces listening fatigue | Lowers drop-off rates, especially in the first 5 minutes |
| Ambient Beds | Builds an immersive world and enhances emotion | Boosts episode completion rates and engagement |
| Transitions/Stingers | Provides a clear structure and maintains energy | Improves listen-through rates and overall flow |
| Sound Effects (SFX) | Adds emphasis, humor, and narrative depth | Increases memorability and shareability |
| Consistent Mastering | Ensures a professional, easy-to-listen-to final product | Builds trust and encourages subscriptions |
Ultimately, great sound design isn't about adding noise; it’s about removing the barriers between your content and your listener. It cuts through the distractions and lets your message hit home on a much deeper, more emotional level. That's how you turn passive listeners into truly engaged fans.
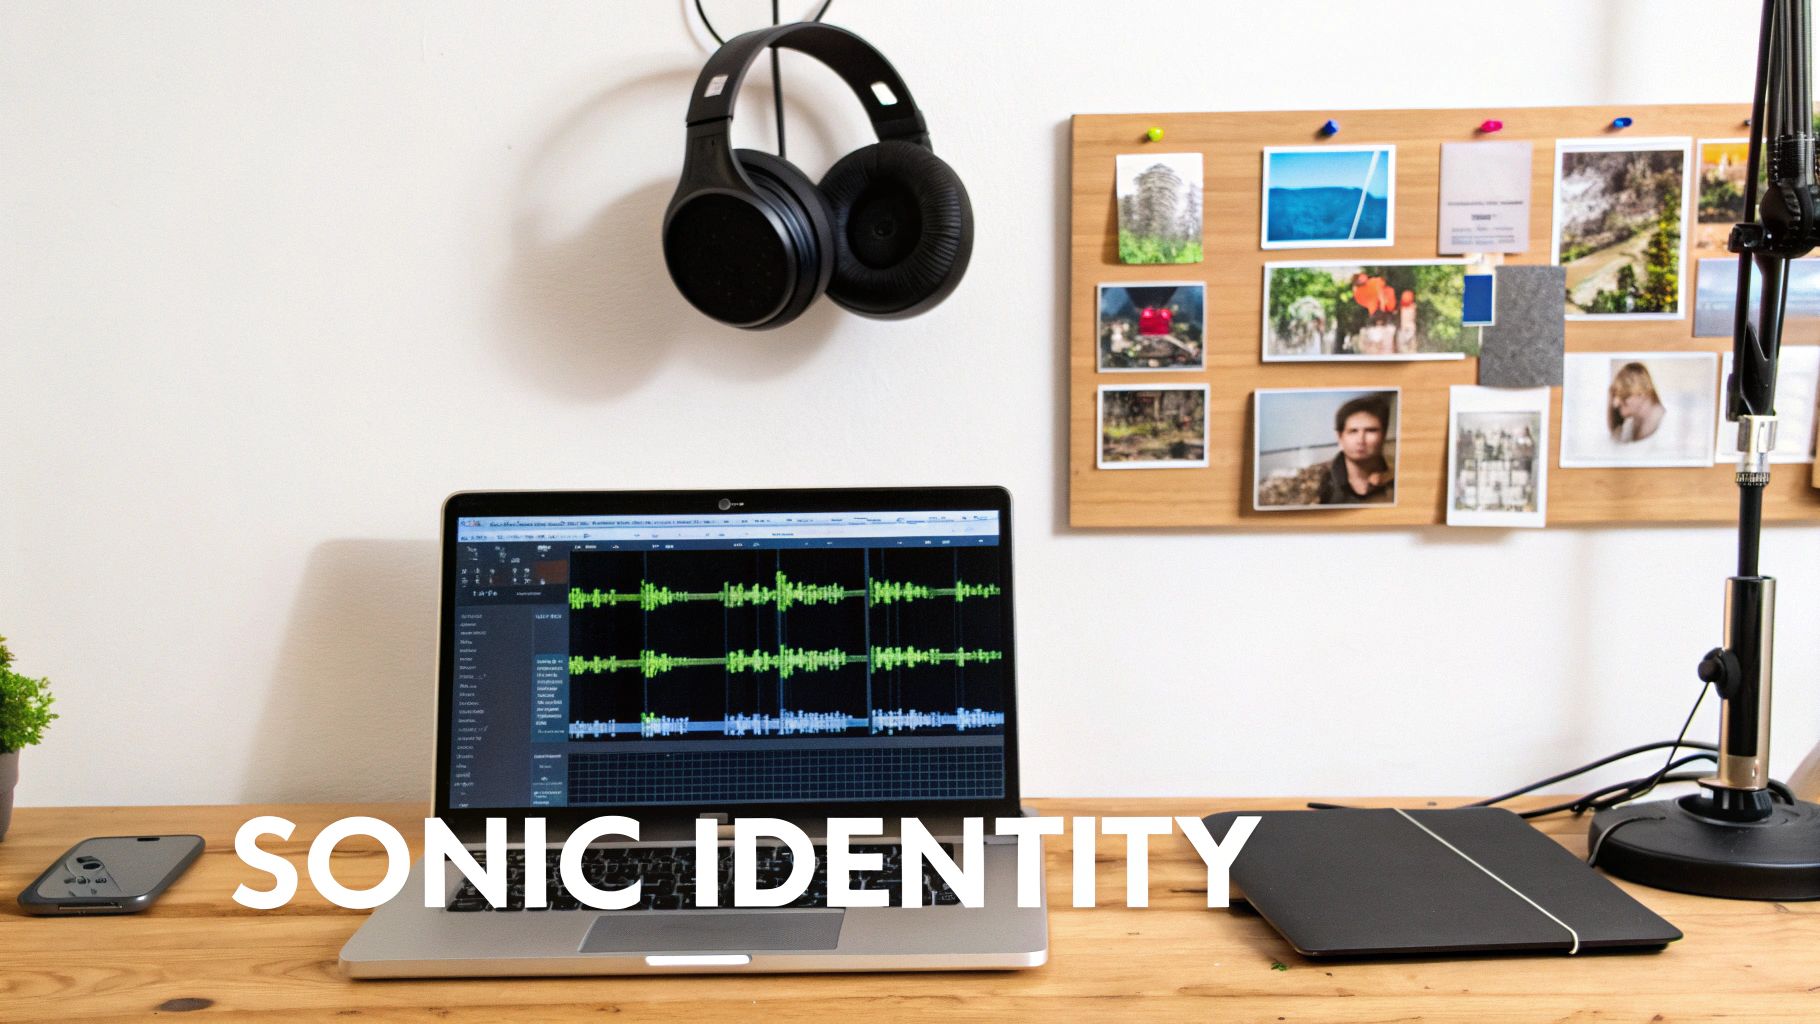
Great sound design isn’t something you just slap on at the end. It's woven into the very DNA of your podcast, and that process starts long before you ever hit record. This is where you map out your show's sonic identity—the distinct audio personality that immediately tells a listener what you're all about.
Skipping this step is a classic mistake. It's like trying to build a house without a blueprint. You might get something standing, but it’ll probably feel chaotic and amateurish. When you have a clear sonic identity, every sound effect, piece of music, and transition feels like it belongs.
One of the best ways I've found to nail down a show's sound is to create a sonic mood board. Think of it like a visual mood board, but for your ears. It’s a simple exercise that forces you to get specific about the feeling you want to create.
Before you even think about specific sounds, ask yourself some big-picture questions about the show itself. The answers will be your guide for every audio choice you make later.
This simple gut check helps you avoid grabbing generic, off-the-shelf audio that doesn't fit. It makes your sound design feel authentic to your brand, not like an afterthought.
Think of your sonic identity as a creative filter. Later, when you're hunting for a music track or a transition, you can just ask, "Does this fit our mood board?" It's a lifesaver for keeping your sound consistent episode after episode.
So what does this actually look like in practice? Let's break it down with a couple of real-world examples.
Here, your job is to build suspense and a constant sense of unease. Your sonic mood board might call for:
For a comedy show, the goal is totally different. You want to crank up the energy and make the humor pop. Your audio choices should be playful and full of life:
Putting in this work upfront is the bedrock of a professional-sounding podcast. It gives you a clear roadmap, saves you a ton of guesswork in post-production, and ensures every single sound serves a purpose.
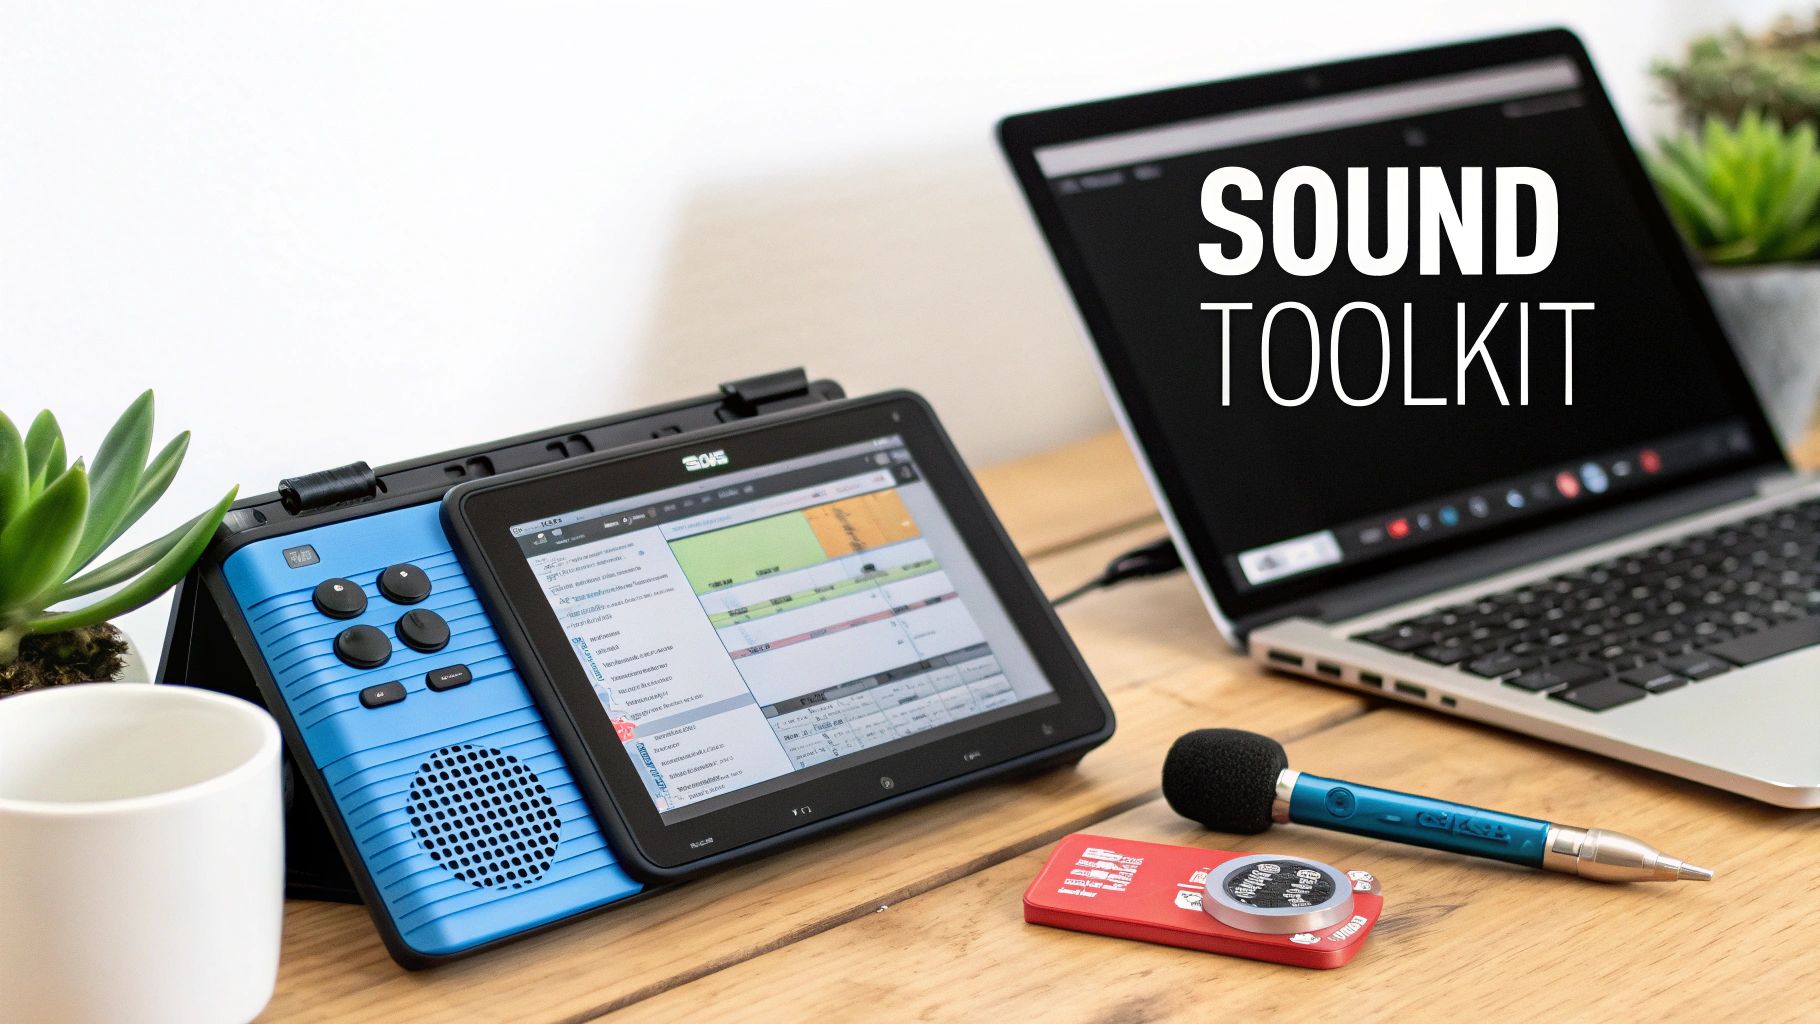
Think of your sound effects library as your sonic toolkit. It’s the collection of audio you’ll reach for time and time again to build the world your listeners will inhabit. Putting together a versatile, high-quality collection is one of the most crucial parts of sound design, ensuring you always have the right sound ready to go.
This isn't just about grabbing a few free files from the internet. It's about deliberately curating a library that fits your show's personality, understanding the legal fine print, and even knowing when to roll up your sleeves and create your own custom sounds.
You generally have three paths to getting the sounds you need: traditional libraries, DIY Foley, and the new kid on the block, AI generators. Honestly, the best and most flexible toolkits draw from all three.
A quick but serious word on the legal stuff: always check the license for any sound you use. A royalty-free license usually means you pay a one-time fee or subscription and can use the sound as much as you need without owing more money. Just make sure the license covers commercial use if your podcast is monetized in any way.
Sometimes, a generic "thunder clap" from a stock library feels flat. You need something more evocative, like "distant rolling thunder on a humid summer night." This is precisely where AI tools shine.
For podcasting, this means you can use an AI sound effect generator like the one from SFX Engine to dream up custom, royalty-free sounds from simple text prompts. Imagine creating the perfect thunderclap for a dramatic opening or subtle, lapping waves for a thoughtful moment—all without spending hours digging through libraries or setting up a recording session.
Here’s a look at how it actually works. You’re basically just telling the machine what you want to hear.
The interface is usually dead simple—just a box where you type in a detailed description of the sound you're imagining.
The real magic here is the ability to iterate. If the first attempt isn't quite right, you just tweak your prompt. Add modifiers like "muffled," "close-up," or "echoing" to dial in the sound until it perfectly matches the scene you're building in your listener's head. Being able to generate exactly what you need on the fly is a massive timesaver.
Don't think you need a Hollywood studio to create your own sound effects. A little creativity can go a long way in recording high-quality Foley that adds a tangible layer of realism to your show. The secret is to think about what something sounds like, not necessarily what it is.
Here are a few classic Foley tricks you can try at home:
The most important rule of DIY Foley is to experiment. The sound you record doesn't have to be a literal copy of the real thing. If it sounds right, it is right.
By pulling from massive online libraries, harnessing the creative power of AI, and adding the authentic touch of your own Foley, you'll build a sound effects toolkit that is uniquely yours. This curated collection will become one of your most valuable assets, helping you work faster, be more creative, and ultimately produce a podcast that sounds incredible.
The human voice is the heart and soul of your podcast. You can have the most incredible music and sound effects, but if the dialogue is muddy, harsh, or all over the place, your audience will hit stop. Professional voice processing isn't about making you sound like a completely different person; it’s about stripping away distractions so your message cuts through with absolute clarity.
This is where your Digital Audio Workstation (DAW) really starts to shine. We're going beyond basic cleanup and digging into the standard processing chain that I and other audio engineers rely on every day. To give yourself a fighting chance from the start, a clean recording is paramount, which all begins with choosing the best microphones for your setup.
I like to think of voice processing as a series of specialized tools, each one doing a specific job. While the exact order can be debated, a rock-solid starting point for any podcast is EQ, followed by Compression, and then a De-Esser. This workflow tackles the most common vocal problems in a logical, effective sequence.
Before anything else, though, you need to deal with any foundational issues like background hum or air conditioner hiss. If you're struggling with that, our guide on https://sfxengine.com/blog/how-to-remove-background-noise-from-audio is the perfect place to start. Once you have a clean slate, you can start shaping the tone.
An Equalizer, or EQ, is your primary tool for shaping the tonal character of a voice. Its job is to turn specific frequencies up or down to improve clarity and warmth. When it comes to podcast dialogue, I almost always think subtractively first—that is, cutting out the bad stuff before boosting the good.
The secret to great EQ is subtlety. If you're making huge, dramatic boosts or cuts, you've gone too far. Aim for gentle changes of just 2-3 dB. In the world of professional sound design, these small, precise adjustments make all the difference.
Next in the chain is compression. A compressor’s job is simple but powerful: it evens out the volume by making the quiet parts louder and the loud parts quieter. This creates a much more consistent level, which is absolutely critical for anyone listening, especially in noisy environments like a car or subway.
Without it, your listener would constantly be reaching for the volume knob. Picture a host who whispers one second and then bursts out laughing the next—compression tames those jarring peaks and brings up the intimate valleys for a smooth, professional performance.
For spoken word, here’s a great starting point for your compressor settings:
After you've EQ'd and compressed the vocal, you might suddenly notice that the "s" and "t" sounds (known as sibilance) are now unpleasantly sharp. That's a common side effect, and it's exactly what a de-esser is for. Think of it as a highly specific compressor that only clamps down on those piercing high-frequency sounds.
You'll want to set your de-esser to focus on the frequency range between 5-8 kHz, which is where most of that sibilant energy lives. Tweak the threshold until you hear the harshness disappear, but be careful not to overdo it, or your speaker might end up with a lisp.
Finally, we get to the most tedious—but arguably most important—step: the manual edit. This is where you have to listen through the entire track and meticulously edit out all the distracting mouth clicks, loud breaths, and lip smacks. While some plugins claim to do this automatically, nothing beats a careful human ear for this final polish. This level of detail is what separates a good podcast from a truly great one.
With your dialogue cleaned up and sounding crisp, it’s time for the fun part. This is where the real artistry of sound design comes into play, turning a simple vocal track into an immersive world for your listener. By carefully layering ambient backgrounds, transitions, and music beds, you can guide the story, create a sense of place, and shape the emotional arc of your show.
Think of yourself as a painter. The dialogue is your main subject, but it’s the background, the shadows, and the highlights that make it leap off the canvas. Ambiences are your backdrop, transitions are the brushstrokes between scenes, and music is the lighting that sets the mood.
Ambiences, sometimes called room tone, are those subtle background sounds that instantly establish a location. They're the sonic signature of a space—the low hum of an office, the distant rumble of a city street, the gentle chirp of crickets at night. These are sounds that should be felt more than heard.
One of the biggest mistakes I hear is pure digital silence in the background. It feels sterile and completely unnatural to the human ear. A well-chosen ambient bed, tucked way down in the mix, makes the whole thing feel grounded and real.
The trick is to keep the volume low. It’s there to add texture, not to fight with the dialogue for the listener's attention.
Transitions are the signposts in your podcast. They tell the listener that you're shifting topics, moving to a new segment, or changing the energy. A good transition keeps everyone oriented and helps the show maintain momentum, so it doesn't feel like one long, rambling monologue.
These can be anything from simple whooshes and swells to sharp musical hits (often called stingers). You might even create a custom sound that becomes part of your show's brand.
For instance, a true-crime podcast might use a tense, atmospheric drone to move from the narrative to an expert's analysis. A lighthearted comedy show, on the other hand, could use a quirky little synth pop. Whatever you choose, it needs to fit the sonic identity you've built for your show.
A great transition is like a chapter break in a book. It gives the audience a brief moment to reset and prepare for what's next, making the entire listening experience feel smoother and more polished.
Music is easily your most powerful tool for steering emotion. A music bed is simply an instrumental track that sits underneath your dialogue, subtly coloring the tone of the segment. Used well, it can inject excitement, build suspense, or bring a feeling of warmth and sincerity to a heartfelt moment.
But always remember the golden rule: dialogue is king. The music can never, ever overpower the spoken word.
Here’s a practical workflow I use for mixing music beds:
Podcasts that clock in between 20-40 minutes—the sweet spot for listener attention—benefit hugely from this kind of sonic variety. It keeps things interesting and fights off listener fatigue. In fact, some data shows that podcasts using custom sound design and well-mixed audio elements can retain 25% more of their audience through multi-episode binges. You can dig into more podcast engagement statistics on The Frank Agency's blog. This careful layering isn't just window dressing; it's what keeps people hooked.
This is the final hurdle. It’s where all your hard work—the carefully edited dialogue, the subtle ambiences, the perfectly timed sound effects—comes together into one polished, professional-sounding file ready for the world.
Think of it this way: mixing is the art, and mastering is the science. Mixing is about balancing all the individual tracks, while mastering is about making sure that final mix sounds great everywhere.
Before you even touch a fader, though, let's talk about gain staging. This is a simple but crucial concept: make sure your audio signal is at a healthy level at every single stage of the process. Not too quiet, not clipping into the red. Proper gain staging is the foundation of a clean mix and prevents nasty digital distortion that can ruin an otherwise great production.
Mixing really is a dynamic balancing act. The main goal is to carve out a specific space for every sound so nothing gets lost or buried. The dialogue is always the star of the show; it needs to sit front and center, clear and intelligible. Music beds are there for emotional support, not to compete with the host. Sound effects should pop when they need to, but never feel jarring.
This is where your faders and pan knobs become your best friends. I like to pan my ambient tracks fairly wide in the stereo field—it creates a real sense of space and envelops the listener. The dialogue, however, stays right down the middle. This simple separation makes the whole mix feel more open and uncluttered, guiding the listener's focus effortlessly.
With podcast advertising projected to hit $4.46 billion globally by 2026, the sonic quality of ads is more important than ever. In fact, immersive audio cues can make advertisements 35% more memorable. If you want to dive deeper, you can learn more about podcast advertising growth from recent studies. That professional polish all starts with a solid mix.
Mastering is your final quality control checkpoint. For podcasting, its primary job is to bring your episode up to the industry-standard loudness level. We measure this in LUFS (Loudness Units Full Scale), a metric that reflects how humans actually perceive loudness, which is far more useful than just looking at peak levels.
The magic number for most major podcast platforms, including Spotify and Apple Podcasts, is -16 LUFS integrated loudness. Hitting this target is non-negotiable. It ensures your show sounds just as loud and present as any other major podcast, so your audience doesn't have to scramble for the volume knob.
For a more technical breakdown of the entire process, we’ve put together a dedicated guide on how to properly master your audio for distribution.
Once your mix is mastered, do one last "car check." Listen to the entire episode on different systems—your studio headphones, cheap earbuds, your laptop speakers, and yes, in your car. This is the only way to be sure your mix translates well and sounds great no matter where or how people are listening.
Even when you've got a solid workflow, questions inevitably pop up. I've put together answers to some of the most common queries I hear from producers, offering quick solutions to those nagging audio issues that can slow you down.
Finding great, legally-safe music can feel like a real chore. You can dig through free archives, but the quality can be hit-or-miss, and the licensing is often a confusing mess. For a professional finish, a good subscription service is almost always your best bet.
Just be sure to read the fine print. You'll want a license that explicitly covers commercial use, especially if you plan on running ads or have sponsors.
A quick heads-up: "Royalty-free" isn't the same as "free." It just means you pay once (either a one-time fee or a subscription) and don't have to pay ongoing royalties every time someone listens.
Nothing beats a clean recording, but let's be realistic—problems happen. In my experience, the three biggest headaches for podcasters are background noise, wobbly volume levels, and sharp "s" sounds (sibilance).
Here’s my quick-fix checklist for tackling them:
The "best" software is really the one that fits your budget and doesn't make you want to pull your hair out. You absolutely do not need the most expensive program on the market to produce incredible sound.
Ready to stop searching for the perfect sound effect and just create it yourself? The SFX Engine lets you generate completely unique, custom sound effects from a simple text description. It's an AI-powered tool that can craft everything from subtle room tones to specific Foley sounds, and it's free to get started. Give your podcast a signature sound that no one else has at https://sfxengine.com.