January 25, 2026 · Kuba Rogut

Getting rid of background noise is a two-pronged attack. It starts with smart recording habits to prevent noise in the first place, but inevitably, you'll need to roll up your sleeves in post-production with the right software. The real skill is learning to match the problem—whether it's a steady drone or a random car horn—with the right tool, be it a simple EQ, a noise gate, or a more sophisticated AI denoiser.
We've all been there. You nail the perfect vocal take, but on playback, the hum from the air conditioner you forgot to turn off is baked into the recording. Or maybe a key piece of dialogue is ruined by a passing siren. It’s beyond frustrating, and it underscores a fundamental rule for anyone working with sound: clean audio is everything.
Distracting background noise is the fastest way to pull your audience out of the moment. It makes your message feel unprofessional and forces listeners to work harder to understand you, which is the last thing you want.
This guide is built to give you a complete, practical workflow for achieving that pristine audio. We’re going to skip the vague advice and get straight to the techniques you can use right now, whether you're polishing a podcast, cleaning up film dialogue, or mixing music.
Our focus is on the entire noise reduction process, from setting up the mic to the final polish. The goal isn't just to silence the noise; it's to do it transparently, without damaging the audio you want to keep.
Here's a look at what we'll cover:
The fight against unwanted noise has a surprisingly long history. The basic theory of active noise cancellation was first patented back in 1933 by Paul Lueg. Yet it took an incredible 67 years for that idea to reach consumers with the release of Bose's first QuietComfort headphones in 2000. You can read more about the evolution of noise cancellation technology and how it shaped the tools we use today.
Think of this guide as your complete roadmap to turning messy recordings into polished, professional sound. By the end, you’ll have a clear process for handling any audio cleanup job that comes your way, ensuring your audience hears your message loud and clear, without any distractions.
Struggling to figure out which tool to grab for that specific annoying sound? This table breaks it down, connecting common noise problems with the most effective techniques we’ll be discussing.
| Type of Noise | Common Cause | Primary Removal Tool | Best Use Case |
|---|---|---|---|
| Steady Hum or Hiss | AC units, refrigerators, amp buzz, computer fans | Spectral Denoise or EQ | When you can isolate a clean "noise print" of the drone. |
| Low-Frequency Rumble | Wind, traffic, handling noise on the microphone | High-Pass Filter (EQ) | Removing mud and rumble without affecting the main audio. |
| Sudden, Sharp Sounds | Clicks, pops, lip smacks, coughs, door slams | Spectral Repair / De-clicker | Visually "painting out" unwanted sounds in the audio editor. |
| Background Chatter | Voices, TV, or music in another room | AI Dialogue Isolation | When the noise is complex and overlaps with the desired voice. |
| Mic Bleed | Sound from one source leaking into another's mic | Noise Gate or Expander | Taming bleed between drum mics or in podcast recordings. |
| Reverb / Echo | Reflections in an untreated room | AI De-reverb or Gate | Reducing the "roomy" sound of an echoey space. |
Use this as a quick reference whenever you encounter a new audio problem. It’ll point you in the right direction and help you choose your tools more efficiently.
Honestly, the best way to fix background noise is to never record it in the first place. I know that sounds obvious, but spending just a few minutes prepping your space can save you hours of soul-crushing work in post-production. Getting a handle on your recording environment is the most powerful skill you can develop.
Start by playing detective and silencing the noise culprits around you. Air conditioners, humming refrigerators, whirring computer fans, and even buzzing fluorescent lights create a constant, low-level hum that's a nightmare to remove cleanly. Kill them all before you start.
Even after you've silenced the obvious offenders, the room itself is a huge factor. Hard, flat surfaces are your enemy—think bare walls, windows, and hardwood floors. They bounce sound all over the place, creating echo and reverb that makes your audio sound hollow and amateurish.
Your mic choice is your first line of defense against unwanted sound. A lot of beginners grab a condenser microphone because they're known for being sensitive and capturing beautiful detail. The problem is, that sensitivity is a double-edged sword. It picks up everything, from traffic outside to the squeak of your chair.
For an untreated or noisy room, a dynamic microphone is almost always the better choice. Dynamic mics are built to be less sensitive and need to be close to the sound source, which means they naturally reject a ton of ambient room noise. There’s a reason podcasters and radio pros have sworn by them for decades—they deliver that tight, focused vocal sound even when the room isn't perfect.
You don't need to spend a fortune building a professional studio to get a better sound. In fact, a huge part of this is just about mastering the art of podcast studio setup with what you already have.
These small tweaks can make a massive difference in the clarity of your recordings. For a more detailed look, our guide on how to reduce background noise from a microphone has some great mic-specific tips.
Where you put the mic is just as crucial as which one you buy. The whole game is about maximizing your signal-to-noise ratio. That's just a fancy way of saying you want your voice (the signal) to be way louder than everything else (the noise).
Get right up on the mic—I’m talking about 4-6 inches away for most dynamic mics. Speaking directly into it makes your voice the loudest thing it hears. This simple technique means you don't have to crank up the gain, which would only amplify all that background noise you're trying to avoid.
Pro Tip: Always, and I mean always, record at least 30 seconds of pure "room tone" before or after you start talking. Just hit record and let it capture the silence. This little snippet of your room's unique ambient hum is a secret weapon in post-production. It gives noise reduction plugins a perfect fingerprint of the exact noise they need to remove.
Nailing this pre-production checklist—the right mic, a bit of room treatment, and smart placement—is the foundation of clean audio. When you tackle noise at the source, editing becomes about polishing something great, not trying to rescue a mess.
Okay, so you've done everything right during recording—you picked a quiet room, you set up your mic perfectly, and you got the best take possible. But no matter how careful you are, some unwanted noise always seems to sneak in. This is where your Digital Audio Workstation (DAW) becomes your operating room. It's time to move from prevention to precision surgery.
Every major DAW comes packed with a suite of powerful tools right out of the box. Getting comfortable with them is the key to achieving that clean, professional sound without spending a fortune on third-party plugins.
The pre-production workflow is your first line of defense, and getting it right can save you hours of fixing things later.
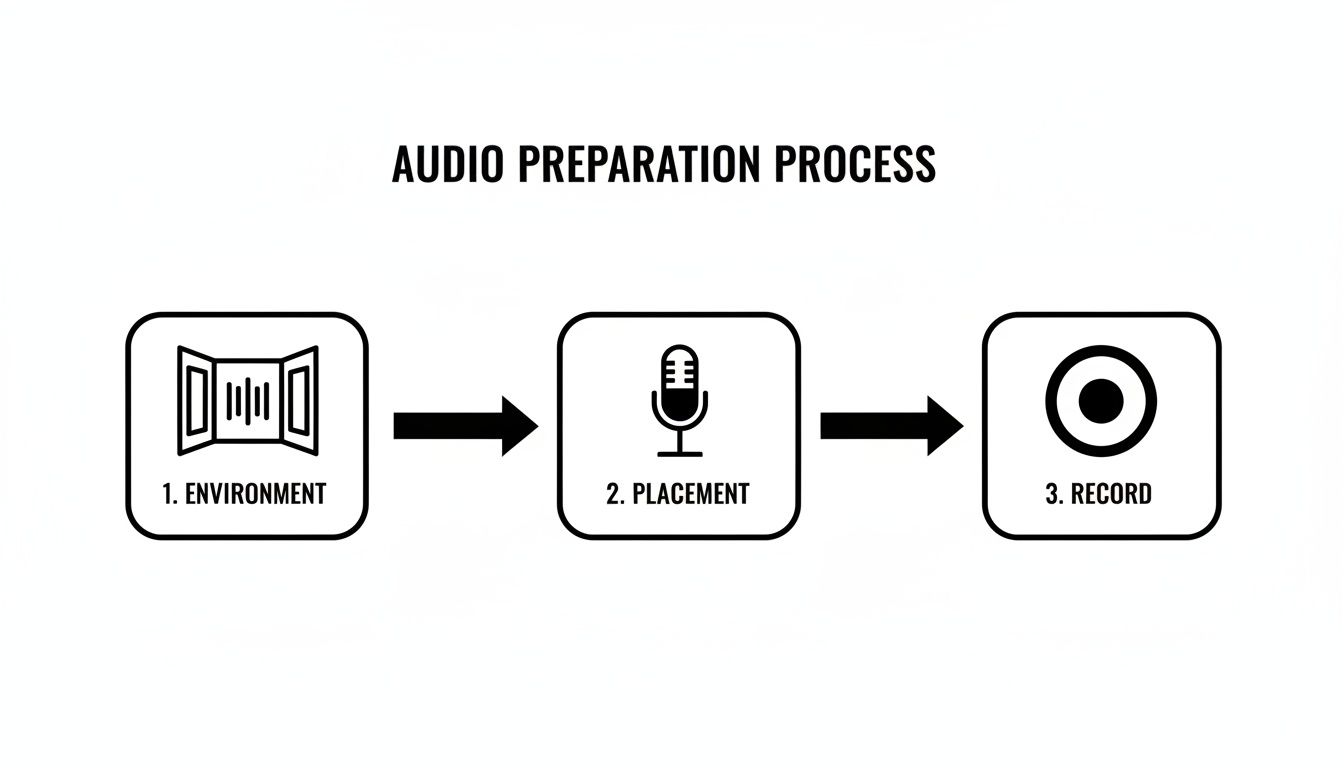
As you can see, controlling your environment and getting the mic placement just right are crucial steps to take before you ever hit record. This proactive approach minimizes the cleanup work waiting for you in the DAW.
One of the most common troublemakers is a constant, low-frequency hum. You know the one—it comes from air conditioners, refrigerators, or dodgy electrical wiring. The perfect tool for this job is a parametric equalizer (EQ), which lets you zero in on specific frequencies like a sonic scalpel.
The classic technique here is what many of us call the "sweep and destroy" method.
My Go-To Tip: I always start my hunt in a specific area. In North America, electrical hum lives at 60 Hz and its multiples (120 Hz, 180 Hz, etc.). In Europe and many other parts of the world, it’s 50 Hz and its harmonics. Checking these spots first can save you a lot of time.
The real power of a parametric EQ is its precision. If you want to get a better handle on the fundamentals, we have a helpful guide that breaks down what a parametric EQ is and how to make the most of it.
What about the noise that lives in the quiet spaces—the hiss or room tone between words or musical notes? For that, we can turn to dynamics processors like noise gates and expanders. These tools act like automatic volume knobs, turning down the audio whenever it falls below a certain level.
A noise gate is pretty blunt; it's like an on/off switch. When the audio is loud enough (like someone speaking), the gate is open. The moment the sound drops below your set level, the gate slams shut, creating total silence.
An expander is the gate’s more subtle cousin. Instead of cutting the sound off completely, it just reduces the volume gently, which often sounds far more natural.
Real-World Example: Cleaning Up Podcast Dialogue
I recently worked on a podcast where a guest had a habit of taking loud breaths between their sentences. A noise gate was the perfect solution.
A word of caution: if you set the threshold too high, you risk clipping the beginning and end of words. It's a delicate balance, so always trust your ears and listen back carefully.
Sometimes you're faced with a random, isolated noise—a cough, a door slam, a phone notification. A standard EQ or gate is useless against these one-off events. This is when spectral editing feels like actual magic.
Found in specialized software like iZotope RX or as a feature in DAWs like Adobe Audition, a spectral editor shows you a spectrogram of your audio. Instead of a simple waveform, you see a visual heat map of sound, where frequency is plotted against time. Loud, distinct noises appear as bright, obvious shapes.
Imagine a car horn blares during a critical line of dialogue. On the spectrogram, that horn will look like a bright, solid line. With the editing tools, you can literally draw a box around that visual artifact and either delete it or just turn it down. The software is smart enough to analyze the surrounding audio and fill in the gap convincingly. It’s like using the healing brush in Photoshop, but for sound.
These incredible tools are the culmination of decades of innovation. The fight against noise isn't new; technologies like Dolby A became an industry standard back in 1966 to combat the persistent hiss of analog tape machines. The digital revolution of the 2000s took those foundational ideas and gave us the powerful spectral repair tools we rely on today.
To get started, it's helpful to know which native tool to reach for in a given situation. Each has its own strengths and weaknesses.
| Tool | Best For | Pros | Cons / Watchouts |
|---|---|---|---|
| Parametric EQ | Removing constant, tonal noise like electrical hum, A/C drones, or feedback frequencies. | Very precise and surgical. Found in every DAW. Low CPU usage. | Ineffective against broadband noise (hiss) or random sounds (coughs, clicks). |
| Noise Gate | Cleaning up background noise in the silent gaps between speech or music. | Simple to use. Effective for creating clean, silent pauses. | Can sound unnatural or "choppy" if not set carefully. May cut off soft word endings. |
| Expander | A more gentle alternative to a noise gate for reducing noise in quiet sections. | Sounds much more natural than a gate. Great for preserving a bit of room tone. | Can be less effective on very loud background noise. Requires more careful setting of the ratio. |
| Spectral Editor | Visually identifying and removing specific, isolated sounds like clicks, coughs, or squeaks. | Incredibly powerful and precise. Can remove noise that other tools can't touch. | Steeper learning curve. Not a native feature in all DAWs; often requires a dedicated tool like iZotope RX. |
Ultimately, choosing the right tool comes down to understanding the nature of the noise you're trying to fix. An EQ is for the drones, a gate is for the gaps, and a spectral editor is for erasing those pesky, one-time sonic accidents. Mastering these native tools is the first and most important step toward professional-sounding audio.
While manual tools give you incredible precision for constant, predictable sounds like hums and hisses, they often hit a wall with dynamic, fluctuating noise. Trying to manually notch out crowd chatter, passing traffic, or intermittent wind is an exercise in frustration. This is exactly where artificial intelligence has stepped in and completely rewritten the rules of audio cleanup.
Modern AI-powered plugins are built to do the complex thinking for you. They don't just look at frequencies; they analyze the audio to understand context, intelligently separating desirable sounds—like human speech—from the chaotic mess in the background. It's a game-changer, especially when you're up against a tight deadline.
This kind of intelligent processing is becoming more common across the board. For example, looking at how AI powered transcription software works shows just how good these systems have gotten at isolating and understanding human speech.
Getting started with these tools is often shockingly simple, yet the results can feel like pure magic. Though every plugin looks a little different, the fundamental approach is usually the same.
You'll typically start by adding the AI denoiser plugin as an insert on your audio track right in your DAW. Once it’s loaded, look for a "learn" or "capture" button. The goal is to find a short section of your recording—even just a second or two—that contains only the background noise you want to get rid of.
Play that isolated noise for the plugin. It listens, analyzes, and creates a sonic fingerprint of the problem. From there, the AI uses that profile to intelligently subtract that specific noise from the entire track, leaving the main vocal or instrument remarkably untouched.
After that initial "learn" step, the plugin gets to work immediately, but don't just set it and forget it. The default settings can often be too aggressive, leading to that dreaded "watery" or robotic sound full of weird digital artifacts. The real art is in the fine-tuning.
Most AI denoisers give you a handful of essential controls:
Here's a pro tip I live by: constantly A/B the effect. Use the bypass button to switch the plugin on and off as you listen. This is the only way to be certain you aren't accidentally sucking the life out of the main performance. Remember, the goal is noise reduction, not total sonic annihilation.
This is where AI truly proves its worth. Imagine an interview shot on a windy beach. The noise isn't a steady hum—it’s a chaotic roar that ebbs and flows. A traditional noise gate would just chop the dialogue to pieces, and a static EQ would gut the natural body of the speaker's voice.
An AI tool, on the other hand, can identify the unique, shifting character of the wind and separate it from the voice in real time. It can duck the wind between words and even during them, a feat that is practically impossible with manual tools. If you’re looking for more smart solutions, you might find our rundown of the best AI tools for content creators useful.
The time savings are staggering. It's not uncommon for post-production to see 40-60% of its time sunk into audio cleanup, with background noise as the main culprit. Today's AI can deliver 20-40 dB of noise reduction without ugly side effects. To put that in perspective, the very first earmuffs developed in 1957 topped out at around 20 dB of reduction.
By letting AI handle the most tedious and complex cleanup jobs, you free yourself up to focus on the creative side of the mix—the storytelling, the sound design, and the final polish.
So you’ve gone through the painstaking process of removing every last hum, hiss, and click. But now you’re left with something… unsettling. A dead, unnatural silence that feels completely sterile. When you get too aggressive with noise reduction, you can easily strip out the very sonic glue that makes a space feel real.
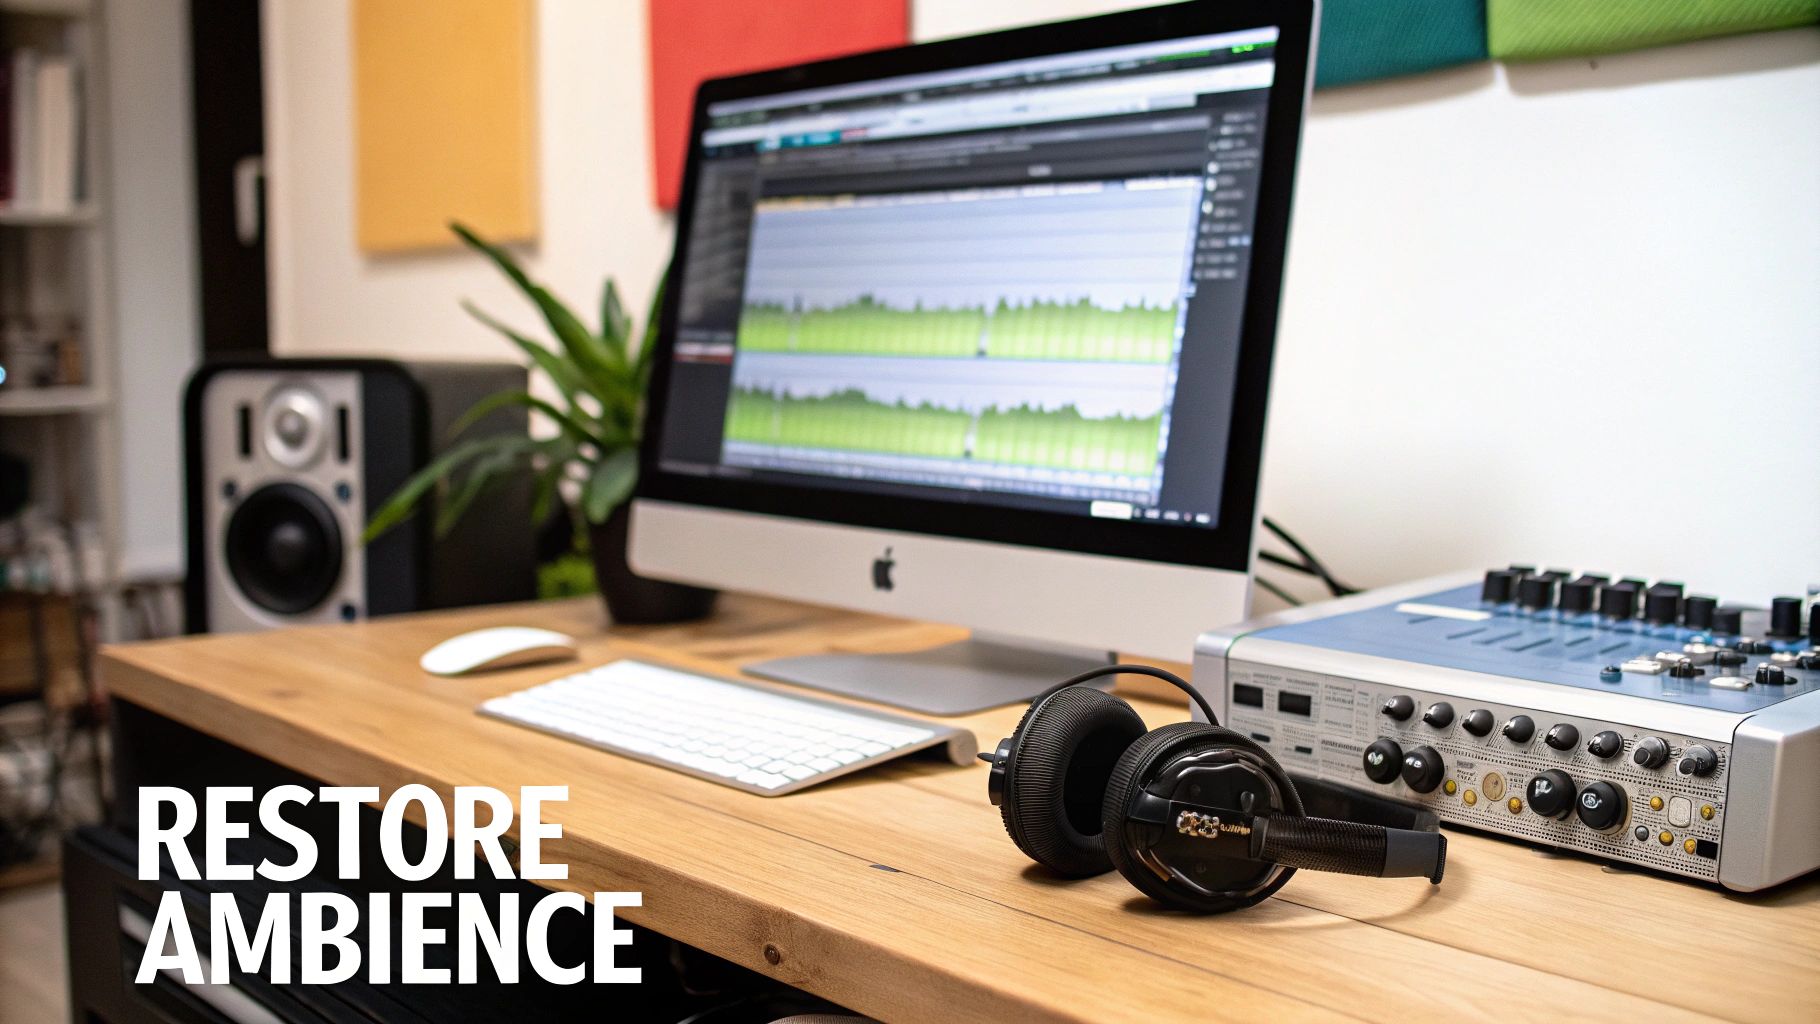
The final, and arguably most crucial, step in the cleanup workflow is putting that sense of space back in. This is where the art of sound design meets the science of audio repair.
Your first line of defense is usually that chunk of "room tone" you (hopefully) recorded before the session started. You can carefully loop a clean section of this recording to create a continuous, seamless bed of natural ambience. This is the perfect way to patch over the silent holes left by aggressive gating or spectral editing, making the final track feel authentic to the original space.
But let’s be real—sometimes room tone gets forgotten, or the original is just as noisy as the main recording. You might also find that even with a clean room tone, the isolated dialogue just doesn't feel right in the scene anymore. When that happens, you get to pivot from being a technician to a creative. It's time to build a brand-new atmosphere from scratch.
This is where modern tools can feel like magic. You can now generate custom sound effects and ambient textures just by typing a few words. Instead of spending hours digging through sound libraries, you can create exactly what the scene needs.
Take a tool like SFX Engine, for example. It lets you generate specific audio textures on demand.
The idea is simple: you describe the sound you need, like "soft room tone with a quiet computer fan hum," and it generates multiple variations for you to choose from. This turns a technical problem into a powerful creative opportunity, giving you total control over the sonic environment.
This isn't just a novelty; it's a project-saver for podcasters, filmmakers, and game developers. Think about it.
One of the biggest mistakes I see is leaving audio dead silent after noise reduction. A silent background is almost never natural. Listeners expect to hear something, even if they don't consciously notice it. A subtle, well-crafted ambiance grounds the primary audio and makes the whole thing much more pleasant to listen to.
Once you have the perfect ambient track, the last step is to make it sound like it belongs there. You can’t just drag and drop the file and call it a day; it takes a little finesse to sit it properly behind your primary audio.
Here’s how I approach it:
By mastering not just how to remove background noise from audio but also how to skillfully rebuild the soundscape, you gain complete command over your project's sonic world. It's that final layer of polish that elevates good audio into something truly great.
Even with a solid plan, you're always going to run into specific problems during audio cleanup. Let's dig into some of the most common questions and tricky situations that pop up when you're trying to get rid of background noise. Think of this as a quick-reference guide for those moments you get stuck.
I like to think of a noise gate as a simple on/off switch. It’s an aggressive tool that completely mutes any sound that drops below a certain volume level (the threshold). When your source audio is loud enough, the gate opens. When it's quiet, it slams shut. This is your go-to for creating absolute silence between phrases.
An expander is the gate’s more refined cousin. Instead of chopping the sound off completely, it just turns down the volume of anything below the threshold. The result is often much more natural because you're not left with an unnervingly dead silence; a bit of the room's original character can still breathe through.
My rule of thumb: Use a gate when you need surgically clean silence, like editing a podcast with very distinct pauses. Reach for an expander when you just want to gently push down some background hiss or room tone without making the audio sound processed.
Yes, you can, but it’s a whole different ballgame compared to working with separate tracks. When you’ve only got one stereo file where the dialogue, music, and noise are all baked together, your best shot is an AI-powered spectral editor. These tools are smart enough to look at the entire frequency spectrum and figure out what’s a human voice versus what’s music or a pesky air conditioner.
You won't get the same crystal-clear results as you would with individual stems, that's for sure. But modern AI denoisers are surprisingly good at this kind of rescue mission. I've seen them save dialogue from incredibly noisy videos or pull a lead guitar out of a muddy mix. Just be ready to work with a careful hand and listen closely for any weird digital artifacts.
Ah, the dreaded "underwater" sound. That’s the classic sign of over-processing. It happens when your noise reduction plugin gets a little too enthusiastic and starts eating away at the essential frequencies of the audio you're trying to keep. The secret to avoiding it is simple: be subtle.
Here are a few things I always keep in mind to maintain a natural sound:
When you approach noise removal with a delicate touch, you can clean things up beautifully while keeping the life and integrity of the original performance intact.
Tired of fighting with unusable room tone and ready to build the perfect sonic world from scratch? With SFX Engine, you can generate custom, high-quality ambient soundscapes and effects from a simple text prompt. Elevate your projects with the exact sound you need, the moment you need it. Try SFX Engine for free and hear the difference.