February 5, 2026 · Kuba Rogut
A great sound effects workflow in Premiere Pro doesn't start when you drag a clip onto the timeline. It actually begins way before that, with smart organization and how you source your audio. Nailing this prep work—getting your folders straight, picking the right files, and tweaking your settings—is what saves you from technical nightmares and creative dead-ends down the road.
Think of your audio workflow as the foundation of a house. If it's weak, everything you build on top of it is going to feel shaky. I've seen countless editors rush this part, only to end up with missing files, messy mixes, and hours wasted hunting for that one specific whoosh they know they have somewhere.
Taking the time to build a solid system from the get-go is the difference between a clean, organized workshop and digging through a cluttered garage just to find a screwdriver. It’s not about being rigid; it's about creating a system that works for you and keeps the chaos of a big project at bay.
Disorganization is the enemy of creativity. Before I even think about importing a file, the very first thing I do is set up a clean bin structure right inside my Premiere Pro project panel. I always start with a main "AUDIO" bin and then break it down from there.
A structure I rely on time and time again looks something like this:
When you're this organized, you never waste mental energy figuring out where an asset is. You can just go straight to the right category, grab what you need, and stay in the creative flow.
Once the bins are set, it’s time to find the actual sounds. The old-school way was to endlessly scroll through massive, purchased sound libraries, hoping to find something close enough. While those libraries are still valuable, we've got better tools now.
This is where AI sound generators like SFX Engine have completely changed my process. Instead of just searching for "light wind," I can now generate exactly what I'm hearing in my head by prompting something like, "gentle wind whistling through pine trees on a cold morning." I get a totally unique, royalty-free sound that's tailor-made for the scene. My ideal setup is a combination of a trusted library for the basics and an AI tool for custom-built sounds. It’s the best of both worlds.
This simple flowchart breaks down the foundational process into three clear actions: structuring, sourcing, and configuring.
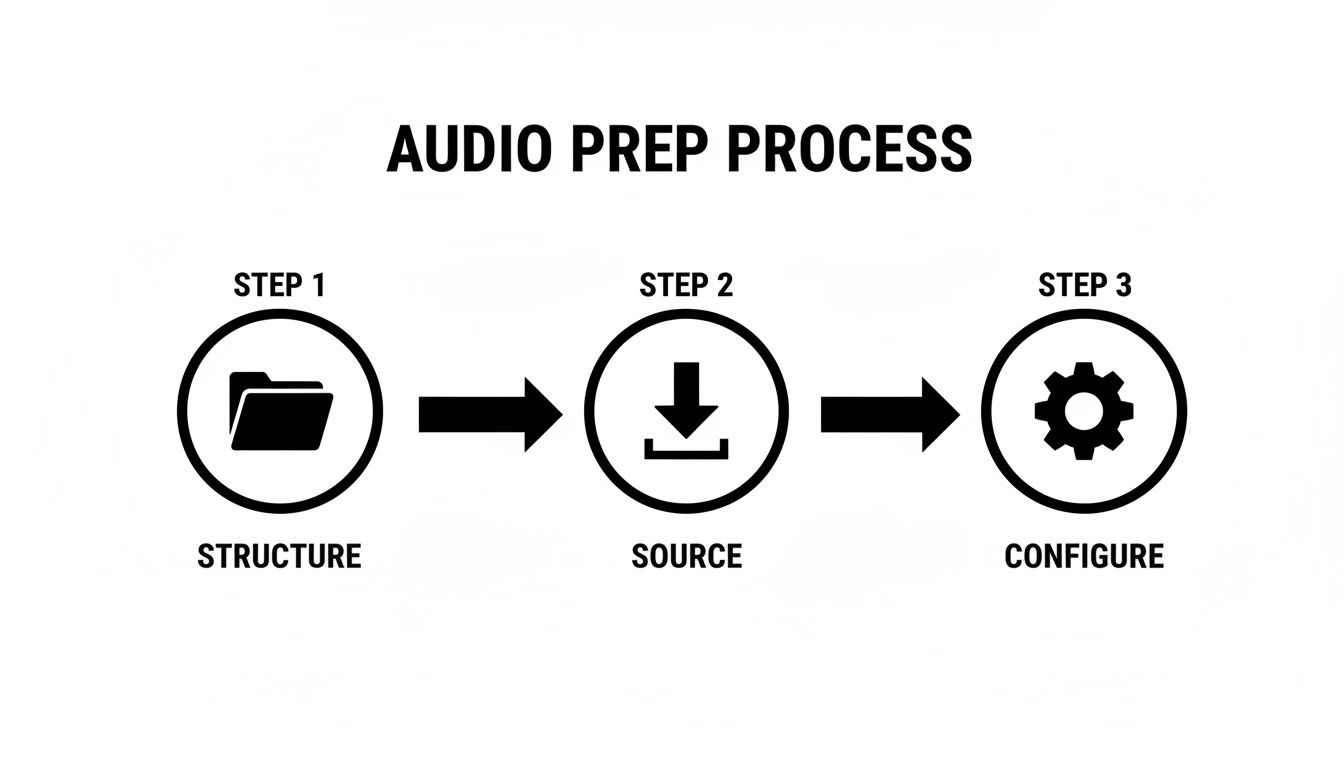
It’s a straightforward progression. Each step sets the stage for the next, ensuring you’re starting every project on the right foot.
The last piece of the foundation is diving into Premiere Pro's audio settings. This is a crucial step that a surprising number of people skip, and it's often the source of frustrating technical glitches. Head over to Edit > Preferences > Audio and Audio Hardware to check a couple of things before you start editing.
Pro Tip: Always make sure your project's sample rate matches the sample rate of your audio hardware and the majority of your source files. A mismatch is a classic cause of the pops, clicks, and other weird artifacts that can drive you crazy trying to fix later.
Double-check that your Default Sample Rate is set correctly—for video work, this is almost always 48000 Hz. If you want to get into the weeds on this, you can learn more about choosing the best sample rate for audio in this detailed guide. Taking a minute to confirm these settings means what you hear in your headphones is exactly what the audience will hear in the final export.
Let’s be honest, finding the perfect sound effect used to be a total grind. You'd spend hours digging through massive, generic libraries, hoping to find something that was just "good enough." That old-school approach is dying. Today, a modern sound workflow in Premiere Pro is less about finding audio and more about creating it.
This shift from searching to creating gives you a ridiculous amount of creative control. Instead of settling for a stock "wind" track, you can now craft a sound that genuinely matches the visual and emotional tone you're going for.
Don't get me wrong, traditional sound libraries still have their place. They're great for the basics—simple whooshes, clicks, and other bread-and-butter sounds. They offer a quick, reliable fix when you need something common, and fast.
But their limits become painfully obvious the moment you need something specific, something that tells a story.
Imagine you're cutting a tense scene for a horror short. You don't just need "wind." You need the sound of "wind whistling through a cracked window pane in an old, abandoned cabin." Good luck finding that exact file in a standard library. It’s next to impossible. This is where modern tools completely change the game.
This is where I’ve started leaning heavily on AI-powered sound generators like SFX Engine. It’s less of a library and more of a creative collaborator. You just describe the sound you need in a text prompt, and the AI literally builds it from scratch for you.
The power here is in the details. You can generate endless variations just by tweaking your prompt, giving you a level of customization that I could only dream of a few years ago. It also tackles one of the biggest time-sucks for any editor.
Seriously, editors often spend up to 40% of their project time on audio tasks, and hunting for sound effects is a huge part of that. AI tools slash that time by letting you type what you need and get unique, royalty-free files in seconds. For many editors, this has led to 25% faster turnarounds on projects.
A great sound design is born from specificity. When a sound is perfectly tailored to a moment, it becomes invisible and immersive, pulling the audience deeper into the story. Generic sounds just remind them they're watching a video.
This is the boring but critical part. Whether you're downloading from a library or generating with AI, you have to understand the licensing. Using a sound you don't have the rights to can get you a copyright strike, get your video demonetized, or even land you in legal trouble—especially with client work.
Here’s a simple breakdown of what to look for:
Tools like SFX Engine are built to handle this for you, providing a full commercial license with every sound you generate. That peace of mind is priceless. It ensures your work is legally protected and commercially safe right from the start. Taking a few moments to learn how to create sounds with the right licensing in mind prevents massive headaches later, letting you focus on the fun part: being creative.
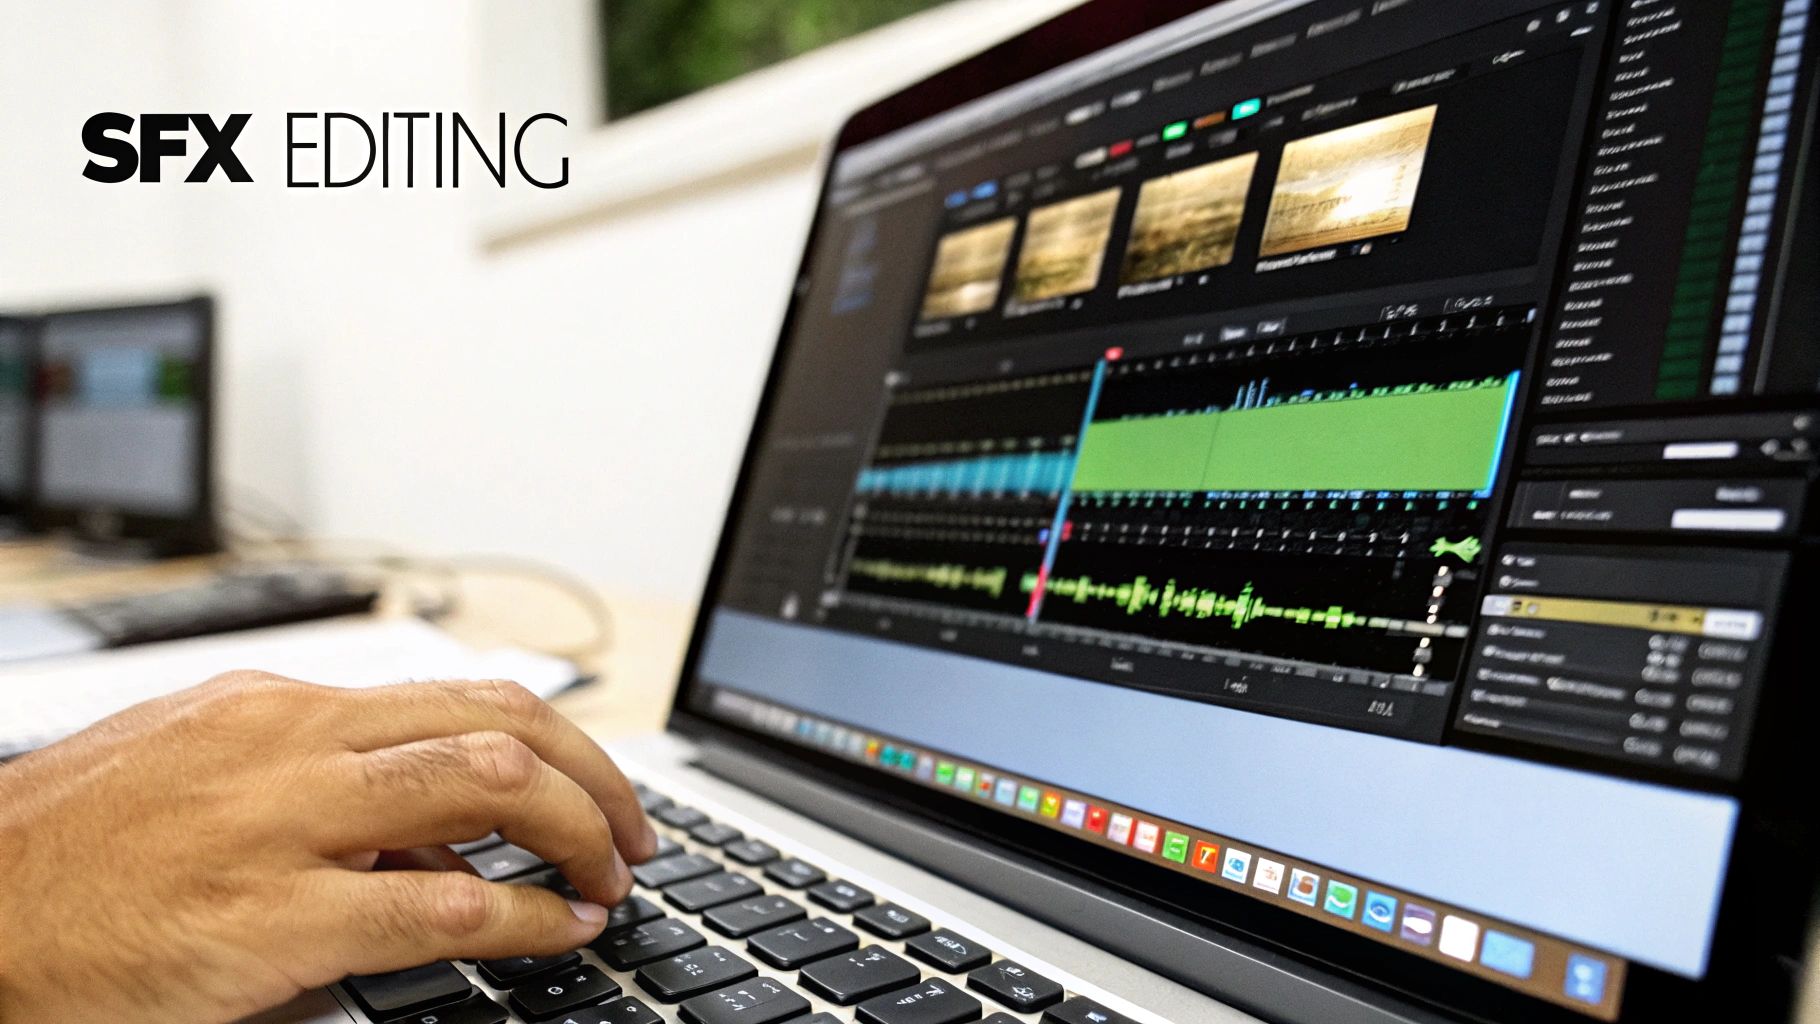
Once you’ve got all your sounds gathered and neatly organized, it’s time for the fun part: bringing your project to life on the timeline. This is where the magic really happens, but it's also where a clunky process can stop your creativity cold. The goal isn't just to drag and drop clips; it's to work with speed, precision, and a clear vision.
Great sound design is more than just a collection of cool effects—it's how those sounds talk to each other. Editing effectively on the timeline means making every single sound count, building layers that add texture and depth without turning your mix into a muddy mess. This is the hands-on stage where all that prep work really starts to pay off.
Never underestimate the power of a good layer. A single, isolated sound effect often feels thin and out of place. But when you start layering multiple sounds, you create a rich, believable environment that draws the viewer in.
Imagine you're building the sound for a tense dialogue scene in a creaky old house. It’s not just about what the characters are saying. To really sell the atmosphere, you’d layer several key elements, each on its own track:
By keeping these on separate audio tracks, you have total control over their individual levels. Blending them carefully creates an immersive soundscape that feels completely authentic and elevates the scene's emotional weight. For a much deeper dive into this, our guide on how to layer sound effects in video covers more advanced techniques.
Want to know the real difference between a decent editor and a truly fast one? Keyboard shortcuts. Relying on your mouse for every little trim, nudge, and sync operation is a massive time-waster. Committing just a few essential audio shortcuts to muscle memory will absolutely change the way you edit.
Adobe has also made some great strides here recently. The introduction of dynamic waveforms, which visually update in real-time as you adjust volume, gives you instant feedback and makes dialing in precise levels easier than ever.
Here’s a quick-reference table of the shortcuts I find myself using constantly when I’m deep in a sound edit. These are the defaults in Adobe Premiere Pro, and they are worth their weight in gold.
| Action | Windows Shortcut | macOS Shortcut |
|---|---|---|
| Nudge Clip Left/Right One Frame | Alt + Left/Right | Option + Left/Right |
| Nudge Clip Left/Right Five Frames | Alt + Shift + Left/Right | Option + Shift + Left/Right |
| Select Clip at Playhead | D | D |
| Add Edit to All Tracks | Ctrl + Shift + K | Cmd + Shift + K |
| Apply Default Audio Transition | Ctrl + Shift + D | Cmd + Shift + D |
Once these become second nature, you'll find you can stay locked into the rhythm and flow of your edit without constantly breaking concentration to hunt for a button.
Premiere Pro's Essential Sound panel is easily one of the most powerful—and most overlooked—tools for audio work. It’s a game-changer for tagging clips and applying consistent adjustments, which is an absolute lifesaver on bigger projects.
Instead of manually adding effects to every single dialogue clip, you can just select them all, tag them as "Dialogue" in the panel, and apply a preset like "Podcast Voice" or "Clean Up Noisy Dialogue." This instantly applies a pre-configured chain of effects (like EQ and compression), making sure all your dialogue sounds uniform. The same logic applies to SFX, Music, and Ambience tags, giving you a powerful, central hub for getting a quick, solid mix.
The Essential Sound panel is your command center for audio consistency. Get into the habit of using it to tag every single audio clip in your project. This simple practice enforces a level of organization that makes mixing faster, easier, and far more intuitive down the line.
A great sound design isn’t just about the cool sounds you find—it’s about how they all play together. This is where we shift from simply placing clips to the real art of the mix. Once your effects are layered in the timeline, the next job is to make them coexist without turning into a muddy mess. The goal is to give every element its own space to shine, especially without drowning out the dialogue.
This process is what turns a cluttered collection of sounds into a polished, cohesive soundscape. Let's break down some of Premiere Pro’s key audio effects in practical terms so you can start using them with confidence.
Imagine your audio mix is a crowded room. If everyone shouts at the same time, it’s just noise. The Parametric Equalizer is your tool for politely asking some sounds to speak a little higher and others a little lower, so every voice can be heard. At its core, it’s all about controlling specific frequencies.
My go-to technique is called subtractive EQ. Instead of boosting frequencies to make something louder, I prefer to cut frequencies from one sound to make room for another. For instance, if a deep, rumbly explosion is making the dialogue sound muddy, I'll drop the Parametric Equalizer onto the explosion clip. Then, I’ll gently lower the frequencies around the 1-3 kHz range—that's the sweet spot where the human voice has the most clarity.
This simple act of "carving out" sonic space is a game-changer. It ensures your most important audio, like dialogue, always cuts through the mix.
Sound effects, especially the dramatic ones like impacts or gunshots, can have wild swings in volume. These unruly peaks can be really jarring for the listener. A compressor is basically an automatic volume knob; it intelligently turns down the loudest parts of a sound, making its overall level much more consistent.
This gives you two huge benefits:
Try applying the Dynamics effect in Premiere Pro and start with a gentle ratio, maybe 2:1. This will subtly rein in your loudest sounds and give your mix a much more controlled, professional feel.
Reverb is what makes a sound feel like it belongs in a physical space. A footstep recorded in a padded studio sounds completely out of place in a vast cathedral. Reverb simulates the natural echoes and reflections of an environment, effectively "placing" your sound effect right into the world you see on screen.
Premiere Pro's Studio Reverb is a fantastic tool for this. If you’re adding a door slam in a large warehouse, you’d add a touch of reverb with a long "decay" time to mimic the sound bouncing off distant walls. For a small, carpeted room, you’d use a very short and subtle reverb.
Don't overdo it. The best reverb is the kind the audience doesn't even consciously notice. The goal is realism, not making everything sound like it’s in a cave.
A static mix is a boring mix. Your soundscape needs to feel alive, reacting to what’s happening on screen. This is exactly what keyframes are for. Keyframing lets you automate changes to things like volume and panning over time, which creates a sense of movement and focus.
For example, as a car drives from left to right across the screen, you can add keyframes to its engine sound, panning it from the left speaker to the right to match the visual. That simple trick massively boosts immersion. You can also use volume keyframes to subtly "duck" background music under dialogue, making sure the conversation is always the priority.
To push your sound design even further, exploring a wider range of audio tools is invaluable. Considering options like free VST plugins can open up a world of high-quality enhancements for your projects.
This attention to detail is standard in professional work. A 2025 Motion Picture Association report found that 78% of Hollywood blockbusters edited in Premiere Pro use over 1,200 unique sound effects per film, all meticulously mixed. To handle that kind of complexity, editors rely heavily on Premiere's vast Audio Effects library—from Delay and Echo to Modulation—all of which are keyframe-ready.
You’ve spent hours layering, mixing, and automating your sound effects, creating a rich, immersive soundscape. All the creative heavy lifting is done, but this final stage is where a fantastic mix can either shine or fall apart completely. A solid premiere pro sound effects workflow doesn't just end on the timeline; it ends with a perfect export that ensures your audio is heard exactly as you intended.
Think of this as your final quality check before sending your project out into the world. It's so easy to get wrapped up in the mix itself that export settings become an afterthought. This is a classic mistake that can lead to your audio sounding crushed, way too quiet, or jarringly loud on different platforms.
Every major platform out there, from YouTube to Spotify, uses something called loudness normalization. In simple terms, they automatically adjust the volume of all content to meet a specific target level. If your audio is too loud, they'll turn it down—often with aggressive compression that can ruin your dynamic range. If it's too quiet, they'll crank it up, which can amplify any background hiss you didn't quite clean up.
This is why understanding LUFS (Loudness Units Full Scale) is non-negotiable for any serious editor. LUFS measures perceived loudness in a way that’s much smarter than just looking at peak levels. Hitting the right LUFS target is the secret to making your video sound consistent and professional, no matter where it's played.
To get a read on this in Premiere Pro, your go-to tool is the Loudness Radar effect. Just apply it to your main audio bus in the Audio Track Mixer. As your timeline plays, the radar will give you a running reading of your integrated loudness, which is basically the average loudness across the entire piece.
Before you even think about hitting that export button, run through this quick mental checklist. It’s a simple routine I’ve developed over the years that has saved me countless hours by catching small issues before they become big problems in the final render.
Here's a personal pro tip: My final step is always a "blind" listen-through. I close my eyes or turn off the monitor and just listen to the project from start to finish. This forces me to focus only on the audio, and it’s amazing how many awkward transitions or mixing issues I catch that my eyes might have otherwise excused.
All that hard work on your sound design means nothing if the final file doesn't have the right specs. Below are the specific audio settings I use inside my Premiere Pro export presets for different platforms. They’re designed to give you maximum quality while staying compliant with platform standards.
| Platform | Audio Format | Sample Rate | Bitrate (kbps) | Target Loudness |
|---|---|---|---|---|
| YouTube | AAC | 48000 Hz | 384 | -14 LUFS |
| AAC | 48000 Hz | 128 | -14 LUFS | |
| Podcasts | MP3 | 48000 Hz | 192 | -16 LUFS |
| Film Festivals | Uncompressed PCM | 48000 Hz | N/A | -24 LUFS |
Getting this right is a bigger deal than you might think. According to Adobe's own analytics, a staggering 62% of projects exported for social media fail initial loudness checks, often because of poorly integrated sound effects. Their recommended fix for SFX-heavy content is to set a target of -13 LUFS, a 0.5 LU tolerance, and a true peak of -0.1 dB. Following this can cut down on re-renders by 50%. You can dive deeper into these professional export workflows from Adobe's experts to really nail down your process.
As you get deeper into sound design in Adobe Premiere Pro, you're bound to run into a few common hurdles. I see the same questions pop up time and time again from editors trying to refine their process.
Here are the quick-and-dirty answers to those nagging problems, so you can stop troubleshooting and get back to being creative.
When your project’s SFX count gets into the triple digits, a messy Project panel can bring your whole edit to a crawl. The key is to build a system using bins and Premiere’s built-in visual tools.
First, create a master AUDIO bin. Inside that, build out your core categories with more sub-bins: SFX, Music, Dialogue, Ambiance, etc.
Don't stop there. Drill down even further inside your SFX bin with folders for things like Impacts, Risers, Whooshes, and Foley. This creates a logical path that anyone could follow.
Here's the real pro move: pair that folder structure with color labeling. I make all my impacts red, whooshes blue, and ambiance green. This gives you an immediate visual map on your timeline, letting you see the sonic structure of a scene without reading a single file name.
One last tip: use the metadata. A quick note in the "Description" column, like "soft wind through pine trees," turns your search bar into a powerful tool for finding the exact right sound in seconds.
That "muddy" sound is a classic sign of frequency clashing. When too many sounds are fighting for the same sonic real estate, you lose all clarity. The fix comes down to two things: carving out space with EQ and creating width with panning.
Start with the Parametric Equalizer effect. Let's say you're layering a deep, bassy "rumble" with a sharp "crash." They're probably competing in the low-mid frequencies. Just gently roll off some of the lows from the crash and maybe cut some of the high-mids from the rumble. You're essentially creating a small pocket for each sound to sit in, allowing both to be heard distinctly.
Next, use panning to build a stereo field. Not every sound needs to live dead center. Pan some of the smaller, textural sounds slightly left or right. This simple trick gives each element its own physical space in the mix, which instantly makes everything feel cleaner and more immersive.
Absolutely, and you should make this a non-negotiable part of your workflow. Rebuilding the same perfect dialogue compressor or reverb setting on every project is a massive time sink.
Once you’ve dialed in an effect chain you love, save it as a preset.
Now, that exact effect stack lives in your Effects panel under the "Presets" bin. Just drag and drop it onto any clip in any project to apply those settings instantly. It’s a game-changer.
Understanding this is fundamental to working efficiently. The distinction is simple but powerful.
Clip Effects: When you apply an effect directly to a clip on the timeline, it affects only that single clip. This is what you want for specific, one-off adjustments, like adding an echo to a single word for dramatic effect.
Track Effects: These are applied using the Audio Track Mixer. Any effect you add to a track's effects rack will process every single clip on that entire track. This is your go-to for global adjustments. For instance, you can apply one compressor to your dialogue track (A1) to ensure all your dialogue has a consistent, even level without touching individual clips.
Ready to stop searching for sounds and start creating the exact audio you need? With SFX Engine, you can generate custom, high-quality, royalty-free sound effects from a simple text prompt. Perfect your Premiere Pro workflow and bring your unique sonic vision to life by visiting https://sfxengine.com today.