September 27, 2025 · Kuba Rogut
When we talk about sound effects for video editing, we're talking about the audio you add after you've shot your footage. These are the sounds that bring a scene to life in a way visuals just can't. It could be as small as the rustle of a jacket or as big as a building-shaking explosion. Sound effects are one of the most powerful tools in an editor's toolkit for making a video feel immersive, emotional, and professional.
Ever tried watching a big action movie on mute? The car chases lose their thrill, the punches look weak, and the whole thing just falls apart. It’s a simple test that proves a core truth of video production: sound is half the story. Sound effects aren't just icing on the cake; they're the invisible language that tells your audience what to feel.
Think of it this way: As an editor, you're a storyteller. Your video clips show people what's happening, but your sound effects tell them how to feel about it. A creaking door in a dark hallway? Instant suspense. Birds chirping softly? You’ve just established a peaceful morning. A quick whoosh as a title slides onto the screen? That adds a burst of energy. Without these audio cues, you're leaving the viewer with a hollow, incomplete experience.
Great sound design is about world-building. Your visuals can put a character in a forest, sure, but it's the sound of wind in the trees, a far-off bird call, and the crunch of leaves underfoot that makes your audience feel like they're right there with them.
This goes way beyond just matching a sound to an action on screen. It’s about crafting a complete sonic environment that breathes life into your story. When used well, sound effects can:
The demand for this kind of high-quality audio is exploding. In 2024, the global sound effects market was valued at around USD 1.25 billion, and it's expected to almost double by 2033. This isn't just about Hollywood; it shows how vital great audio has become for everything from feature films to quick social media videos. You can discover more about the rising demand for audio in our market breakdown.
Sound effects are the punctuation of your video's story. They add emphasis, create pauses, and build excitement, turning simple sentences into compelling narratives.
Ultimately, getting a handle on sound effects is what takes an editor from being someone who just assembles clips to someone who truly crafts an experience.
To really get the most out of sound effects in your edits, you first need to know what’s in your toolkit. Think of it like this: a painter has different brushes for different strokes, and a video editor has various kinds of sound effects, each with its own specific job. Breaking them down into categories helps you build a rich, believable, and emotionally impactful soundscape for your audience.
These aren't just random noises thrown into the mix. They are carefully chosen audio cues that bring the world of your video to life. Let’s dive into the main types you'll work with on pretty much every project.
First up are ambient sounds, which you'll also hear called ambiance or atmospheres. These are the absolute foundation of your sound design. Imagine them as the audio wallpaper of a scene—they establish the time and place, creating a sense of being somewhere without screaming for attention.
If your scene is set in a bustling city, the ambient track would be a subtle mix of distant traffic, maybe a faint siren, and the general hum of urban life. If you're in a quiet forest, you’d hear the gentle rustle of leaves, distant bird calls, and the whisper of the wind. This audio backdrop works on a subconscious level, making the visuals feel complete and real.
Without ambiance, a scene feels sterile and unnaturally silent, almost like it was shot in a vacuum. A well-chosen ambient track is your first and most important step in pulling the viewer into the world you've built on screen.
Next, we have Foley, which is easily the most creative and detailed category of sound effects. Foley sounds are custom-made audio effects, performed and recorded in perfect sync with the action on screen. These are the sounds of direct, physical interaction within the environment.
We're talking about all those specific, tangible noises that characters and objects make:
The technique gets its name from Jack Foley, a pioneering sound effects artist. The process literally involves watching the video and performing these sounds live to match the picture. This hands-on approach adds a layer of realism and texture that pre-recorded library effects often can't match. If you want to go deeper, you can learn more about what Foley sound is and see how it truly brings a scene to life.
Foley is the subtle art of making the unbelievable sound completely real. It's the audio magic that tricks your brain into believing that what you're seeing is actually happening.
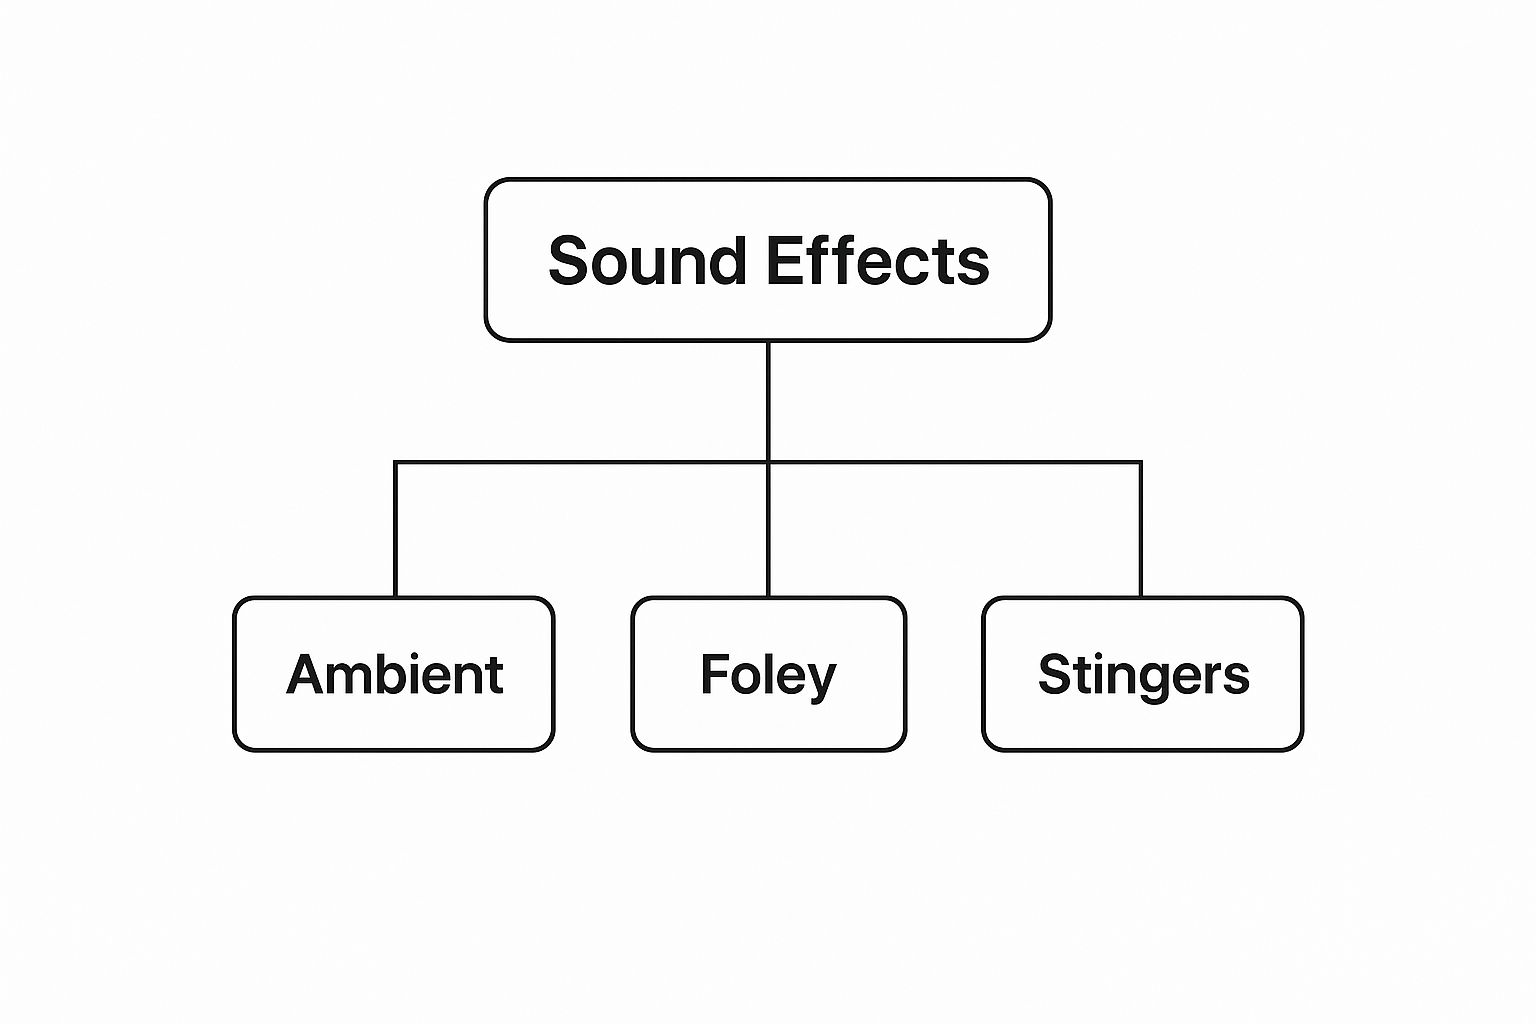
The table below breaks down the common categories of sound effects to give you a clearer picture of how each one fits into your video editing workflow.
| Sound Effect Type | Description | Common Examples |
|---|---|---|
| Ambient Sounds | The background audio that establishes the location and mood of a scene. | Wind, rain, city traffic, office hum, crickets at night. |
| Foley Sounds | Custom-recorded sounds synchronized to on-screen actions for realism. | Footsteps, cloth rustling, door creaks, keyboard typing. |
| Designed Effects | Stylized, non-realistic sounds created for dramatic or emotional impact. | Whooshes, impacts, risers, glitches, cinematic booms. |
Each type of sound serves a unique purpose, from establishing the broad environment with ambiance to highlighting specific actions with Foley and adding flair with designed effects.
Finally, we have designed effects, sometimes called stingers or spot effects. These are the sounds that often don't exist in the real world but are essential for adding cinematic drama, style, and emphasis to your video. They are crafted specifically to create an emotional or stylistic impact.
Think about the classic whoosh sound as a title flies onto the screen, the deep boom of a cinematic impact, or the futuristic hum of a spaceship's engine. These sounds aren't trying to be realistic; they're trying to be effective.
Designed effects are your secret weapon for:
By truly understanding and skillfully combining these three core types—ambiance for the setting, Foley for the action, and designed effects for the style—you can elevate your work beyond basic editing and start crafting a truly professional and immersive audio experience.

Alright, you know what sound effects are and why they matter. Now for the fun part: building your audio toolkit. A well-stocked sound library is an editor's best friend, but figuring out where to start can feel overwhelming. The good news is, you've got plenty of options, no matter your budget or the scale of your project.
Finding the perfect sound effects for editing videos isn't a one-size-fits-all process. You can dive into massive free libraries, subscribe to a premium service, or even get your hands dirty and record your own. Each path has its own set of pros and cons when it comes to quality, convenience, and creative control.
For most editors, the journey begins with a sound library. Think of these as enormous online databases packed with pre-recorded audio files, from simple footsteps and whooshes to complex, immersive soundscapes. The first big decision you’ll need to make is whether to go with free resources or invest in a paid service.
The demand for great audio has exploded right alongside video itself. With the video editing software market projected to hit USD 5.13 billion by 2032 and 85% of businesses using video for marketing, quality assets are no longer a luxury—they're a necessity. You can discover more video editing statistics and trends that show just how central video has become.
When choosing a library, think of it as an investment. Free libraries cost you time and carry licensing risks. Paid libraries cost you money but save you time and provide legal security.
As you start exploring these libraries, you’ll run into different file formats, usually MP3 and WAV. This isn't just technical jargon—the format you choose has a real, tangible impact on your final mix.
Think of an MP3 as a compressed "snapshot" of a sound. To keep the file size small, it throws away some of the audio data. While that's perfectly fine for listening to music on your phone, that compression can cause problems when you start editing, layering sounds, and making adjustments.
A WAV file, on the other hand, is the real deal. It's uncompressed and lossless, meaning it contains every bit of the original audio information just as it was recorded. This gives you a much richer sound and far more flexibility in your edit. Whenever you have the choice, always choose WAV files for your projects. The larger file size is a tiny price to pay for the massive jump in audio fidelity. You can check out our guide on where to find sources offering free sound effects downloads in high-quality formats.
Sometimes, the perfect sound just doesn't exist in a library. That's when recording your own Foley and ambient audio becomes an invaluable skill. There’s nothing better than creating a completely unique sound that is tailor-made for your visuals.
And you don't need a high-end recording studio to pull it off. The microphone on a modern smartphone is surprisingly capable for capturing simple, clean effects.
Here are a few tips to get you started:
Alright, you've gathered your sound effects. Now for the fun part: actually putting them into your video. This is where the magic really happens, right inside your editing software.
It doesn’t matter if you’re cutting in Adobe Premiere Pro, DaVinci Resolve, or Final Cut Pro; the core steps are pretty much the same everywhere. Think of it less like a technical task and more like composing a piece of music. You're arranging sounds, not notes, to guide the viewer's experience and make every moment feel real.
Let’s break down the process with a simple, everyday scene: someone walks into a room, shuts the door, and puts a coffee mug down on a table.
1. Get Your Sounds into the Project
First things first, you need to import your audio files. Just like you bring in your video clips, you'll import your chosen sound effects—ideally high-quality .WAV files—into your project bin. Pro tip: Create a dedicated "SFX" folder right away. Trust me, it’ll save you a world of pain later when you’re trying to find that one perfect sound.
2. Give Your Audio Tracks a Purpose
Don't just throw everything onto one or two audio tracks. A messy timeline is a slow timeline. The key to a clean, professional workflow is to dedicate tracks to specific types of audio.
A great starting point looks something like this:
This setup isn't just about being neat; it gives you total control over the volume and any effects you want to apply to each group of sounds.
Now you get to be an artist. Start dragging your sounds from the project bin onto their new homes on the timeline. The goal is to perfectly line up the sound with the action on screen.
For our scene, you’d drag the footstep sound and align it precisely with the moment the character's foot hits the ground. Then, you'd find the exact frame where the door clicks shut and drop in your "door close" sound. Same for the "mug clink"—it has to happen the very instant the ceramic touches the wood.
A sound effect that’s off by even a few frames feels wrong. It breaks the illusion instantly. Zoom way in on your timeline and work frame by frame to get that sync just right.
Getting this timing perfect is a skill, but it’s what separates amateur work from professional results. To really master it, we’ve got a full guide that shows you exactly how to sync audio with video for that seamless, believable feel.
Placing the sound is just step one. Now you have to make it fit. A raw sound effect is almost never at the right volume. It needs to be carefully balanced with everything else happening in your audio mix.
The key is to adjust the volume (often called gain or level) for each individual clip. That subtle room tone should sit way in the background, but the door closing might need to be a bit more prominent. Your dialogue should almost always be the clearest and most present element. Think of it as creating an audio hierarchy.
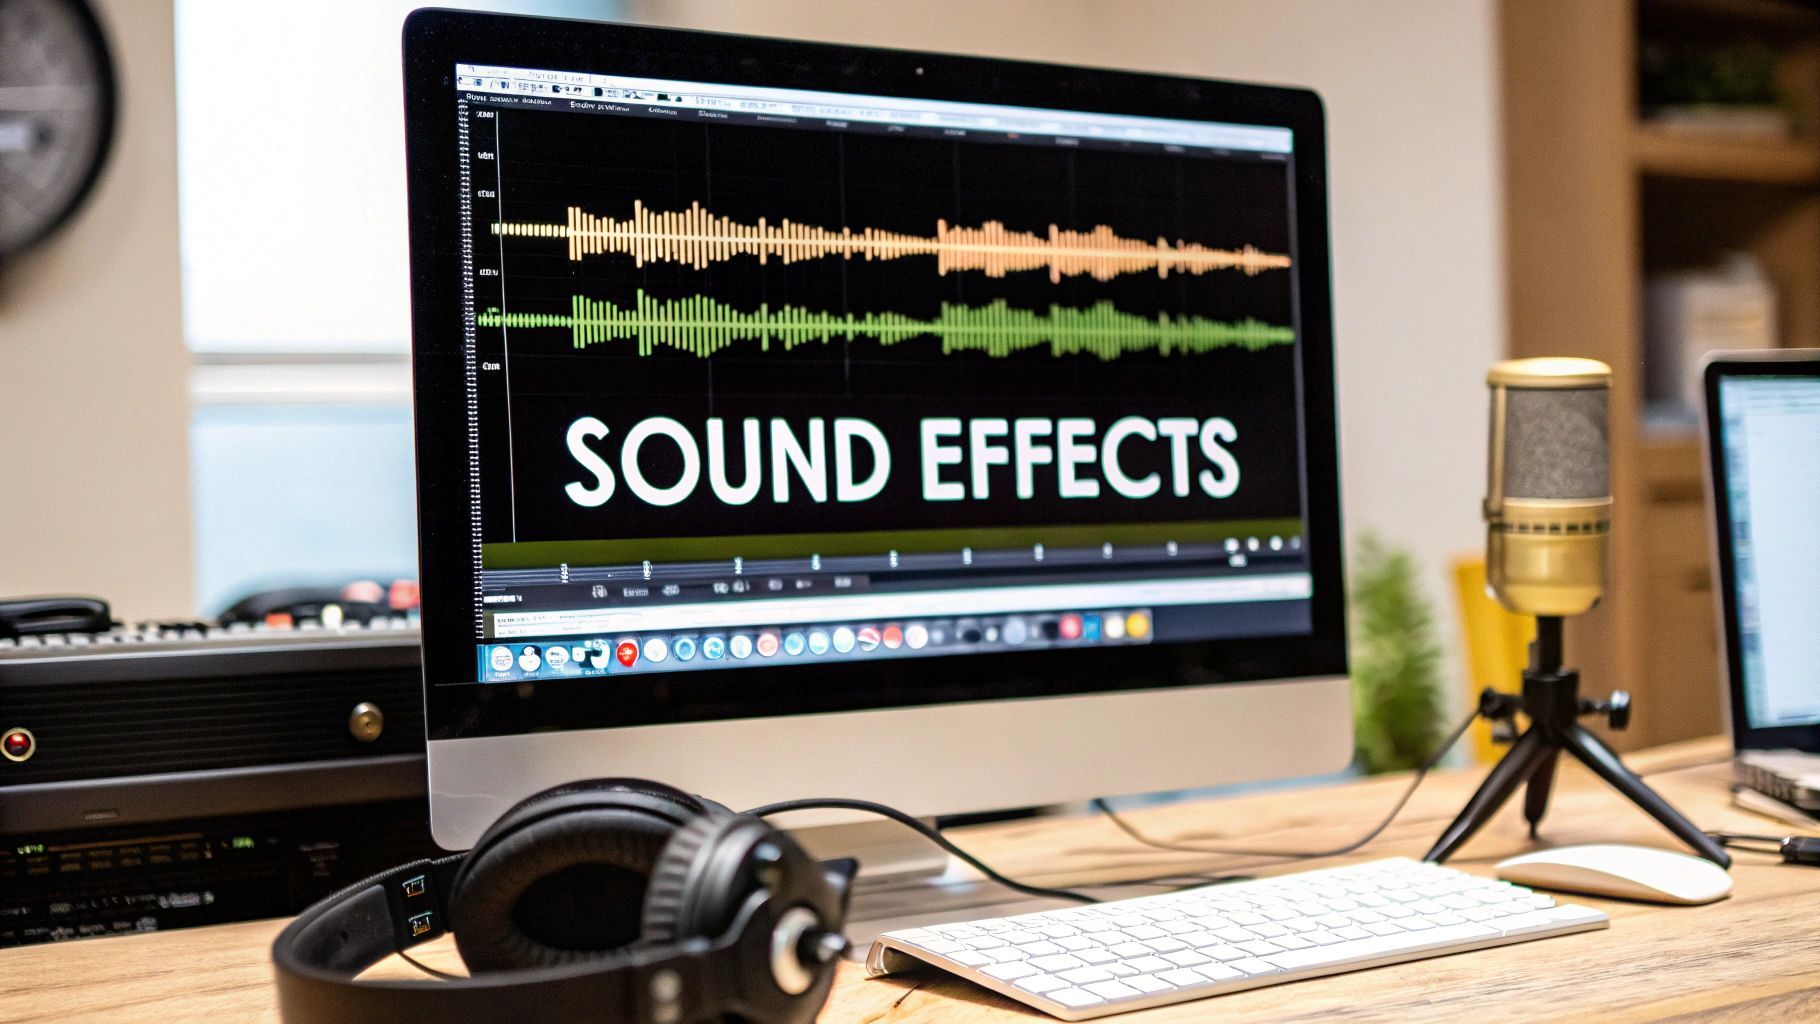
This image shows a typical audio editing interface, which looks very similar to what you'll find in your video editor.
See those separate tracks and the squiggly waveforms? Those are your building blocks for placing and mixing sounds.
Finally, a few simple audio effects can help "seat" your sounds in the scene, making them feel like they truly belong there. You don’t need to be a sound engineer for this.
By following this simple flow—import, organize, place, mix, and polish—you can systematically build a soundscape that doesn’t just support your visuals but elevates them into something truly immersive.
Okay, so you've got your sound effects and you know how to drag them onto the timeline. That’s a huge first step. But to really elevate your work, you need to stop thinking like an editor and start thinking like a sound designer. It's about more than just filling silence; it’s about using sound to tell the story.
Truly professional sound design isn't a race to see how many effects you can cram into a project. It’s often the exact opposite. The best audio mixes are clean and deliberate, using sound to guide the viewer's attention with surgical precision. Let’s break down the core principles that will help you build a soundtrack that's polished and powerful.
One of the most common rookie mistakes is going overboard with sound effects. You get a brand-new sound library, and suddenly every text animation gets a whoosh, every cut gets a click, and every quiet moment is filled with a low, ominous drone. The end result is an absolute mess—a cluttered, distracting soundscape that yanks the viewer right out of the moment.
Think of your audio mix like a painting. Every sound is a brushstroke. If you throw too much paint on the canvas, you just get mud. The real art lies in being selective.
Your goal isn't for the audience to notice every single cool sound effect you used. It's to make them feel the scene without even realizing why. Sometimes, silence can be far more powerful than a wall of noise.
Before you add any sound effects for editing videos, ask yourself one critical question: "What is the purpose of this sound?" If it doesn't build emotion, clarify an action, or establish the environment, you probably don't need it.
Now, just because we're aiming for simplicity doesn't mean your sound design has to be basic. In fact, some of the richest, most memorable sounds you'll ever hear are actually a composite of several simpler effects stacked together. This is layering, and it's how you create unique, complex audio textures.
Let's say you need the sound of a giant monster's footstep. A single "stomp" effect from a library will probably sound pretty flat and generic on its own. But what if you built it yourself?
When you combine and mix these four simple sounds, you get one massive, believable, and totally custom effect that you'd never find in a generic library. This technique is a studio secret for everything from Hollywood punches to the subtle, almost unnoticeable ambiance of a quiet room.
Finally, we get to the most crucial skill of all: mixing. This is the art of balancing every single audio element in your project—dialogue, music, and sound effects—so they all work together in harmony. If your epic explosion sound drowns out the hero’s critical one-liner, your mix has failed.
This demand for high-quality audio is a big reason the audio and video editing system market is projected to hit around USD 15 billion by 2025, with a 12% growth rate expected through 2033. You can discover more insights on the growth of editing platforms here.
To get started, think of your mix as a hierarchy of importance:
Use your volume faders, panning tools (to place sounds in the left or right speaker), and EQ to carve out a specific space for each element. When you embrace minimalism, get creative with layering, and mix with a clear purpose, your sound design will transform a simple video into a truly immersive experience.
As you get more hands-on with audio, you're bound to hit a few snags. It’s a normal part of the process. Getting answers to these common questions can save you a ton of frustration and help you build a much smoother, more professional workflow.
Think of this section as a quick-reference guide for the most frequent challenges editors run into with sound effects for editing videos. Let's clear up a few of the big ones.
This is probably the most critical question, and the answer is a hard no. You can't just rip a sound from a YouTube video or a random website and drop it into your project, especially if you plan to make money from it. That's a surefire way to get tangled up in copyright strikes or even lawsuits.
Every sound effect is protected by a license that spells out exactly how you can—and can't—use it. Your safest bet is to always look for sounds that are either royalty-free or fall under a Creative Commons license that fits your project's needs.
Always, always double-check the license before you hit download. It's the only real way to protect yourself and your work.
Think of a sound effect license as a permission slip. Without the right one, you're essentially using someone else's property without asking, and that's a risk no creator should take.
When you first start, tossing all your downloaded sounds into one folder seems fine. Fast-forward a few projects, and that folder is a chaotic mess. Trying to find the perfect footstep or whoosh becomes a frustrating, time-sucking nightmare.
A well-organized library isn't just nice to have; it's essential for working efficiently.
A simple but incredibly effective folder structure can make all the difference. Start with big, obvious categories, then create subfolders to get more specific.
Here’s a structure you can steal:
The key is consistency. Once you create a system that makes sense to you, stick with it. You'll thank yourself later when you can find exactly what you need in seconds.
Ever heard a nasty, distorted crackle when a sound gets too loud? That’s clipping. It happens when the audio signal is pushed so hard that it goes beyond the maximum level your system can handle. The editing software literally "clips" off the top of the waveform to contain it.
The result is an awful, unprofessional sound that's almost impossible to fix once it's in the recording. Honestly, the best solution is to prevent it from ever happening.
Here’s how to avoid it:
If you’re stuck with a clip that's already distorted, your only real option is to replace it with a clean one. While some fancy audio repair tools might help a little, nothing beats getting it right from the start.
Ready to stop searching for the perfect sound and start creating it? With SFX Engine, you can generate custom, high-quality, and completely royalty-free sound effects in seconds just by typing a description. Elevate your videos with audio that’s truly your own. Start creating for free at https://sfxengine.com