February 9, 2026 · Kuba Rogut
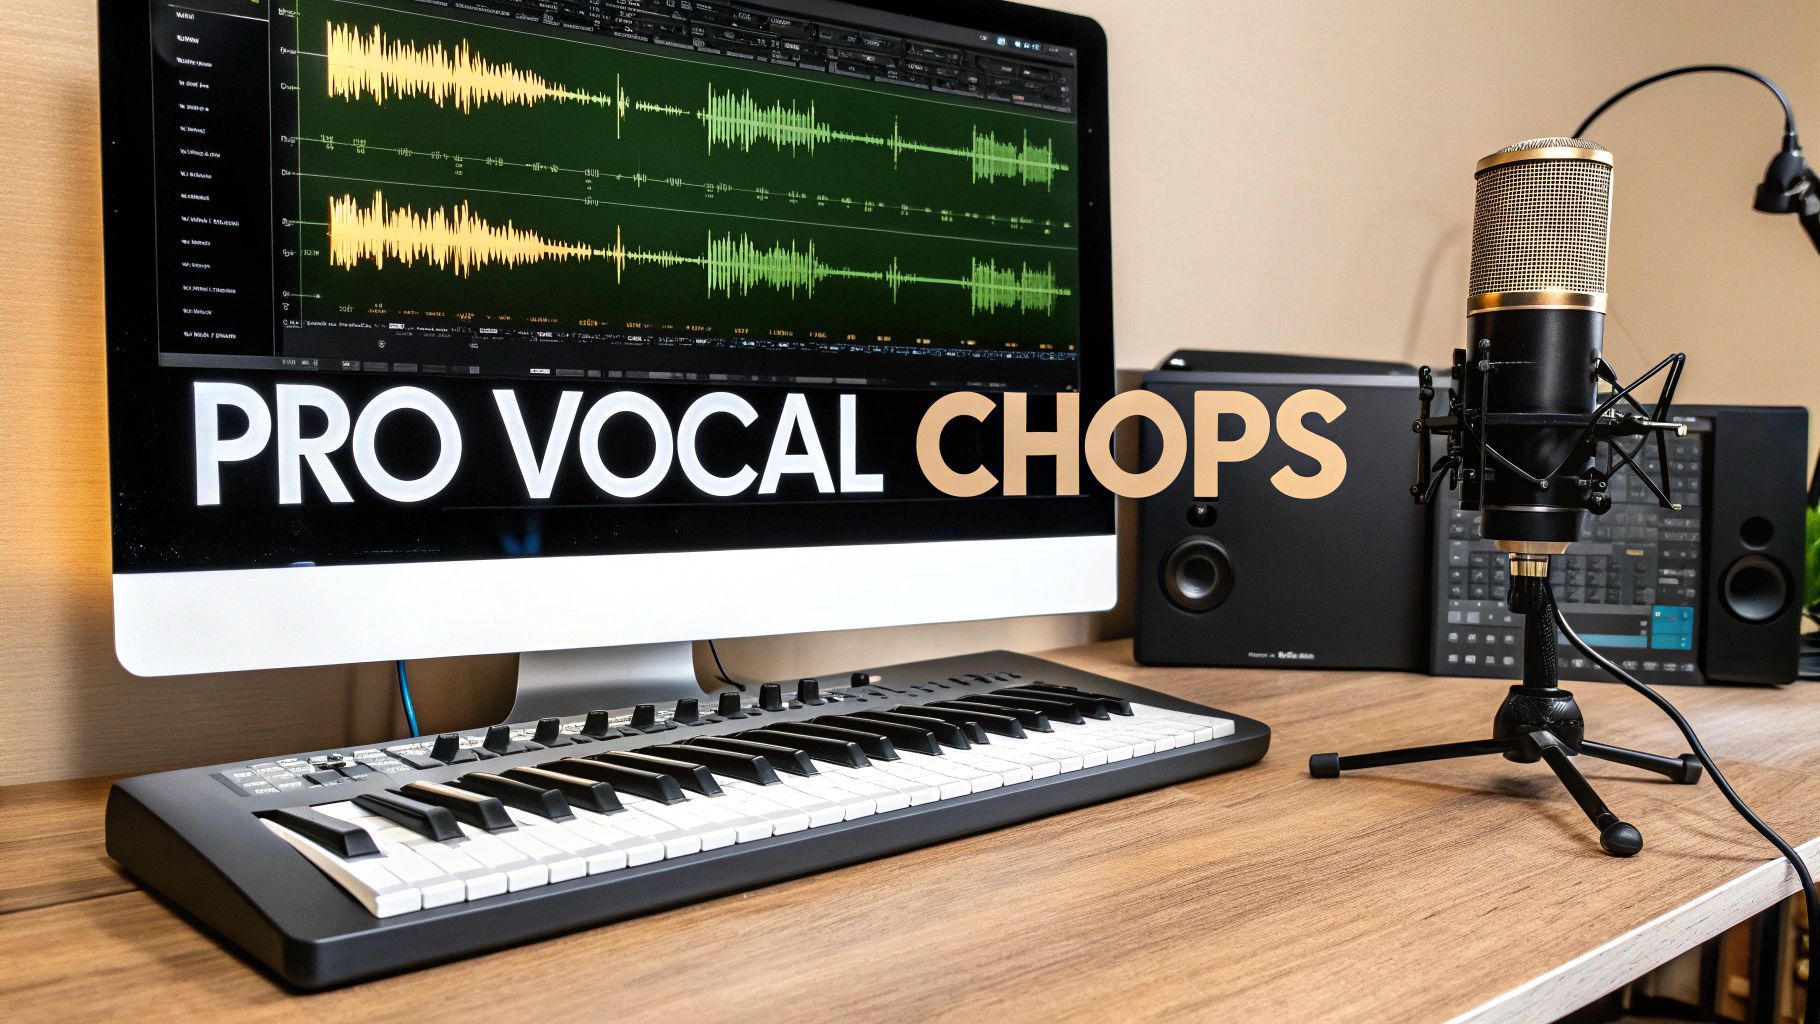
This guide is all about getting your hands dirty with vocal chops—slicing, arranging, and processing vocal samples until they're polished, professional, and ready for your next track. We'll walk through picking the right acapella, chopping it up in your DAW's sampler, and dialing in those creative effects like pitch shifting, reverb, and delay that make this technique so iconic in modern pop, EDM, and hip-hop.

Before we jump into the "how," let's talk about the "why." Understanding what makes vocal chops so powerful is the key to using them with real creative intent. They're so much more than just a production gimmick; they're a cornerstone of the modern sound, often pulling double duty as both a rhythmic engine and a lead melody. A good vocal chop can turn a simple vocal phrase into an unforgettable hook that cuts through the language barrier and hits the listener right in the feels.
The magic of this technique is how it takes the most human instrument we have—the voice—and reimagines it as something completely new. A well-executed vocal chop can carry the entire weight of a drop or chorus, delivering all the catchiness of a great lyric but without a single word. This is what makes them so versatile, working just as well in the soaring builds of future bass as they do in the hypnotic grooves of deep house.
Chopping up vocals into rhythmic stabs didn't just appear out of nowhere. The technique really blew up in the UK Garage scene back in the early '90s, where producers started flipping acapellas into lead instruments. One of the most legendary examples dropped in 1992: MK's 'Dub of Doom' remix of Nightcrawlers' 'Push The Feeling On.' He sliced the vocal into tiny, rhythmic fragments, pitched them around, and locked them into a swung groove. The result was a global club anthem that sold over 500,000 copies in the UK alone. You can get more details on these classic techniques over at Nitelife Audio.
Knowing this history isn't just trivia—it's a creative compass. It reminds us that producers have always pushed against technical limits to innovate, turning a basic sampler into a powerful instrument.
So what keeps vocal chops at the forefront of music production today? It really boils down to a few key things:
When you master this technique, you’re doing more than just learning a production skill. You're tapping into a long history of musical innovation to create something that feels fresh, exciting, and genuinely compelling.
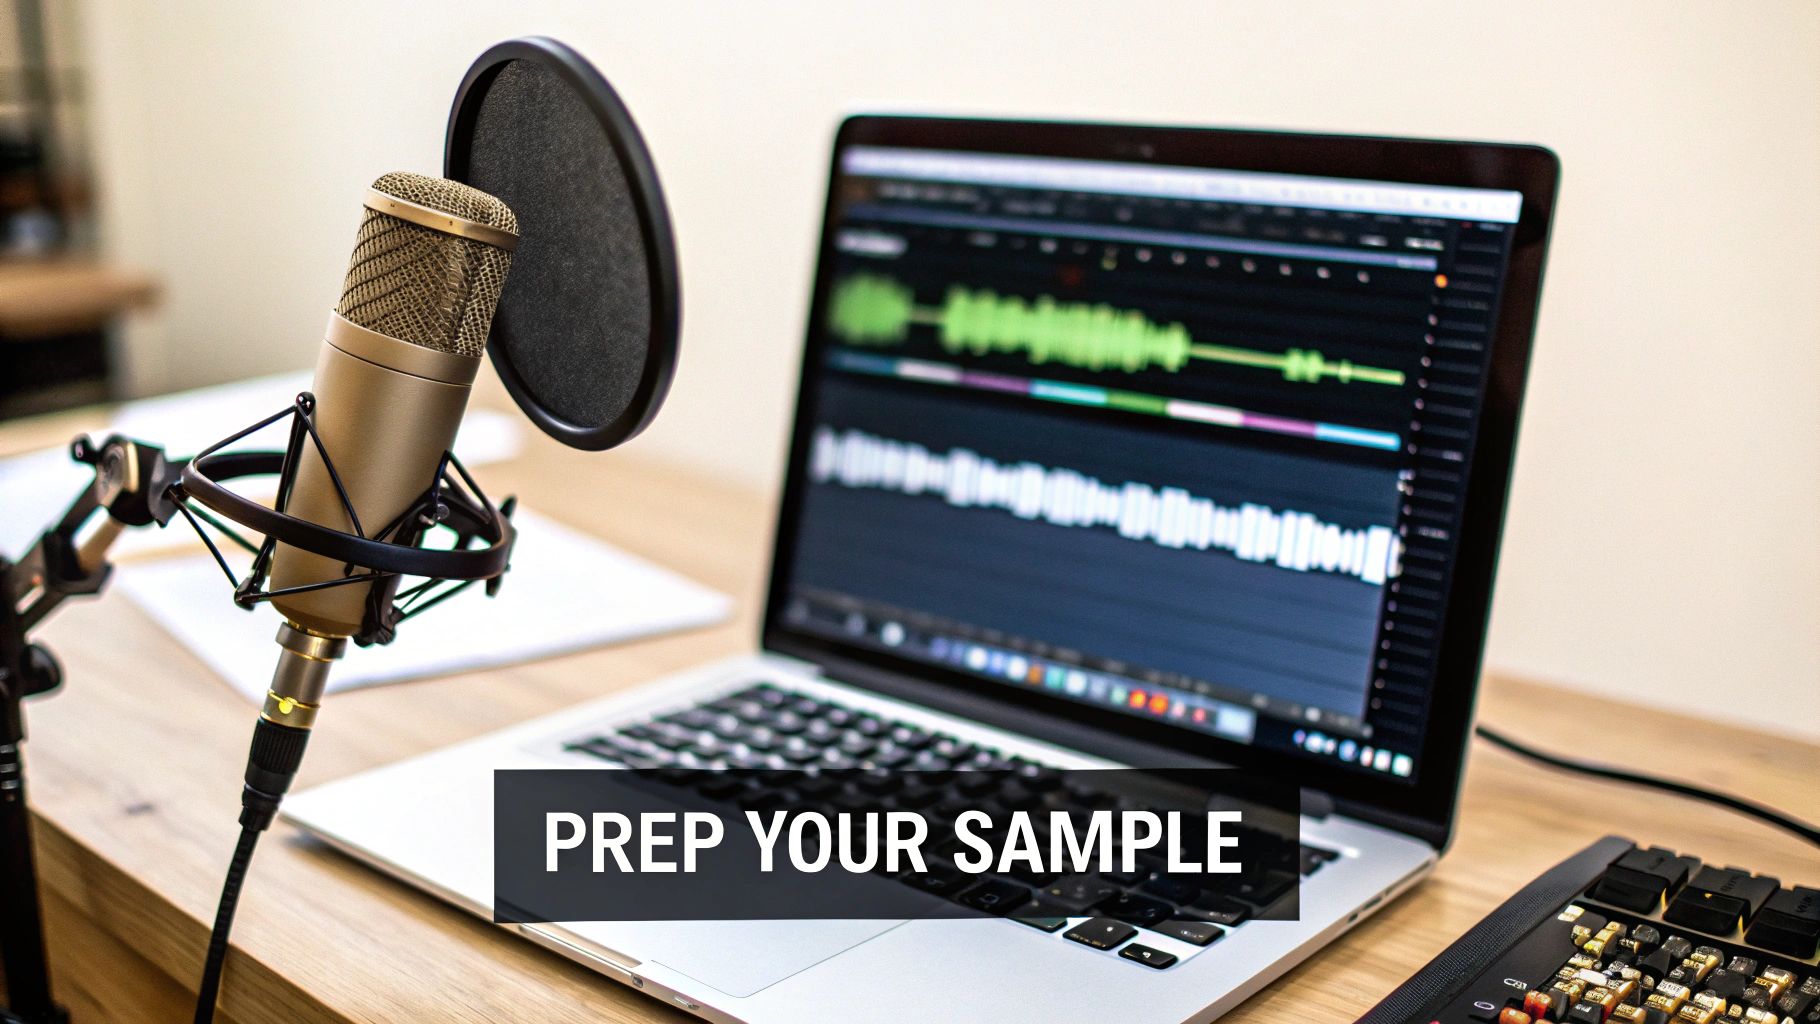
Let’s be honest: your vocal chop will only ever be as good as the sample you start with. This first step is everything. You're looking for a piece of audio that’s clean, has some real emotion in it, and gives you enough character to play with.
Whether you grab a royalty-free acapella, record something yourself, or even generate a totally unique texture with AI, the goal is the same: find a source that already fits the vibe of your track. Don't try to force a sample to work if it doesn't feel right from the get-go.
So, where do you find this magic ingredient? You’ve got a few options, and I use all of them depending on the project.
Royalty-free sample packs are the most straightforward path. You get instant access to huge libraries of professionally recorded vocals, and the legal side is already taken care of. You can drop them into a commercial track without a second thought.
If you want something that's 100% unique, nothing beats recording your own vocals. And you don’t have to be a professional singer. Seriously, some of the best chops come from a simple spoken phrase or even just holding a single interesting note. This is how you really craft a signature sound.
For a more out-there, experimental vibe, I’ve been messing around with tools like SFX Engine. You can feed it a text prompt and get back these wild, futuristic vocal phrases that are impossible to create otherwise. It's a fantastic way to break out of a creative rut. And if you're working with long spoken-word samples, using audio to text transcription services can be a lifesaver for quickly finding the exact words or phrases you want to isolate and chop up.
Once you’ve got your audio, a little bit of prep work makes a world of difference. The goal here isn't to sterilize the vocal, but to clean up the canvas before you start painting.
It's pretty wild to think that what we do in seconds with plugins like Melodyne or Auto-Tune started with engineers manually splicing tape back in the day. Now, pitch correction is basically standard practice—it shows up on something like 95% of Billboard Hot 100 tracks. This is exactly why vocal chops have become so popular; they’re a creative way to bring back some rhythmic human feel to otherwise perfectly tuned tracks.
Lastly, make sure your audio quality is solid from the start. For a deeper dive, check out our guide on finding the best sample rate for audio. Taking care of these prep steps means you’ll have a clean, punchy, and flexible sample ready for the chopping block.
Alright, you've got your perfect vocal sample. Now for the really creative part: turning that raw audio into a playable, expressive instrument. This is where the magic of vocal chops happens. It's less about technical rules and more about making creative choices that serve the song you're building.
The goal here is simple: break the vocal into smaller, bite-sized pieces that you can rearrange and sequence. How you approach this will define the entire character of your sound. Are you after a glitchy, percussive rhythm, or something more smooth and melodic? Knowing this upfront will guide your every move.
Your first big decision is how to chop the sample. There's no one-size-fits-all method, but a few common techniques serve different musical goals. Understanding these will help you move from random stutters to intentional, musical phrases.
To help you decide which approach to use, here’s a quick comparison of the three main slicing techniques. Each has its strengths and is better suited for different creative outcomes.
| Slicing Method | Best For | Pros | Cons |
|---|---|---|---|
| Manual Slicing | Intricate, lyrical phrases and preserving specific words. | Maximum creative control; allows for non-rhythmic, expressive chops. | Time-consuming; can be tedious for long samples. |
| Transient-Based | Rhythmic, percussive, and glitchy patterns. | Fast and intuitive; automatically creates musically relevant slices. | Can miss subtle sounds or create awkward cuts if transients are unclear. |
| Grid-Based | Locked-in, four-on-the-floor grooves (House, Techno). | Creates perfect rhythmic timing; easy to program and sequence. | Can sound robotic; may cut words off unnaturally. |
Ultimately, the best workflow often involves a mix of these methods. You might start with transient detection to get a rough layout and then manually adjust the slice markers to refine the timing and feel.
My Go-To Trick: Don't just accept the automatic slice markers. I always zoom in and manually nudge them. Moving a marker just a few milliseconds can be the difference between a harsh, clicky sound and a smooth, professional-sounding chop. It’s a small detail that makes a huge impact.
Every DAW handles this a bit differently, but the core idea is universal.
In Ableton Live, Simpler is your best friend. Just drag your vocal sample into it, flip it to "Slice" mode, and you can instantly chop by transient, grid, or even manually. It automatically maps each slice across your MIDI keyboard, ready to play.
If you're in FL Studio, the Slicer channel in the Channel Rack is the equivalent. It works much the same way, analyzing the audio and assigning each piece to a note in the Piano Roll. We dive deeper into these environments in our guide to the best DAW for sound design if you want to explore further.
Once you've chopped up your sample, it's no longer just an audio file—it’s an instrument. The real fun begins when you map these slices to a MIDI keyboard or pad controller.
This completely changes the creative process. Instead of meticulously clicking clips into a timeline, you can perform your vocal chops. You can jam, improvise, and discover melodies and rhythms you never would have thought to program.
This hands-on approach is where those "happy accidents" come from—the unique hooks that make a track memorable. So, get in there and play with it! Experiment with different slice combinations, velocities, and timings until you land on something that feels truly special.
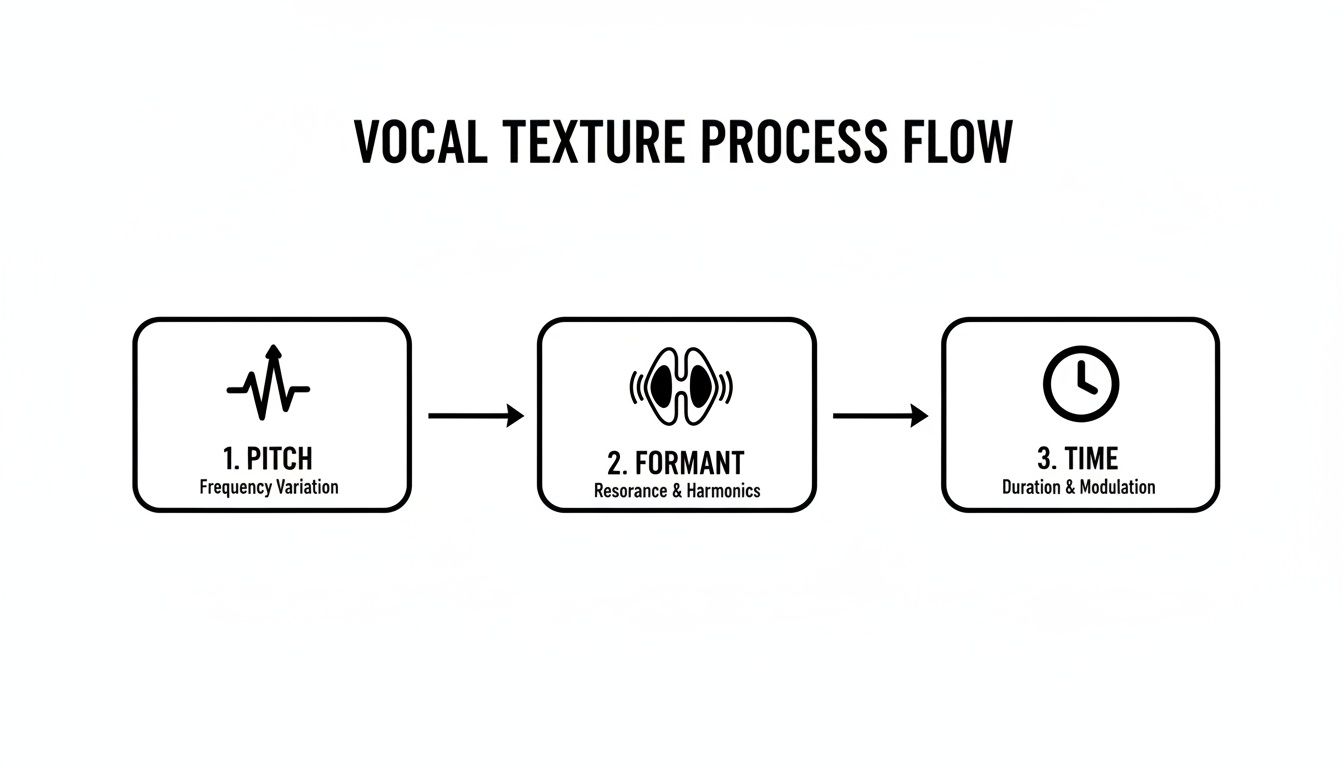
Alright, you've got your vocal slices ready to go. This is where the real fun starts. We're about to turn those simple audio snippets into the kind of expressive, melodic hook that can define an entire track. Pitch and formant manipulation are your two best friends for injecting character, emotion, and a signature vibe into your vocal chops.
This goes way beyond just tuning the vocal to fit your song's key. We're talking about building entirely new melodic ideas and textures from the ground up. By treating each slice like its own instrument, you can craft hooks that would be physically impossible for a singer to perform, giving your production a sound that’s uniquely yours.
The fastest way to get musical results is to start playing with the pitch of your individual chops. Once you load them into a sampler, you can instantly play them on your MIDI keyboard and start composing. That one little "ah" slice can suddenly become a full-blown lead synth.
Here’s a classic move: take three short, consecutive slices from a single word. Keep the first one as is, pitch the second one up seven semitones (that's a perfect fifth), and pitch the third one up a full octave. Just like that, you’ve got a melodic arpeggio that adds instant energy. Don't be shy about making big leaps—sometimes a huge jump of 12 or 24 semitones is what creates the most unforgettable effect.
Pro Tip: For longer, sustained chops, try automating subtle pitch bends. A tiny, half-semitone glide up or down right before the next note hits can mimic a singer's natural portamento, making a robotic-sounding sequence feel way more human and expressive.
Now, this is where things get really cool. Formant shifting is an incredibly powerful tool that changes the character of the voice without actually changing its pitch. The easiest way to think about it is like digitally resizing the singer's throat after the recording has already been made.
If you shift the formants up, the voice gets smaller, thinner, and more "chipmunk-like." Shift them down, and you get a deeper, heavier, sometimes more masculine tone.
The magic of formant shifting is that it avoids the classic "Mickey Mouse effect" you get from just pitching a vocal up too high. It lets you completely transform the texture while your melody stays perfectly in key. Modern tools and plugins like Soundtoys' Little AlterBoy give you separate controls for pitch and formants, which opens up a massive sonic playground. A classic electronic vocal sound is to pitch a sample down while simultaneously shifting the formants up—give it a try.
So, you've sliced and diced your vocals into a killer melody. Awesome. But let's be real—raw, unprocessed chops often sound a bit naked and out of place in a full mix. They can be thin, harsh, or just feel disconnected from everything else. This is where the magic of a well-crafted effects chain comes in.
The trick is to be intentional. We're not just slapping on plugins and hoping for the best. We're sculpting the sound, one step at a time, moving from clean-up and control to creative color and space. This is how you take a cool idea and turn it into a polished, professional hook.
Before you even think about adding cool, spacey effects, you have to do some housekeeping. My first move, nine times out of ten, is to reach for a subtractive EQ. The goal here is to carve out some room for the chops to breathe, getting rid of any gunk that will inevitably clash with your bass, kick, or cymbals.
I’ll typically start with a high-pass filter to gently roll off the unnecessary mud below 100-150 Hz. After that, I’ll sweep through the mids with a narrow band to hunt down and notch out any weird, boxy resonances. If you want to really get your head around this essential tool, we've got a great guide on what parametric EQ is and how to use it.
Once the EQ has cleaned things up, it's time for compression. A compressor is your secret weapon for making your chops feel punchy and consistent. It evens out the volume, ensuring every little slice cuts through the mix. A good starting point is a medium attack to preserve the initial transient of each chop, followed by a fast release to bring the energy right back up.
With the fundamentals locked in, now comes the fun part: adding vibe and space. This is where you give your vocal chops their unique personality.
Remember, the initial texture of your vocal is shaped long before it ever hits this effects chain. Manipulating the core elements of pitch, formant, and time is foundational to getting a unique sound from the get-go.
Getting this process right is non-negotiable, especially since vocal chops often need to be loud and front-and-center to carry a hook. It's wild to think about, but lead vocal levels in pop music have jumped by an average of 15dB over the last few decades. This shift is why modern vocal chops can peak anywhere from -6 to -3dB and still sound perfectly in place, driving over 55% of hooks in recent chart-toppers.
A Quick Tip: Instead of putting reverb and delay directly on your vocal chop track, try setting them up on an effects bus (or an aux send). This gives you way more control over the wet/dry mix and is a fantastic way to make multiple vocal layers sound like they're all sitting together in the same space.
Jumping into vocal chops always brings up a bunch of questions. It's totally normal. You're dealing with everything from technical hitches to tricky legal stuff, and getting solid answers is what turns a frustrating afternoon into a killer track.
Let's clear up some of the most common things producers ask when they're just starting out. Think of this as the practical advice I wish I had when I was first figuring this stuff out.
Honestly, there isn't one. People love Ableton Live and FL Studio for this stuff because their built-in tools—Simpler in Ableton and Slicer in FL—are just phenomenal for slicing and dicing audio. They make the whole process feel super intuitive and fast.
But here’s the thing: the actual techniques are the same everywhere. Slicing, pitching, arranging... you can do all of that in Logic Pro X, Cubase, or whatever you’re using. The real trick is to get ridiculously good with the sampler and piano roll inside the DAW you already know.
The best tool is always the one you're fastest with. Don't chase a new DAW for a single technique. Instead, master how your current one slices audio and handles MIDI. You'll get much further, much faster.
This is so important. Get this wrong, and your chops will sound like a mess instead of a melody. The first thing you have to do is figure out the key of the original vocal sample. You can use a dedicated tool like Mixed In Key, a pitch-detection plugin, or just plunk it out on a keyboard if you trust your ear.
Once you know the key, tell your sampler what the root note is. That’s your anchor point. From there, when you're writing melodies in your piano roll, just stick to the notes within your song's scale. Most DAWs even have a "scale mode" that lights up the right notes for you, making it almost impossible to mess up.
This one's a big deal, so let's be crystal clear: No. You absolutely cannot just rip vocals from a commercial song and use them without permission. That’s called copyright infringement, and if you release a track with an uncleared sample, you’re asking for legal trouble.
To keep your music 100% safe for release, stick to these options:
Ah, the classic "stuck-to-the-grid" problem. The key to making them feel alive is adding small, human-like imperfections. A great place to start is with MIDI velocity. Tweak the velocity of each note so the volume breathes and changes, just like a real singer's performance.
Next, get some of those notes off the grid. Nudge a few slices slightly ahead or behind the beat to break up that perfect, mechanical timing. This alone can add a huge amount of groove. You can also automate a filter cutoff or a bit of reverb to make the sound evolve through the phrase. Little touches of warmth, like a subtle vinyl crackle layered underneath, can also do wonders for adding that organic feel.
Tired of digging for the perfect vocal sample? SFX Engine lets you generate unique, royalty-free vocal phrases and textures just by typing a description. Stop searching and start creating. Generate your first custom sounds for free at SFX Engine.