January 27, 2026 · Kuba Rogut
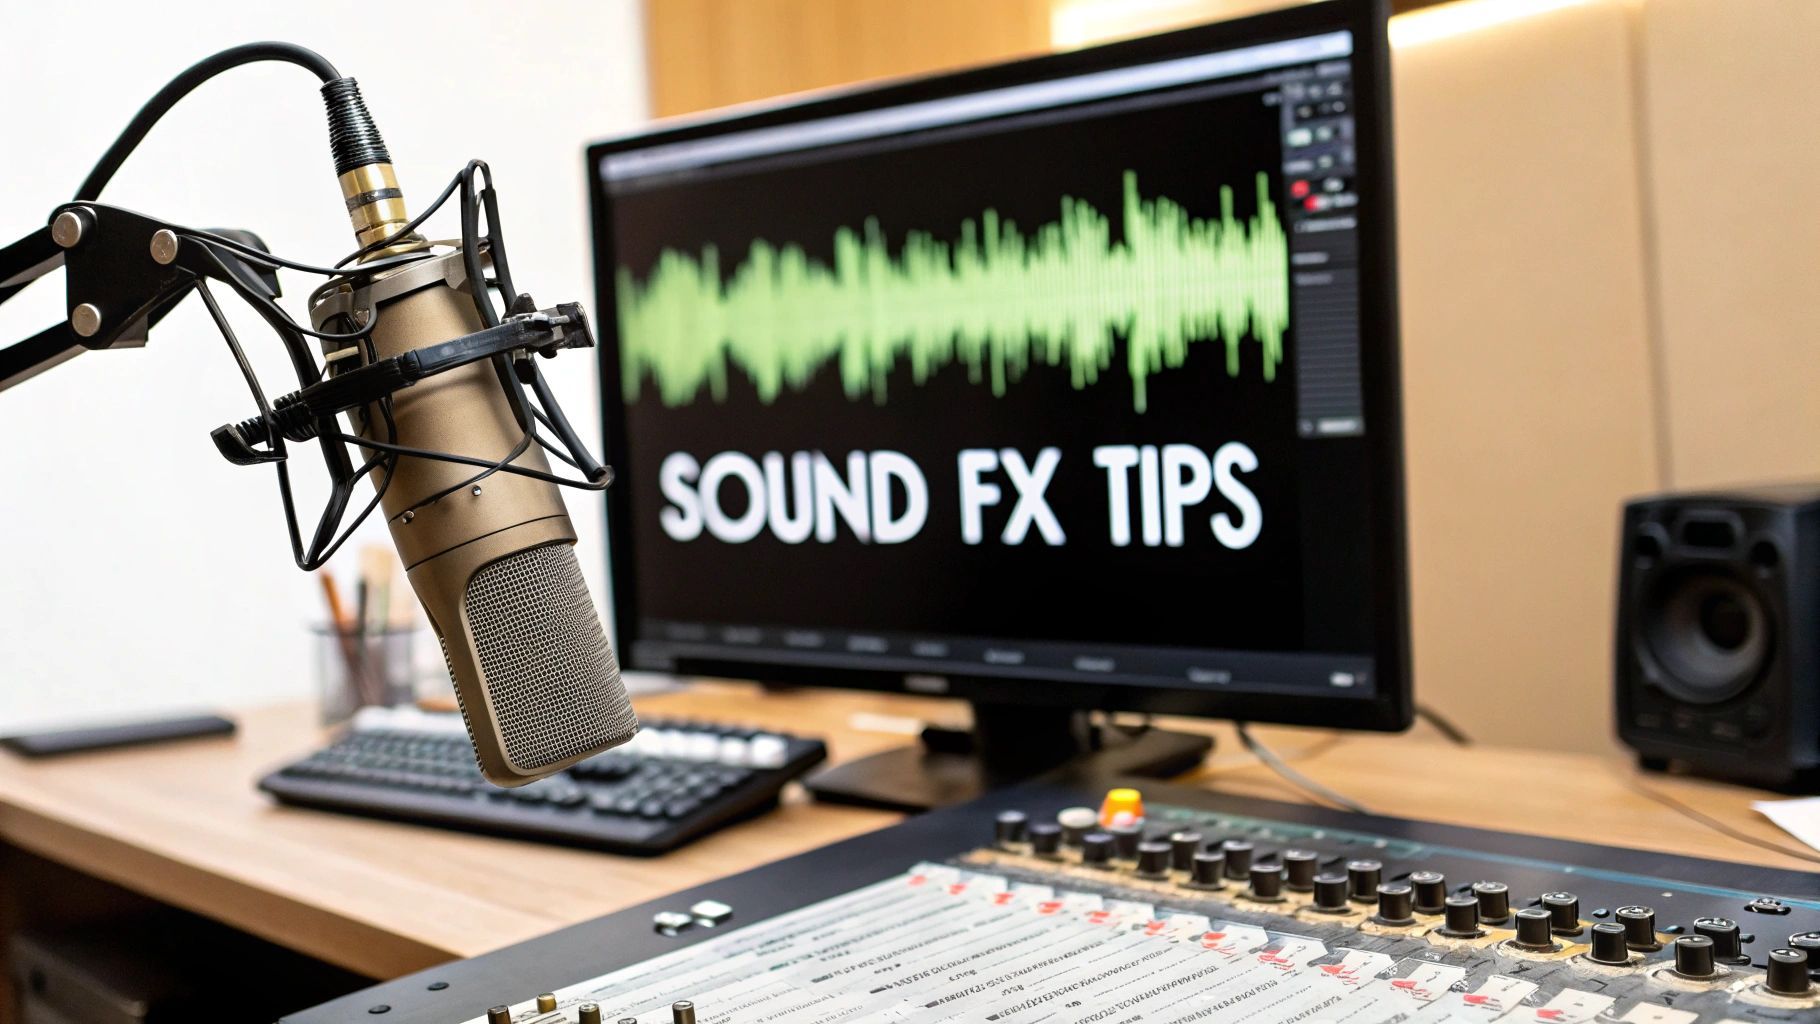
Voice-over is more than just a clear recording; it's an auditory experience. While a clean voice track is the foundation, it's the strategic use of sound effects that transforms flat narration into an immersive, professional, and emotionally resonant story. From the subtle hum of a spaceship's bridge to the crisp rustle of pages in a documentary, sound effects provide the context, depth, and polish that separate amateur productions from broadcast-quality content.
However, simply dropping sound files onto a timeline isn't enough. It requires a nuanced understanding of audio principles to ensure effects enhance the dialogue rather than overwhelm it. To truly transform narration, it's essential to understand the core sound design fundamentals that build immersive audio experiences. Mastering these concepts prevents common pitfalls like muddy mixes, distracting noises, and effects that compete with the vocal track for attention.
This guide moves beyond basic advice, offering a comprehensive collection of actionable voice over sound effects tips designed to elevate your projects immediately. We will explore advanced techniques for layering, spatial positioning, frequency management, and dynamic control. You will learn how to integrate foley and ambient textures, design authentic acoustic spaces with reverb, and perfectly synchronize your sound design with dialogue for maximum impact. Whether you're producing a podcast, a commercial, a video game, or an audiobook, these practical strategies will help you create a rich, intelligible, and unforgettable audio landscape.
A single sound effect paired with a voice-over often feels flat, empty, and unprofessional. Layering is the practice of combining multiple, distinct audio elements to build a single, cohesive sonic environment that supports the spoken word. This technique moves beyond just adding a sound effect; it involves creating a rich, textured audio backdrop that adds emotional depth, context, and a professional sheen to any production. By weaving together ambient sounds, specific Foley effects, and subtle textures, you can transform a simple voice-over into an immersive auditory experience.
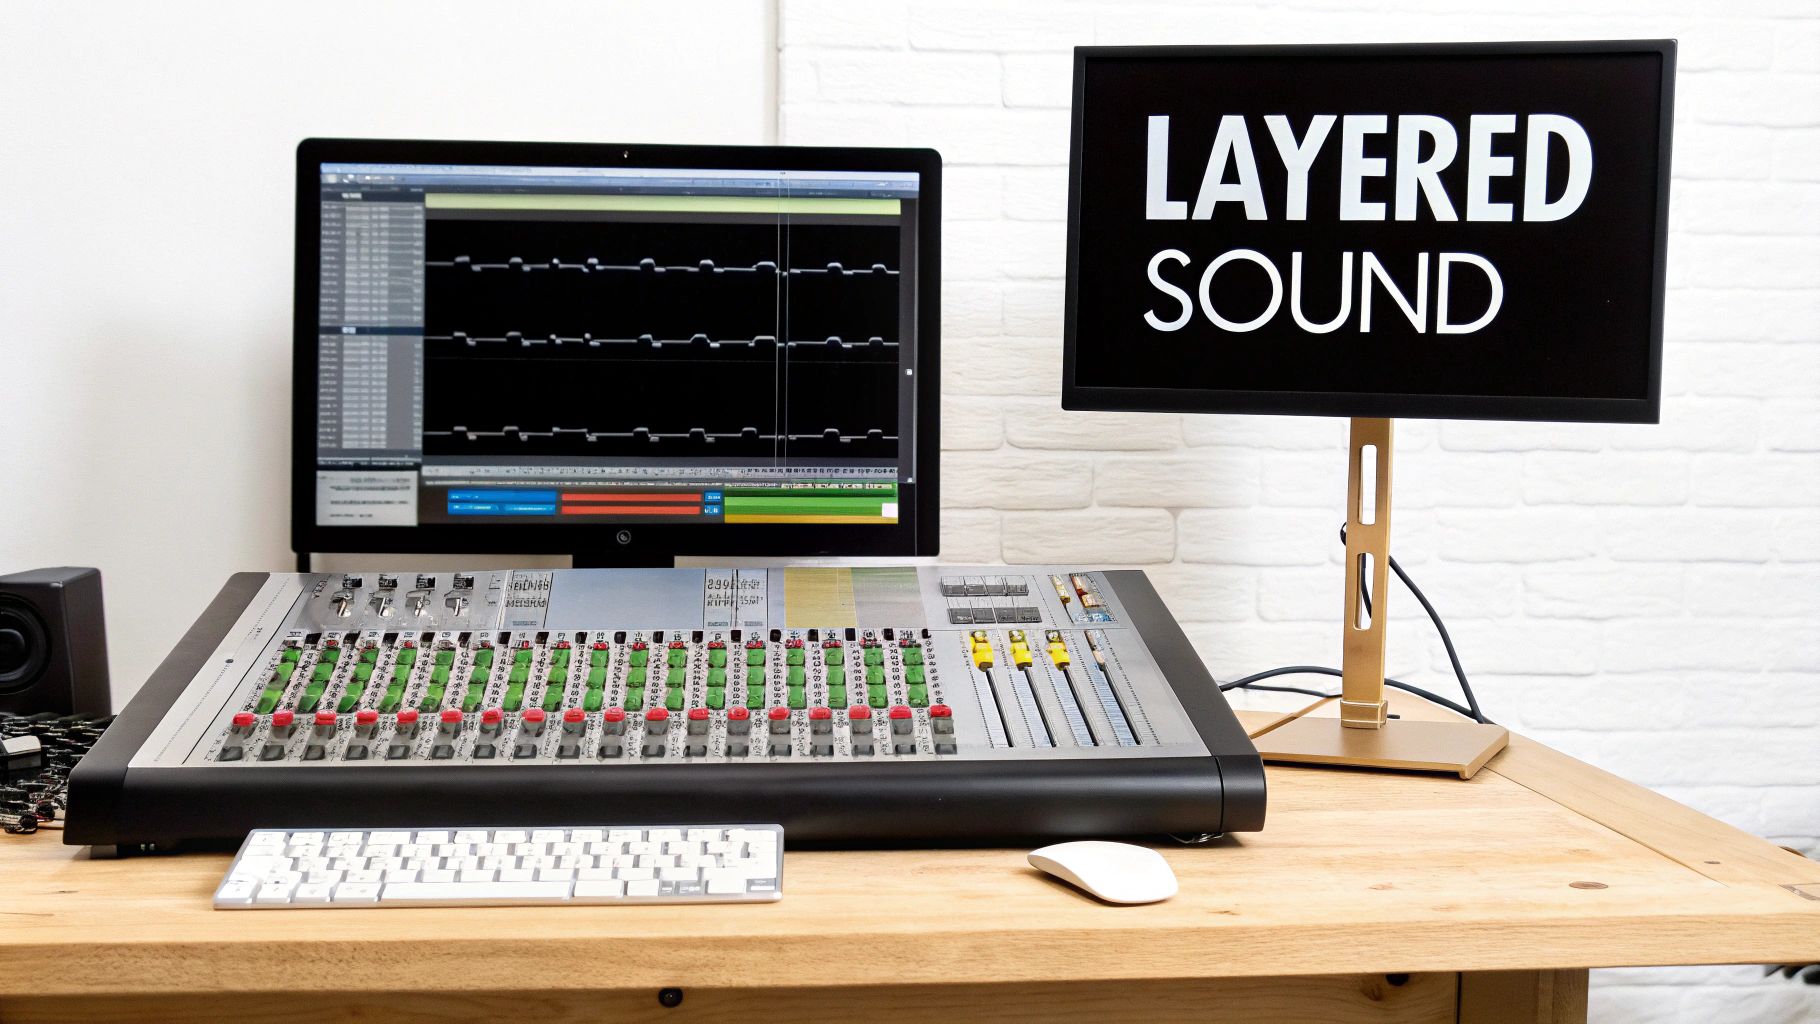
This method is a staple in high-end productions. Pixar films, for example, build intricate worlds by layering dozens of subtle ambient sounds beneath character dialogue, making scenes feel alive and believable. Similarly, podcast networks like Gimlet Media use layered intros with music, sound effects, and atmospheric tones to establish a unique brand identity and hook the listener from the first second. To achieve true depth and richness in your soundscapes, understanding how to combine sound files effectively is a fundamental skill.
To effectively layer sound effects with a voice-over, think of your audio mix as having a foreground, midground, and background.
Follow these steps to ensure your layered mix sounds professional and clear:
By mastering layering, you can create a soundscape that doesn't just accompany your voice-over but elevates it. For a deeper dive into the technical aspects, explore these advanced audio layering techniques for video, which offer further insights applicable to any voice-over project.
Simply placing a voice-over in the center of the stereo field can feel static and disconnected from the world it describes. Spatial audio positioning is the technique of using stereo panning and immersive audio formats to place sounds, including the voice-over, within a three-dimensional acoustic space. This creates directional cues that convince the listener that sounds are originating from specific locations-left, right, behind, or even above. This technique is essential for creating a truly immersive experience where the narration feels like an authentic part of the environment, not just laid on top of it.
This approach is no longer niche; it's a standard for high-fidelity media. PlayStation 5 games utilize Tempest 3D AudioTech to position character dialogue and environmental sound effects with pinpoint accuracy, guiding player attention. Similarly, streaming services like Apple TV+ use Dolby Atmos to place dialogue within a scene, making a character speaking from off-screen actually sound like they are coming from that direction. These technologies prove that thoughtful audio positioning is a powerful storytelling tool. Mastering spatial audio can dramatically elevate the perceived production value of any project.
To use spatial positioning effectively, you must think beyond a simple left-right balance and consider the entire 360-degree sound field available to the listener.
Follow these steps to integrate spatial positioning into your mixes for a more dynamic and engaging result:
By carefully positioning your voice-over and sound effects, you guide the listener's focus and create a believable, immersive world that is far more engaging than a standard mono or center-panned mix.
When a voice-over and sound effects occupy the same frequency ranges, they compete for the listener's attention, resulting in a "muddy" or unclear mix. Frequency separation is the audio engineering technique of using an equalizer (EQ) to strategically carve out dedicated space for each sound element. By ensuring the voice-over dominates its most critical frequency band, you can maintain crystal-clear dialogue and intelligibility, even when layered over complex or loud soundscapes. This approach is less about turning volumes up or down and more about intelligently sculpting the audio spectrum so every element has its own place.
This technique is fundamental in professional audio production where clarity is non-negotiable. Broadcast news networks like NPR and the BBC use precise EQ to ensure their reporters' voices cut through any background noise or atmospheric sound. Similarly, film trailer editors meticulously separate dialogue frequencies from massive orchestral scores and explosive sound effects, guaranteeing the narrative hook is always heard. The goal is to preserve the richness of the sound design while ensuring the voice-over, the most important element, remains perfectly intelligible.
The core principle is to identify the most important frequencies for the voice and reduce those same frequencies in competing sounds. Human speech primarily resides between 80 Hz and 8 kHz, but its core intelligibility, the part our brains use to understand words, is concentrated in the 2-4 kHz range.
Apply these specific EQ techniques to achieve a clean, professional mix where the voice always stands out:
A voice-over performance naturally contains volume fluctuations; some words are spoken softly, while others are delivered with emphasis. Dynamic range compression is the essential audio processing technique used to manage these fluctuations. It automatically reduces the volume of the loudest parts of the audio while allowing you to boost the overall level, creating a more consistent and professional-sounding track. This ensures that every word is clear and audible, preventing listeners from having to adjust their volume constantly.
This technique is a non-negotiable standard in professional audio. Audiobook producers rely on it to maintain a steady narration level across hours of content, while podcasters use it to ensure dialogue sits perfectly above music and sound effects. It's also critical for meeting the strict loudness standards (measured in LUFS) required by streaming platforms like Spotify and YouTube, as well as broadcast television. Proper compression is what separates a raw, amateur recording from a polished, broadcast-ready voice-over.
Think of a compressor as an automatic volume knob. You set a threshold, and any part of the voice-over that exceeds that volume level gets turned down. The key is to apply it subtly so the voice sounds controlled and powerful, not squashed and lifeless.
Follow these best practices to apply compression effectively without sacrificing audio quality:
Mastering this tool is fundamental for any audio work. To build a stronger foundation, you can learn more about the core principles by understanding what audio compression is and how its parameters interact.
Foley is the art of creating custom sound effects that synchronize with actions described or implied by the voice-over, while ambient textures provide the foundational environmental sound. Integrating these elements moves beyond simply adding generic effects; it involves building a believable, tactile world around the narration. This technique grounds the voice-over in a physical space, making the story more immersive, realistic, and emotionally resonant for the listener.

This method is essential in professional audio production. Legendary sound designers like Ben Burtt (Star Wars) and Gary Rydstrom (Pixar) built entire sonic universes by meticulously crafting Foley sounds that give weight and realism to every action. In a more accessible example, true crime podcasts often use subtle Foley like a creaking door or rustling leaves to heighten tension during storytelling, placing the listener directly in the scene. To master this craft, understanding the fundamentals of this technique is key, and you can explore more about what is foley sound to deepen your knowledge.
Effectively integrating Foley and ambient sounds requires a subtle touch to ensure they support, not overpower, the voice-over. Think of it as painting a sonic picture where the dialogue is the main subject and the textures are the background and fine details.
Follow these steps to seamlessly blend Foley and ambient textures with your voice-over dialogue:
A dry voice-over, recorded in a treated studio, often sounds sterile and disconnected from its intended setting. Reverb is the tool that solves this by adding the natural acoustic reflections of a physical space, making the voice sound as if it originates from a specific environment. By carefully selecting and adjusting reverb, you can place your narrator in a grand hall, a cramped closet, or an open field, creating sonic authenticity that aligns with visual context and elevates the emotional weight of the storytelling. This technique is fundamental for creating immersive audio experiences.
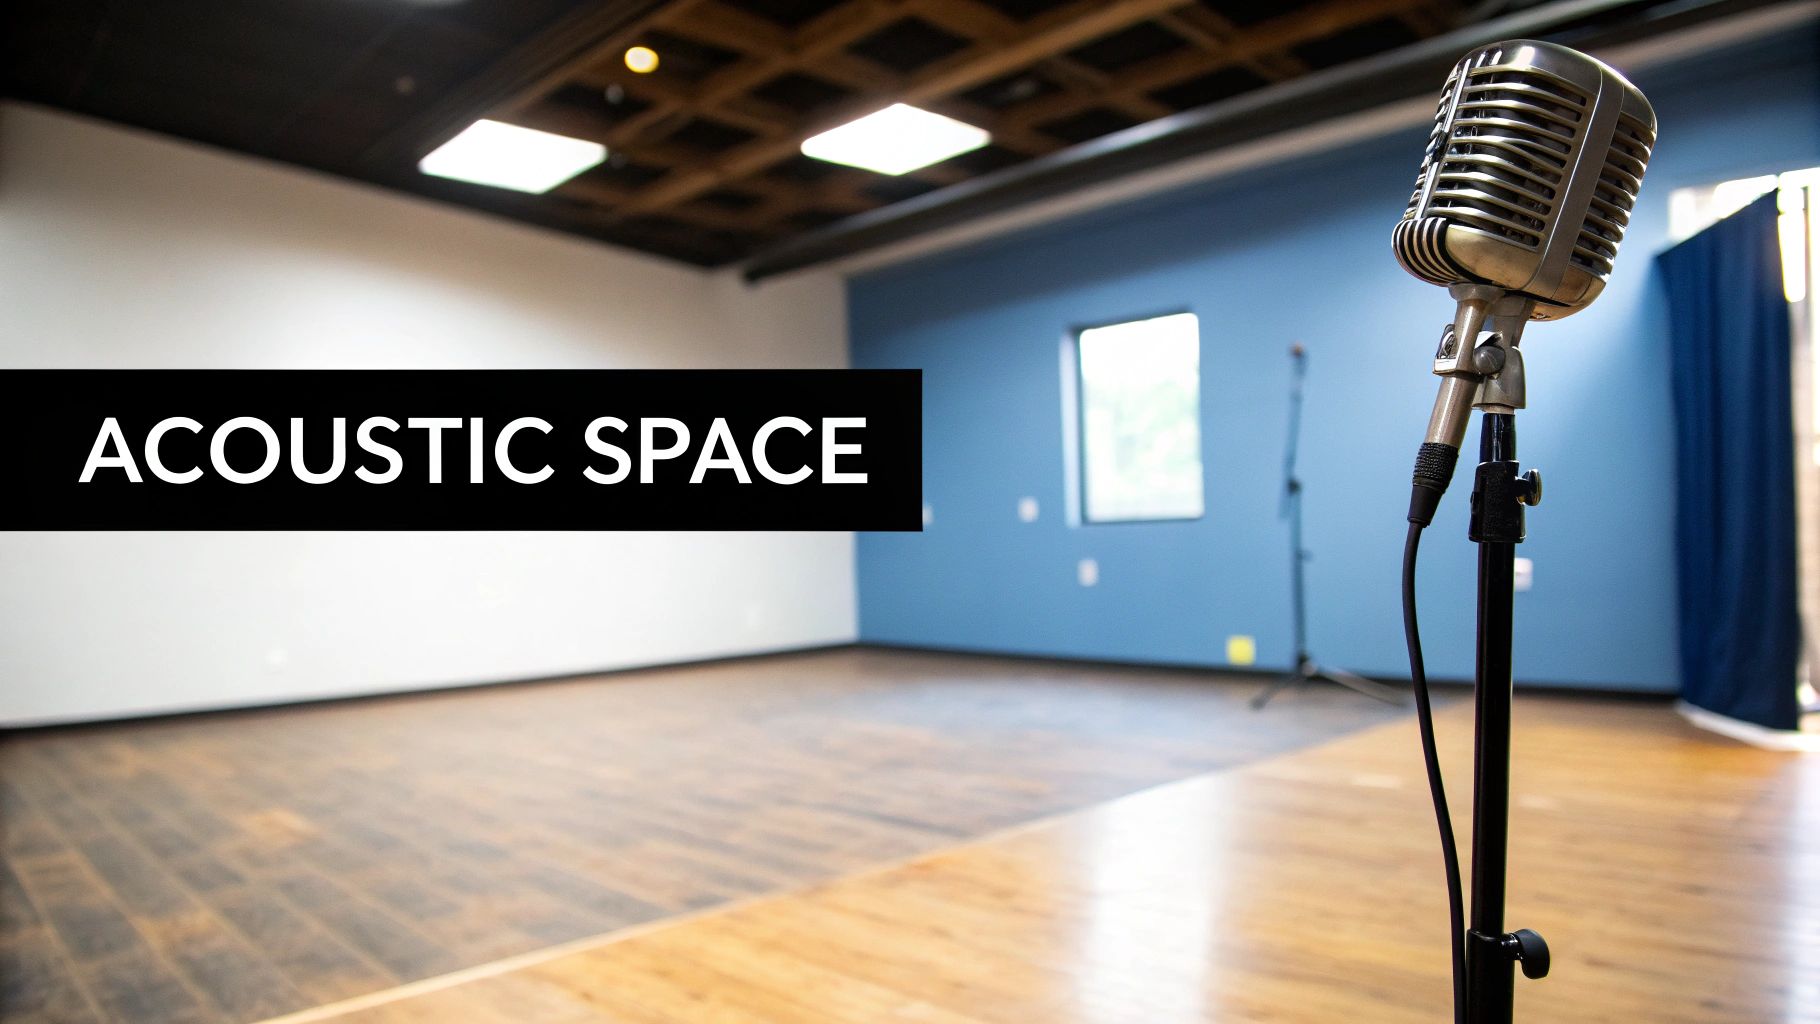
This principle is mastered by legendary film sound designers like Walter Murch, who used acoustic treatments to ground dialogue firmly within its on-screen environment. For example, a character speaking in a vast cave needs a long, echoing reverb, while a corporate training video benefits from a subtle, clean boardroom reverb to sound professional and grounded. Modern convolution reverbs take this further by using recordings of real spaces, allowing producers to place a voice in an authentic replica of a cathedral or a subway station, ensuring unparalleled realism.
Applying reverb is more than just adding an effect; it's about designing a believable acoustic space. Think about the size, shape, and material of the environment you want to create.
Use these specific tips to apply reverb effectively without sacrificing vocal clarity:
Dialogue editing is the meticulous process of cleaning, trimming, and precisely timing voice-over recordings to synchronize perfectly with sound effects, music, and visuals. It goes beyond simply placing a voice track into a project; it involves creating a seamless, cohesive audio narrative where every word and sound feels intentional. This discipline ensures the voice-over lands at the exact right moment, sound effects hit their cues with precision, and transitions feel natural, transforming a disjointed collection of audio files into a polished, professional production.
This technique is fundamental in high-stakes media. Think of blockbuster film trailers where a character’s dramatic line crescendos perfectly with a musical swell and a huge boom sound effect. This is not accidental; it is the result of frame-by-frame dialogue editing. Similarly, in video game cutscenes, dialogue editors ensure a character's speech aligns perfectly with their lip movements, actions, and the corresponding Foley sounds, creating an immersive and believable experience. Mastering this skill is a non-negotiable part of creating high-quality audio.
Effective synchronization requires treating your voice-over not as a separate element but as the central rhythm around which all other sounds are built. The goal is to make the relationship between dialogue and sound effects feel symbiotic.
Use these professional techniques to lock your voice-over and sound design into perfect harmony:
| Technique | 🔄 Implementation Complexity | ⚡ Resources & Efficiency | ⭐ Expected Outcome / Quality | 📊 Ideal Use Cases | 💡 Key Tip |
|---|---|---|---|---|---|
| Layering Multiple Sound Effects for Depth and Richness | Medium–High — multi-track mixing, EQ & panning discipline | Moderate–High CPU and session complexity; multiple stems/plugins | High — broadcast-quality, rich immersive texture | Film, podcasts, game cutscenes, commercials | Start with a reference; automate levels; keep dialogue centered |
| Spatial Audio Positioning and Panning for Immersive Voice-Overs | High — requires HRTF/surround knowledge and precise monitoring | Requires spatial tools, specialized monitoring; playback format dependency | Very High — premium immersion when supported (⭐⭐⭐) | VR, Dolby Atmos films, immersive streaming, interactive media | Pan subtly; test stereo and spatial formats; reserve extremes for effect |
| Frequency Separation and EQ Clarity for Voice Intelligibility | Medium — technical EQ skills and spectral thinking needed | Low–Moderate — EQ plugins and reliable monitoring | High — markedly improves intelligibility without losing ambience | Broadcast, podcasts, film trailers, games | Carve 2–4 kHz presence for voice; HPF effects below ~80 Hz; use dynamic EQ |
| Dynamic Range Compression for Consistent Voice-Over Levels | Low–Medium — understanding threshold/ratio/attack/release | Low — standard compressors; real-time or offline processing | High — consistent loudness, LUFS compliance, fewer level jumps | Audiobooks, podcasts, YouTube, broadcast commercials | Try 4:1 start ratio; attack 10–50ms; gentle release 200–500ms; consider dual-stage compression |
| Foley and Ambient Texture Integration with Voice-Over Dialogue | Medium–High — synchronization and creative timing required | Moderate — recording/generation tools or SFX library; layering time | High — adds realism and narrative context, increases immersion | Film, animation, games, documentaries, cinematic podcasts | Record/generate foley softer than dialogue; sync hits to natural pauses; layer room tone + subtle textures |
| Reverb and Acoustic Space Design for Authentic Voice Environments | Medium — matching space and avoiding masking takes care | Moderate–High — convolution CPU cost for high-quality IRs | High — creates believable place and emotional depth when used subtly | Film scenes, character narration, corporate videos, meditation podcasts | Use short pre-delay (15–25ms) and modest decay for dialogue; match reverb to visual space |
| Dialogue Editing and Timing Synchronization with Sound Design | High — frame-accurate edits, meticulous attention to flow | Moderate — DAW/editor tools; time-intensive manual work | High — polished delivery and precise FX hits; seamless narrative flow | Trailers, game cutscenes, podcasts, documentaries, audiobooks | Leave 50–100ms breathing room; use grid alignment; generate FX to exact durations |
Navigating the intricate world of audio production can feel daunting, but mastering the synergy between dialogue and sound design is what separates amateur work from a truly professional, immersive experience. Throughout this guide, we have explored a comprehensive toolkit of voice over sound effects tips, moving beyond basic placement to a more nuanced, strategic approach. This is not just about adding noise; it is about building worlds, conveying emotion, and ensuring the core message, carried by the voice, lands with maximum impact.
The journey from a raw voice recording to a polished final product is one of detail and intention. Each tip we've covered serves a specific purpose in this transformation. By layering multiple sound effects, you create a rich, believable sonic texture. By using spatial positioning and panning, you guide the listener's attention and build a three-dimensional audio environment. These techniques are your building blocks for creating a world that feels real and lived-in.
Technical proficiency is the foundation upon which creative excellence is built. Applying principles like frequency separation with EQ and managing levels with dynamic range compression are not just technical busywork. They are essential steps to guarantee that your voice-over remains the star of the show, cutting through the mix with clarity and presence. A muddy mix where the dialogue fights for space is a hallmark of inexperienced production; your goal is to create a symbiotic relationship where every element has its own defined space.
This is where the artistry truly begins. Integrating subtle Foley and ambient textures breathes life into your scenes, while carefully chosen reverb places your narrator within a specific, tangible acoustic space. These are the details that suspend disbelief and pull your audience deeper into the narrative. Think of these elements not as additions, but as integral parts of the story you are telling.
Key Takeaway: The ultimate goal is to make your sound design so effective that it becomes invisible. The audience shouldn't consciously notice the individual effects; they should simply feel the result: a more engaging, believable, and emotionally resonant experience. Every sound should serve the story and support the voice, never distract from it.
The path to mastery is paved with practice. The concepts discussed here are not just theoretical; they are a practical blueprint for your next project. To start implementing these voice over sound effects tips effectively, commit to a more deliberate workflow.
Ultimately, elevating your voice-over production is about a mindset shift. Stop thinking of sound effects as an afterthought and start treating them as a fundamental component of your storytelling process from the very beginning. By thoughtfully applying these principles of layering, spatial audio, EQ, compression, Foley, reverb, and precise timing, you will consistently produce work that captivates, informs, and leaves a lasting impression on your audience.
Ready to stop searching and start creating? SFX Engine uses AI to generate the exact custom, royalty-free sound effects you need in seconds, perfectly matching the context of your voice-over. Revolutionize your workflow and unlock limitless creative potential by visiting SFX Engine today.