January 13, 2026 · Kuba Rogut
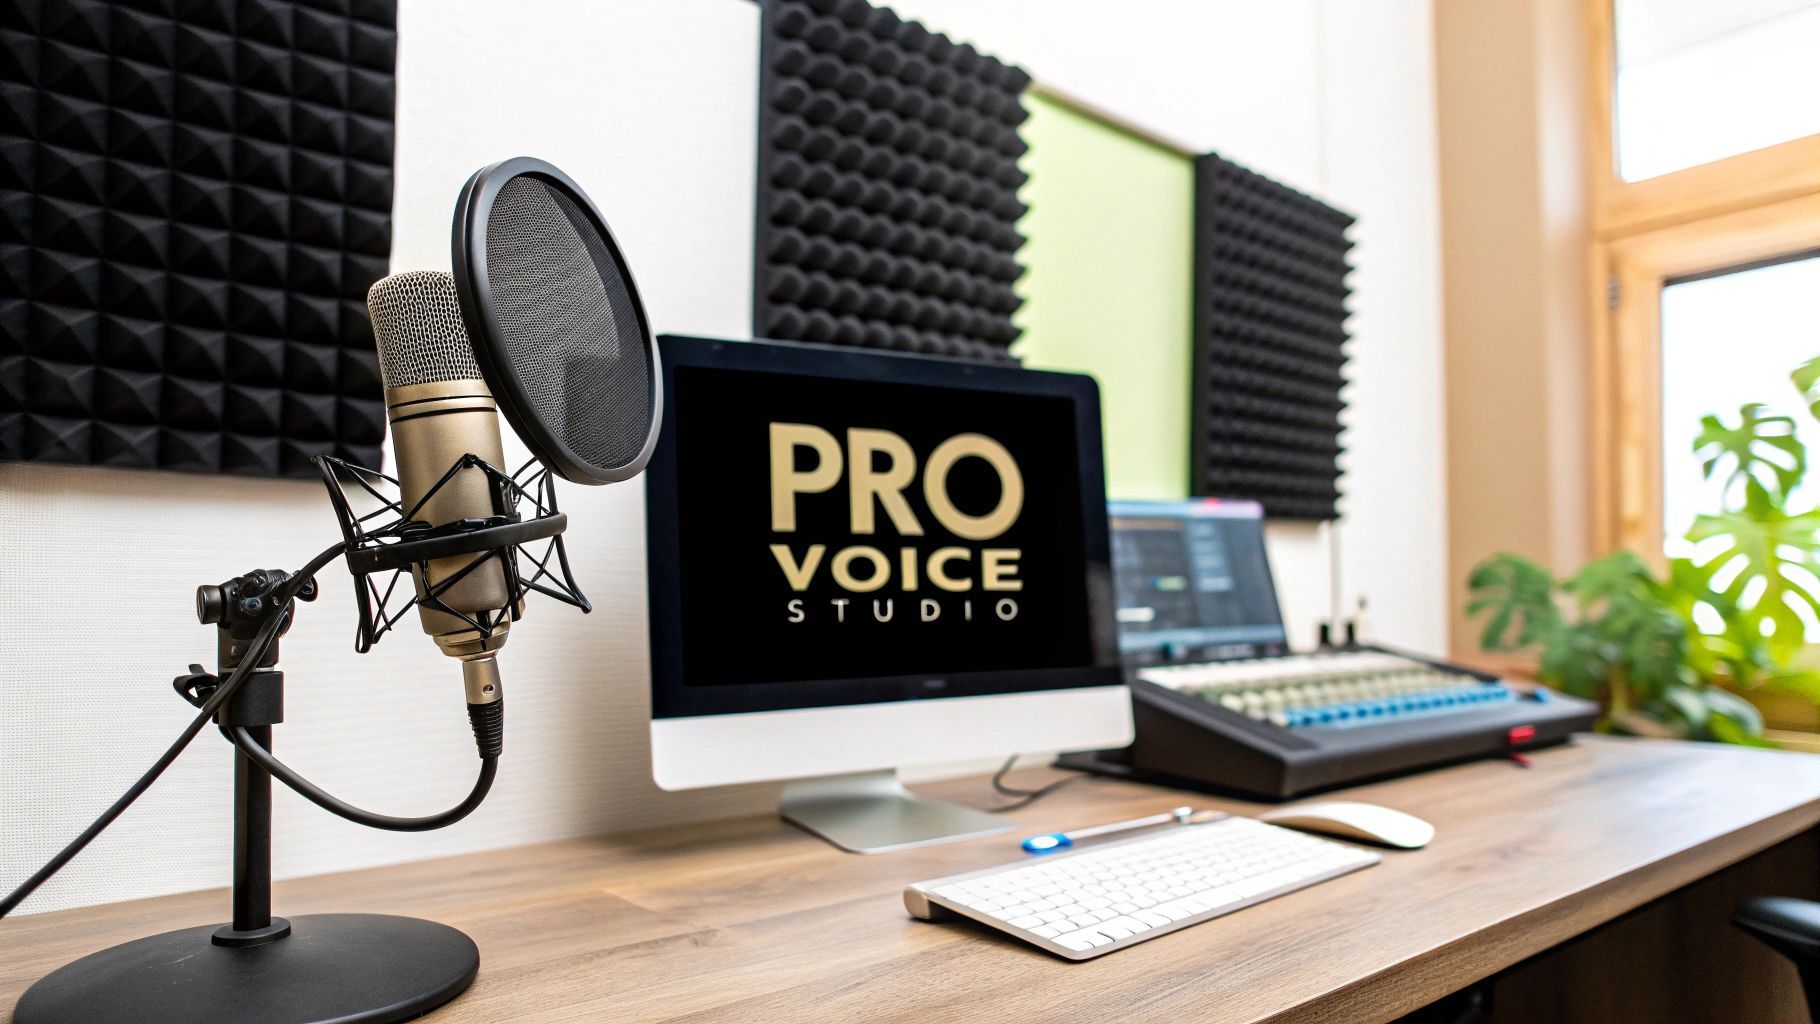
It's a common rookie mistake to think a high-end microphone is the magic bullet for professional voice-over work. But let me tell you from experience, the single most important part of your studio isn't the mic—it's the room itself. A controlled, quiet space free from echo is the real foundation of a killer recording.
Before you even think about buying gear, you need to get intimately familiar with your recording space. Even a world-class Neumann U 87 will sound terrible in a room with bare walls, big windows, and hardwood floors. Why? Because those hard surfaces act like mirrors for sound, causing your voice to bounce all over the place. This creates a messy echo, or reverb, that instantly brands your audio as amateur.
This is where a lot of people get tripped up. They toss around two terms—soundproofing and acoustic treatment—as if they're the same thing. They absolutely are not.
Think of it this way: soundproofing is about isolation. It's all about stopping outside noise from getting in. We're talking about sirens, your neighbor's lawnmower, or the dog barking down the street. True soundproofing is a construction project, often involving expensive, heavy-duty materials to build a fortress of silence.
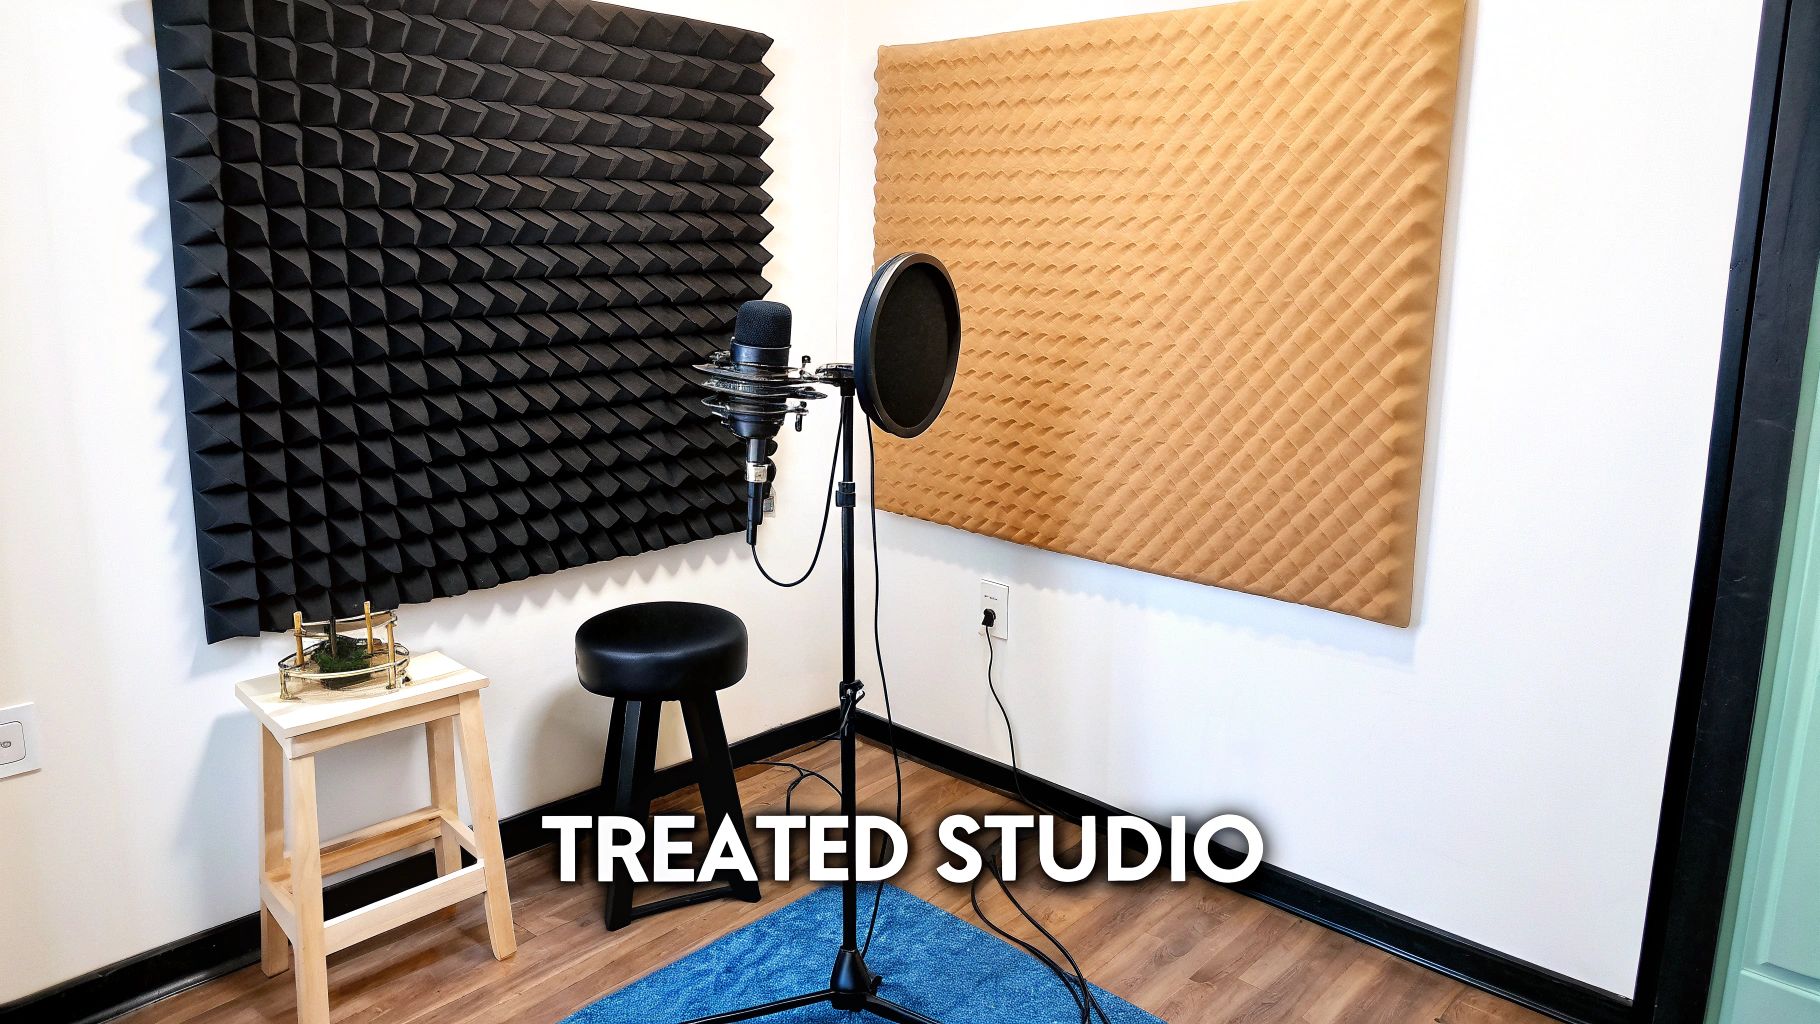
Acoustic treatment, on the other hand, is about absorption. This is how you control the sound inside the room. Acoustic panels, bass traps, and even thick blankets are all designed to soak up sound reflections, killing that echo and giving you a clean, crisp vocal take. For most of us building a home studio, this is where our focus (and budget) should be.
To help clear things up, here’s a quick breakdown of how these two concepts differ and where they fit into your studio plan.
| Concept | Acoustic Treatment | Soundproofing |
|---|---|---|
| Primary Goal | Controls sound reflections inside the room. | Blocks external noise from entering the room. |
| How It Works | Uses absorption and diffusion to tame echo and reverb. | Uses mass and density to create a physical barrier. |
| Common Materials | Acoustic foam panels, fiberglass, bass traps, diffusers. | Mass-loaded vinyl, double-pane windows, drywall. |
| Main Benefit | Creates a clean, clear, and "dead" recording sound. | Ensures a quiet, undisturbed recording environment. |
| Best For | Virtually all home and professional studios. | Studios near loud, uncontrollable noise sources. |
As you can see, they solve different problems. You need to know which problem you're trying to fix before you spend any money. For an even deeper dive, check out our practical guide to acoustic treatment for home studios.
Now, let's get practical. The first thing you need to do is a sound audit of your space. Just stand there and listen. Really listen. Can you hear the low hum of your computer fan? The air conditioner kicking on? What about the refrigerator in the next room?
All those little background sounds add up to what we call the noise floor, and it can absolutely ruin an otherwise perfect take. Your mission is to eliminate every single one you can. Unplug noisy appliances and kill the HVAC system whenever you're ready to hit record.
The goal isn't just a quiet room; it's a 'dead' room—one where the only thing your microphone hears is the pure, direct sound of your voice. This clarity is what separates professional recordings from amateur ones.
Don't underestimate how critical this is. The demand for talent with professional home setups has exploded. One recent report showed that 52% of companies plan to use voice-over services this year, and they all expect broadcast-quality audio delivered right from your home. Your room's sound isn't just a technical detail; it's a non-negotiable part of your business.
Now that your recording space sounds clean and controlled, it’s time to pick the hardware that will actually capture your voice. This isn’t about buying the most expensive gear you can find; it’s about making smart choices that fit your budget and what you’re trying to accomplish. Your gear is a critical piece of the puzzle in building a reliable voice over studio.
The microphone is the heart and soul of your entire setup. It’s where your voice first enters the signal chain. In the voice-over world, the large-diaphragm condenser (LDC) microphone is, without a doubt, the industry standard. These mics are incredibly sensitive and fantastic at capturing the rich detail and tiny nuances of the human voice. In a well-treated room, they are king.
But what if your room isn't perfect? That's where a dynamic microphone can be a real hero. Dynamic mics are built to be less sensitive and more forgiving, which makes them brilliant at rejecting background noise. If you’re dealing with a bit of echo or the hum of an air conditioner, a dynamic mic might actually give you a cleaner take than a condenser that picks up everything.
Of course, the microphone is only half the story. You have to get that sound into your computer, and that’s where the audio interface comes in. Think of it as the central hub for your audio—it takes the analog signal from your mic and converts it into a digital signal your computer can process.
Even more importantly, a good audio interface houses a high-quality preamplifier (or preamp). The raw signal coming out of your microphone is actually very weak. A preamp boosts it to a strong, usable level. A clean, quiet preamp is non-negotiable. A cheap one will inject a layer of hiss and noise into everything you record, completely undermining all the work you did treating your room. When you're shopping for an interface, pay close attention to the quality of its preamps.
For a really detailed breakdown of microphone types and how they handle spoken word, check out our guide on the best microphones for podcasting. The principles are nearly identical for voice-over work.
You don’t need to take out a second mortgage to build a great studio. You can get professional, clean-sounding results at several different price points. The trick is to put your money where it will make the biggest impact.
Here are a couple of sample setups I often recommend:
The Rock-Solid Starter Kit (Under $400): This is a fantastic entry point for anyone serious about getting professional quality without a huge upfront cost.
The Pro-Level Home Studio ($1000+): When you're ready to invest in gear that will last you for years and deliver broadcast-ready audio, this is a solid goal.
Here's the key takeaway: your recording chain is only as strong as its weakest link. Plugging a $1,000 microphone into a noisy $50 interface is a waste of money—the cheap preamp will just ruin your sound. Always aim for a balanced investment across your gear.
Many of the fundamentals for capturing clear audio apply across different disciplines. Reading up on the essential webinar studio equipment for beginners can offer some great overlapping insights as you put your kit together.
Ultimately, the right gear is the gear that lets you capture your unique voice cleanly and consistently. Start with a solid, balanced setup that you can afford, and you'll have a foundation you can build on as your career grows. A great-sounding room plus well-chosen gear is the classic formula for professional sound.
With your mic and interface plugged in, it's time to fire up the software that makes everything work: your Digital Audio Workstation, or DAW. Think of this as your command center. It's where you'll record, edit, and polish every single take, turning raw performance into a broadcast-ready product.
Choosing a DAW can feel like a huge decision, but for voice-over, the choices are more focused. We're not producing complex music, so we can skip the DAWs loaded with virtual instruments and MIDI sequencers. The best tools for us are the ones built for clean, fast, and efficient audio editing.
You’ll find that many pros swear by software like Adobe Audition and Reaper. Audition is a powerhouse for audio repair and has a very user-friendly workflow, while Reaper is famous for being lightweight, stable, and almost limitlessly customizable. You can use bigger platforms like Pro Tools, but their features are often overkill for spoken word.
If you’re still weighing your options, this fantastic digital audio workstation comparison gives a solid breakdown of the top contenders specifically for voice actors.
Before you even think about hitting that record button, you have to get your session settings right. This isn’t just a suggestion—it's about meeting the technical standards that every professional client expects. Nail this now, and you’ll avoid having your files rejected later.
The two most important settings are sample rate and bit depth.
One last thing: always record your voice in mono. A single voice is a mono source. Recording it in stereo just doubles the file size without adding any sonic benefit. Clients and audio engineers expect a centered, mono voice track for easy mixing.
When something goes wrong—and it will—you need to know how to fix it. Understanding your signal flow, or signal chain, is the key. It's simply the path your voice takes from your mouth to the final recording file.
Is your mic dead? Is the audio distorted? Knowing the signal flow lets you check each connection point and troubleshoot the problem logically instead of just randomly clicking buttons.
This diagram shows the classic signal flow for a voice-over setup.

As you can see, each piece of gear is a link in the chain, handing the audio signal off from the analog world of soundwaves to the digital world inside your computer.
Getting your input level right (often called "gain staging") is one of the most critical skills you'll develop. The mission is simple: record a strong, clean signal that never, ever clips. Clipping is that nasty, harsh distortion you hear when the audio signal is too loud for the system to handle. Once it's clipped, it's ruined forever.
Aim for your voice to peak between -12dB and -6dB on your DAW's input meter. This is the sweet spot. It leaves plenty of "headroom" to avoid clipping while keeping your voice well above any background noise from your gear.
To set your gain, do a test read of the loudest part of your script. While you're speaking, adjust the gain knob on your audio interface until the meter bounces comfortably in that -12dB to -6dB range.
Remember, it’s always better to record a little too quiet than too loud. You can easily boost a clean signal, but there’s no way to un-distort a clipped one. Mastering this one skill will instantly elevate the quality of your raw audio.
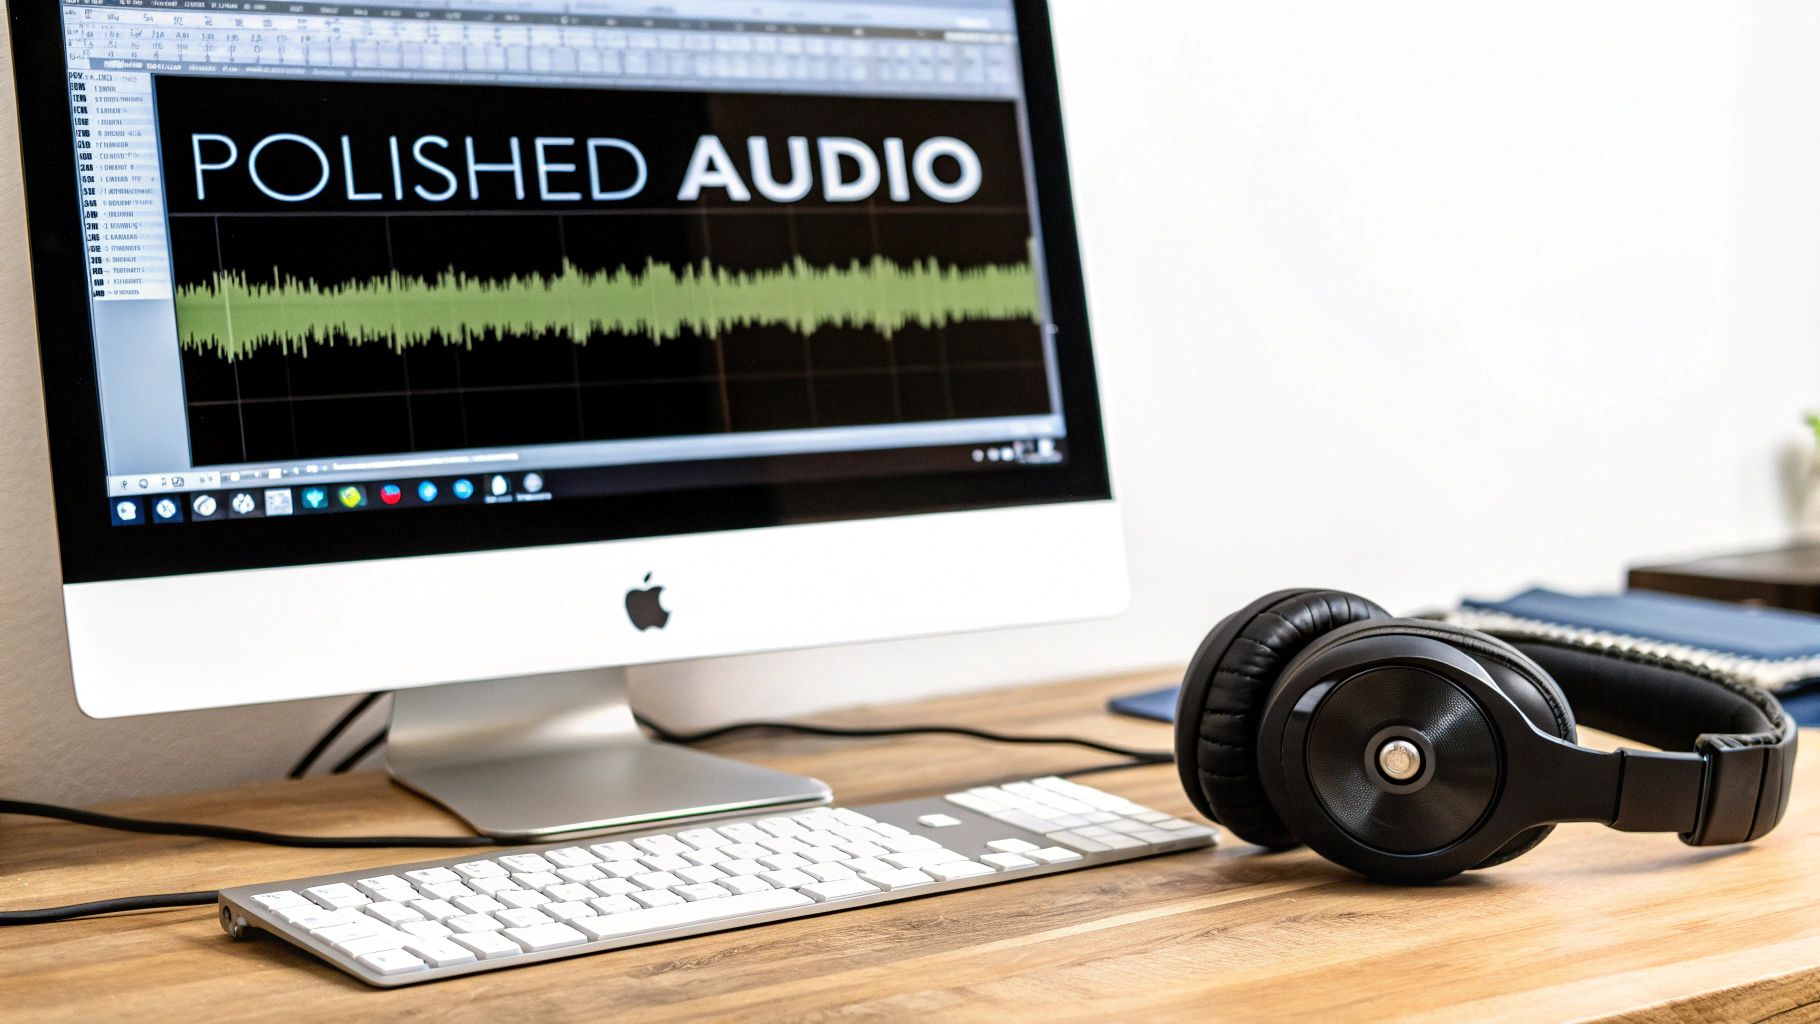
Nailing a clean take in the booth is a huge win, but the work isn't over yet. The real magic happens in post-production, where a good recording is shaped into a professional, broadcast-ready product. This is where you bring your skill as an editor to the forefront.
The first pass is all about cleanup. You’ll be meticulously hunting down and removing all the little distracting noises—mouth clicks, pops, and any breaths that are too loud or jarring. The key here is to be subtle. You want to eliminate the distractions without making the performance sound sterile or robotic. A listener should never know a breath was edited out; it should just sound perfectly natural.
With your audio track cleaned up, it's time to enhance it with a few key plugins. We call this a "processing chain," and it's a standard workflow in just about every professional voice over studio. While the exact settings will change depending on the voice and the recording environment, the order you apply these processors in is critical.
Think of it like cooking: you wouldn’t frost a cake before you bake it. Applying effects in the wrong sequence can cause more problems than it solves, leaving you with a muddy, over-processed mess. Here’s a reliable chain that I’ve found works for the vast majority of voice-over jobs.
A great voice-over processor is like a skilled photo editor. They don't change the subject; they just enhance the clarity, remove the blemishes, and make the final product pop. The best processing is always the processing you don't notice.
The rise of powerful and accessible DAW plugins has been a total game-changer, especially as the industry has embraced remote work. This shift means talented voice actors can deliver fully polished, studio-quality audio right from their home setups. While big production hubs still exist, the old reliance on physical studios is shrinking—only about 10% of industry professionals are still in the process of building theirs. This trend empowers creators to layer professional voice-overs with custom, royalty-free sound effects to produce incredible results for any project. You can read more about this industry evolution in this in-depth analysis on CMDNYC.
Your final step before sending anything off is mastering. This stage is less about creative choices and all about hitting the technical specs for delivery. The biggest thing you're concerned with here is loudness, which we measure in LUFS (Loudness Units Full Scale).
Different platforms require different loudness targets. Spotify, for instance, aims for -14 LUFS, whereas many broadcast TV standards want -24 LUFS. Always check the client's spec sheet.
Your final move should be to use a loudness meter plugin to check your level and a limiter to hit that target precisely. A limiter acts like an invisible safety net, preventing your audio from clipping (distorting) while helping you bring the overall level up to the required standard. This guarantees your file will sound consistent everywhere and won't be automatically turned down by a platform's playback system.
Your voice track is the foundation, but a well-crafted soundscape is what can make a project truly memorable. Adding sound effects isn't just about filling silence; it's about building a world around your words, adding depth and emotion that turns a simple narration into an immersive experience.
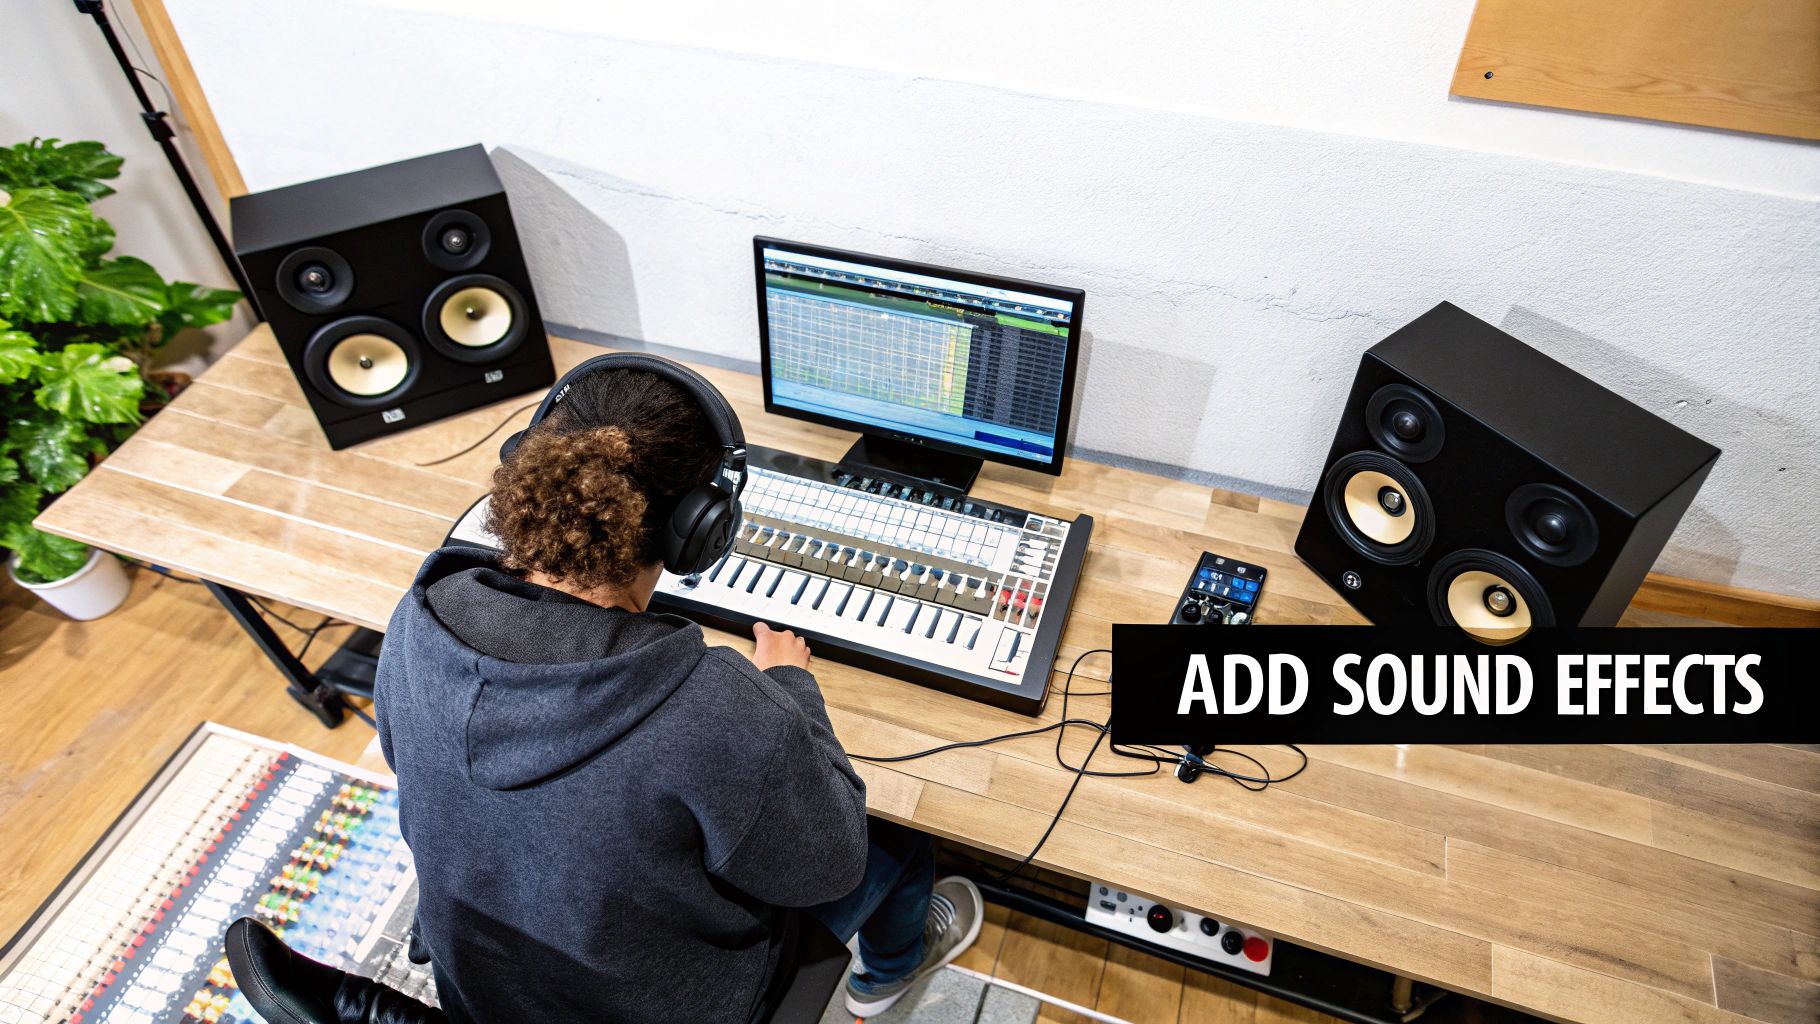
Think of it this way: a subtle office hum underneath a corporate e-learning module makes it feel grounded and relatable. The distant sound of waves during a guided meditation script? That instantly transports the listener. The goal is always to support the message, never to overpower it.
It all starts with finding unique, high-quality audio. This is where a tool like SFX Engine can be a game-changer. Instead of scrolling through endless stock libraries for a generic "door creak," you can generate your own custom sounds from text. Imagine creating "an old heavy oak door creaking slowly in a drafty castle hall"—that level of specificity gives your work a unique signature that stock effects simply can't match.
Once you have your sounds, the real art is in the mix. Your voice is the star of the show; the sound effects are the supporting cast. They should never fight for attention.
Here are a couple of essential techniques to get the balance right:
Sound design is the art of suggestion. A well-placed effect should feel so natural that the listener doesn't consciously notice it—they just feel more connected to the story you're telling. It’s about building an atmosphere, not creating a distraction.
After all the creative work, the final delivery phase is where your professionalism truly shines. These technical details are non-negotiable. Let’s be honest, a client who receives a file named Final_Audio_Draft_v3_reallyfinal.wav is going to question your attention to detail.
A clear, consistent file naming system is crucial. It makes you look organized, saves everyone time, and prevents costly mix-ups. Anyone on the client's team should be able to understand what a file contains just by looking at its name.
This simple table provides a rock-solid template you can use for every project.
| Element | Description | Example |
|---|---|---|
| Project Name | The name of the project or client. | ProjectPhoenix |
| Script/File ID | The unique identifier for the specific script or take. | Ad_Read_01 |
| Your Name | Your initials or last name. | JSmith |
| Take Number | The version of this specific recording. | Take02 |
| Processing State | Indicates if the file is raw or processed. | Edited |
Putting it all together, a final, professionally named file would look something like this: ProjectPhoenix_Ad_Read_01_JSmith_Take02_Edited.wav. It's clean, descriptive, and leaves no room for confusion.
Beyond the filename, you need to embed metadata directly into your audio files. This is hidden info that travels with the file, containing crucial details like your name, contact info, and usage rights. Most DAWs have a straightforward function for this. Think of it as your digital business card and a layer of protection for your work.
Finally, and this is the big one, you have to talk about licensing. If you're adding sound effects to a project, you must be certain they are 100% royalty-free for commercial use. Using a sound you don't have the rights to can create a legal nightmare for your client, and that's a quick way to burn a bridge.
This is why sourcing your SFX from a reputable service is an absolute must. Every single sound you use needs a clear commercial license. This gives your client peace of mind and proves you're a professional who understands the business side of voice-over. It protects them, it protects you, and it’s just good practice.
Diving into audio gear and acoustics for the first time can feel overwhelming. Building your first voice-over studio is a process, and it's totally normal to run into a few hurdles. Let's walk through some of the most common questions and give you some direct, practical answers to get you set up with confidence.
It's a common myth that you need to spend thousands of dollars just to get started. The reality? You can build a surprisingly solid, entry-level setup for around $500 to $800. This budget is more than enough to cover the essentials for professional-sounding audio.
What does that starter investment get you?
Once you're ready to take things to the next level, a mid-range studio might run you $1,500 to $3,000. This jump in budget allows for a significant microphone upgrade (think Neumann TLM 102), a cleaner audio interface with better preamps, and professionally made acoustic panels for superior sound absorption.
The real secret is that the biggest leaps in sound quality come from fixing your room's acoustics, not from buying the most expensive microphone. A well-treated room is the best investment you can possibly make.
Most people immediately think it's the microphone, but the single most critical element of any voice-over studio is the recording space and its acoustic treatment. It’s not even a close call.
Think about it this way: a high-end, $3,000 microphone in an untreated, echo-filled room will sound amateurish and unusable. That expensive mic will just faithfully capture every horrible reflection and slap-back echo.
On the flip side, a modest $150 mic in a quiet, well-treated space can produce clean, professional, and completely marketable results. Your microphone can only capture the sound that exists in the room. If the room sounds bad, the recording will sound bad. Period.
Before you even think about splurging on a top-tier microphone, focus your time and money on creating a "dead" recording space that's free from reverb and outside noise. This ensures your mic captures the pure, direct sound of your voice, making every other part of the process—editing, processing, mixing—infinitely easier and more effective.
This really comes down to your specific goals and how serious you are about this career path. There’s no single "right" answer here, as both have their own clear advantages.
USB microphones are fantastic for their simplicity. They are a true plug-and-play solution, which makes them perfect for beginners, podcasters, or streamers who need good quality audio with almost zero setup fuss.
However, XLR microphones are the professional standard for good reason. They offer superior sound quality, are built to last, and give you way more flexibility. An XLR setup requires a separate audio interface, but that modular approach is a massive long-term advantage. It means you can upgrade individual parts—the mic, the interface, the cables—as your skills and budget grow.
If you're serious about pursuing voice-over as a career, investing in an XLR setup is the way to go. It provides a higher ceiling for quality and a clear upgrade path for your professional growth. For those looking to expand their audio work or understand potential revenue streams beyond traditional voice-overs, exploring how podcasters make money can provide valuable insights into building a sustainable audio business.
Using the correct settings in your Digital Audio Workstation (DAW) is a non-negotiable part of delivering professional work. Getting this right from the start ensures your files meet client expectations and are compatible with broadcast and video standards.
These are the industry-standard settings you should always use for professional voice-over:
Ready to create a truly unique soundscape for your next project? With SFX Engine, you can generate custom, high-quality sound effects from a simple text prompt. Stop searching through generic libraries and start creating the exact audio your project needs, 100% royalty-free. Generate your first sound for free.