December 20, 2025 · Kuba Rogut

In the crowded world of YouTube, high-quality footage is just the entry ticket. The real magic, the element that hooks viewers, boosts retention, and builds a loyal audience, happens in the edit. Moving beyond basic cuts and transitions is no longer a luxury; it's a necessity for growth. A great edit is invisible yet powerful, shaping the viewer's experience from the first second to the last. It dictates the pace, clarifies the message, and transforms raw footage into a compelling story that feels polished and professional. Poor editing, on the other hand, can make even the best content feel jarring and unwatchable, leading to quick drop-offs.
This guide provides a definitive list of youtube video editing tips that separate amateur content from professional-grade productions. We will move past the obvious and dive into the specific techniques used by top creators to craft engaging narratives, maintain perfect pacing, and deliver an unforgettable viewing experience. You will learn practical methods for everything from seamless B-roll integration and advanced audio transitions to strategic color grading and effective project management. Whether you're a seasoned editor or just starting, these actionable insights will immediately elevate your content, transform your workflow, and ultimately improve your channel's performance.
Match cuts and strategic B-roll integration are powerful YouTube video editing tips that elevate your content from a simple recording to a compelling visual story. This technique involves synchronizing your visual cuts with specific audio cues, such as dialogue, sound effects, or the beat of your background music. The goal is to create a seamless, rhythmic flow that holds viewer attention by making transitions feel natural and intentional rather than jarring.
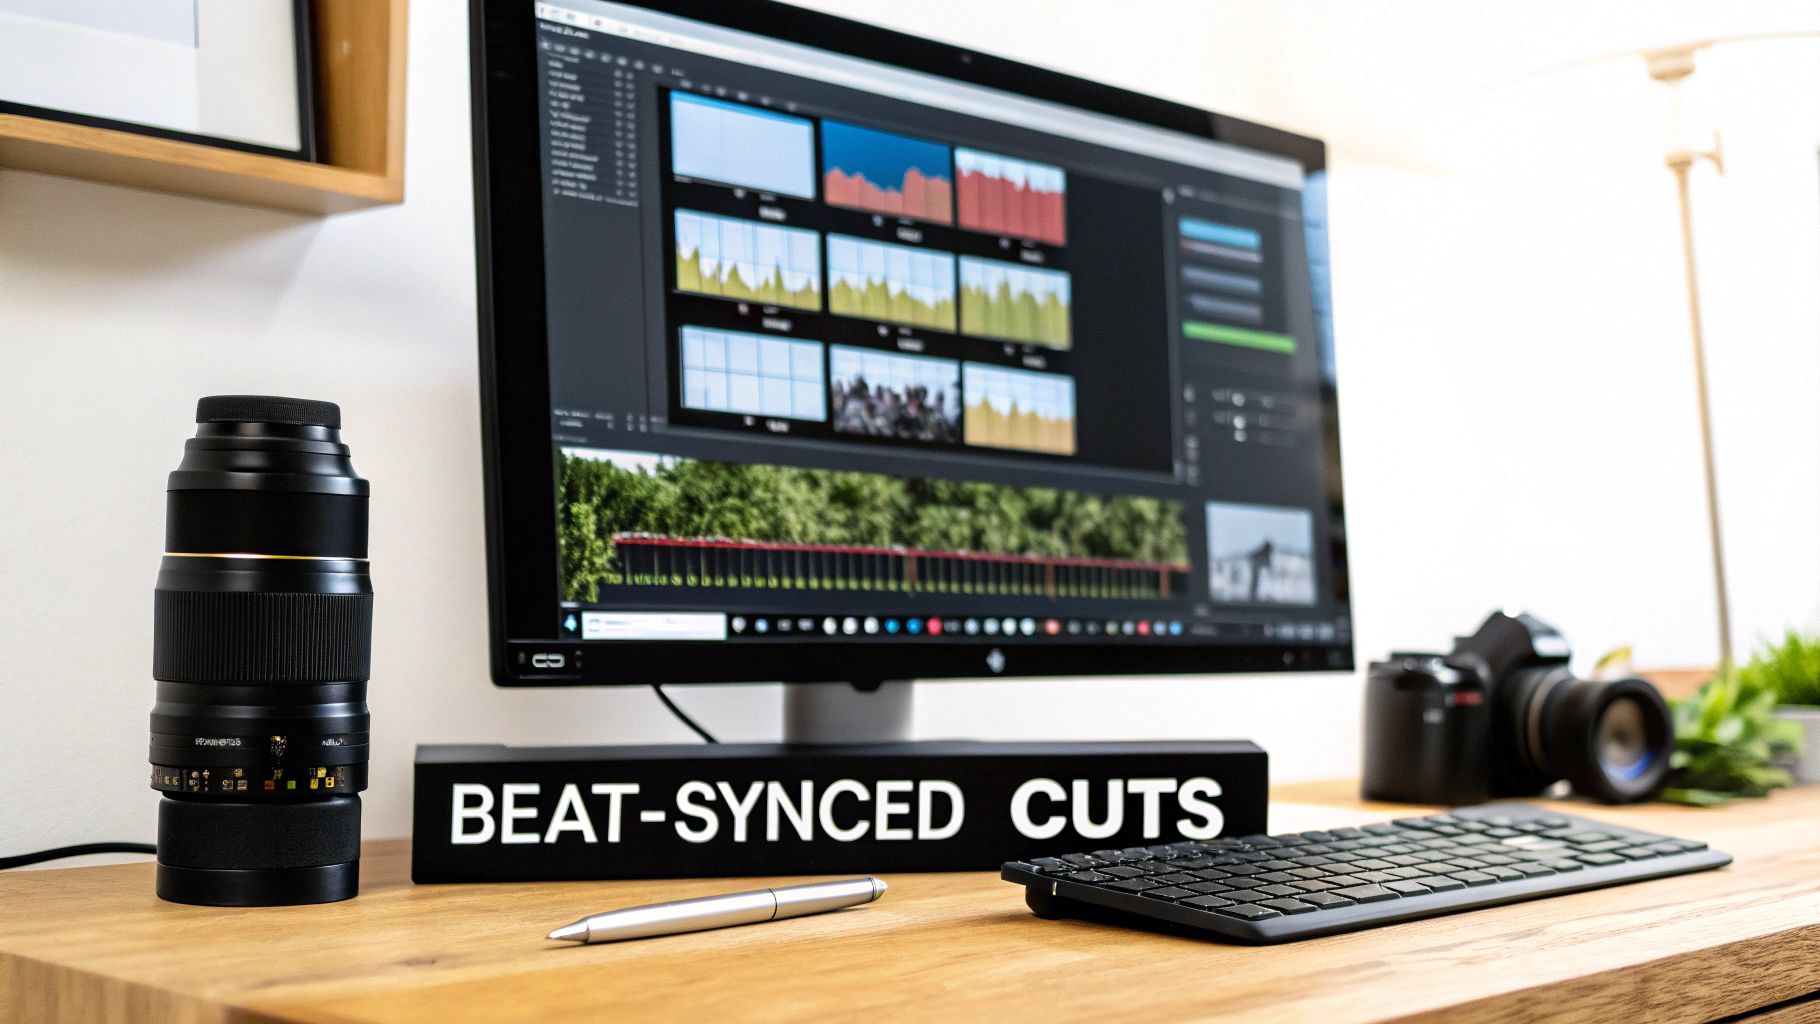
This method, popularized by creators like Casey Neistat and MrBeast, uses B-roll (supplementary footage) to reinforce the narrative. For instance, if you mention "coffee," you cut to a quick shot of a steaming mug precisely on the beat. This maintains a high-energy pace and visually illustrates your points, which is crucial for audience retention on YouTube.
L-cuts and J-cuts are fundamental YouTube video editing tips that create a more cinematic and seamless viewing experience by desynchronizing audio and video transitions. In a standard cut, both audio and video change simultaneously. With an L-cut, the audio from the first clip continues to play over the start of the next clip. Conversely, a J-cut introduces the audio from the upcoming clip before the video transitions.
This technique, borrowed from traditional filmmaking and used by educational creators like CGP Grey and Vsauce, softens transitions and guides the audience’s attention. For example, in an interview, you can use a J-cut to hear the next person start talking before cutting to their face. This makes the conversation feel more natural and fluid, avoiding the abruptness of hard cuts and improving overall flow.
Color grading and consistent color correction are essential YouTube video editing tips for establishing a professional aesthetic and strong brand identity. This process involves adjusting the color and light in your footage to create a specific mood, ensure visual continuity, and guide the viewer's focus. It's about moving beyond basic exposure fixes to craft a deliberate and recognizable color palette that becomes part of your channel's signature look.
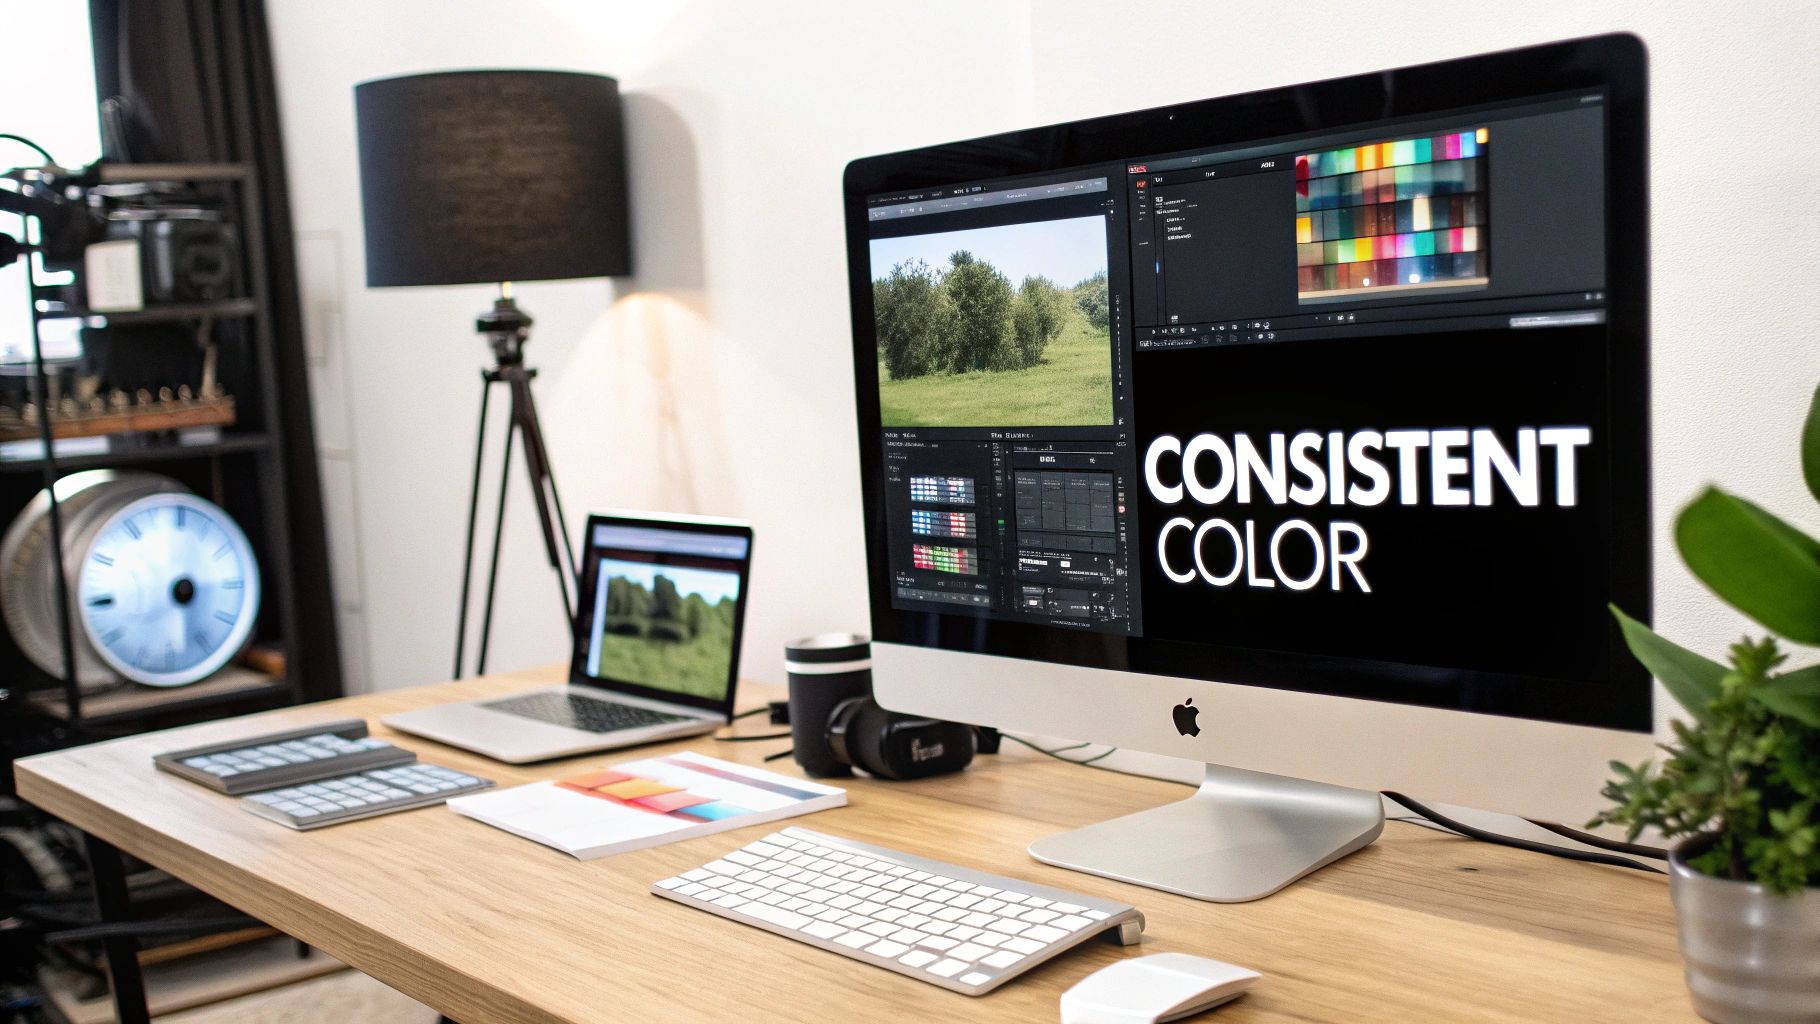
This technique is mastered by creators like Marques Brownlee (MKBHD), whose clean, warm tones are instantly recognizable, and FilmJoy, who uses a darker, moodier palette to complement their analysis. The goal is to make footage shot in different locations or at different times look like it belongs together in a single, cohesive video. This builds a subconscious sense of quality and professionalism that keeps viewers engaged.
Multi-camera editing and synchronization workflows are game-changing YouTube video editing tips for content involving multiple camera angles, such as interviews, podcasts, or live events. This technique allows you to combine footage from several cameras into a single, synchronized clip in your timeline. From there, you can switch between angles with a single click, dramatically speeding up the editing process and creating a more dynamic final product.
This method is the standard for interview-based channels like the Lex Fridman Podcast and video podcasts like the H3 Podcast. Instead of manually aligning clips and cutting back and forth, editors can watch the program in real-time and simply select the best angle for each moment. This preserves conversational flow and adds professional polish by capturing reactions and different perspectives seamlessly.
The strategic use of text overlays and graphics is a fundamental YouTube video editing tip that transforms passive viewing into an active experience. This technique involves placing on-screen text, lower thirds, and animated callouts to reinforce key messages, guide the viewer's attention, and add a layer of professional polish. By visually highlighting important information, you make your content easier to digest and more memorable.
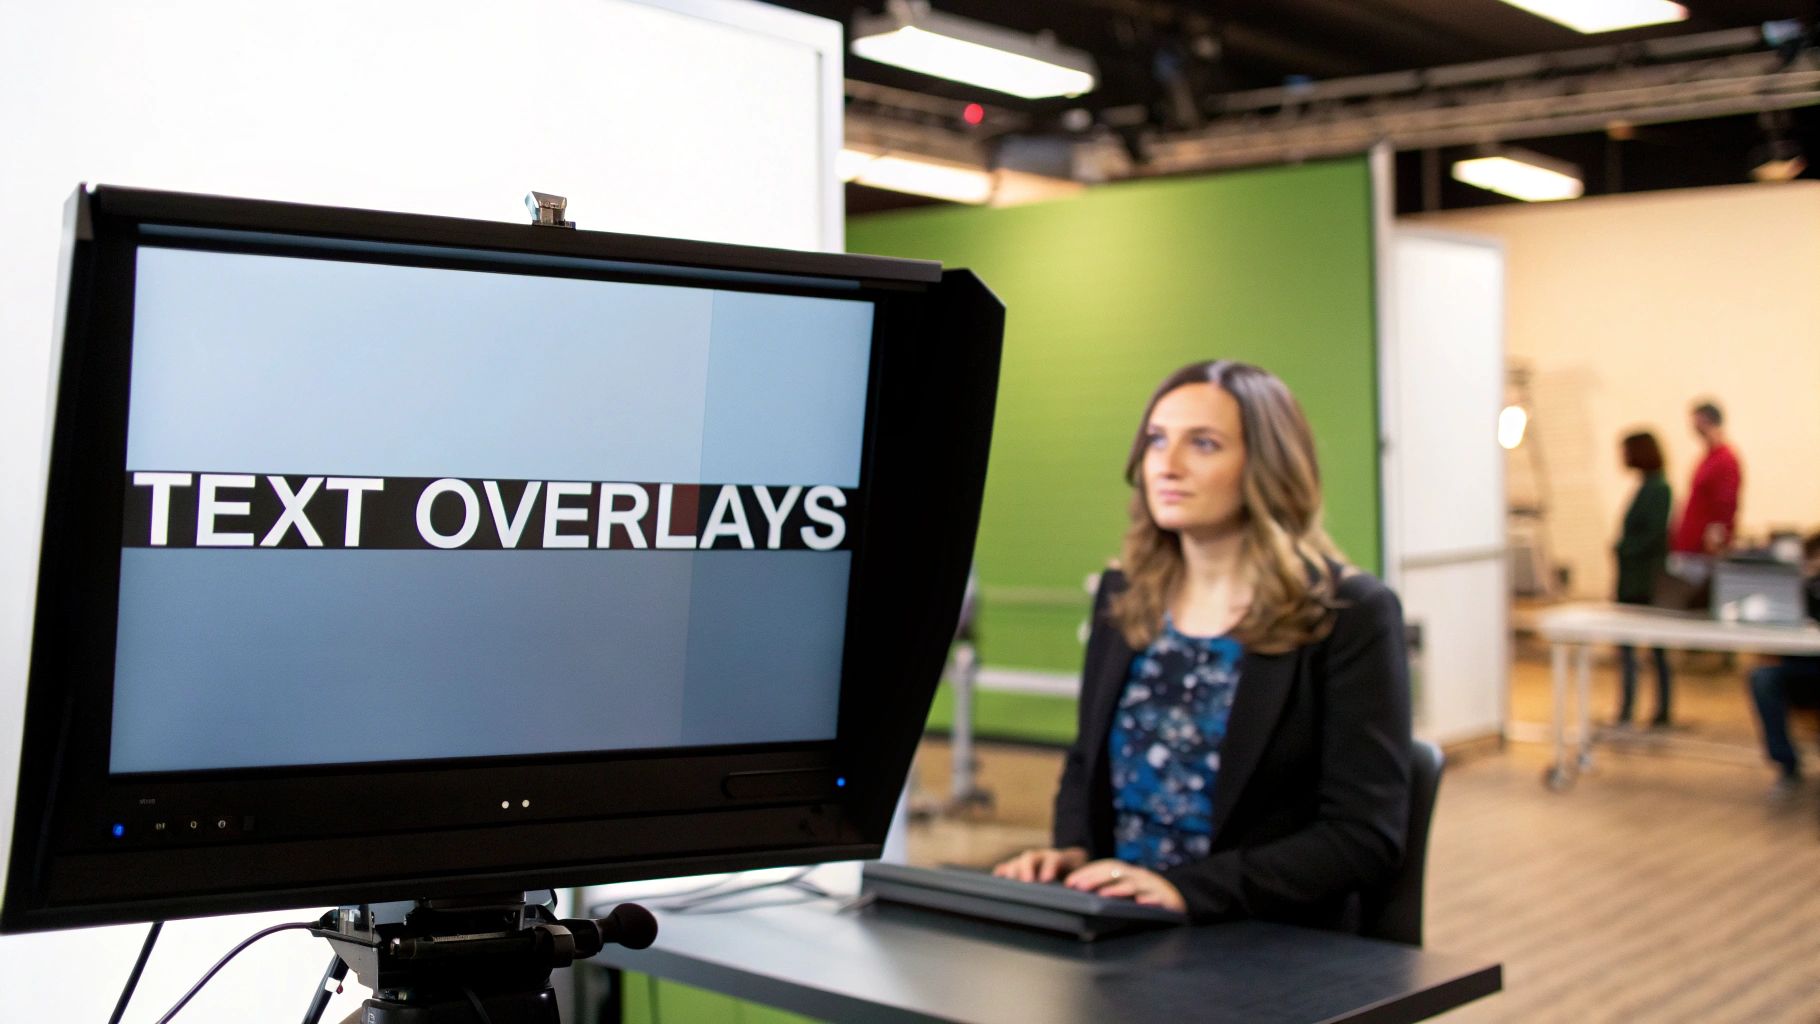
Creators like MrBeast leverage bold, dynamic text to create excitement and emphasize stakes, while educational channels use precise overlays to label concepts and present step-by-step instructions. This method ensures your core points land with impact, even if a viewer is watching with the sound off. Properly executed graphics serve as signposts, telling the audience exactly what they need to know at any given moment. Integrating these elements with other content creation tools for social media can significantly boost your production value.
Professional audio mixing and sound design are among the most critical YouTube video editing tips for creating a polished, immersive viewer experience. This process involves carefully balancing your dialogue, background music, sound effects, and ambient noise to craft a cohesive and clear soundscape. Proper audio management ensures your message is heard clearly, supports the video's emotional tone, and prevents viewers from clicking away due to poor sound quality.
Channels like Linus Tech Tips master this by ensuring their dialogue is always crisp and present, even with complex background elements. It’s the difference between an amateur recording and a professional broadcast. Good audio rivets attention, enhances visual storytelling, and ultimately builds trust with your audience, making them more likely to subscribe and return.
Quick cut montage sequences are essential YouTube video editing tips for manipulating pace and maintaining high energy. This technique involves a rapid succession of very short clips, often just one to three seconds each, meticulously edited to the beat of a music track. The goal is to convey a large amount of information, action, or the passage of time in a condensed, visually stimulating package that prevents viewer drop-off.
This method is a hallmark of creators like MrBeast, used in his high-stakes challenge videos to build excitement and show progress without slowing down. You also see it constantly in daily vlog "morning routine" sequences and fast-paced travel vlogs. The rapid cuts, synchronized to an upbeat track, create a dynamic rhythm that keeps the viewer locked in and makes the content feel more engaging.
A systematic approach to organizing your project files is one of the most powerful YouTube video editing tips for maximizing efficiency and preventing catastrophic data loss. This involves creating a consistent folder structure, naming convention, and backup strategy for every video you produce. A clean, organized project ensures you can find any asset instantly, collaborate with others seamlessly, and revisit old projects without headaches.
This method isn't just for large-scale studios like Corridor Crew; it’s a foundational practice for any creator looking to scale their production. By treating your file system like a professional library, you eliminate time wasted searching for files and reduce the risk of linking to the wrong media. Efficient editing relies on a robust production pipeline; to master your video production workflow and get expert insights, exploring technical production guides is a great next step.
01_Footage, 02_Audio, 03_Graphics, 04_ProjectFiles, and 05_Exports. Duplicate this template for every new video.YYYY-MM-DD_ProjectName_Version (e.g., 2024-10-26_EditingTips_V1).Pacing and cutting on action are crucial YouTube video editing tips that inject energy and momentum into your content. This technique involves timing your cuts to coincide with movements or actions on screen, rather than during static pauses. The goal is to create a seamless, dynamic flow that pulls the viewer forward and makes transitions feel invisible and natural, effectively hiding the edit.
This method is essential in genres where momentum is key, like action sports, gaming highlights, or even fast-paced cooking tutorials. Instead of cutting after a skateboarder lands a trick, you cut as the board connects with the rail. This maintains visual continuity and propels the narrative, keeping the viewer locked in and preventing their attention from wandering during lulls.
While thumbnail design often happens after the edit, integrating it into your workflow is one of the most impactful YouTube video editing tips for discoverability. This approach involves consciously capturing and editing footage with the final thumbnail in mind. It means creating moments with high contrast, clear emotional expressions, and compositions that remain compelling even when scaled down to a small size.
Creators like MrBeast excel at this by building their entire video concept around a visually powerful thumbnail moment. Your edit should actively look for these opportunities, ensuring key visuals like dramatic reactions or important on-screen information are clean, well-lit, and easily isolated. Thinking about the thumbnail during the edit bridges the gap between your content and a potential viewer's first impression.
| Technique | Implementation (🔄) | Resource Needs (⚡) | Expected Outcomes (⭐📊) | Ideal Use Cases (💡) | Key Advantages (📊) |
|---|---|---|---|---|---|
| Match Cuts and B-Roll Integration | 🔄 High — precise beat/audio syncing; time-consuming | ⚡ High — extensive B-roll, music, edit time | ⭐📊 Polished look; increased retention and pacing | 💡 Vlogs, branded narratives, energetic edits | 📊 Enhances storytelling, visual rhythm |
| L-Cuts and J-Cuts for Smooth Transitions | 🔄 Medium — audio/video offset skills required | ⚡ Low–Medium — standard editing tools, careful audio work | ⭐📊 Natural flow; fewer jarring cuts | 💡 Interviews, documentaries, educational content | 📊 Smooth transitions; improved viewer comfort |
| Color Grading and Consistent Color Correction | 🔄 Medium–High — color theory and monitoring needed | ⚡ Medium — grading software, calibrated displays | ⭐📊 Cohesive brand look; cinematic quality | 💡 Branded channels, cinematic vlogs, reviews | 📊 Establishes visual identity; emotional tone |
| Multi-Camera Editing and Sync Workflows | 🔄 High — complex sync and timeline management | ⚡ High — multiple cameras, storage, software | ⭐📊 Dynamic output; faster multi-angle edits once synced | 💡 Podcasts, interviews, live events | 📊 Seamless angle switching; professional polish |
| Strategic Use of Text Overlays and Graphics | 🔄 Medium — design + timing precision | ⚡ Medium — motion-graphics tools, templates | ⭐📊 Better information retention and accessibility | 💡 Tutorials, news, educational videos | 📊 Guides attention; clarifies key points |
| Audio Mixing and Sound Design Fundamentals | 🔄 High — audio engineering and critical listening | ⚡ Medium — DAW, plugins, quality monitors/headphones | ⭐📊 Significant perceived quality boost; clarity | 💡 Podcasts, interviews, cinema-style YouTube | 📊 Enhances emotion, intelligibility, retention |
| Quick Cut Montage Sequences for Pacing | 🔄 Medium — tight beat-matching and pacing | ⚡ High — abundant footage, music selection | ⭐📊 High engagement; energetic pacing | 💡 Montages, highlights, travel and gaming reels | 📊 Amplifies energy; condenses time effectively |
| Proper Project Organization and File Management | 🔄 Low–Medium — initial system setup and discipline | ⚡ Low — templates, storage, backup solutions | ⭐📊 Faster edits; fewer errors; scalable workflows | 💡 Team projects, agency workflows, long-term series | 📊 Improves efficiency, collaboration, archives |
| Pacing and Cutting on Action for Engagement | 🔄 Medium — requires intuition and precise timing | ⚡ Low–Medium — depends on footage movement | ⭐📊 Maintains momentum; natural-feeling edits | 💡 Action sports, comedy, cooking, gaming highlights | 📊 Smoothes transitions; disguises static shots |
| Thumbnail Optimization and Thumbnail Integration | 🔄 Low–Medium — intentional frame selection workflow | ⚡ Low — still capture, coordination with design | ⭐📊 Higher CTR and discoverability | 💡 Any channel aiming to increase views and CTR | 📊 Boosts click-throughs; supports channel branding |
We've explored a comprehensive toolkit of youtube video editing tips, moving from the foundational discipline of file management to the creative artistry of color grading and sound design. Each technique, whether it's the seamless flow created by J-cuts and L-cuts or the energetic punch of a quick-cut montage, serves a single, vital purpose: to capture and hold your audience's attention. Mastering these skills is not about memorizing rules; it's about building an intuitive understanding of storytelling rhythm and visual language.
The difference between a good video and a great one often lies in the details. It's the crisp audio mix that makes dialogue clear, the consistent color palette that establishes a professional mood, and the strategically placed B-roll that brings your narrative to life. These elements work together to create an immersive experience that feels polished and intentional, encouraging viewers to like, subscribe, and share.
True growth as a video editor comes from application, not just accumulation of knowledge. Staring at a long list of tips can be overwhelming, so let's make this actionable. Instead of trying to implement all ten concepts at once, choose one or two to focus on for your very next project.
By focusing your efforts on incremental improvements, you build muscle memory and develop a deeper creative instinct. You'll stop thinking about the technical steps and start feeling the rhythm of the edit. This is how you transform from someone who simply assembles clips into a storyteller who crafts compelling narratives. The journey to becoming a proficient YouTube editor is a continuous process of learning, experimenting, and refining. The most important step is always the next one. Go make your next cut an intentional one.
Ready to elevate your sound design? A massive library of high-quality, royalty-free sound effects is essential for bringing your edits to life, and SFX Engine provides just that. Find the perfect woosh, click, or ambient track to make your videos more immersive at SFX Engine.