February 6, 2026 · Kuba Rogut
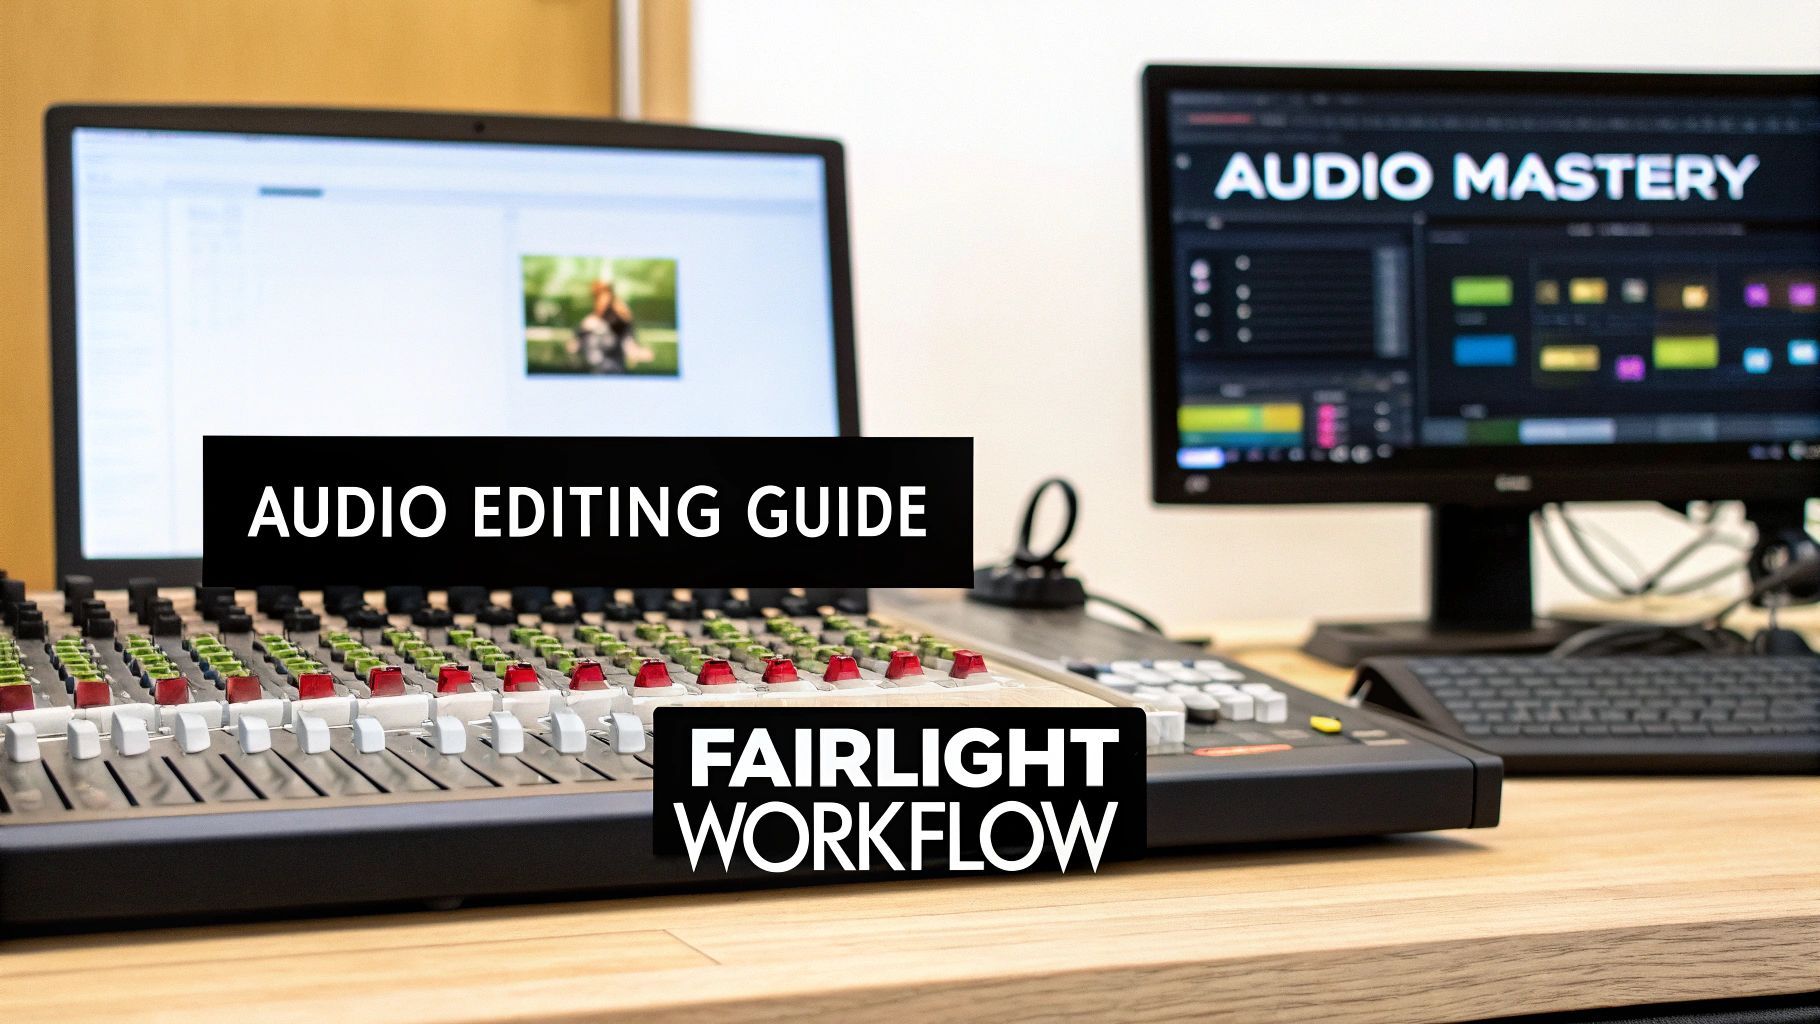
This DaVinci Resolve audio editing guide will walk you through a complete workflow for getting professional sound. We'll cover everything from the initial project setup and timeline editing all the way to advanced mixing and mastering. You'll learn how to clean up dialogue, balance your levels, and export a polished final product, all inside Resolve's powerful Fairlight page.
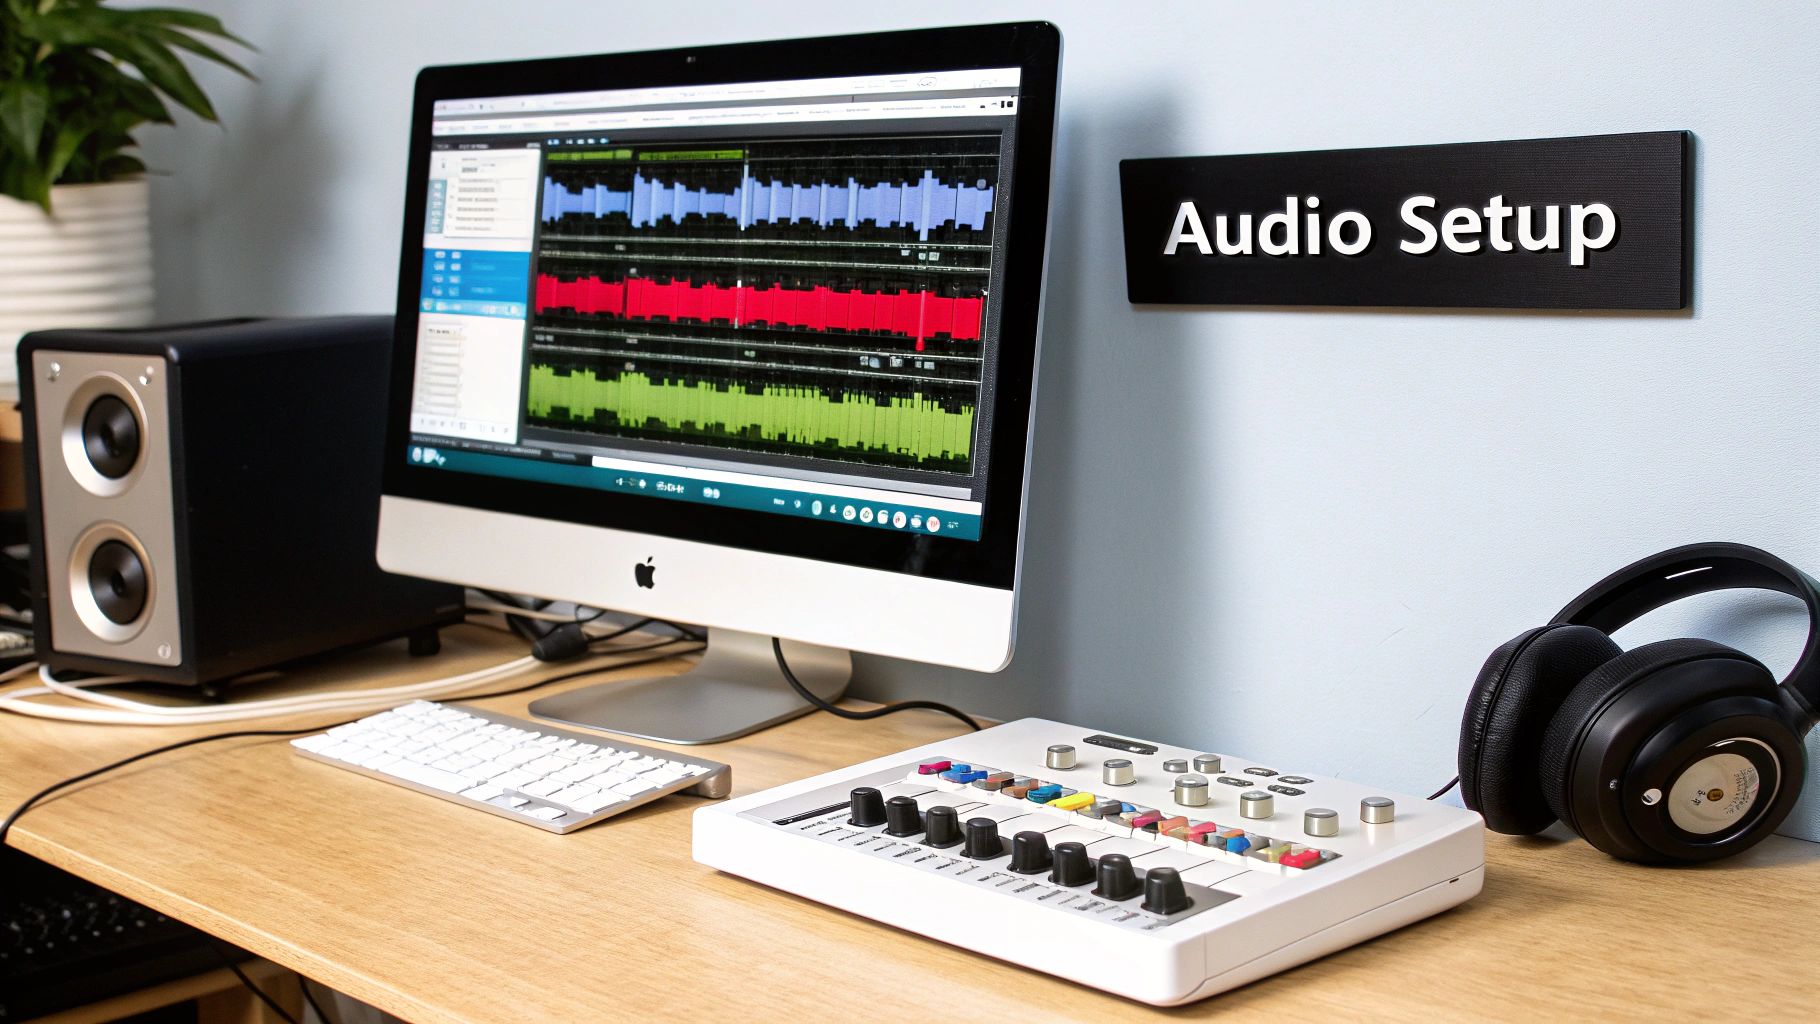
A great final mix doesn't just happen when you start adding effects. It starts with a solid foundation—a clean, organized project from the very beginning. Taking the time to do this right prevents a ton of technical headaches down the road and lets you focus on the creative side of things instead of constant troubleshooting.
The first few settings you pick are more important than you might think. They're the blueprint for your entire sound design.
When you fire up a new project, the first place you should go is File > Project Settings > Fairlight. Two settings here are non-negotiable: Sample Rate and Bit Depth.
Getting these technical specs right from the get-go prevents a world of hurt later. It ensures your audio has the highest possible quality and avoids compatibility issues when you go to export.
A well-organized project is a fast project. Taking five minutes to set up proper bins and settings can save you hours of searching for files and fixing technical issues later on.
A messy timeline is an editor's worst nightmare. Before you even think about importing a single file, take a minute to create dedicated media bins for each type of audio you'll be using. This simple habit is a lifesaver, especially on larger projects with dozens or even hundreds of tracks.
The Fairlight page is designed for an intuitive workflow, with your timeline, mixer, and effects library all within easy reach. Your neatly organized bins will pop up in the Media Pool on the left, ready for you to drag and drop.
I recommend creating these bins in your Media Pool right away:
This structure keeps your assets tidy and makes finding the right clip a breeze. Need to tweak the background room tone? You know exactly where to look without digging through dialogue files. Of course, good organization is just the start; you can also dive deeper into techniques to remove background noise from audio to really polish your recordings.
And if you're curious about how DaVinci Resolve stacks up against other tools, this video production software comparison is a great read. By establishing a solid framework from the beginning, you're setting yourself up for a smooth, efficient, and much more enjoyable audio editing process.
Alright, with your project set up and your clips organized, it's time to dive into the Fairlight timeline. This is your audio sandbox, where all the syncing, trimming, and layering magic happens. It’s here that you'll take a jumble of individual sounds and start weaving them into a cohesive experience for your audience.
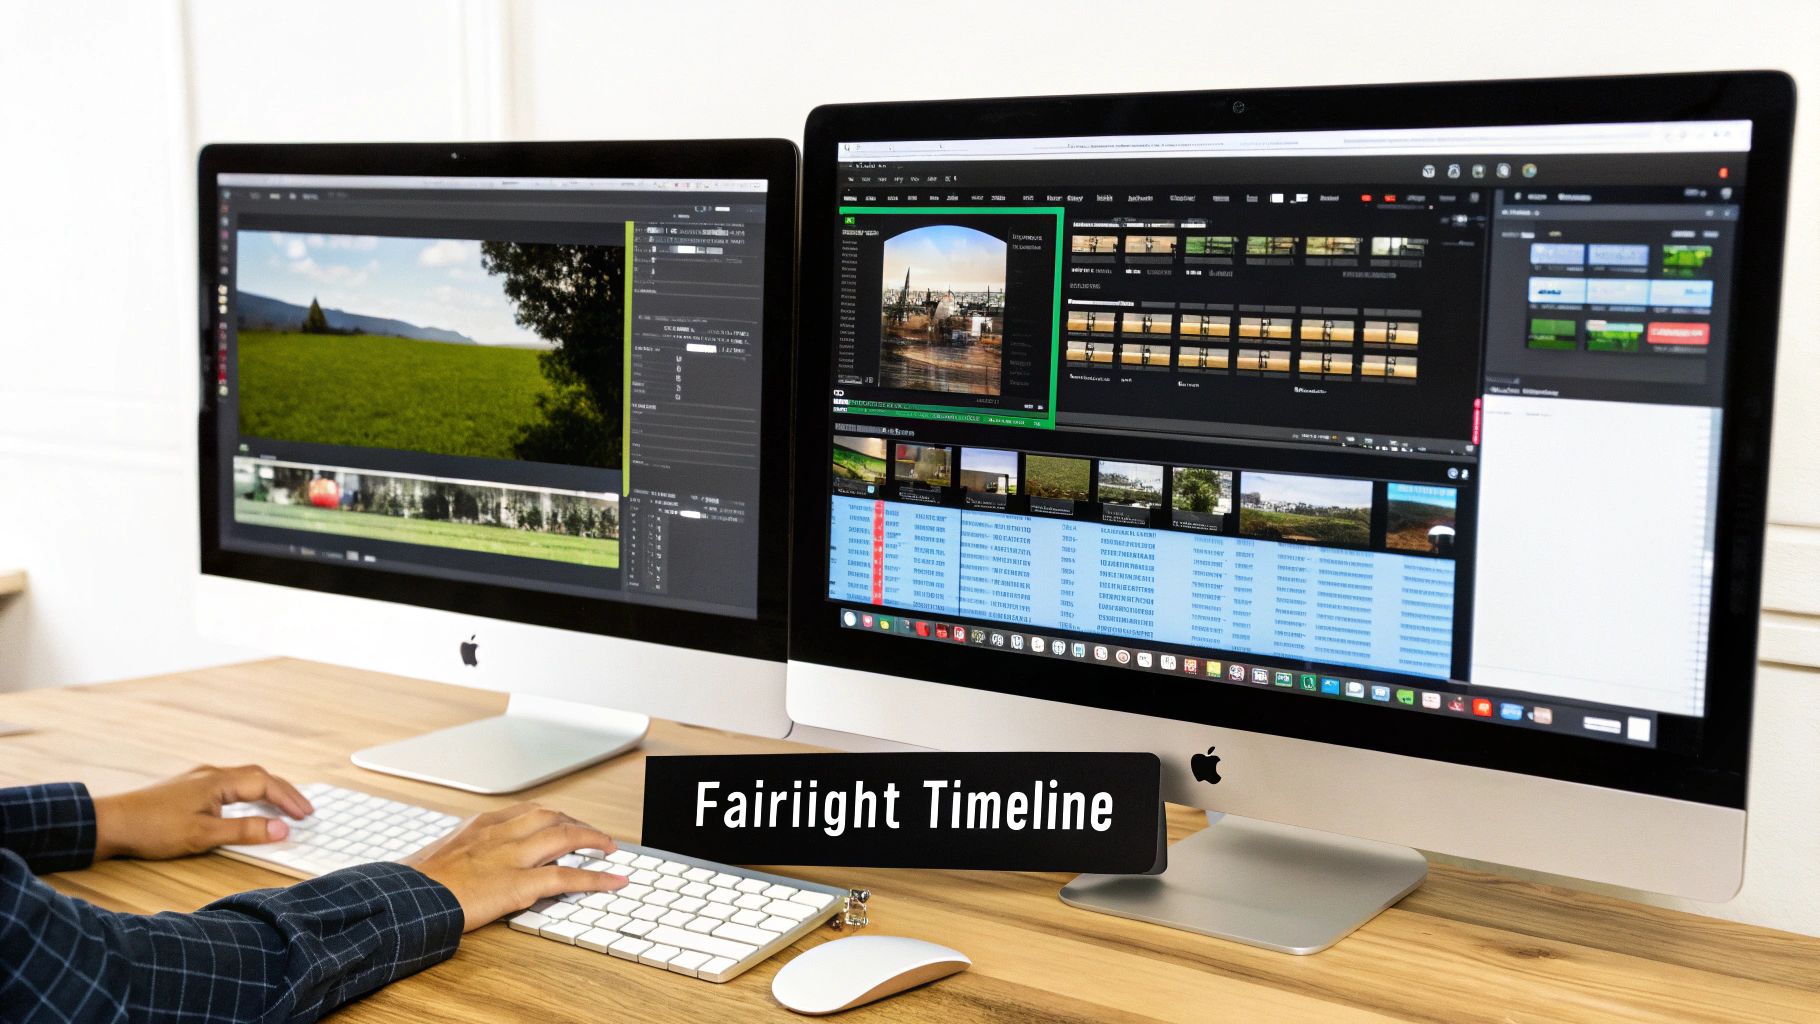
At first glance, the timeline might look straightforward, but there's a serious amount of precision-editing power packed in there. Getting comfortable with these tools is what separates a quick-and-dirty edit from a truly polished mix. Your ability to move clips around with speed and accuracy is everything.
Your day-to-day work on the timeline will really boil down to a handful of core tools. Sure, you can get a lot done with the basic selection tool, but learning the specialized shortcuts will make you faster and give you far more creative control.
Let’s zero in on the three big ones you'll be using constantly:
These aren't just for fixing problems; they're creative instruments. For instance, with the slip tool, you could shift a footstep to land precisely on a musical beat, adding a subtle, almost subconscious rhythm to a scene.
Don’t just cut your audio—sculpt it. Using tools like Slip and Slide allows you to refine timing with a precision that makes the difference between an amateur edit and a professional one.
Let's say you're editing an interview, and the speaker keeps saying "um" and "ah." A beginner might just use the razor tool to chop out the filler words. The problem? This usually creates a jarring, unnatural jump in the audio and the background noise.
Here’s a much smoother approach:
By using the existing room tone as a bridge, you maintain the sonic fingerprint of the recording. The edit becomes almost invisible, preserving the natural flow of the conversation and avoiding that choppy sound that instantly flags an edit as amateur. It’s a small trick that has a massive impact.
As your project gets more complex, your timeline can quickly devolve into a chaotic mess of unnamed audio tracks. A solid organizational system isn't just a "nice to have"—it's absolutely essential for staying sane and working fast.
My go-to method is a combination of color-coding and a strict naming convention. In Fairlight, you can just right-click any track header and assign it a color. This gives you a quick visual reference so you know what you're looking at without having to read a thing.
Here's a sample structure I use on almost every project:
| Track Type | Color | Naming Convention |
|---|---|---|
| Dialogue | Blue | DLG - [Character Name] |
| Music | Green | MUS - [Cue Name] |
| Sound Effects | Yellow | SFX - [Effect Type] |
| Ambience | Purple | AMB - [Location] |
A system like this makes it dead simple to navigate your session. Need to lower all the dialogue at once? Just grab the blue tracks. This kind of organization is the bedrock of any professional workflow and is non-negotiable for doing good work efficiently.
Once your clips are laid out on the timeline, the real magic begins. Raw audio, even when it’s well-recorded, almost always needs a little finessing to truly shine. This is where you’ll start leaning on DaVinci Resolve's Fairlight page and its built-in effects, transforming good audio into something truly professional without ever leaving the NLE.
I’m going to walk you through the three tools I use on practically every project: Noise Reduction, Equalization (EQ), and Compression. Honestly, if you can get a handle on just these three, you'll be able to solve the vast majority of common audio problems you'll ever face.
Nothing kills a good recording faster than background noise. It could be the low-frequency hum from an air conditioner, the faint whine of a computer fan, or even just the natural echo of a big, empty room. You can't always control your recording environment, but Fairlight gives you incredible tools to clean things up after the fact.
For a steady, persistent noise like a hum or hiss, the Noise Reduction effect is your go-to. You'll find it in the Effects Library. The trick here is to find a small, isolated section of your audio that contains only the noise you want to get rid of. Select that tiny portion, open the Noise Reduction effect, and click "Learn." This process gives Resolve a sonic fingerprint of the exact sound you want to eliminate.
After it learns the noise profile, the effect will work its magic across the entire clip. A word of caution: be gentle. Pushing the settings too hard can strip the life out of your dialogue, leaving it sounding thin and robotic. A light touch is almost always better.
Pro Tip: For trickier issues like room echo or reverb, don't sleep on the AI-powered Voice Isolation tool. You can find it right in the Inspector panel. This single slider can work miracles on dialogue recorded in less-than-ideal spaces, often wiping out 80-90% of unwanted reverb with just one click. It's saved me more times than I can count.
Equalization, or EQ, is all about balancing frequencies. I like to think of it as a set of hyper-specific volume knobs, where each one controls a different slice of the sound spectrum—from the deepest rumbles to the crispest highs. When you're working with dialogue, the number one goal is almost always clarity.
A really common problem in voice recordings is "muddiness," a boxy sound that usually hangs out in the 200-500 Hz frequency range. This is where a Parametric EQ becomes your best friend. By creating a narrow band in that specific range and dipping the gain, you can instantly carve out the mud and make a voice sound cleaner and more defined. If you want to dive deeper into the technical side of things, our guide on what is parametric EQ is a great resource.
On the flip side, you can add a gentle boost somewhere in the 2-5 kHz range to give a voice a bit more presence and intelligibility. This helps it cut through music or sound effects without having to crank up the overall volume.
So, what does a compressor actually do? In simple terms, it reduces the dynamic range of an audio signal—that's the gap between the loudest and quietest parts. When someone speaks, their volume naturally goes up and down. A compressor smooths out those peaks and valleys, making the overall level much more consistent and easier to listen to.
Here’s my typical approach for compressing dialogue:
This whole process gives your audio a more polished, controlled, and professional feel. It makes sure whispers are still audible and shouts don’t blow out your eardrums, which is key to a great listening experience.
To help you quickly find the right tool for the job, here's a quick-reference table for some of the most common audio issues you'll encounter and the Fairlight effects designed to fix them.
| Problem | Fairlight Tool | What It Does |
|---|---|---|
| Persistent background hum or hiss | Noise Reduction | Learns a noise profile and removes it from the clip. |
| Room echo and reverb | Voice Isolation | Uses AI to separate dialogue from background reflections. |
| Muffled or "boxy" sound | Parametric EQ | Allows precise cuts to problematic frequencies (e.g., 200-500 Hz). |
| Lack of clarity or presence | Parametric EQ | Lets you boost frequencies that enhance intelligibility (e.g., 2-5 kHz). |
| Inconsistent volume levels | Compressor | Reduces the dynamic range to even out loud and quiet parts. |
| Harsh "S" sounds (sibilance) | De-Esser | Specifically targets and reduces high-frequency sibilant sounds. |
This is just scratching the surface, of course. The power packed into the Fairlight page is immense; it's a professional-grade digital audio workstation capable of handling up to 2,000 tracks with real-time effects. You can discover more about Fairlight's extensive capabilities on the Blackmagic Design website.
Once you've cleaned up individual tracks with EQ and compression, the real artistry begins. This is the point where you stop fixing problems and start shaping the emotional journey of your audio. We're moving from managing individual players to conducting the entire orchestra, and two professional techniques—bussing and automation—are your baton.
These advanced mixing strategies are what separate a decent mix from a professional one, giving you total control over the final sound.
Let's say you're working on a scene with ten different sound effect tracks: footsteps, door creaks, distant sirens, wind, and so on. Adjusting the volume on each one individually whenever you need to make a change is a surefire way to lose time and your mind. This is exactly what bussing (or submixing) was invented for.
A bus is simply a channel that you can use to group multiple audio tracks. Instead of sending all ten of those SFX tracks straight to the main output, you route them to a single "SFX Bus." Now, you have one fader that controls the overall volume of every single sound effect. It's a game-changer.
This workflow is about more than just convenience:
Bussing isn't just an organizational tool; it's a creative one. By grouping dialogue, music, and effects into their own submixes, you gain high-level control that makes balancing the entire project incredibly intuitive.
Automation is the secret to making a mix feel alive. It's the process of recording changes to any parameter over time—think volume, panning, or even the settings on an effect. Instead of setting a music track's volume and leaving it there, automation lets you make it swell during an emotional peak and then gently dip it underneath dialogue just when you need to.
In DaVinci Resolve's Fairlight, you can automate almost anything. Look for the small diamond icon next to faders and knobs; that’s your gateway.
Here’s a classic, real-world example: making music duck under dialogue.
This little trick ensures your dialogue stays front and center, perfectly clear and intelligible. You can use the same technique for panning to make a car sound like it's driving from the left speaker to the right. It adds a layer of immersion that a static mix could never achieve.
The path to a clean, powerful mix follows a logical order, from the raw recording all the way to the final sweetening.
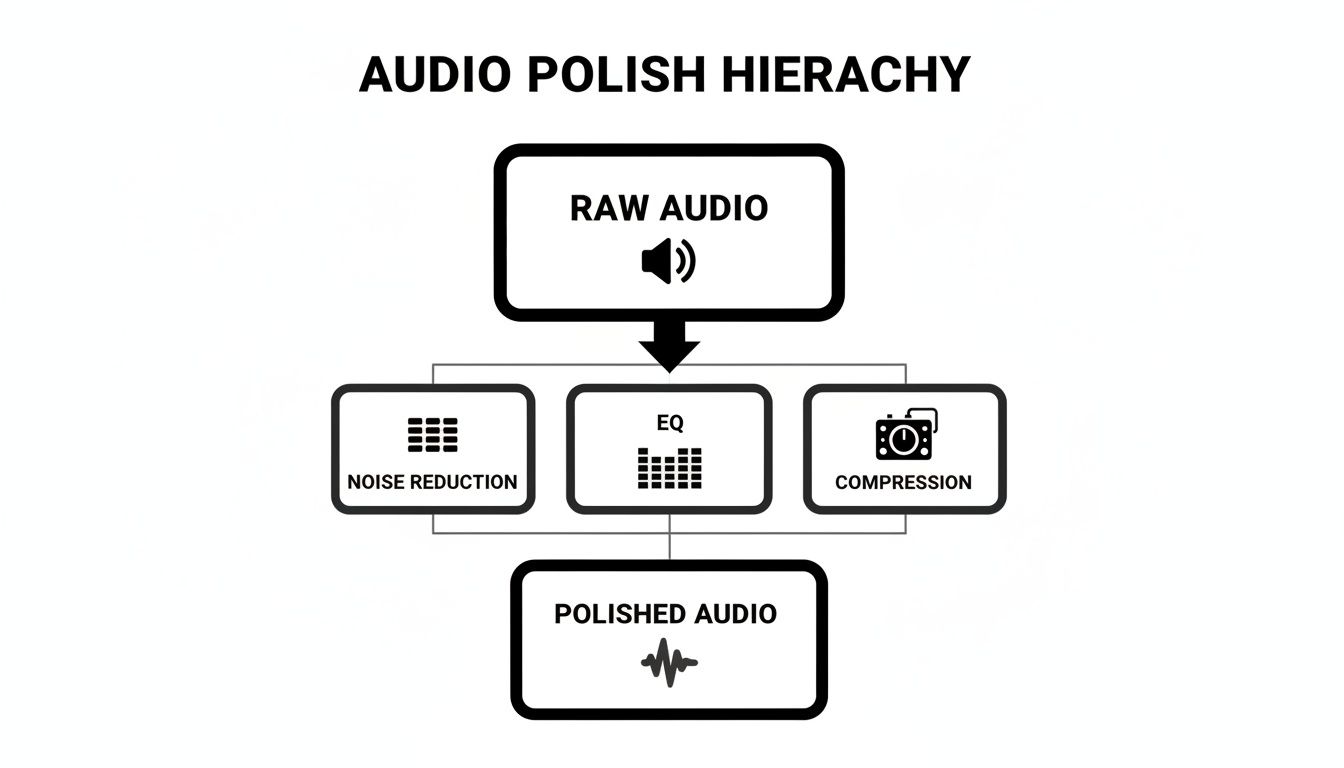
As this shows, a great mix is built in layers. Each step addresses a specific part of the sound before you move on to the next. By mastering bussing for overall control and automation for dynamic movement, you can shape your project’s sonic landscape with incredible precision, guiding the listener's ear exactly where you want it to go.
Stock sound effect libraries are a fantastic starting point, but let’s be honest, they have their limits. What do you do when you need the exact sound of a rusty iron gate creaking open in a light rainstorm? Or the specific, low hum of a sci-fi server room from a film that doesn't exist? This is where AI sound generation completely changes the game, opening up a new frontier for creative audio design.
Instead of spending hours digging for something that’s “close enough,” you can craft unique, royalty-free sounds from scratch.
Tools like SFX Engine put the power of a sound designer in your hands, all through simple text prompts. You get to generate precisely what your project demands, ensuring your soundscape is as original as your visuals.
The secret to getting great results from an AI sound generator is all in the prompt. Vague descriptions will get you generic, uninspired sounds. The real trick is to provide the kind of detail that gets the AI closer to the sound you're imagining.
Think like a Foley artist. Don't just describe the object; describe the action, the material, and the environment it's in. The difference is night and day.
| Vague Prompt | Detailed Prompt |
|---|---|
| "Spaceship door" | "A heavy, futuristic spaceship airlock door hissing open, releasing pressure with a metallic clank as it locks into place." |
| "Ocean sound" | "Gentle ocean waves lapping against the wooden pylons of an old pier, with distant seagulls calling." |
| "Footsteps" | "Slow, heavy footsteps in leather boots crunching on dry autumn leaves in a quiet forest." |
See the difference? This level of detail gives the AI the specific sonic cues it needs to build a rich, believable sound effect. Once you’ve nailed the prompt and generated your custom SFX, just download the file and pop it into that "AI SFX" bin you created earlier in your DaVinci Resolve project.
Getting the new sound into your Fairlight timeline is the easy part. The real art is making it feel like it actually belongs in the scene. A raw, AI-generated sound, no matter how well-prompted, can sometimes feel a bit sterile or disconnected from the rest of your audio.
Here’s how to make it a natural part of the soundscape:
By treating your AI-generated SFX just like any other raw audio element—something that needs EQ, reverb, and careful leveling—you can integrate it so seamlessly that no one would ever guess it wasn’t recorded on location.
This whole process gets a major boost from advancements within DaVinci Resolve itself. The DaVinci Neural Engine, introduced in version 18.5, brought AI audio classification that can automatically sort clips into categories like effects, dialogue, and music. This, combined with features like elastic wave processing (which preserves audio pitch during speed changes), makes syncing and integrating custom SFX from an AI generator a much faster and more intuitive process.
In fact, some editors have reported time savings of up to 50% in their audio workflows. You can dig deeper into these updates and their impact on professional workflows on sportsvideo.org.
You’ve done the hard work. You’ve sliced and diced clips, cleaned up noisy audio, and carefully balanced every element of your mix. Now, it’s time for the final step: mastering and exporting. This is where you put the final coat of polish on your project, making sure it sounds fantastic no matter where it’s played.
Think of mastering not as another creative mixing stage, but as the final quality control check. The goal is simple: get your audio to a commercially competitive volume level without wrecking the mix with distortion. This whole process happens on your Main Bus (usually labeled "Bus 1" in Fairlight), which is the final stop where all your tracks—dialogue, SFX, music—come together before heading out the door.
The big target here is a specific loudness level, which we measure in LUFS (Loudness Units Full Scale). Different platforms have their own standards, but for most online content like YouTube or podcasts, aiming for around -14 LUFS is a safe bet. Hitting this target prevents streaming platforms from squashing your audio or turning it down, which can ruin all your hard work on dynamics.
The main tool for this job is a Limiter. A limiter is basically a super-aggressive compressor that acts as a brick wall, preventing your audio from ever going past a set level and clipping.
Here’s my typical setup for a limiter on the Main Bus:
Mastering should feel subtle. If you're making huge, drastic changes at this point, something might be off in your mix. It's really about that final loudness boost and ensuring your sound will hold up across different devices. For a more detailed breakdown of the whole process, we've got a great guide on how to master audio that really gets into the weeds.
Once you’re happy with the master, it’s time to export. Click over to the Deliver page in Resolve. Don't just focus on the video settings; your audio export settings are equally critical.
For pretty much any video destined for the web, these are the settings I stick with:
After you've exported your masterpiece, think about how you can give it more life. If your project has a lot of spoken words, using podcast transcription services can be a game-changer. It turns your audio into text, which makes it searchable and accessible to a much larger audience.
Even with a solid workflow, you're bound to hit a few snags. It happens to everyone. Let's tackle some of the most common audio questions that come up in DaVinci Resolve so you can fix them fast and get back to creating.
Think of these as the little speed bumps that can throw you off your creative flow. Luckily, the solutions are usually straightforward.
Ah, the classic one-sided audio problem. This almost always happens when you've recorded a mono source (like a single microphone) onto a stereo track. The mic only captured audio on the left or right channel, leaving the other one silent.
The fix is a quick one. In your Fairlight timeline, just click on the audio clip giving you trouble. Head over to the Inspector panel (top right) and open the "Audio" tab. Look for "Clip Attributes."
A new window will pop up. In the Format section, change the dropdown from Stereo to Mono. DaVinci Resolve will automatically duplicate the one active channel across both, and just like that, your audio is perfectly centered.
The single biggest advantage Fairlight has is its deep integration right inside DaVinci Resolve. It’s a full-blown Digital Audio Workstation (DAW) living in your video editor. This completely eliminates the tedious process of "round-tripping"—exporting your audio to another program and then re-importing it later.
While a dedicated DAW like Pro Tools might have more niche tools for complex music production, Fairlight is more than powerful enough for virtually any video post-production audio task you can throw at it. For everything from dialogue editing to sound design, that integrated workflow is a massive time-saver.
Yes, you absolutely can. Resolve plays nicely with third-party VST and AU audio plugins, so you can bring all your favorite EQs, compressors, and effects right into the Fairlight environment.
Getting them set up is simple:
Give Resolve a quick restart, and you'll find all your custom plugins waiting for you in the Effects Library, ready to be dragged onto any track.
Ready to create sound effects that don't just fit your project but define it? With SFX Engine, you can generate custom, royalty-free audio from a simple text prompt. Stop searching and start creating the exact sound you need. Try it for free today.