September 22, 2025 · Kuba Rogut
If you've ever tried to use a generic fire sound effect from a stock library, you know the feeling. It's often flat, obviously looped, and just... fake. To truly sell the warmth and life of a crackling fire, you need something more dynamic and authentic. This is where building your own fire SFX from scratch comes in, giving you total control to create an immersive audio experience.
A convincing fire isn't just one sound; it's a living, breathing collection of audio events that add incredible depth to a scene. Canned effects, on the other hand, tend to be repetitive and lifeless, which can instantly pull your audience out of the moment. When you create your own, you're not just making a fire sound—you're crafting the fire sound that perfectly fits the mood and space of your project.
Don't worry, this is more straightforward than it sounds. We'll start by generating a solid, non-repeating base layer. Then, we’ll jump into a Digital Audio Workstation (DAW) to weave in the subtle, organic details that make a sound feel real.
To recreate a sound, it helps to understand what's actually making it. That classic crackle is the result of gases and moisture rapidly expanding and bursting from wood fibers as they burn. This creates a rich blend of sounds: the low-frequency rumble of the steady burn, the sharp high-frequency pops of wood splitting apart, and the gentle hiss of combustion.
Physical sound modeling takes these individual components and simulates them with remarkable accuracy. If you're curious, you can learn more about the physics behind fire sounds and how they're modeled digitally.
Before we dive into the "how-to," let's break down the essential layers you'll be working with. A realistic fire sound is a composite of several distinct elements, each contributing to the final, immersive effect.
| Sound Layer | Acoustic Contribution | Generation Focus |
|---|---|---|
| Low-End Rumble | The deep, constant "whoosh" of the main flame bed. | Creates the sense of heat and power. |
| Mid-Frequency Burn | The sustained, gentle burning and hissing sounds. | Fills out the body of the sound. |
| High-Frequency Pops | Sharp, sporadic cracks from wood splitting. | Adds dynamic interest and realism. |
| Sparkle & Embers | Faint, twinkling sizzles from flying sparks. | Provides delicate, high-end texture. |
Each of these layers is a crucial piece of the puzzle. By building them individually and then blending them, you gain precise control over the character of your fire.
A great sound effect is built in layers. Just as a real fire has its deep, constant burn, its sporadic pops, and its gentle hisses, your sound design should reflect this complexity. It's the subtle imperfections that create perfection.
So, what are we going to cover? This guide is all about practical, hands-on techniques. We'll walk through:
Ready? Let's get started.
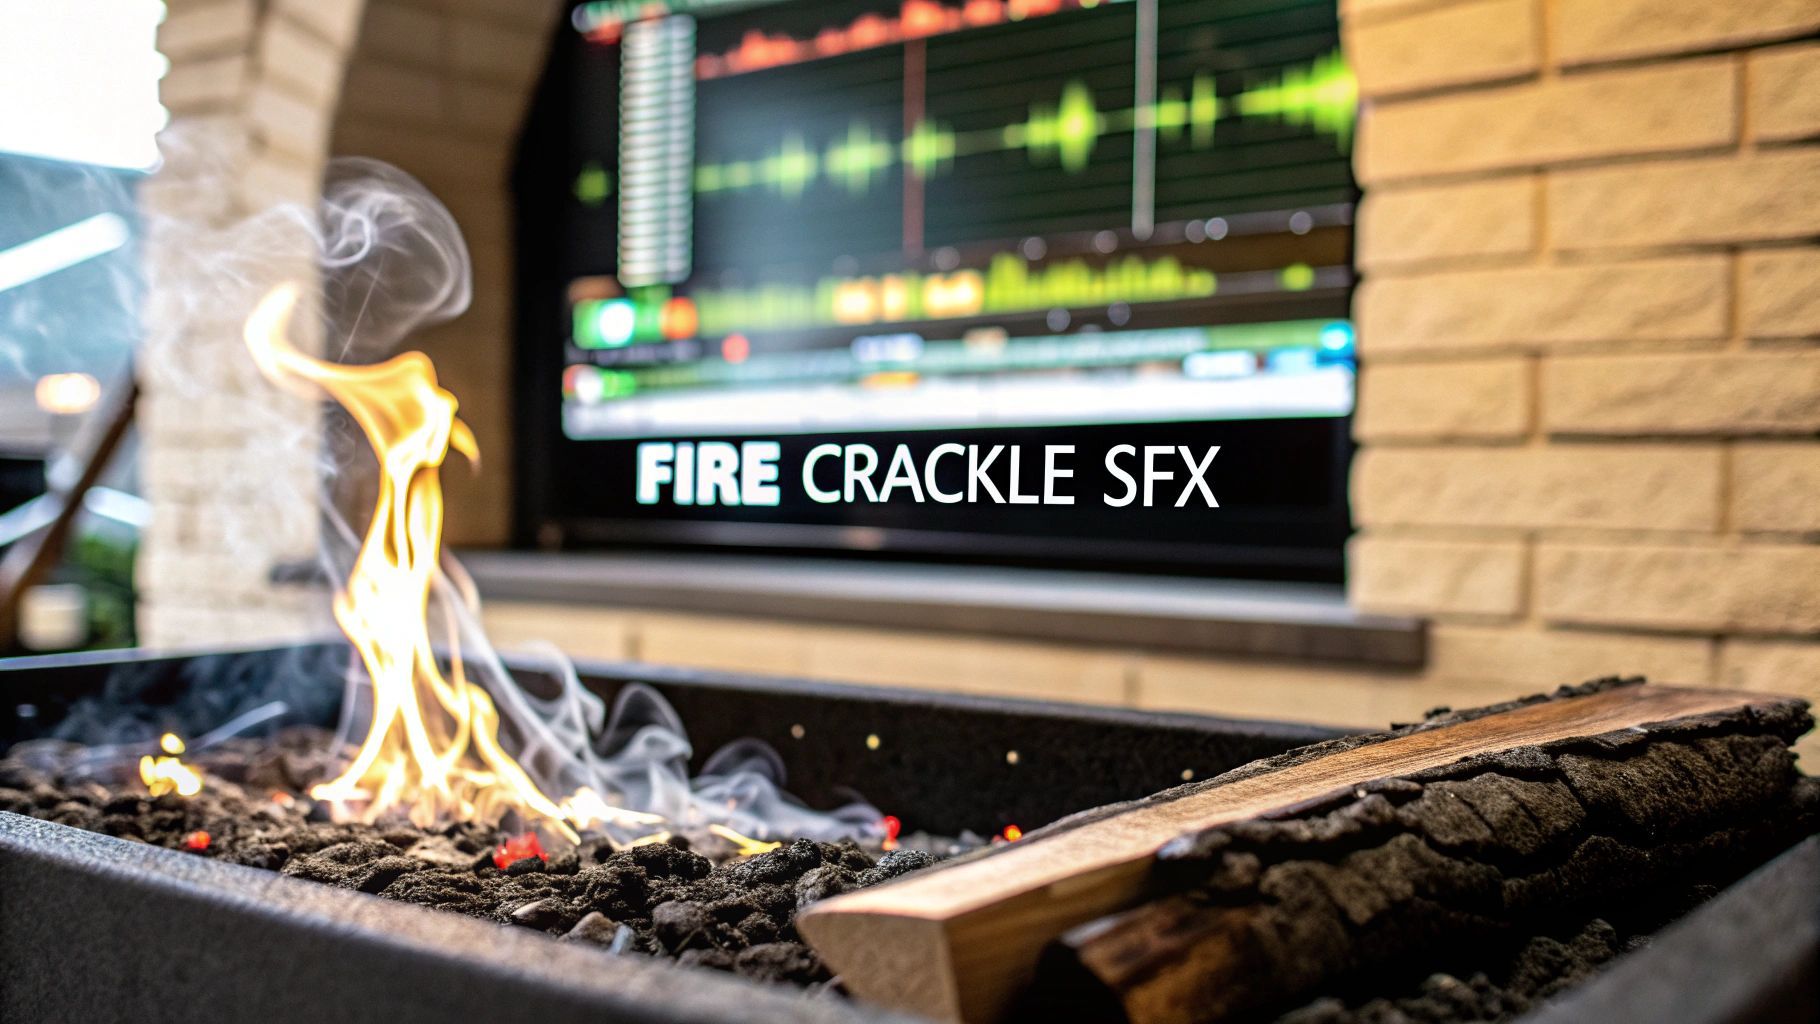
To get that truly believable fire crackling sound, your starting point is everything. Forget grabbing a short, repetitive loop from a sound library—that's a dead giveaway and it will drive listeners crazy. The secret is to generate a long, evolving base layer using procedural audio. This gives you a soundscape that actually feels alive because it never truly repeats.
I always start by generating a single, continuous audio file that's at least 5-10 minutes long. This gives me a massive pool of unique material to work with, completely sidestepping the artificial feel of a loop point. It’s the sonic equivalent of watching a real fire instead of a looping GIF.
Working with a procedural tool like SFX Engine is like being the director of your own fire. You're not just hitting "record"; you're tweaking the very physics of the burn.
These are the knobs I always reach for first:
This is all about creating a convincing foundation. As the infographic shows, a realistic sound is the first step to grabbing your listener's attention and making them feel like they're right there.
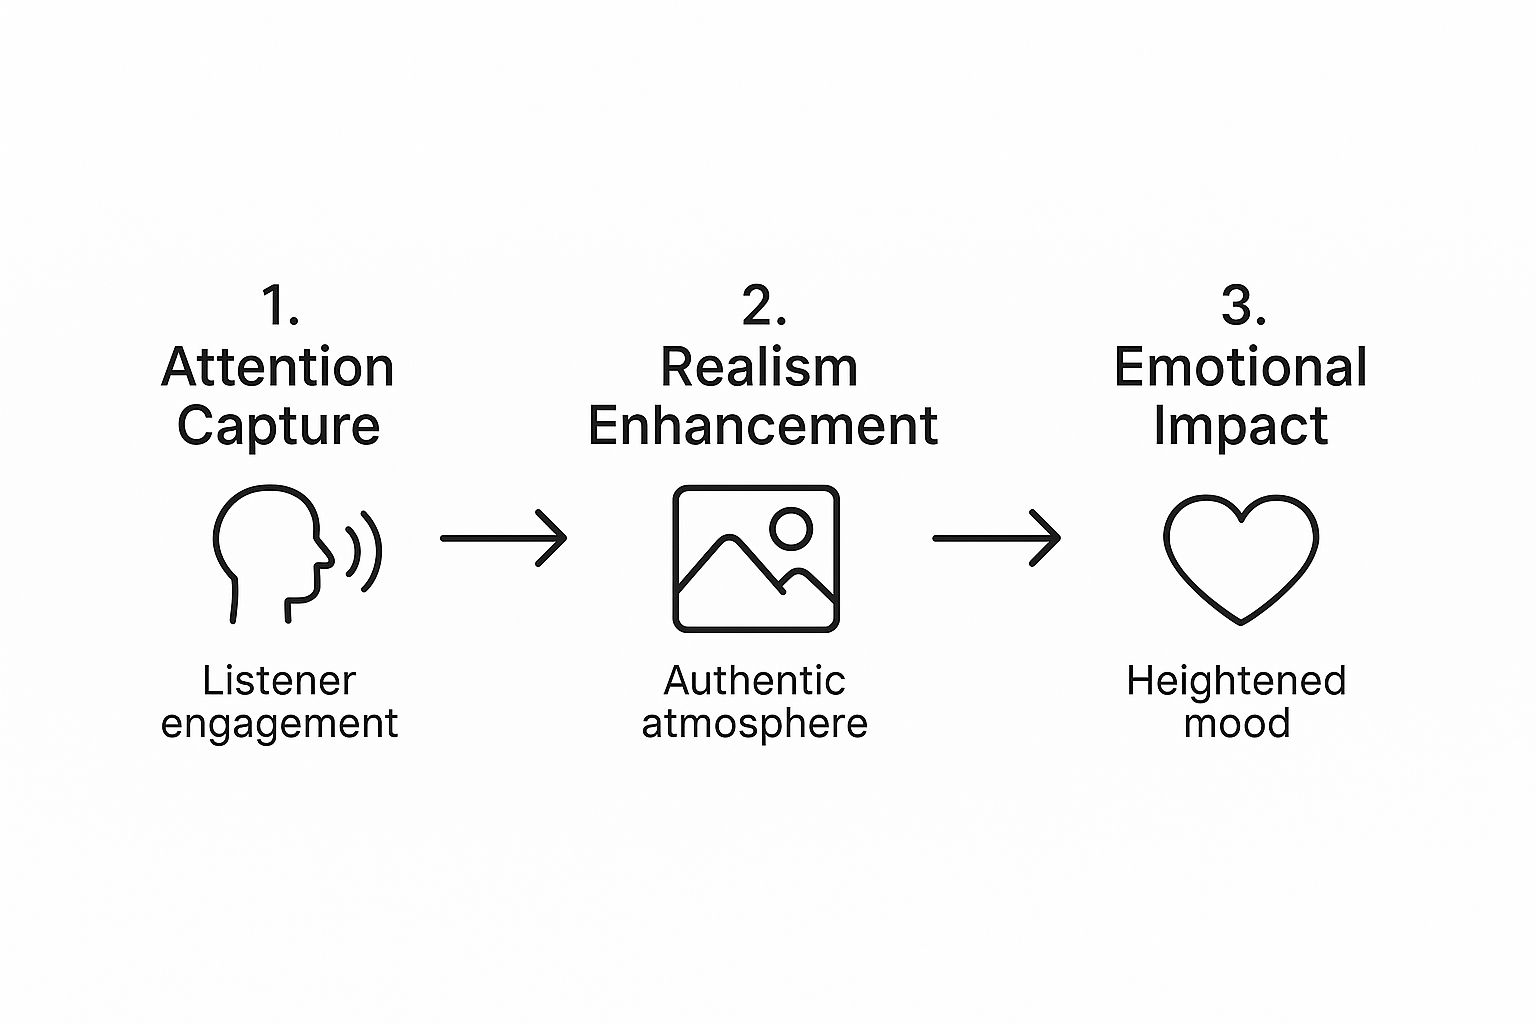
Once you've captured their ear, you can start building an emotional connection.
One of the most common mistakes I see is focusing only on the crackles. A convincing fire has two key components: the deep, low-frequency rumble of the flames and the sharp, high-frequency transients of the wood snapping. The rumble gives the fire its body and warmth, while the crackles provide the detail and texture.
Your goal should be a full-bodied sound. If you ignore the low-end rumble, the fire will sound thin and weak. If you forget the high-end crackles, it will sound muffled and distant, like it’s behind a closed door.
Taking the time to get this base layer just right will save you a ton of headaches later. It’s the single most important part of the process. If you're interested in learning more about the basics of building sounds from scratch, our guide on how to create sounds is a great place to start.
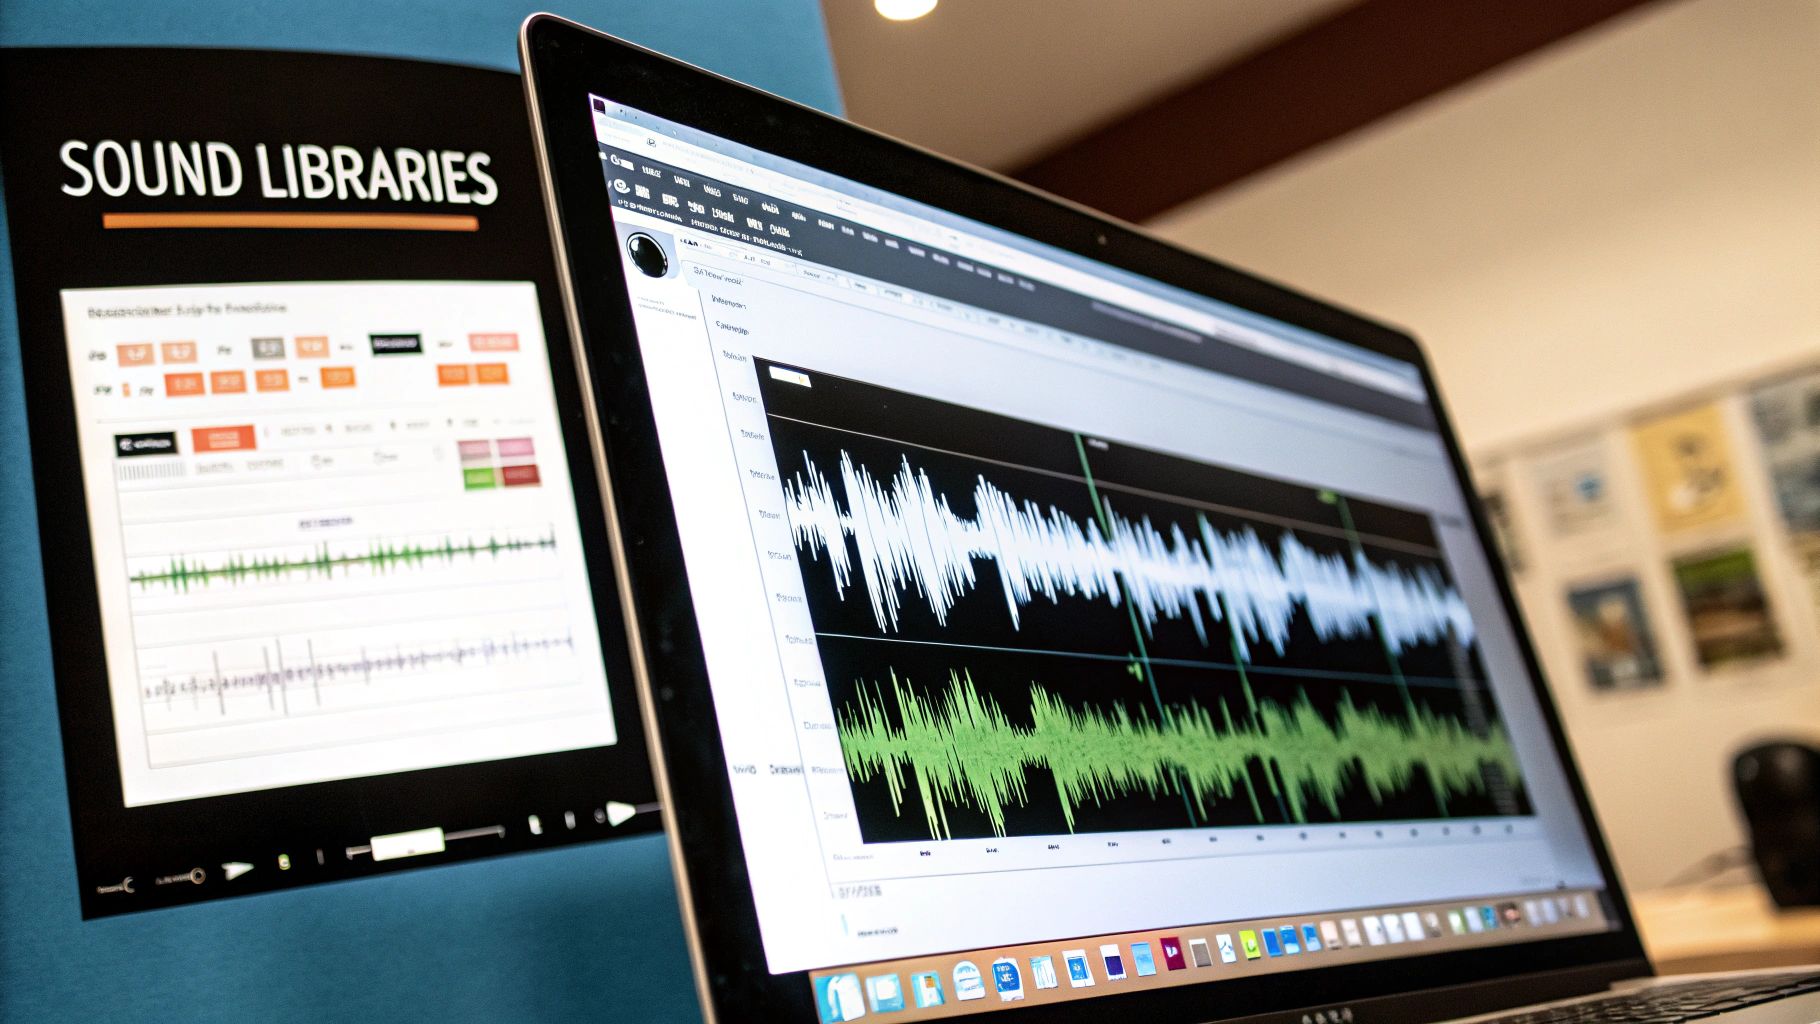
Alright, you've got your long, evolving base layer from the SFX engine. Now for the fun part. It’s time to pull that file into your Digital Audio Workstation (DAW) of choice, because this is where the real magic happens. Think of that procedural audio as your canvas; we're about to add the fine brushstrokes that give your fire crackling sound effect its unique character and depth.
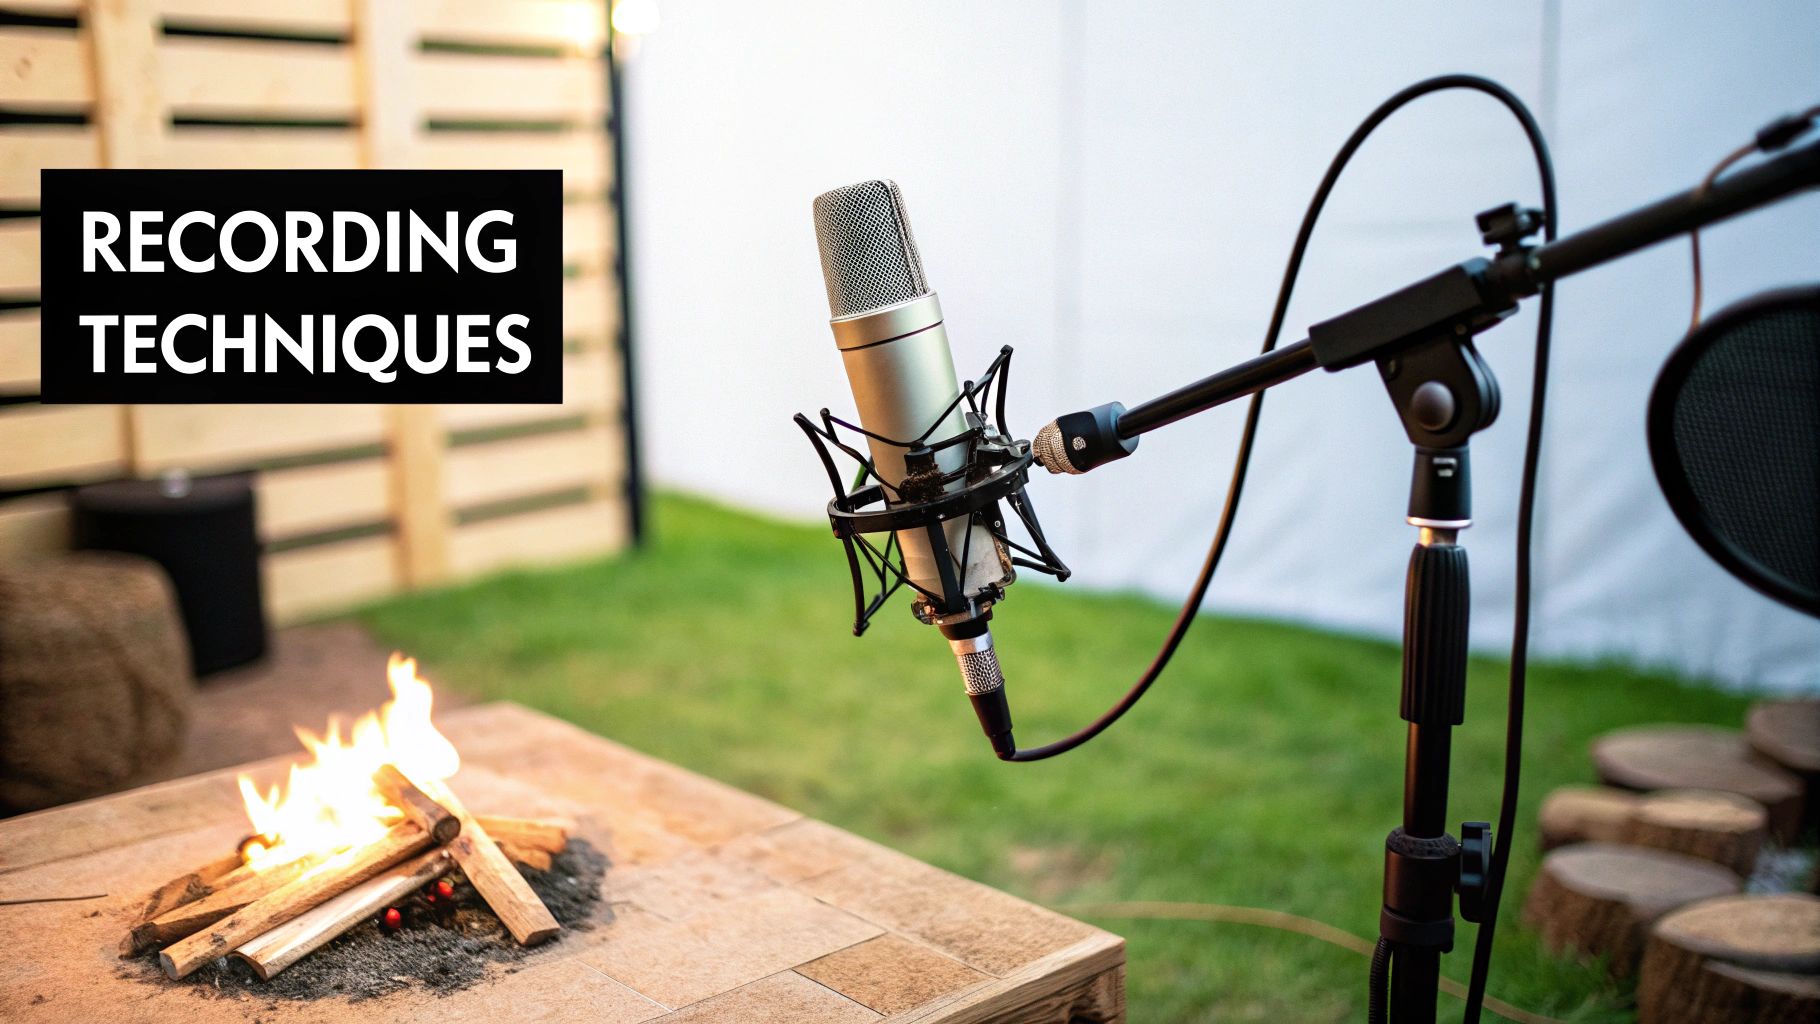
The secret to a truly believable fire sound isn't just one perfect recording. It’s layering. A single sound source, no matter how complex, just can't capture the beautifully chaotic nature of a real fire. By blending our generated base with carefully chosen organic recordings, we create a composite that feels far more authentic and immersive.
So, what are we looking for? The goal is to build a small, bespoke library of sounds that represent individual events within a fire. Don't just search for more "fire" sounds. Instead, think about the specific components that make up the whole.
Over the years, I've developed a go-to list of sounds I record or source for this very purpose:
This kind of deconstruction is what separates a generic, stock sound from a truly professional one. You're not just finding a fire sound; you're building it from the ground up for total control.
Once you have your organic recordings, drag them into your DAW project, each on its own track, separate from the main fire base. Now, the trick isn't just to stack them on top of each other. It’s about placing them with intent.
Listen through your base layer. Find the moments where the intensity swells or dips. Is there a surge in the low-end rumble? That's a perfect spot to drop in one of your sharper twig snaps to punctuate the moment. During the quieter sections, try gently fading in some of that cellophane crinkle to create a sense of simmering heat.
Don’t just stack your sounds. Scatter them. A real fire is random. A sharp pop might come from the left, followed by a gentle hiss from the right. Use panning automation to move these small details around the stereo field, creating a sense of a larger, three-dimensional fire.
This isn't just guesswork; there's a science to it. High-end electric fireplaces, for instance, replicate authentic crackling by precisely controlling the frequency (pitch) and amplitude (loudness) of different sound elements. Crisp pops get higher frequencies, while deep rumbles get lower ones, creating an incredibly realistic experience. You can learn more about how these acoustic principles are applied in the science of soothing fire sounds on art-fireplace.com.
We can apply those exact same principles right here in our DAW. By thoughtfully controlling the volume and stereo placement of our high-frequency snaps and low-frequency hisses, we can build an equally immersive auditory world. This level of detail is what makes your final sound effect not just something you hear, but something you feel.
You’ve got your base fire layer and all those organic crackles and snaps laid out in your DAW. That’s a great start, but right now, it probably sounds exactly like what it is: a bunch of separate recordings stacked together. This is a classic giveaway of an amateur sound effect. Our job now is to use some basic mixing tools—equalization (EQ) and dynamics—to blend these elements into one cohesive, believable fire crackling sound effect.
Think of it like cooking. You don't just dump all your ingredients in a bowl; you mix them so the flavors meld together perfectly. In sound design, EQ and compression are our mixing spoons. They help us carve out a distinct space for each layer before gently gluing them all together.
Equalization is just a fancy term for controlling frequencies. By cutting or boosting specific tonal ranges, we can shape each sound so it complements the others instead of fighting with them. This is the key to avoiding a muddy, cluttered final product.
I always like to start with the high-frequency details—the twig snaps, the cellophane, all those sharp, crackly bits. These are crucial for realism, but they often come with baggage from the recording, like low-end room rumble or mic handling noise.
A pro tip I learned early on: always try to cut before you boost. Before you crank up a frequency to make something stand out, see what you can scoop out of the other layers to make space for it. This leads to a much cleaner, more natural mix every single time.
Okay, so your layers are EQ'd and sitting nicely together. They sound better, for sure, but they might not feel truly unified yet. You'll notice the loudest snaps might jump out of the mix, while the quiet hiss of the embers gets lost. Compression is the answer.
By routing all your fire tracks to a single group and applying a compressor, you can gently tame those loud peaks and bring up the quieter parts. This is what mixers call "glue compression"—it literally glues the sounds together by reducing the overall dynamic range, making everything feel like it's part of the same acoustic event.
You don't need to slam it. A light touch is all it takes. Aim for just 2-3 dB of gain reduction on the loudest peaks. This tightens everything up beautifully without crushing the life and energy out of your fire. If you want to dive deeper into this essential tool, our guide explains what audio compression is and how it works in more detail.
With just these few thoughtful EQ and compression moves, you've transformed a simple stack of audio files into a living, breathing sound that feels completely authentic.
We've built a solid, detailed fire sound, but right now it's floating in a digital void. It sounds dry—like it was recorded in a soundproof booth. The final and most crucial step is to place our fire crackling sound effect into a believable, three-dimensional space. This is what will make it feel like it truly belongs in the scene.
Our main tool for this job is reverb. Reverb is what simulates sound bouncing off the walls, floor, and ceiling of an environment. The key here is subtlety; we're aiming for realism, not a massive, cavernous echo. The right reverb is all about context.
Don't underestimate how much people crave this kind of auditory realism. The electric fireplace market, for instance, has exploded, and a huge reason is that many models now include authentic crackling sounds. In fact, some research shows that over 70% of buyers prefer models that come with sound effects. You can read more about the demand for realistic fire sounds on magikflame.com. It just goes to show how a convincing audio environment is a massive selling point.
Okay, our fire is now in a room, but it’s still a bit static. Real fires shift, breathe, and move. We can bring this dynamic quality to our sound using stereo imaging and a bit of automation. The goal is to create a wider, more engaging soundscape that pulls the listener in. If you're new to the concept, we have a complete guide that explains what is stereo imaging.
The biggest mistake I see people make is applying a stereo widener to the entire fire sound. This often thins out the low-end rumble and can introduce phasing issues. The better approach is to be selective.
Pro Tip: I only apply stereo widening plugins to the high-frequency layers—the crackles and sizzles. This creates a sense of air and space on the outer edges of the sound field, while the warm, low-frequency core of the fire stays firmly anchored right in the center. It's the best of both worlds.
To really sell the effect, I'll use panning automation on the individual crackle and pop tracks. I'll just draw in some slow, random pan movements. One little snap might appear slightly to the left, the next flickers over to the right. It’s these subtle, unpredictable movements that trick the brain into perceiving a fire with real physical dimension. This is what takes a sound from simply "good" to truly immersive.
Even with the best guide, you're bound to run into a few specific questions. It happens to all of us. This is where we'll tackle some of the common hurdles and creative sticking points people hit when designing their own fire sounds.
Think of this as your go-to spot for those little "what if" or "how do I fix this" moments that can bring your creative process to a halt. Let's get them sorted so you can get back to creating.
You absolutely can. Don't let anyone tell you that you need a multi-thousand-dollar microphone setup to capture great foley. For the kind of supplemental sounds we're talking about—twig snaps, cellophane crinkles, rustling leaves—your smartphone is more than capable.
The secret isn't the gear; it's your recording technique and environment. To get clean, usable sounds:
This approach gives you that organic, real-world texture that makes your procedural sound feel grounded and believable.
A key thing to remember is that foley isn't about capturing a "perfect" sound. It's about capturing character. Those tiny, almost unnoticeable imperfections are what sell the illusion of reality.
This is probably one of the most common problems. You dial in your sound, but it's got this persistent high-frequency hiss that just sounds thin and, frankly, annoying. It often comes from having too much "air" in the procedural layer or from stacking multiple noisy recordings.
Your secret weapon here is a de-esser plugin. I know, they're typically for taming harsh "s" sounds on vocals, but they work wonders on fire SFX. Just set the de-esser to target the problematic frequencies—usually somewhere in the 6-10 kHz range—and gently dial it back. You'll tame the hiss without losing the sharp, satisfying crackle.
For a more surgical approach, a dynamic EQ is fantastic. It lets you duck those hissy frequencies only when they get too loud, leaving the quieter, more detailed moments untouched. It's a bit more advanced, but the result is incredibly transparent. Your fire will crackle and pop beautifully without that distracting sizzle.
Ready to stop hunting for the right sound and just make it yourself? With SFX Engine, you can design endless variations of the perfect fire crackling effect in seconds. Get started for free today and hear the difference it makes.