December 26, 2025 · Kuba Rogut
Bringing audio into your Unreal Engine project is pretty straightforward. You just import your .wav files into the Content Browser, and Unreal automatically wraps them into Sound Wave assets. From there, you can either drag a Sound Wave directly into your level for a quick test or, more powerfully, use it to build a Sound Cue for more complex audio events. This is your starting point for creating any soundscape.
Before you start wiring up explosions and footsteps, you need to get a handle on Unreal Engine's basic audio building blocks. I like to think of it like making a meal. You have your raw ingredients, a recipe to combine them, and a method for how the sound is "served" in the 3D world. In Unreal, these are your Sound Waves, Sound Cues, and Sound Attenuation assets. Each one has a specific job.
A Sound Wave is the most basic audio asset you'll work with. It’s essentially a container for the audio data you import—usually a .wav file. Think of this as your raw sound: a single footstep, one gunshot, a piece of dialogue. You can play a Sound Wave directly in your game, but on its own, it’s pretty static. For most game audio, you'll want more control.
This is where the real magic happens. A Sound Cue is your recipe for creating dynamic, interesting audio events. It opens up a powerful node-based editor where you can mix multiple Sound Waves, randomize their pitch and volume, or even apply effects.
For example, you could take five slightly different gunshot Sound Waves and plug them into a Sound Cue. Then, you can set it up to randomly pick one and slightly alter its pitch every time it plays. This simple trick makes your audio feel alive and avoids that repetitive, robotic sound that can pull a player out of the experience. Mastering this is a cornerstone of professional work, a principle we dive into in our guide on sound design for games.
Finally, Sound Attenuation is what makes your audio feel like it truly belongs in the 3D space. This asset defines all the rules for how a sound behaves over distance. How quickly does it fade out? Does it get muffled when it's behind a wall? This is what gives an explosion its sense of scale and a quiet whisper its intimacy.
My Two Cents: Always start with the end in mind. Use Sound Waves for your raw audio files, but immediately think about how you’ll use them in a Sound Cue for variation. And never forget Attenuation—it's the key to making your world sound believable.
To give you a better idea of how Unreal organizes these components, let's look at the different audio assets you'll be working with.
This table breaks down the fundamental audio assets in Unreal Engine, clarifying their roles to help you select the correct asset for your sound design needs.
| Asset Type | What It Is | Typical Use Case |
|---|---|---|
| Sound Wave | A direct reference to an imported audio file (like a .wav). The raw "ingredient." | Storing a single sound effect, piece of music, or line of dialogue. |
| Sound Cue | A node-based graph for combining and modifying sounds. The "recipe." | Creating varied footsteps, randomized gunshots, or complex ambient loops from multiple layers. |
| Sound Attenuation | An asset that defines how a sound's volume and properties change over distance and through obstructions. | Making a sound fade realistically as the player moves away from its source. |
Understanding these three pillars is the foundation for everything else you'll do with audio in Unreal.
Once imported, all of these assets will live in your Content Browser. This is your central hub for organizing, editing, and accessing every sound in your project. Keeping it tidy from the start will save you massive headaches down the line.
Before you can fill your game world with incredible sound, you have to get your audio files into the engine and organize them properly. Trust me, a little bit of housekeeping now will save you from massive headaches down the road. A clean project is a happy project, especially when you're collaborating with a team.
The very first thing to consider is the file format. While Unreal Engine supports a few different types, the gold standard for your source audio is always the .wav format. It's uncompressed, which means you're starting with the highest possible quality. If you're curious about the technical reasons and want to get into the weeds, we have a guide that breaks down the different audio file formats.
Once you have your sounds—maybe from SFX Engine or other sources for royalty-free music—getting them into the engine is as simple as dragging and dropping them from your file explorer into Unreal's Content Browser.
When you do this, Unreal will pop up an import dialog. For most of your standard .wav sound effects, the default settings are perfectly fine, so you can just hit "Import."
Whatever you do, don't just dump every sound file into one giant "Audio" folder. That's a recipe for disaster as your project scales. Professional teams organize sounds by their function, and you should too. It makes everything easier to find, manage, and debug.
A solid, scalable folder structure to start with inside Content/Audio/ looks something like this:
Weapons, Player_Actions, or Environment.This kind of organization isn't just about finding things quickly. It also lets you manage audio settings in bulk later on. For instance, you could apply a specific compression setting to your entire Dialogue folder without accidentally messing with your music.
When you import an audio file, Unreal creates what's called a Sound Wave asset. Think of this as the direct, one-to-one link to your raw audio data. Double-clicking on a Sound Wave asset opens up its properties, letting you make some initial tweaks.
A Pro Tip: I always recommend making basic adjustments like volume or looping directly in the Sound Wave asset itself. This establishes a clean, predictable baseline for the sound before you start getting into more complex logic with Sound Cues. It's your first line of defense for a clean audio mix.
It's also worth noting how much Unreal's native audio tools have grown. The 2023 Game Audio Industry Survey showed that while Wwise is still a powerhouse, used in about 45% of Unreal games, the engine's built-in audio is now used in around 30% of projects. This is a huge shift, showing a growing confidence among developers to handle audio directly within the engine. You can read more about it in the Game Sound Con survey. This trend makes mastering this foundational import and organization process more critical than ever.
Once you have your audio files imported and organized, the real fun begins: making them come alive. Playing a raw Sound Wave works for something simple, like a UI button click, but for anything happening inside your game world, you need audio that reacts and changes. This is where Unreal Engine's Sound Cue Editor becomes your best friend.
A Sound Cue is essentially a node-based playground for your audio. Think of it like a visual flowchart where you can take simple Sound Waves and build them into complex, dynamic behaviors. Instead of just playing one static file, you can mix multiple sounds, randomize which one plays, and tweak properties like pitch and volume in real-time. It's the secret to avoiding the dreaded "machine gun" effect, where a fast-firing weapon sounds fake because it's just playing the same exact gunshot sample over and over.
Of course, before you can even think about building cool sound behaviors, you need to have your assets in order. A clean workflow for finding, importing, and organizing your sounds is the foundation of good sound design.
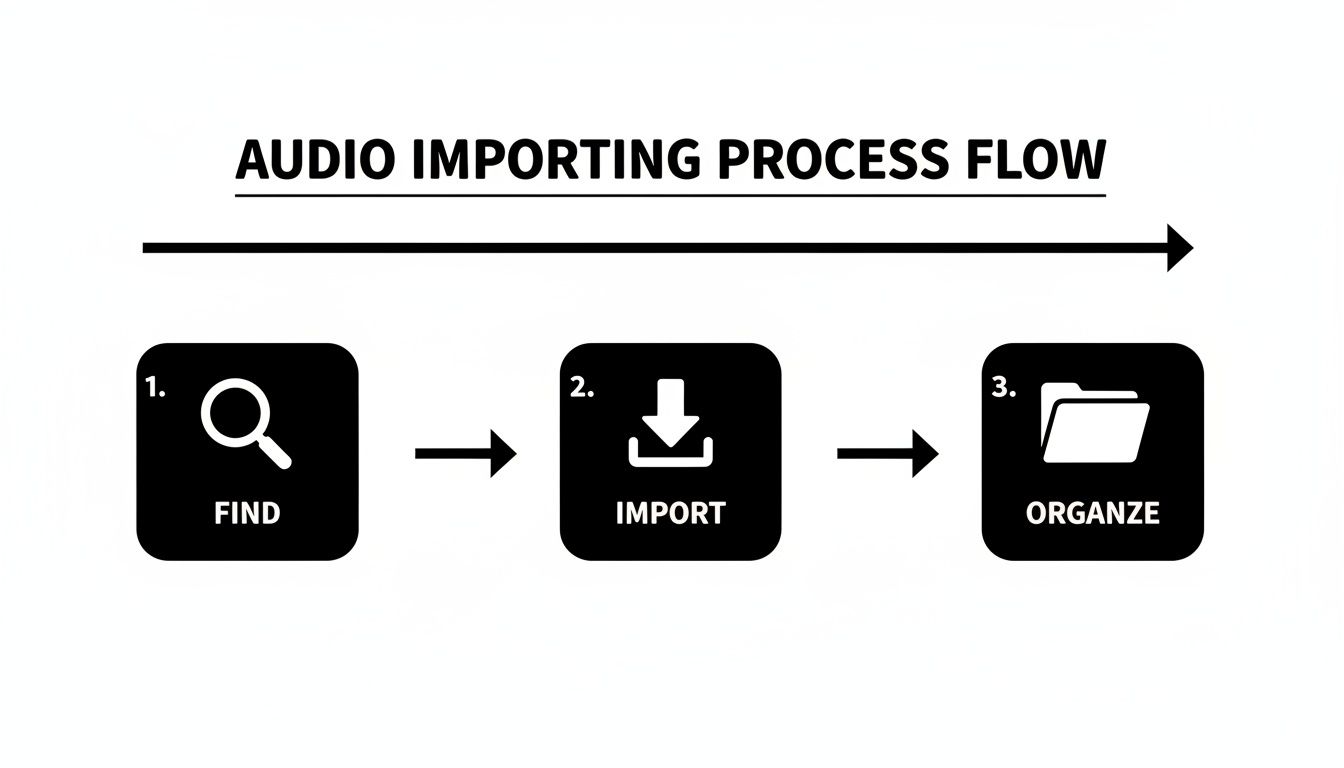
Get this part right, and you'll save yourself a lot of headaches later on, freeing you up to focus on the creative side of things.
Let's walk through a common scenario: footsteps. A player's footsteps should never sound identical with every step. To tackle this, we can jump into a new Sound Cue and wire up a few key nodes.
Footstep_Grass_01.wav, Footstep_Grass_02.wav, and so on.By combining these three nodes, you can take four slightly different footstep samples and turn them into an endless stream of unique sounds. All of a sudden, your character's movement feels far more organic and believable.
A fantastic Sound Cue doesn't do anything on its own—it needs to be told when to play. This is where Blueprints, Unreal Engine’s visual scripting system, enters the picture. Blueprints are how you connect your audio logic to actual gameplay events without having to write a line of C++.
This is where you bridge the gap between your sound design and the game's mechanics, like triggering a sound from a character's animation.
One of the most common nodes you'll use is Play Sound at Location. It does exactly what it says: plays a Sound Cue you specify at a particular point in the world. For our footstep example, you could open the character's Animation Blueprint and add an anim notify that fires this node every time their foot hits the ground. It's a perfect way to sync sound to action.
Personal Tip: For any sound that should feel like it's coming from a moving object—like dialogue from an NPC or the rumble of a vehicle's engine—use the Play Sound Attached node instead. It locks the sound's origin to the object, which is absolutely essential for getting believable 3D audio and attenuation.
Mastering the handshake between Sound Cues and Blueprints is the key to creating truly immersive and reactive soundscapes. If you want to explore the broader principles behind this, our guide on how to add sound effects to a game is a great place to start.
Flat, static audio just doesn't cut it. To really pull a player into your game world, sounds need to feel like they belong there—like they're actually coming from that crackling campfire or that distant explosion. This is where spatialization and attenuation become your best friends.
Spatialization is what tells the player where a sound is coming from—left, right, above, behind. Attenuation, on the other hand, controls how that sound changes over distance. It’s the magic that makes a far-off gunshot sound faint and a nearby whisper feel intimate.

To wrangle these properties, we use a Sound Attenuation asset. Think of it as a preset—a collection of rules you can slap onto any sound source to define how it behaves in 3D space.
First things first, let's create the asset. Just right-click in the Content Browser, navigate to Audio, and pick Sound Attenuation. Easy.
Once you pop it open, you'll see a bunch of settings. Don't get overwhelmed. The most critical one to start with is Falloff Distance. This setting is all about how a sound's volume changes as the listener moves away from it.
The space between the inner and outer radius is where the magic happens—the sound smoothly fades out. You can see this represented by a curve, giving you precise visual control over the falloff. A steep curve creates an abrupt drop-off, while a gentle curve makes for a much more gradual fade.
After tweaking your settings, just assign this Sound Attenuation asset to a sound in your level. You can do this in the Details panel for any Sound Cue or an Audio Component within a Blueprint.
Sounds don't just get quieter over a distance; they also get blocked by stuff. A thick concrete wall should muffle a sound way more than a flimsy wooden door. This effect is called occlusion.
By enabling occlusion in your Sound Attenuation asset, you're telling the engine to check if there's anything between the sound's source and the listener. If the line of sight is blocked, Unreal will automatically apply a low-pass filter to muffle the sound, making it feel much more grounded in the environment. You can even control how strong this effect is.
Key Takeaway: If you skip attenuation and occlusion, your sounds will feel "glued" to the player's head, completely shattering the illusion of a real, physical space. Taking the time to set this up is absolutely non-negotiable for creating immersive audio.
The great news is that Unreal's audio engine is more powerful than ever. By 2025, engine updates have pushed audio rendering to a 60Hz default, and new debugging tools have boosted integration efficiency by 40% for developers. This means you can build incredibly complex and spatialized soundscapes without tanking performance. To dive deeper, check out the talk on the latest audio engine enhancements on the Epic Developer Community.
Properly configuring these settings is a fundamental step when you add audio in Unreal Engine, ensuring every sound helps build a world that players can truly believe in.
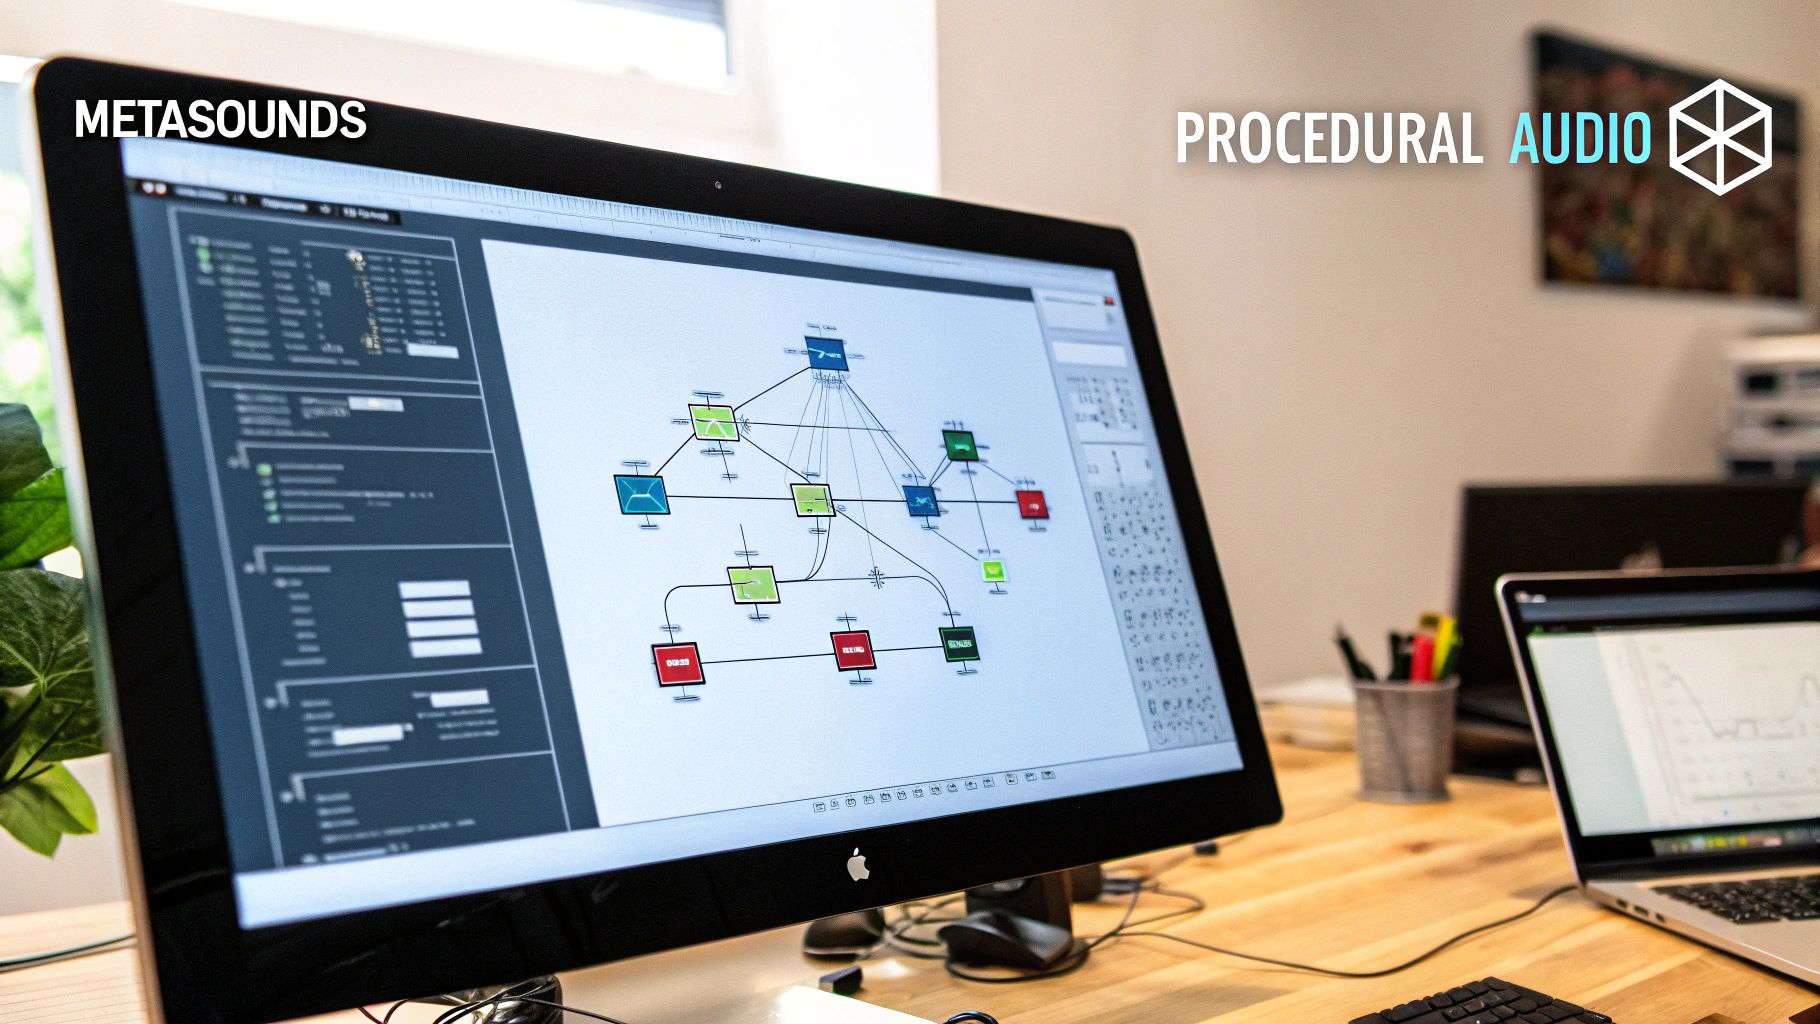
So far, we've focused on Sound Cues, which are amazing for manipulating existing audio files. But what if you could generate sound from scratch, right inside the engine, in real-time? That’s exactly where MetaSounds come in.
MetaSounds is Unreal Engine's seriously powerful procedural audio system. Instead of just playing a file, you're essentially building the sound itself from the ground up using a sophisticated, node-based graph editor. It’s a game-changer.
This approach unlocks a whole new level of dynamic and interactive sound design. Your audio can become less repetitive, more responsive, and surprisingly memory-efficient compared to just using pre-recorded clips.
Here’s a simple way I think about it: a Sound Cue is like a talented DJ mixing and layering existing tracks. A MetaSound, on the other hand, is the synthesizer creating the music from raw waveforms. The right choice really just depends on what you’re trying to achieve.
.wav files. It’s perfect for things like varied footstep sounds or building a multi-layered explosion from different components.The shift toward procedural audio is a big deal. The audio engine in Unreal has evolved massively, and MetaSounds—introduced in Unreal Engine 5—represent a 100% procedural overhaul of sound design. This system lets us create complex audio behaviors from simple inputs, a method that, according to industry talks, was adopted in over 60% of new UE5 projects by 2025. You can get a deeper dive into Unreal's powerful features for game developers to see how it all fits together.
Let's walk through a classic example: creating a sci-fi engine hum that changes its pitch based on a vehicle's speed.
Inside a MetaSound graph, you could start with a Waveform Oscillator node—something like a Sine or Saw wave—to generate the basic tone. This is your raw sound source.
Next, you'd create a Float Input node and give it a clear name, like "VehicleSpeed." This input acts as a hook that you can control directly from your vehicle's Blueprint. By connecting this "VehicleSpeed" input to the Frequency pin on the oscillator node, you've just linked gameplay to sound. As the vehicle speeds up or slows down in the game, the engine's pitch will now change dynamically in real-time.
Why This Matters: This is way more efficient than recording and storing dozens of separate engine sound files for different speeds. You aren't just playing back a file; you're generating the audio on the fly. The result is a much smaller memory footprint and practically infinite sonic variation.
Even when you think you've got your audio workflow nailed down, Unreal Engine can throw a few curveballs.## Troubleshooting Common Audio Problems in Unreal Engine
Even when you think you've got your audio workflow nailed down, Unreal Engine can throw a few curveballs. A sound might stubbornly refuse to play, or you'll see your frame rate tank in a busy scene. Don't worry, it happens to everyone.
Let’s walk through some of the most common snags I've seen and how to fix them without pulling your hair out.
When a sound goes silent, it's tempting to dive deep into your Blueprint logic, but the fix is often much simpler. Before you start untangling nodes, run through this quick mental checklist.
.wav files are memory hogs. If you have long ambient tracks or music files, open up the Sound Wave asset and enable streaming. This simple checkbox tells Unreal to load the audio in manageable chunks instead of dumping the whole file into memory at once.One other thing: a surprisingly common culprit for a silent sound is the Concurrency Settings. If you have rapid-fire effects like footsteps or gunshots, you might have set a limit on how many can play at once, and it's silently preventing new ones from triggering.
Pro Tip: Make friends with the Sound Class asset early on. It's a game-changer. By routing your SFX, Music, and Dialogue into different classes, you can adjust master volumes and apply properties globally. This makes mixing and debugging a thousand times easier down the line.
Getting a perfect loop for background ambience or a machine hum is all about the prep work. You need to handle this before you even import the file into Unreal.
Open your sound in an audio editor like Audacity or Reaper and make sure the waveform at the very end flows perfectly into the waveform at the very beginning. If they don't line up, you'll get that dreaded click or pop every time the loop repeats.
Once your audio file is properly edited, the rest is easy. Just open the Sound Wave asset in Unreal and check the Looping box. If you need more fine-tuned control, you can drop a Looping node into a Sound Cue for more advanced setups.
Tired of digging through sound libraries for that one specific effect? SFX Engine lets you generate unique, royalty-free audio from a simple text description. Get the perfect sound in seconds at https://sfxengine.com.