February 8, 2026 · Kuba Rogut
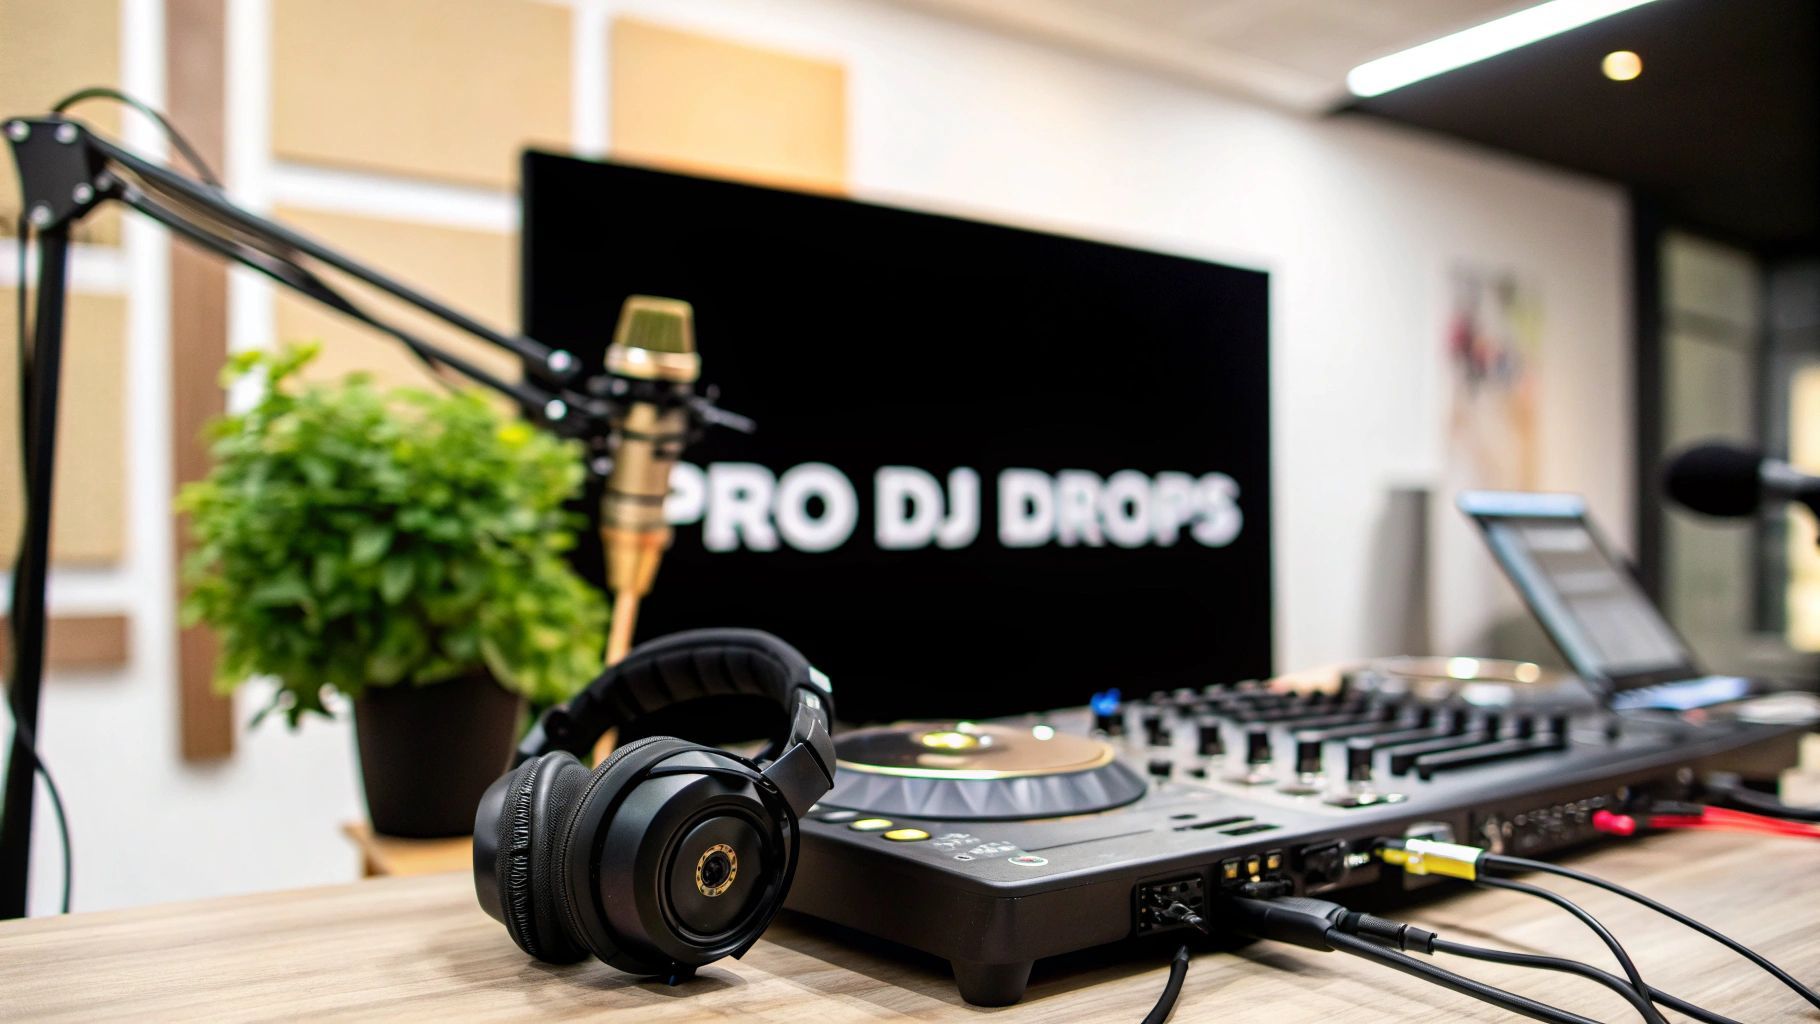
A truly professional DJ drop is more than just a vocal snippet. It's a careful mix of creative branding and sharp audio production—from writing the perfect script and capturing a clean vocal take to dialing in the right EQ, compression, and effects. It's about crafting a signature sound that cuts through the noise and makes people remember your name.
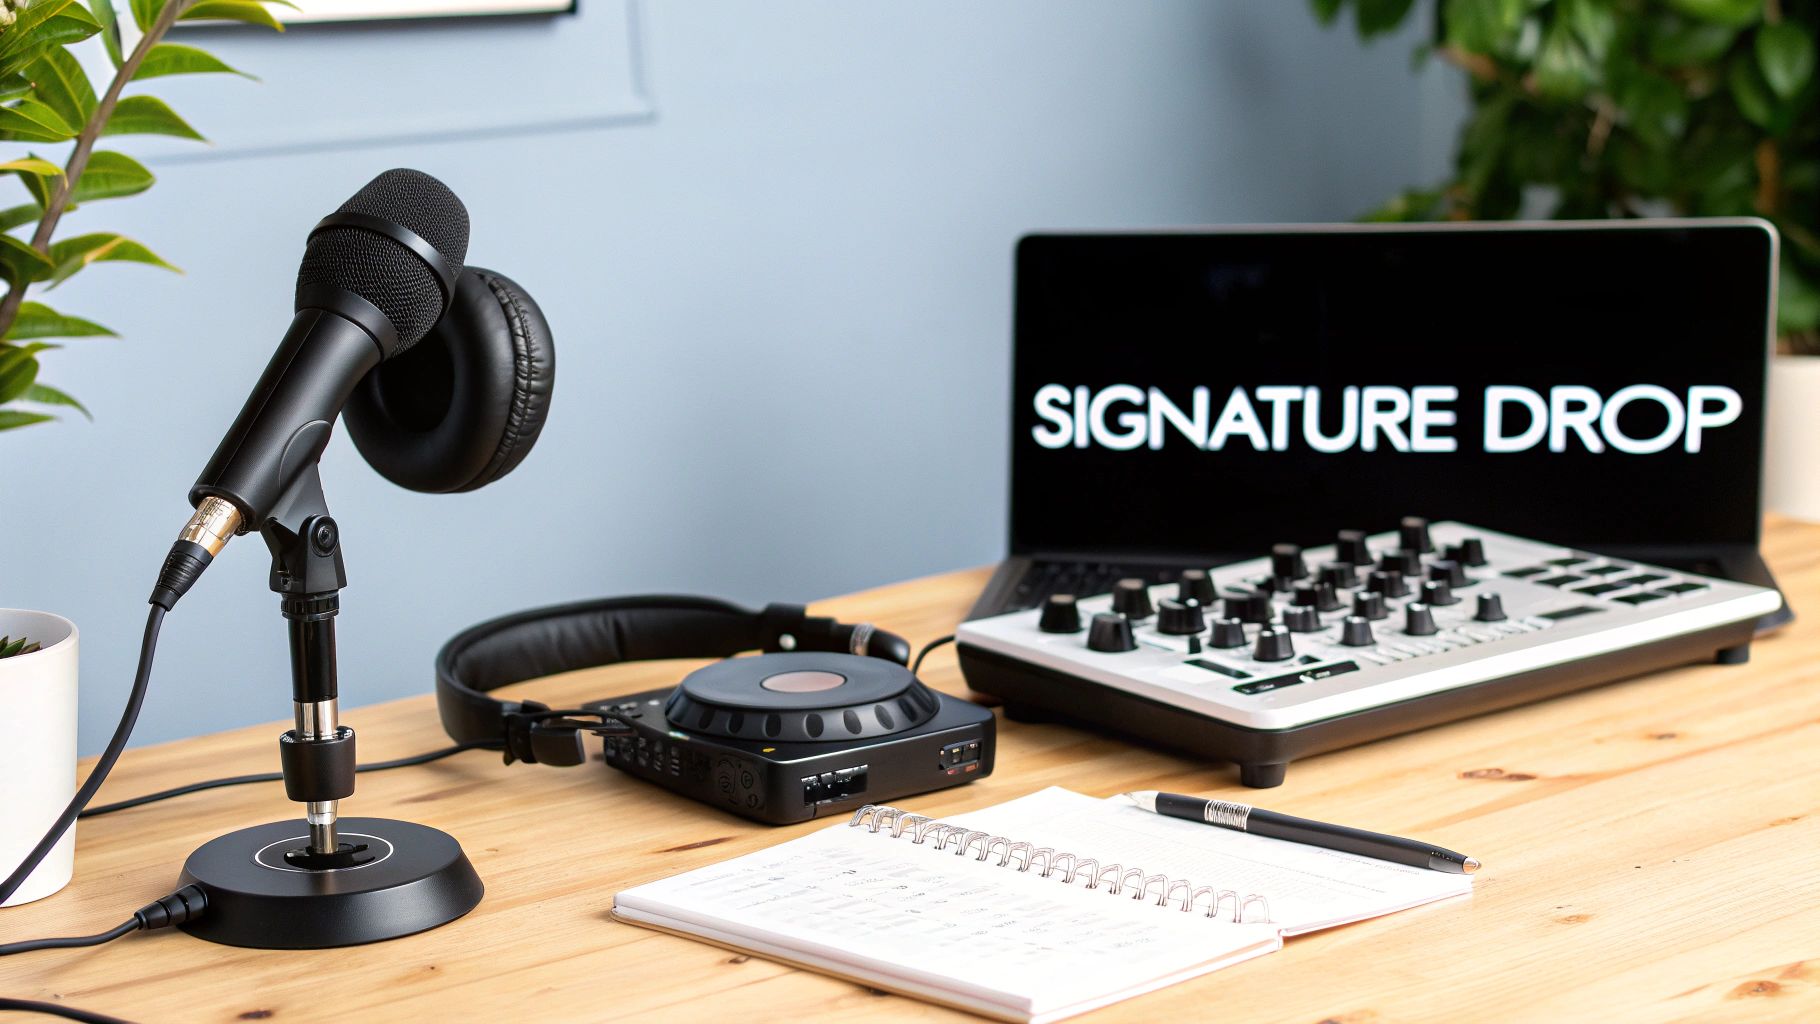
Think of your DJ drop as your audio signature. It's that key piece of branding that makes you instantly recognizable, whether you're in a packed club or dropping a new mix online. We're not talking about generic, forgettable tags here. We’re going to build a drop that truly defines your sound and personality.
The journey starts with a solid idea and works its way through a few crucial stages. From brainstorming a memorable script to mastering the final audio for maximum punch, every step is built on the one before it. Get these right, and you'll end up with a drop that's polished, powerful, and unmistakably you.
Before you even touch a microphone, you need a script. What’s the point of this drop? The answer will shape everything—the tone, the length, and what you actually say.
Your script is the entire foundation. A boring script will always lead to a boring drop, no matter how many cool effects you throw at it later. Keep it tight, catchy, and true to who you are as an artist.
With a solid script in hand, your next big move is picking the voice. This is the soul of your drop; it sets the entire mood. You've got a few different paths you can take, and each has its own pros and cons.
This is the most direct and authentic option. It costs nothing but your time and guarantees your drop is 100% unique. The real test is in the performance and recording quality, but you’d be surprised what you can pull off with a decent mic and a bit of practice.
If you want to go pro, you can find incredible talent on platforms like Fiverr or specialized voice-over agencies. A seasoned voice actor can nail the exact energy and tone you're looking for on the first try, saving you a ton of time in recording and editing headaches.
AI voice generators have gotten scarily good. They offer a super fast and affordable way to get clean, professional-sounding vocals without booking a person or a studio. This is a game-changer if you need a quick turnaround or want to experiment with a bunch of different styles for multiple drops.
With your script ready to go, the next step is capturing that killer vocal performance. Don't worry, you don't need to book time at a legendary recording studio. Getting a clean, professional-sounding vocal take is all about a few fundamentals: choosing the right mic and setting up your space correctly.
Your microphone is the first critical choice. For vocals, you're generally looking at two main types: condenser and dynamic mics. They each have their own vibe.
Even a $1,000 microphone will sound awful in a bad room. The enemy here is echo and reverb from hard, flat surfaces. The good news is you can build a surprisingly effective vocal booth with stuff you already have.
Try draping heavy blankets or comforters over a couple of mic stands to create a little fort. Another classic trick is to record facing into an open closet full of clothes—they act as fantastic sound absorbers. For a more detailed breakdown, our guide on setting up a basic voice over studio has a ton of great ideas.
Your main goal is to create a "dead" space. You want the mic to hear your voice, and only your voice. This prep work is what kills that amateur, "recorded-in-a-bathroom" sound that instantly cheapens a DJ drop.
A clean recording is 90% of the battle. It's way easier to add cool effects to a pristine vocal take than it is to try and fix a noisy, echoey one later.
Once you've got the raw audio, it's time for some housekeeping. We're not talking about adding wild effects just yet. This is the cleanup phase—the part where you tighten everything up so the vocal is punchy and ready for the main event. Honestly, this is what separates the pros from the amateurs.
First, listen through the entire take with a critical ear. Your job is to surgically remove all the little noises you don't want: mouth clicks, pops, and especially the breaths between phrases. A natural breath might feel right in a podcast, but for a high-energy DJ drop, every millisecond needs to be intentional. Snip them out.
Next, let's talk about timing. You can slice up the audio to shorten the gaps between words, giving the drop a much more powerful, rhythmic feel that hits harder. This kind of detailed editing builds a rock-solid foundation for everything that comes next. If you're just starting out, you might even find that some voice typing app tools can help improve your diction and clarity from the get-go.
With a clean, edited vocal take in hand, it’s time to start the fun part. This is where you take that raw recording and turn it into a massive, polished drop that grabs everyone’s attention. We call this vocal processing, and it’s basically a chain of effects audio engineers have used for decades to shape and enhance sound.
The goal here isn't just about making the vocal louder. It's about giving it clarity, punch, and a unique character. Each tool we're about to use has a specific job, and when they work together, the result is a drop that sounds incredibly expensive and impactful.
This chart lays out the basic workflow for getting your raw vocals prepped and ready for these powerful effects.
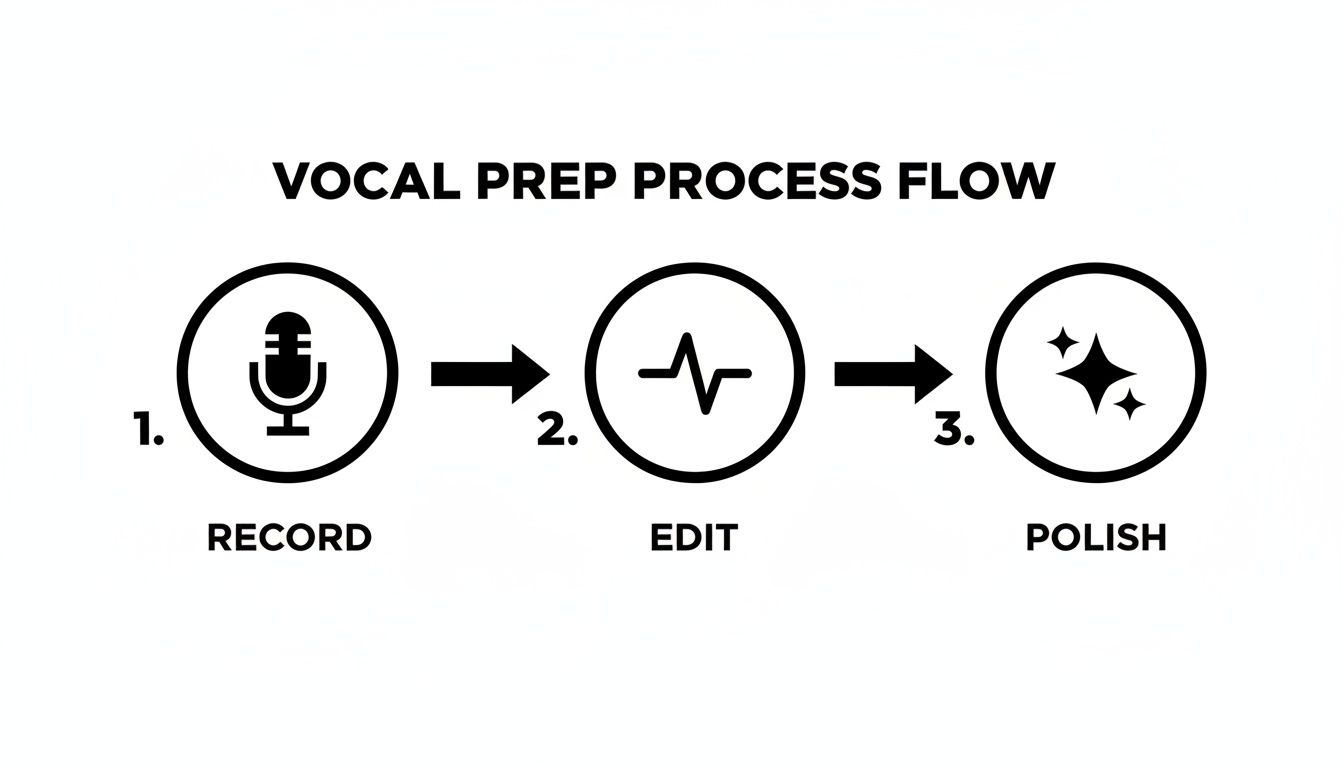
Following this sequence—record, edit, then polish—is key. It ensures you're applying all the cool, creative effects to a solid, clean foundation, which is the only way to get truly professional results.
Your first and most powerful tool is the equalizer, or EQ. Think of it as a sonic chisel. It lets you carve away frequencies you don’t want and boost the ones that make the voice really shine.
A great starting point is to gently cut the low-end frequencies below 80-100 Hz. This gets rid of any muddy rumble that has no place in a human voice. From there, you can try adding a subtle boost in the high-mid range (around 2-5 kHz) to bring out clarity and presence, which helps the drop slice right through a busy mix.
Next up is compression. This workhorse tool evens out the volume of your vocal by making the quiet parts louder and taming the loudest parts. The result? A much more consistent, punchy sound that won't get lost when the beat kicks in. If you want a deeper dive, check out our guide on what is audio compression: https://sfxengine.com/blog/what-is-audio-compression.
Pro Tip: Go easy on the compression! The goal is controlled power, not a lifeless, squashed sound. I usually aim for about 3-6 dB of gain reduction on the loudest peaks of the vocal. This keeps it sounding natural but still gives it that necessary punch.
Once you've handled the core dynamics with EQ and compression, it's time to add the finishing touches. These are the small details that make a huge difference in how professional the final drop sounds.
For truly crystal-clear vocals, using effective software noise cancellation right from the recording stage can save you a ton of headaches later. It's a critical first step that makes all this processing work even better.
These tools are now built into most modern DJ software—a market that was valued at USD 0.46 billion in 2022 and is projected to hit USD 0.7 billion by 2031. This growth makes sense when you see that 61% of new DJs prefer subscription models, giving them constant access to the pro-level effects needed to create killer drops.
A dry vocal recording is one thing, but sound effects? That's what gives a DJ drop its punch, energy, and professional polish. To create a drop that's truly yours, you have to move beyond the same old generic samples everyone pulls from sound packs. Classic whooshes and impacts are fine, but the real magic happens when you start designing your own soundscape.
This is where AI tools are completely flipping the script for producers. Instead of spending hours scrolling through libraries trying to find a sound that’s close enough, you can now generate the exact audio texture you hear in your head. It’s a surprisingly simple process with a ton of creative depth.
Using a tool like an AI sound effect generator lets you turn a simple text description into a complex, ready-to-use audio file. The real skill here is learning how to be descriptive and specific in your prompts. Don't just type "laser"; think about the mood, the texture, and the action you want to convey.
Here are a few prompt ideas to get your creative gears turning:
The best part is the ability to iterate. If the first sound isn't quite right, just tweak your prompt. Adding adjectives like "fast," "metallic," "hollow," or "slow-burning" can radically change the output. This gives you a nearly infinite palette to work with. The demand for these kinds of powerful audio tools is exploding; the global DJ equipment market is expected to jump from USD 672.3 million in 2024 to USD 1,273.9 million by 2034. You can read more on that trend over at scoop.market.us.
This is huge, so don't skip it. The licensing of your sound effects is critically important. If you just rip a sound from a YouTube video or a questionable sample pack, you could land in serious legal trouble, especially if you use that drop in a monetized mix or a paid gig.
Using royalty-free sound effects isn't just a "nice-to-have"—it's an absolute must for protecting yourself and your brand. It means you have the legal green light to use the audio wherever you want, without ever losing sleep over a future copyright claim.
This is where a dedicated AI tool like SFX Engine really shines. Every single sound you generate is 100% royalty-free and includes a commercial license. You create it, you own it. Period. You’re free to use it in your live sets, podcasts, and original productions without any legal strings attached.
So, how do AI-generated SFX stack up against the traditional sample packs you might be used to? Let's break it down.
| Feature | Traditional SFX (Sample Packs) | AI-Generated SFX (SFX Engine) |
|---|---|---|
| Customization | Low. You get what's in the pack; limited to EQ/FX processing. | High. Create completely unique sounds from text descriptions. |
| Royalty & Licensing | Varies. Some are royalty-free, others have complex restrictions. | 100% royalty-free for commercial use. No ambiguity. |
| Uniqueness | Low. The same sounds are used by thousands of other producers. | High. Every generated sound can be unique to your project. |
| Workflow Speed | Slow. Involves searching through massive libraries to find a good fit. | Fast. Generate specific sounds on-demand in seconds. |
| Creative Control | Limited. You're confined to the creator's original vision. | Unlimited. Your imagination is the only limit. |
While sample packs can be great for finding standard sounds quickly, AI gives you the power to craft a truly original sonic identity that no one else has.
Now that you have your vocals and your custom sound effects, it's time to blend them into one cohesive piece. The goal is to make them sound like they were made for each other, not like a voice with some random noises thrown on top.
A great starting point is to place your main impact or whoosh right at the beginning of an important word to give it extra emphasis. Think of it as an audio exclamation point. From there, you can layer in more subtle, atmospheric sounds underneath the entire phrase to add depth and fill out the space.
Your best friends here will be volume automation and EQ. You need to make sure everything has its own place in the mix. For instance, try using an EQ to gently carve out some of the mid-range frequencies from your SFX. This creates a "pocket" for the vocal to sit in, ensuring it cuts through clearly. This little trick is key to avoiding a muddy, cluttered sound and keeping your voice as the undeniable star of the show.
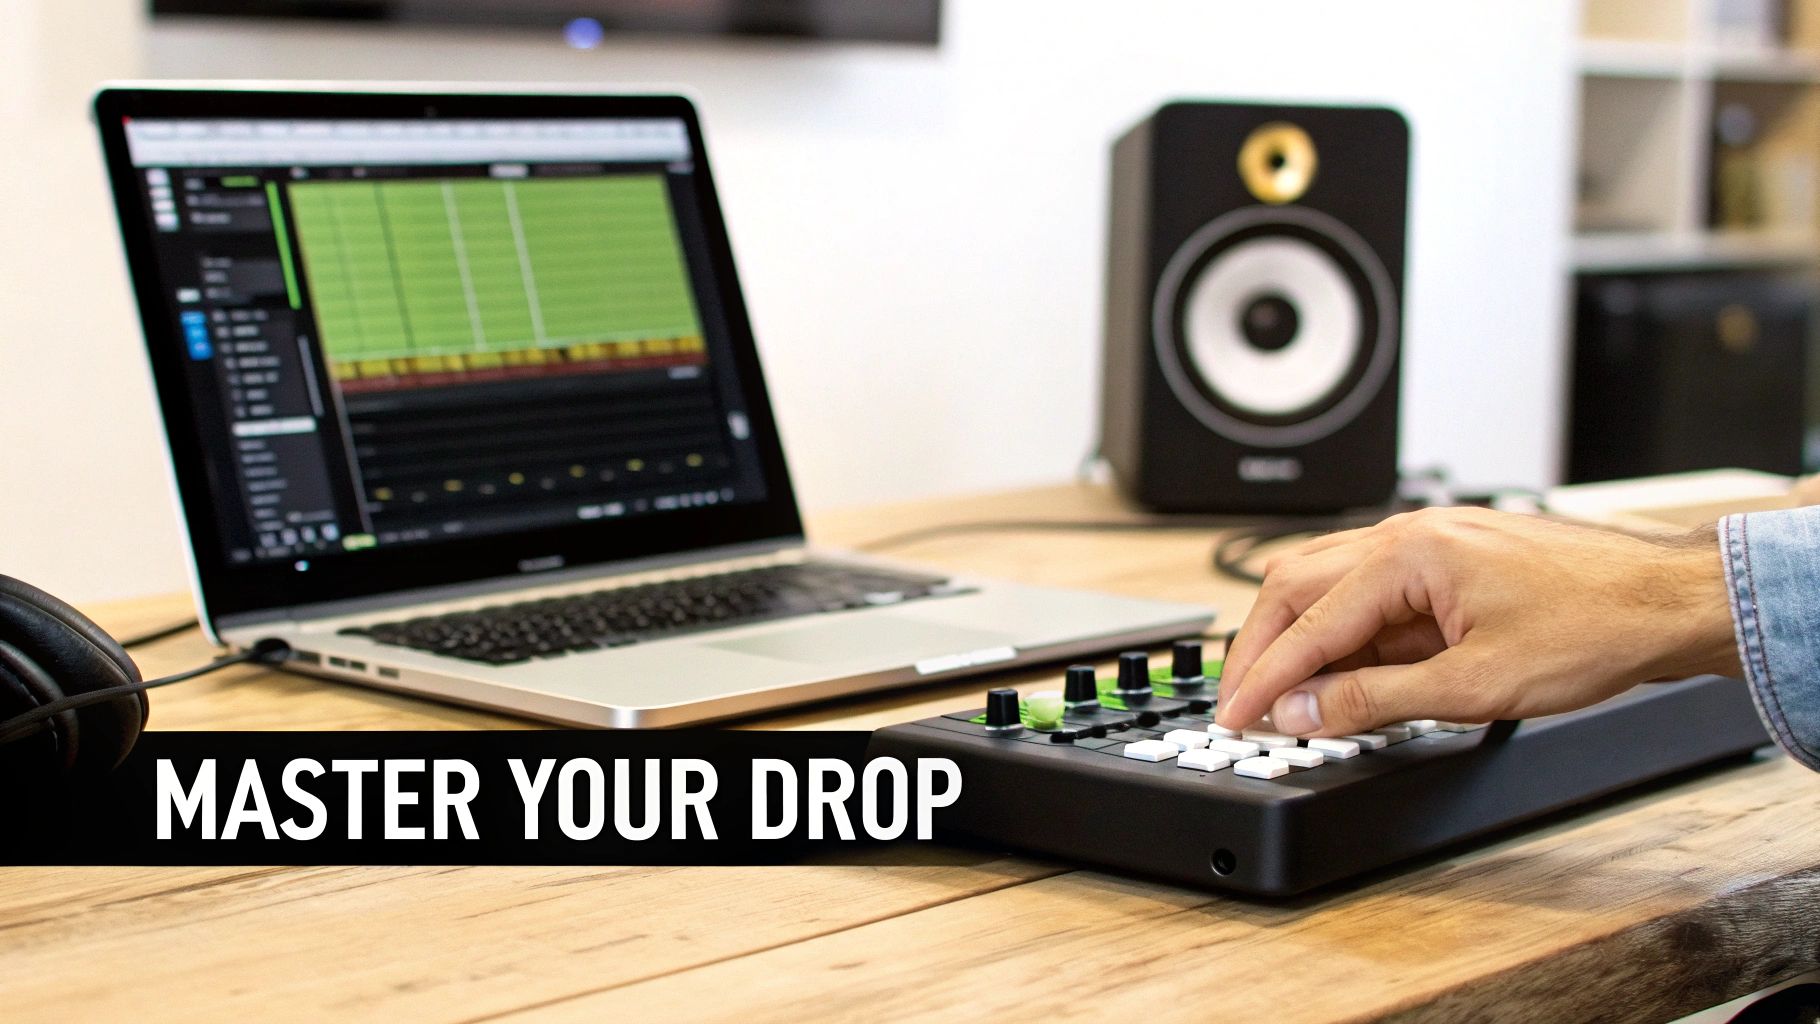
You've done all the creative heavy lifting. Now it’s time for the final, crucial step: making sure your drop absolutely slams on any sound system it hits. This is mastering, and it’s all about getting your track loud, clear, and ready for the real world. Think of it as the final coat of gloss that makes everything shine.
The main job here is to crank up the overall volume without making it sound like a distorted mess. Your best friend for this task is a good limiter. You’ll want to place this plugin at the very end of your effects chain. A limiter works like an invisible, unbreakable ceiling, letting you raise the overall level of your drop without letting the loudest parts clip and ruin the sound.
So, how loud should you go? In the world of digital audio, we measure this with LUFS (Loudness Units Full Scale). Getting this right is key, because different platforms expect different levels.
Your mastering chain doesn't need to be complicated. Honestly, for most DJ drops, a single, high-quality limiter is all you need. Just push the input gain until your LUFS meter hits the target, then set the output ceiling to -0.3 dB to give yourself a little safety headroom. Done.
With your drop sounding perfect, the last thing to do is export it. The file format you choose really depends on what you're using the drop for. This final step is all about preserving the quality you worked so hard to achieve.
The demand for pristine audio is only growing. The professional DJ equipment market, a huge driver for this kind of production, is expected to expand from USD 985.28 million in 2026 to USD 1.84 billion by 2032. You can read more about the trends in professional DJ equipment at accio.com. This just shows how important it is to deliver top-notch quality.
Here are the two formats you'll need:
As you start making your own DJ drops, you'll probably run into a few specific questions. I see the same ones pop up all the time from new producers trying to get the details right.
Let's quickly cover the essentials—cost, legal stuff, and a few technical terms—so you can move forward and create with confidence.
The price tag on a professional DJ drop can swing wildly, from literally $0 to a few hundred bucks. It really just comes down to the tools and talent you bring in.
This one's a big deal, and the answer is a hard no. You can't just rip audio from popular songs, movie scenes, or video games. That’s a fast track to getting a copyright strike on your stream or, worse, facing legal trouble.
Every single piece of audio in your drops has to be something you have the legal right to use commercially.
Key takeaway: Stick to 100% royalty-free sound effects and music. This is where AI sound generators are a huge help. Every sound you create with them is yours to use, giving you total peace of mind for monetized mixes, live gigs, and online streams.
There's no magic number here; the perfect length is all about context. It completely depends on where and how you plan to use the drop.
For a live set, you want something short and punchy that hits hard without killing the vibe. Think 3-5 seconds, max. For a podcast intro or a pre-recorded mix, you have a bit more room to play with, so anything from 5-15 seconds can work perfectly. The goal is always to make an impression without overstaying your welcome.
You'll hear these terms thrown around a lot. It's pretty simple:
A "dry" drop is just the raw vocal recording. No effects, no EQ, no reverb—nothing. It's the pure, unprocessed voice track.
A "wet" drop is the finished product. It's the vocal that's been fully mixed with all the cool effects, EQ, compression, and sound design we've been talking about.
Nine times out of ten, you'll be using the wet version. The main reason you'd ever need a dry vocal is if you're sending it to another producer to mix. They'll want the clean slate so they can add their own signature effects and make it fit their project perfectly.
Ready to create completely unique, royalty-free sounds for your next project? With SFX Engine, you can generate custom audio from a simple text prompt, giving you unlimited creative control. Stop searching through sample packs and start designing the exact sounds you need. Check out our AI sound generator and get started for free.