March 14, 2026 · Kuba Rogut
A sharp, piercing doorbell can do more than just announce a visitor. For creators, it's a powerful storytelling device. Think about how a single sound can change the entire mood of a film scene, add urgency to a video game, or grab your attention as a notification. Using a tool like SFX Engine, you have the power to design everything from a creepy, old-fashioned chime to a frantic, modern buzz.
That sudden ring isn't just noise; it’s an emotional trigger. A well-designed loud doorbell sound can make an audience hold its breath, signaling a turning point or establishing a very specific vibe. The real goal isn't just cranking up the volume—it's about creating a sound that feels authentic and lands with the right emotional weight for the scene.
This means you have to think beyond a generic "ding-dong." The story you're telling dictates the sound. A creaky, dilapidated mansion needs a completely different doorbell than a sleek, minimalist apartment. Each setting has its own sonic signature.
To design a sound that really connects, you need to nail three key elements: loudness, context, and emotion.
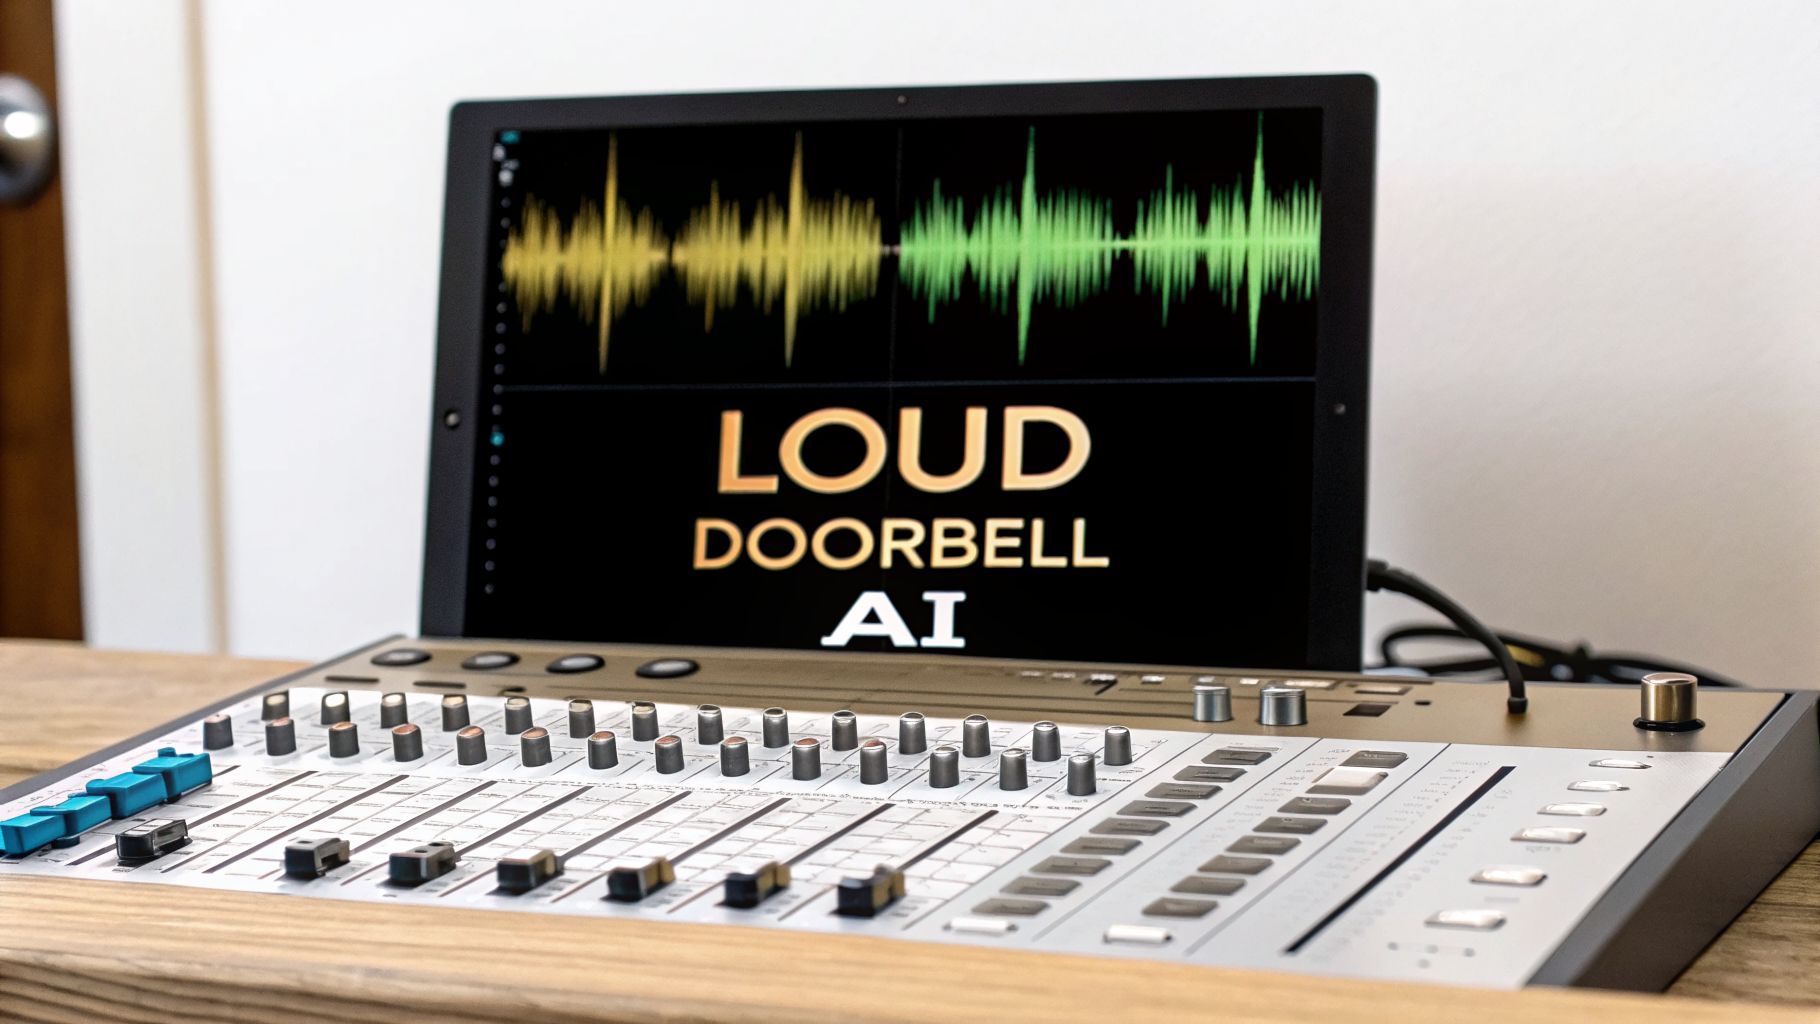
This creative workflow is a good way to visualize how these pieces fit together.

When you're building your sound, don't forget to think about where it will be heard. Modern smart video doorbell cameras, for example, have their own distinct audio qualities and speakers that color the final sound.
Pro Tip: A good starting point for realism is to aim for around 80 decibels (dB). This is comparable to a loud telephone ringing and what you'd expect from many real-world doorbells.
To help you get started, here's a quick overview of the entire process, from that first spark of an idea to exporting the final file. Think of this as your high-level guide to designing with AI.
| Stage | Objective | Key Focus Area |
|---|---|---|
| 1. Ideation & Prompting | Define the sound's character and purpose. | Crafting descriptive text prompts that cover emotion, materials, and environment. |
| 2. Generation & Synthesis | Create the core audio using AI. | Adjusting synthesis parameters to refine the initial sound. |
| 3. Layering & Processing | Add depth, richness, and realism. | Combining multiple sounds; applying EQ, compression, and reverb. |
| 4. Mastering & Export | Finalize the sound for its intended use. | Optimizing loudness (LUFS) and exporting in the correct file format. |
Following these stages will give your work a professional structure and ensure you don't miss any crucial steps in bringing your perfect doorbell sound to life.

This is where the real magic happens. Getting beyond a simple prompt like "doorbell sound" is the first major leap toward crafting audio with real intent. The words you feed into SFX Engine are everything—they directly shape the texture, character, and realism of the final sound effect.
Think of your prompt as the blueprint for the sound. Instead of just asking for a generic ring, start painting a detailed picture with your words. What’s the doorbell made of? Where is it located? What kind of action makes it ring? Specificity is your best friend here.
A vague prompt gives you a vague sound. It's that simple. But a descriptive one gives the AI clear instructions to work from, which is the key to creating a truly effective loud doorbell sound that serves your project's story.
Just look at the difference a little detail can make:
doorbell soundOld brass bell with a slow, heavy mechanical hammer strike, echoing in a large, empty wooden foyer.The second prompt is infinitely more useful. It gives the AI specific materials (brass), a mechanism (slow, heavy mechanical hammer), and an acoustic environment (large, empty wooden foyer). Every one of these details will be audible in the final result.
The best way to think about it is this: you’re directing a virtual Foley artist. The more detail you give them about the "what," "how," and "where," the closer the sound will be to what you’re hearing in your head.
This is the core strength of AI sound design. If you want to really get the hang of this, we've put together a full guide on how to generate audio from text that dives even deeper.
To get you started, here are a few prompts I’ve had great results with. Notice how each one immediately creates a different mood and setting, from welcoming to downright terrifying.
Modern digital doorbell playing a short, pleasant two-tone 'ding-dong' melody, heard from inside a cozy, carpeted living room.A broken, distorted electric buzzer sputtering loudly, with electrical crackles, inside a grimy, concrete hallway.Futuristic, clean, synthesized chime with a gentle, rising three-note sequence and a soft digital hum, inside a sterile spaceship corridor.1950s loud doorbell sound, a frantic and insistent brrring from a twin-bell electromechanical ringer, slightly muffled as if behind a thick wooden door.Feel free to use these as starting points. Try swapping out just one or two words—change "cozy" to "cavernous" or "brass" to "tin"—and listen to how dramatically the sound’s character shifts. This is an iterative process, and it’s where you’ll discover the unique audio that makes your project stand out.
Once your text prompt gets you in the ballpark, the real fun begins. This is where you move beyond just typing words and start shaping the audio directly inside SFX Engine. Think of the synthesis controls as your digital sculpting tools—they’re how you’ll refine, correct, and truly personalize your sound.
Don't get bogged down by the technical terms. At the end of the day, these are just sliders and knobs that let you tweak the character of your loud doorbell sound until it feels just right.
The quickest way to give your doorbell a completely new personality is by playing with its sense of space. The 'Reverb' and 'Delay' controls are all about defining the environment your sound exists in.
A short, tight reverb can make it sound like it’s in a small, cozy room. Crank up the reverb time, though, and suddenly that same doorbell is echoing through an empty warehouse or a massive stone cathedral.
You can see all the controls laid out cleanly right below your generated sounds, making it easy to start tweaking.
Beyond just the space, you can fundamentally change the sound itself. The 'Pitch' control is probably the most powerful tool for shifting a sound's emotional weight.
Another key dial is 'Character' or 'Timbre,' which messes with the harmonic makeup of the sound. A little nudge here can make your doorbell sound more metallic and shrill, or you can soften it into a warmer, muffled chime being heard from behind a heavy door.
From my own experience, even a 10-15% change in pitch can completely flip how a listener feels. I've taken a friendly doorbell prompt, pitched it down by that much, and it instantly becomes unsettling—perfect for a horror game or a tense moment in a film.
How you dial in these settings depends entirely on where the sound will be used. Here are a couple of common scenarios and my go-to starting points for each.
For a sharp, punchy mobile game notification:
Your goal here is a sound that cuts through everything else without being annoying.
For a deep, resonant cinematic chime:
Here, it's all about mood and atmosphere. The sound needs to feel big and important.
By playing with these controls, you're not just using an AI-generated sound. You're infusing it with your own creative decisions to craft something truly custom and effective.

Alright, you've generated a few promising doorbell sounds from SFX Engine. Some are good, but none are perfect. This is where the real artistry of sound design comes into play—it's time to start layering. A single generated sound is a starting point; combining several is how you create something truly unique and polished.
Think about it this way: you might have one generation with a fantastic, sharp metallic "ding" right at the start, but its decay is weak and uninspired. Another one might have a gorgeous, ringing sustain but lacks that initial punch. Instead of trying to force one sound to do everything, we can just steal the best parts from both.
Layering isn't just about stacking sounds on top of each other. It's about building a richer, more detailed auditory story. You're thinking like a chef, where each sound is an ingredient with a specific purpose.
In a Digital Audio Workstation (DAW), I often look to combine:
By isolating these individual components and blending them, you can construct a custom loud doorbell sound that feels far more intricate and realistic than any single AI generation. This is a fundamental skill, and if you want to dive deeper, we have a whole guide on how to layer sound effects for video and other projects.
As soon as you start layering sounds, you’ll likely run into a common problem: muddiness. When different sounds compete for the same frequency ranges, they can clash and create a cluttered, undefined mess. Your most important tool for fixing this is an equalizer (EQ).
With doorbell sounds, that muddy buildup almost always happens in the low-mid range, somewhere around 200-500 Hz. A small, surgical cut here on one or two of your layers can instantly make everything sound cleaner. On the flip side, you can help the main chime cut through the mix with a slight boost in the high-mids, usually between 2-5 kHz, to add presence and clarity.
My personal rule of thumb is to always cut before I boost. It’s amazing how often clearing out problematic frequencies from one layer makes another shine through perfectly, without you having to add a thing. It’s a much cleaner way to work.
So your layers are balanced, but does the sound have impact? This is where compression comes in. A compressor wrangles the dynamic range of your audio, squashing the difference between the loudest and quietest parts. For a doorbell, this is key to making it feel both powerful and consistent.
By applying some gentle compression, you can tame that initial loud "ding" so it doesn't clip, while simultaneously raising the volume of the beautiful, decaying tail. The result is a sound that feels more cohesive and "glued together." It ensures your loud doorbell sound is assertive without being painfully sharp—that professional touch that helps it sit perfectly in any game, film, or app notification.

Alright, let's talk about making your doorbell sound genuinely loud. Many people think "loud" means pushing a fader until it can't go any higher. That’s a fast track to digital clipping—a nasty, distorted crackle that instantly sounds amateur and is just plain harsh on the ears.
Our goal is different. We're chasing perceived loudness, not just raw peak volume. The trick is to make the sound feel powerful and cut through a mix without introducing that ugly distortion. This is where a limiter becomes an essential tool. It's like a transparent ceiling that stops your sound's loudest peaks from ever hitting 0 dB and clipping, no matter how much you push the overall level.
It's easy to get these two mixed up. Peak loudness is just the absolute loudest, most instantaneous point of your sound—think of that initial, sharp "ding!" But what the human ear actually registers is perceived loudness, which is measured in LUFS (Loudness Units Full Scale) and reflects the average volume over the sound's entire duration.
A limiter lets you increase the overall gain, which brings up the quieter, more sustained parts of the sound (like the resonant decay) without letting that initial sharp transient go wild. The result? The entire effect feels punchier, fuller, and more present in the mix. If you want a deeper dive into controlling these dynamics, our guide to audio compression for beginners is a great place to start.
Creating a powerful sound effect also means being mindful of the listener. A truly effective sound is one that grabs attention without causing ear fatigue, especially for audiences in a long film or an immersive gaming session.
It’s a bigger deal than you might think. A loud doorbell sound hitting 80 dB is right on the edge of what’s considered safe for prolonged exposure. Health authorities recommend no more than 40 hours per week at that level. Push it just a bit higher to 85 dB, and that safe window plummets to only 12.5 hours. Imagine you're the sound designer listening to that doorbell loop for hours—it's a real occupational hazard.
Pro Tip: When you're mastering your final sound effect, aim for a true peak level of around -1.0 dBFS. This gives you plenty of punch while leaving just enough headroom to prevent any nasty surprises or distortion when your sound is played back on different systems.
So, when you apply your limiter, add gain gently. Watch your meter and push it just until the limiter starts to kiss the very highest peaks of the waveform. This approach gives you that professional, clean loudness while keeping the clarity and impact you worked so hard to design.
Alright, you’ve put in the work and your doorbell sound is polished and ready to go. Now for the final, crucial part: getting it out of SFX Engine and into your actual project. This means picking the right file type and understanding the permissions you have.
So, which file format should you pick? It really boils down to one thing: quality versus file size. There's no single "best" choice, just the right tool for the job.
WAV (.wav): Think of this as your master copy. It’s uncompressed, high-fidelity audio. I always recommend exporting a WAV file for your archives, no matter what. This is the professional standard for film and game audio, where every bit of quality counts.
MP3 (.mp3): This is the compressed, lightweight option. You trade a bit of audio quality for a dramatically smaller file size. It's perfect for things like web applications, mobile notifications, or anywhere else that storage space and fast loading are top priorities.
This is where things get really simple, and it's one of the best parts about using a tool like SFX Engine.
Every single sound you create and download is covered by a 100% royalty-free commercial license. That’s a huge deal. It means you can drop your custom loud doorbell sound into a movie, a video game, an app, or a podcast and never have to think about legal headaches or paying future fees. You made it, and you’re free to use it forever.
When you're deep in a sound design session, a few common questions always seem to come up. I get asked these all the time, so let's walk through some quick, practical answers to help you craft that perfect loud doorbell sound.
You bet. The text prompt is basically your time machine. If you need something for a WWII-era film, try getting specific with a prompt like, "1940s mechanical doorbell with a rusty, buzzing sound." For a more recent retro vibe, something like "1990s digital doorbell playing a short, polyphonic melody" works surprisingly well.
Don't be afraid to add a little post-processing flair. A touch of vinyl crackle or tape hiss can really sell the vintage authenticity and make the sound feel grounded in its time.
I've found that harshness almost always lives in the upper-mid frequencies, typically somewhere in the 2-5 kHz range. This is the spot on the frequency spectrum that our ears are most sensitive to, and it's what can make a sound feel piercing or just plain abrasive.
The fix is usually pretty simple. Grab an equalizer (EQ) and gently scoop out that specific frequency range. You don't need a massive cut; just lower it until the sound feels more pleasant to the ear. Also, take a look at your dynamics. Instead of crushing the sound with heavy compression, try using a limiter. A limiter will just catch the absolute loudest peaks, allowing you to bring up the overall level without that "squashed" and fatiguing feel.
Harshness isn't just about volume; it's about frequency. A well-placed EQ cut is often far more effective than just turning the whole sound down.
My go-to workflow for game engines like Unity or Unreal is to always work with uncompressed .WAV files. This ensures you're working with the highest possible audio quality throughout the entire development process, which gives you the most flexibility.
When you're ready to build the final game, the engine itself usually handles all the compression for you. It will typically convert your sounds to an efficient format like Ogg Vorbis, balancing quality with file size. This gives you the best of both worlds: full quality while you're working and an optimized experience for the player. When you're thinking about how your sound will be used, it can also be useful to consider real-world hardware, like the advanced AiPhone Intercom systems.
Ready to stop searching for the perfect sound and start creating it? With SFX Engine, you can generate custom, high-quality, royalty-free sound effects in seconds just by typing. Try SFX Engine for free and bring your sonic ideas to life.