March 30, 2026 · Kuba Rogut
Before you even think about touching an EQ or compressor, the secret to a convincing police radio sound lies in your raw materials. You can't fix a bad recording in the mix, and you can't fake authenticity with generic sound clips. The real work starts with generating high-quality, distinct audio elements from scratch.

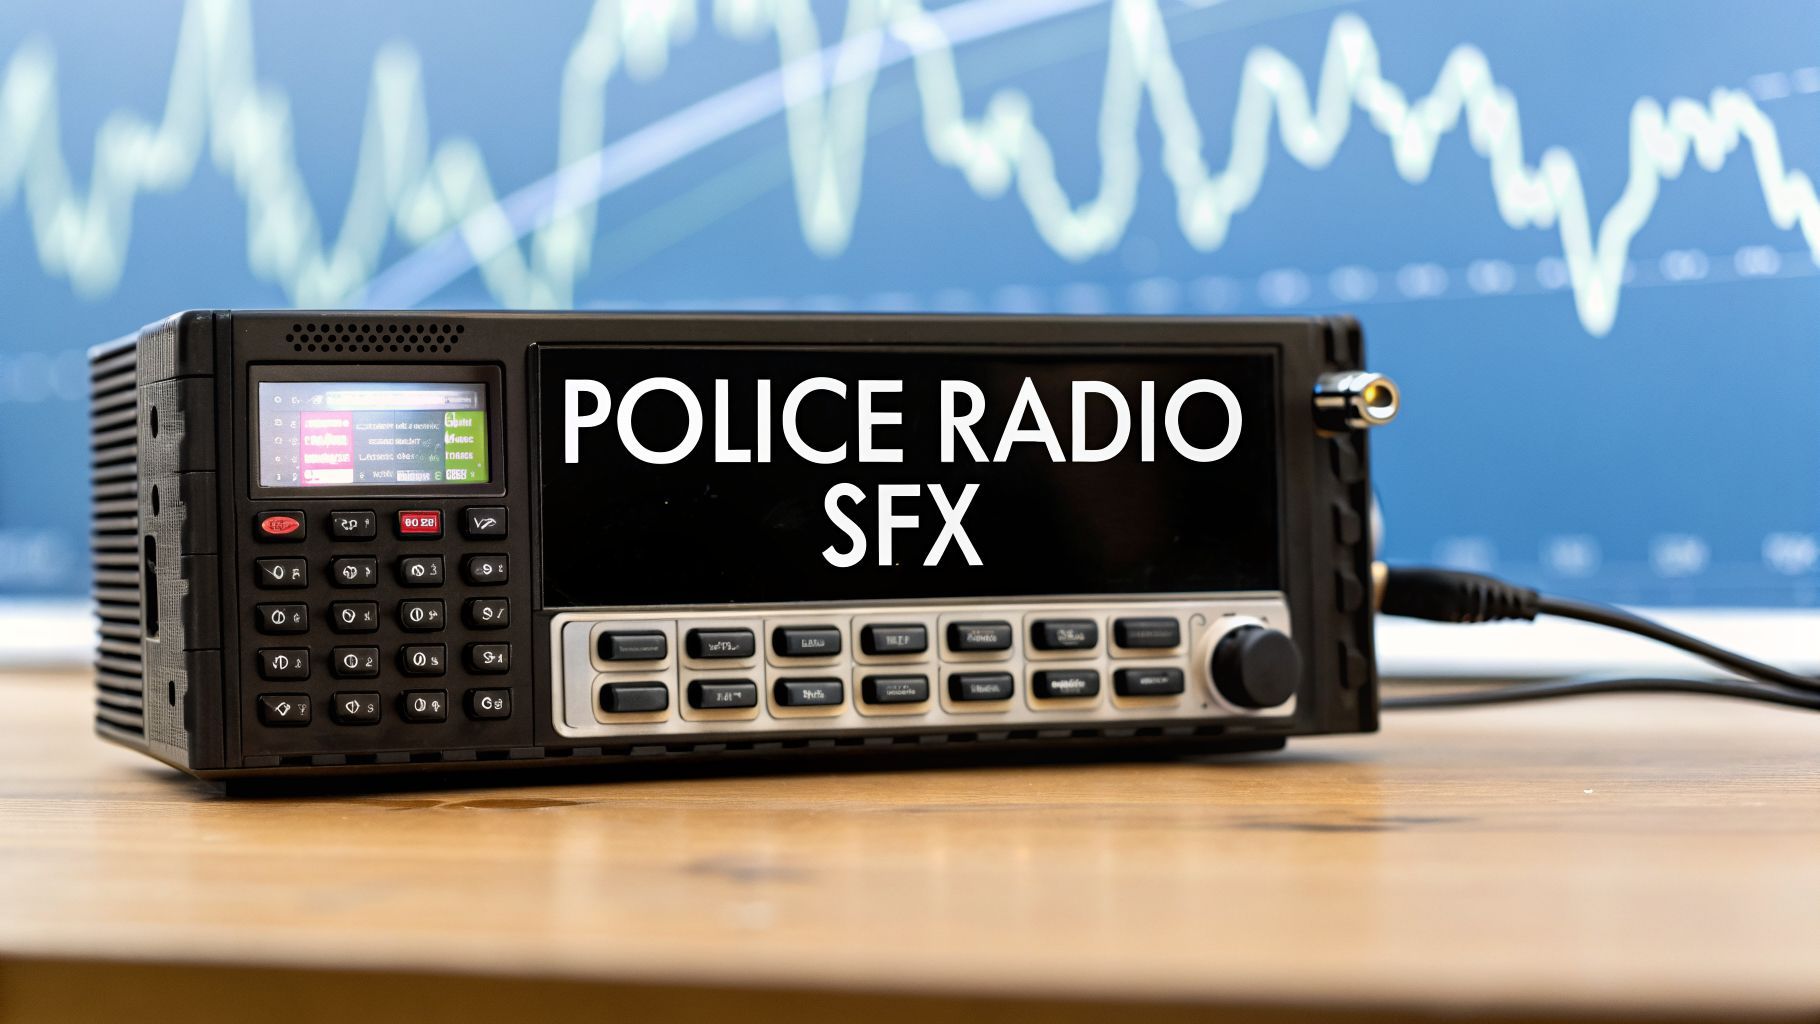
This is where a good AI sound generator, like SFX Engine, becomes your best friend. Instead of digging through the same old online libraries everyone else uses, you can instantly create custom, royalty-free sounds that are purpose-built for your scene.
To get that classic radio feel, we need to generate our sounds as separate components. This gives us total control later on. I always break it down into these three core elements:
An AI is only as good as the instructions you give it. Think like a director giving an actor notes. Vague prompts lead to vague results. The more context you provide, the better the performance and the more believable the final sound will be.
Here are a few prompts I've used as starting points. Notice how they define the speaker, the situation, and the gear.
Use these text prompts in an AI generator like SFX Engine as a starting point for your foundational police radio sounds.
| Sound Element | Example Prompt |
|---|---|
| Vocal Chatter | "Calm female police dispatcher reading a license plate, modern digital radio, clear signal." |
| Stressed Voice | "Stressed male officer calling for backup, handheld walkie-talkie from the 1980s, slight signal breakup." |
| Routine Call | "Routine procedural dispatch call, car radio, slight static, with a '10-4' confirmation at the end." |
| Static | "Constant radio static from a police scanner, with occasional crackles and pops, lo-fi." |
| PTT Click | "Two sharp, distinct mechanical clicks from a push-to-talk button on a handheld radio, clean recording." |
This approach gives the AI all the context it needs to deliver audio with the right emotional weight and technical character. If you want to go even deeper on prompt crafting, we have a complete guide on how to create sounds that you'll find helpful.
Honestly, the non-vocal sounds are what truly sell the effect. The voice is just one part of the puzzle. You need that static and the PTT clicks to glue it all together.
My Biggest Tip: Always generate your static, clicks, and squelch tails as separate, clean audio files. This is non-negotiable. Layering them manually gives you precise control over timing and volume, which is the key to making the final effect sound professional and not like a cheap plugin.
The historical era of your setting matters, too. The sound of law enforcement communications changed dramatically with the introduction of portable radios in the 1960s. Before that, it was all vehicle-based. Capturing that on-the-move, crackly signal from a handheld unit can instantly place your audience in a specific time and add a fantastic layer of realism to the scene.
Once you have your core audio pieces—the voice, static, and clicks—it’s time to start building. Just dropping a single audio file of radio chatter into your project is a surefire way to make it sound flat and fake. The secret to an authentic police radio sound effect lies in careful, deliberate layering.
This isn’t just about stacking sounds. It’s about creating a tiny, believable audio narrative where every element has a purpose and perfect timing. Think of it like a sound designer's version of a model kit; each piece has to snap into place just right for the final result to feel solid and convincing.
My go-to method is to build a four-part stack in my audio editor. Each track adds a specific ingredient to the recipe, and the way they interact is what sells the whole effect.
Here are the fundamental layers you'll be working with:
Timing is everything here. A dead giveaway of a fake radio sound is having the voice and static start at the exact same moment. In the real world, an officer clicks the button before starting to speak.
The most convincing sequence is to place the sharp PTT click about 50-100 milliseconds before the voice begins. Then, the voice track and a subtle layer of static start together. Once the dialogue is over, you immediately follow it with a distinct squelch sound to close the transmission.
This small detail perfectly mimics how a real two-way radio is used and instantly boosts the believability of your sound.
To really take the realism to the next level, I always add a fifth, subtle layer: environmental noise. This is my personal trick for turning a good sound effect into a truly great one, because it gives the transmission a sense of place.
So, what kind of noise works best? It completely depends on your scene. If your character is in a patrol car, you might add a low engine hum, the rattle of gear on the passenger seat, or even the rhythmic thump of a windshield wiper. For an officer on foot patrol, maybe it's the sound of distant city traffic, a faint siren, or the whisper of wind.
The key is to keep this background layer barely audible. You just want it to bleed into the "hot mic" enough to tell the listener that the character isn't speaking from a quiet studio. This simple addition adds a massive amount of depth and storytelling power.
For more foundational tips on blending sounds, our guide on how to layer sound effects in video is a great resource. Ultimately, the goal is to weave these different pieces together so seamlessly that the listener doesn't even notice the individual parts—just the cohesive, immersive whole.
Alright, you've got your raw audio layers—the chatter, the static, the clicks—all timed out. Now comes the fun part: gluing them all together in your Digital Audio Workstation (DAW) and making them sound like they're coming out of a single, beat-up radio.
This isn't about just slapping on a preset. We're going to build a custom effects chain that processes all those sounds at once. The goal is to convincingly degrade the clean audio, simulating the journey from the dispatcher's mic, through the airwaves, and out of a cheap speaker.
Think of it like this: your clean, layered audio is the foundation. We need to process it to get that authentic police radio sound.

As you can see, having those distinct sound events in a clean sequence is what we'll be working with. Let's start processing.
First up, and arguably the most important effect, is the Equalizer (EQ). A real police radio has a laughably narrow frequency response. It’s designed for one thing: vocal clarity, not hi-fi audio. We need to mimic that electronically.
Grab a band-pass filter and get ready to be aggressive. Here are the settings I almost always start with:
This extreme EQ sculpting is the signature sound of a police radio. It's a technique born from necessity. The iconic, crackling chatter we know today actually dates back to 1933, when Bayonne, New Jersey, introduced the first two-way police radio. Those early systems were primitive, and their inherent audio flaws became the very sound we now strive to recreate. You can dig deeper into this cool piece of audio history by reading about the first police radio systems.
With the frequency spectrum handled, the sound is still probably too clean. A perfect radio transmission just sounds fake. It’s time to add the signal degradation and imperfections that sell the effect.
I like to reach for a bitcrusher or a subtle distortion plugin next. The key is subtlety. You don't want to turn it into a fuzz pedal. Try setting the bit depth to around 12-bit or adding just a touch of saturation. This will introduce that slight digital fizz and grit, making the signal feel less stable and more realistic.
Next, it’s time to control the dynamics with a compressor. You want to slam it pretty hard. Use a fast attack and a high ratio—something like 4:1 or even higher. The idea is to crush the dynamic range so the quietest whispers and loudest shouts are almost at the same volume.
This heavy-handed compression is what creates that punchy, "in-your-face" radio feel, where every word sounds like it's being barked at you with the same intensity. It’s crucial for making dialogue sound urgent and authoritative.
As a final touch, a tiny bit of reverb can help place the radio in a physical space. Don't go crazy here. A small room or plate reverb with a short decay, mixed in very low, can make the sound feel like it's coming from the cab of a cruiser or echoing down an alley. This last step helps your custom sound effect sit perfectly within the larger world of your scene.
You’ve built the perfect radio chatter—it’s crackly, authentic, and full of character. But the job isn't done. A fantastic police radio sound is only as good as its placement in the scene. Now comes the real art: making it feel like it truly belongs in the world you've created.
This is where we move from sound design into the world of mixing. It's about taking your sound effect and weaving it into the scene's audio so it feels completely natural. When done right, the radio can become a powerful storytelling device, ratcheting up tension or delivering a crucial piece of information that moves the plot forward.
In the real world, sound is never static. It shifts, fades, and moves as people and objects change position. Your DAW’s automation lanes are the key to mimicking this reality and selling the effect to the audience.
Think about a classic scenario: an officer gets out of her patrol car and walks towards a building.
A common mistake is to set a radio's volume once and just leave it. The sound ends up feeling pasted on. Always use automation to give the sound a dynamic presence that reacts to what's happening on screen. It makes your world infinitely more believable.
A dense audio mix is like a crowded room—if everyone is shouting, nobody can be heard. Your police radio has to compete with dialogue, background ambience, and music. The secret to making it audible isn't just turning it up; it's using EQ to create a dedicated space for it.
Instead of EQing your radio sound on its own, listen to it in the context of the entire mix. The goal is to find where its most important frequencies—that mid-range sweet spot around 1.5-3 kHz—are clashing with your main dialogue or score.
Once you’ve identified the conflict, go to your main dialogue track (or music bus) and use a very precise EQ to make a small cut in that exact frequency range.
This technique is called frequency carving (or spectral ducking), and it’s a game-changer. You’re essentially creating a tiny "pocket" in the mix for the radio to sit in. The result? The radio transmission cuts through with perfect clarity, even at a low volume, and you haven't had to sacrifice the impact of your other audio.

You've built it. Your effects chain is dialed in, and you've got a genuinely authentic police radio sound that's ready for the spotlight. It's tempting to just drop it straight into your project, but taking a moment to handle the final export and licensing is a step that separates amateurs from pros. It's all about ensuring top quality and, just as importantly, total legal peace of mind.
How you export your sound has a huge impact on its final quality. The key is to think about the end-use right from the start.
So, where is this sound actually going to live? Is it for a cinematic film scene that demands pristine audio, or a mobile game where every kilobyte counts?
My personal workflow is simple: I always export a master .WAV first. From that pristine file, I can then create any compressed .MP3 versions I need for specific deliveries. This way, I never have to go back and re-render everything from scratch.
Now, let's talk about something that trips up countless creators: licensing. If you just grab a police radio clip off the internet, you're rolling the dice. You have no way of knowing if you can legally use it in a commercial project, which can lead to some serious legal and financial trouble later.
This is where using a platform like SFX Engine really changes the game. Every sound you generate and download—from the initial voice prompt to the final layered effect—comes with a commercial, 100% royalty-free license.
This means you get total creative and legal freedom. You can confidently place your custom sound in any film, video game, or podcast without ever worrying about copyright strikes or future fees. If you want to dive deeper into this topic, you can learn more about royalty-free sound effects in our detailed guide. Ultimately, this kind of protection lets you focus on your creative work, not on playing lawyer.
Whenever I'm working with other creators or teaching a class, the same few questions about getting police radio effects right always come up. These aren't just technical details; they get to the core of what makes the sound feel authentic instead of just cheesy.
Let's walk through the most common hurdles I see people face and I'll give you the same practical advice I use in my own projects.
I get asked this one all the time. To get that convincing police radio sound, you have to think small. You're trying to make your audio sound like it's being squeezed through a cheap, tiny speaker, and the best way to do that is with a band-pass filter.
Your first move is to apply a high-pass filter. You're going to want to aggressively carve out everything below the 300-500 Hz range. This is what removes all that bass and vocal richness, giving you that thin, almost telephonic quality that's so characteristic of a real radio. If you skip this, the voice will just sound too full and polished.
Next up, you'll do the opposite with a low-pass filter. Set this to cut out all the high-frequency air and sparkle, rolling off everything above 3-4 kHz. This is what boxes the sound in and makes it feel contained.
Here's a pro tip: to really make the dialogue cut through a noisy scene, add a noticeable boost somewhere in the 1 kHz to 2.5 kHz range. This is the sweet spot for speech intelligibility, and pushing it a bit gives the radio that classic harsh-but-clear bite.
Nothing shatters the illusion faster than a single, obviously looped sound effect. The secret to avoiding this is to build in variation, both in the vocal performance and in how you process the audio.
When you're generating the source audio, don't settle for one take. Create a small library of different lines with distinct emotional tones.
Just by layering these different vocal takes at various volumes, you instantly create a more dynamic and believable soundscape.
Beyond that, put your DAW's automation to work. I like to automate the amount of bitcrushing or distortion to mimic a signal that's breaking up as a character moves around. You can also automate a noise gate's threshold so the static cuts in and out unpredictably. A really effective trick is to have a few different PTT clicks and squelch tails on hand and just alternate between them. These small, seemingly minor changes are what trick the listener's brain into believing it's a live, authentic radio feed.
That signature harshness isn't a stylistic choice—it's born from pure function and a brutal operating environment. Think about it: police radios have to compete with sirens, traffic noise, and shouting. Clarity, not quality, is the only thing that matters. The audio is intentionally squashed and filtered to shove the vocal frequencies front and center.
Adding to this is the fact that many officers listen through a single earpiece. A UK-based study revealed that 75.8% of police radio users were exposed to noise levels each week that went above the recommended safety limit of 85 dBA. The study also found that 45.2% reported symptoms of temporary hearing damage, like muffled hearing or tinnitus, after a shift. This gives you a sense of the extreme conditions these devices are designed for and why they sound so aggressive.
Yes, they are—as long as you're creating them yourself with the right tools. Every sound effect you generate with a platform like SFX Engine, including police radio chatter, comes with a commercial license and is 100% royalty-free.
This is probably one of the biggest benefits of generating your own SFX. It completely sidesteps the legal headaches and copyright risks you run into when grabbing sounds from random online libraries. Once you’ve created it, that sound is yours. You can use it in your films, games, podcasts, or music without ever worrying about future fees or legal claims. It’s total creative and commercial freedom.
Ready to stop scrolling through generic sound libraries and start designing audio that’s truly your own? With SFX Engine, you can generate custom, high-quality, and 100% royalty-free sound effects just by typing what you need. Craft everything from a tense police radio call to a sprawling sci-fi city and finally bring your sonic vision to life. Try SFX Engine for free today and hear the difference for yourself.